


Hand torn Accordion Journal
Teaching Artist: Tanvi Kulkarni
Age or Grade Level: 6-12 grade
Overview of Project
Students make an accordion book with cover and band. The lesson provides simple instruction for creating the book with minimal materials and without scissors.. Students will use the journals for daily reflections. Two short informational videos are available in the lesson as demonstration.
“Big Ideas”/ Essential Question(s)
How to be creative by using available material?
How to express ourselves through bookmaking?
Student Outcome Objectives
Students will:
Create an accordion fold journal, cover and band to hold it together
Use materials that are available and easy to access in a creative and intentional way
Use the journal to connect their work to current events through writing and visual content
Prior Knowledge
None
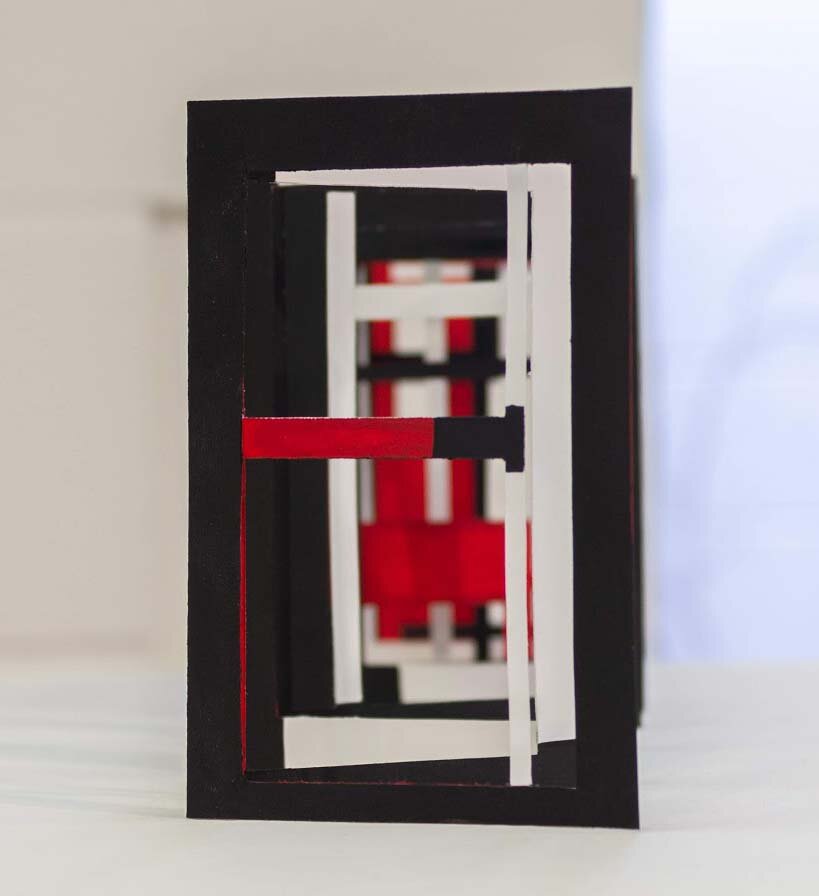
Examples of Artwork
Next to Nothing by Jody Williams https://mcad.edu/faculty/jody-williams
Spatial Geometries by Karen Wirth http://karenwirth.com/books/books_spatial_geometries.htm


Additional resources
https://www.readbrightly.com/diy-accordion-book/
https://bookriot.com/2017/05/30/how-to-make-a-paper-bag-book-cover/
Assessment
How was the bookmaking process?
Did you learn something new?
What engaged you? What did you enjoy?
Materials
List of ALL material needed with specified amounts, sizes and/or quantities needed.
glue stick
paper , such as printer paper/newspaper/magazine/ discarded artwork
ruler
pencil
Learning Activities and Timing
30 mins: To make 3 types of accordion books.
20 mins: creative own content in the book.
10 mins: Create the cover for the journal.
Step by Step Process
Video 1 - How to Make and Accordion Fold Book with few Supplies by Tanvi Kulkarni
Introduction and overview of the project
o Gather materials: A4 size paper, glue, tape, and ruler
o Cut a piece of paper in half lengthwise make two long rectangles.
o Fold the rectangle in half widthwise.
o Fold the top flap in half again by aligning the edge with the middle fold.
o Flip the paper and do the same on the other side.
o Do the same thing with another long rectangle
o To attach the 2 Ws, flip one W to M shaped paper
o Put glue on the page of W and glue the page of M on it, So it will look like WV.
o Another way to attach the 2 Ws—>align the edges of W together, and put a tape on them
o To make a pop out, cut two slits on the fold and push in the opposite direction of the paper
o Angle the tear to create shapes.
Video 2 - How to Make a Cover and Band for an Accordion Fold Journal by Tanvi Kulkarni
Video 2
o Material: A4 size paper, pencil, ruler, glue and accordion book
o Take a piece of paper.
o Cut the paper to the size of the book.
o Fold top and bottom edges to the size.
o Slide the page of the book on the cover.
o Wrap it around the book.
o To make a band, take a long strip of paper.
o Wrap it over the book to size it.
o Mark the length and glue both ends.
o Slide the band on the cover.
Teacher provides writing, drawing and artmaking prompts
Teaching Artist Reflection:
It might be hard to make a book without using Exacto knife and scissors because it is not easy to get sharp edges without cutting tools. I feel there is a thin line between DIY and art. Do not be concerned about the torn edge. It becomes part of the form.


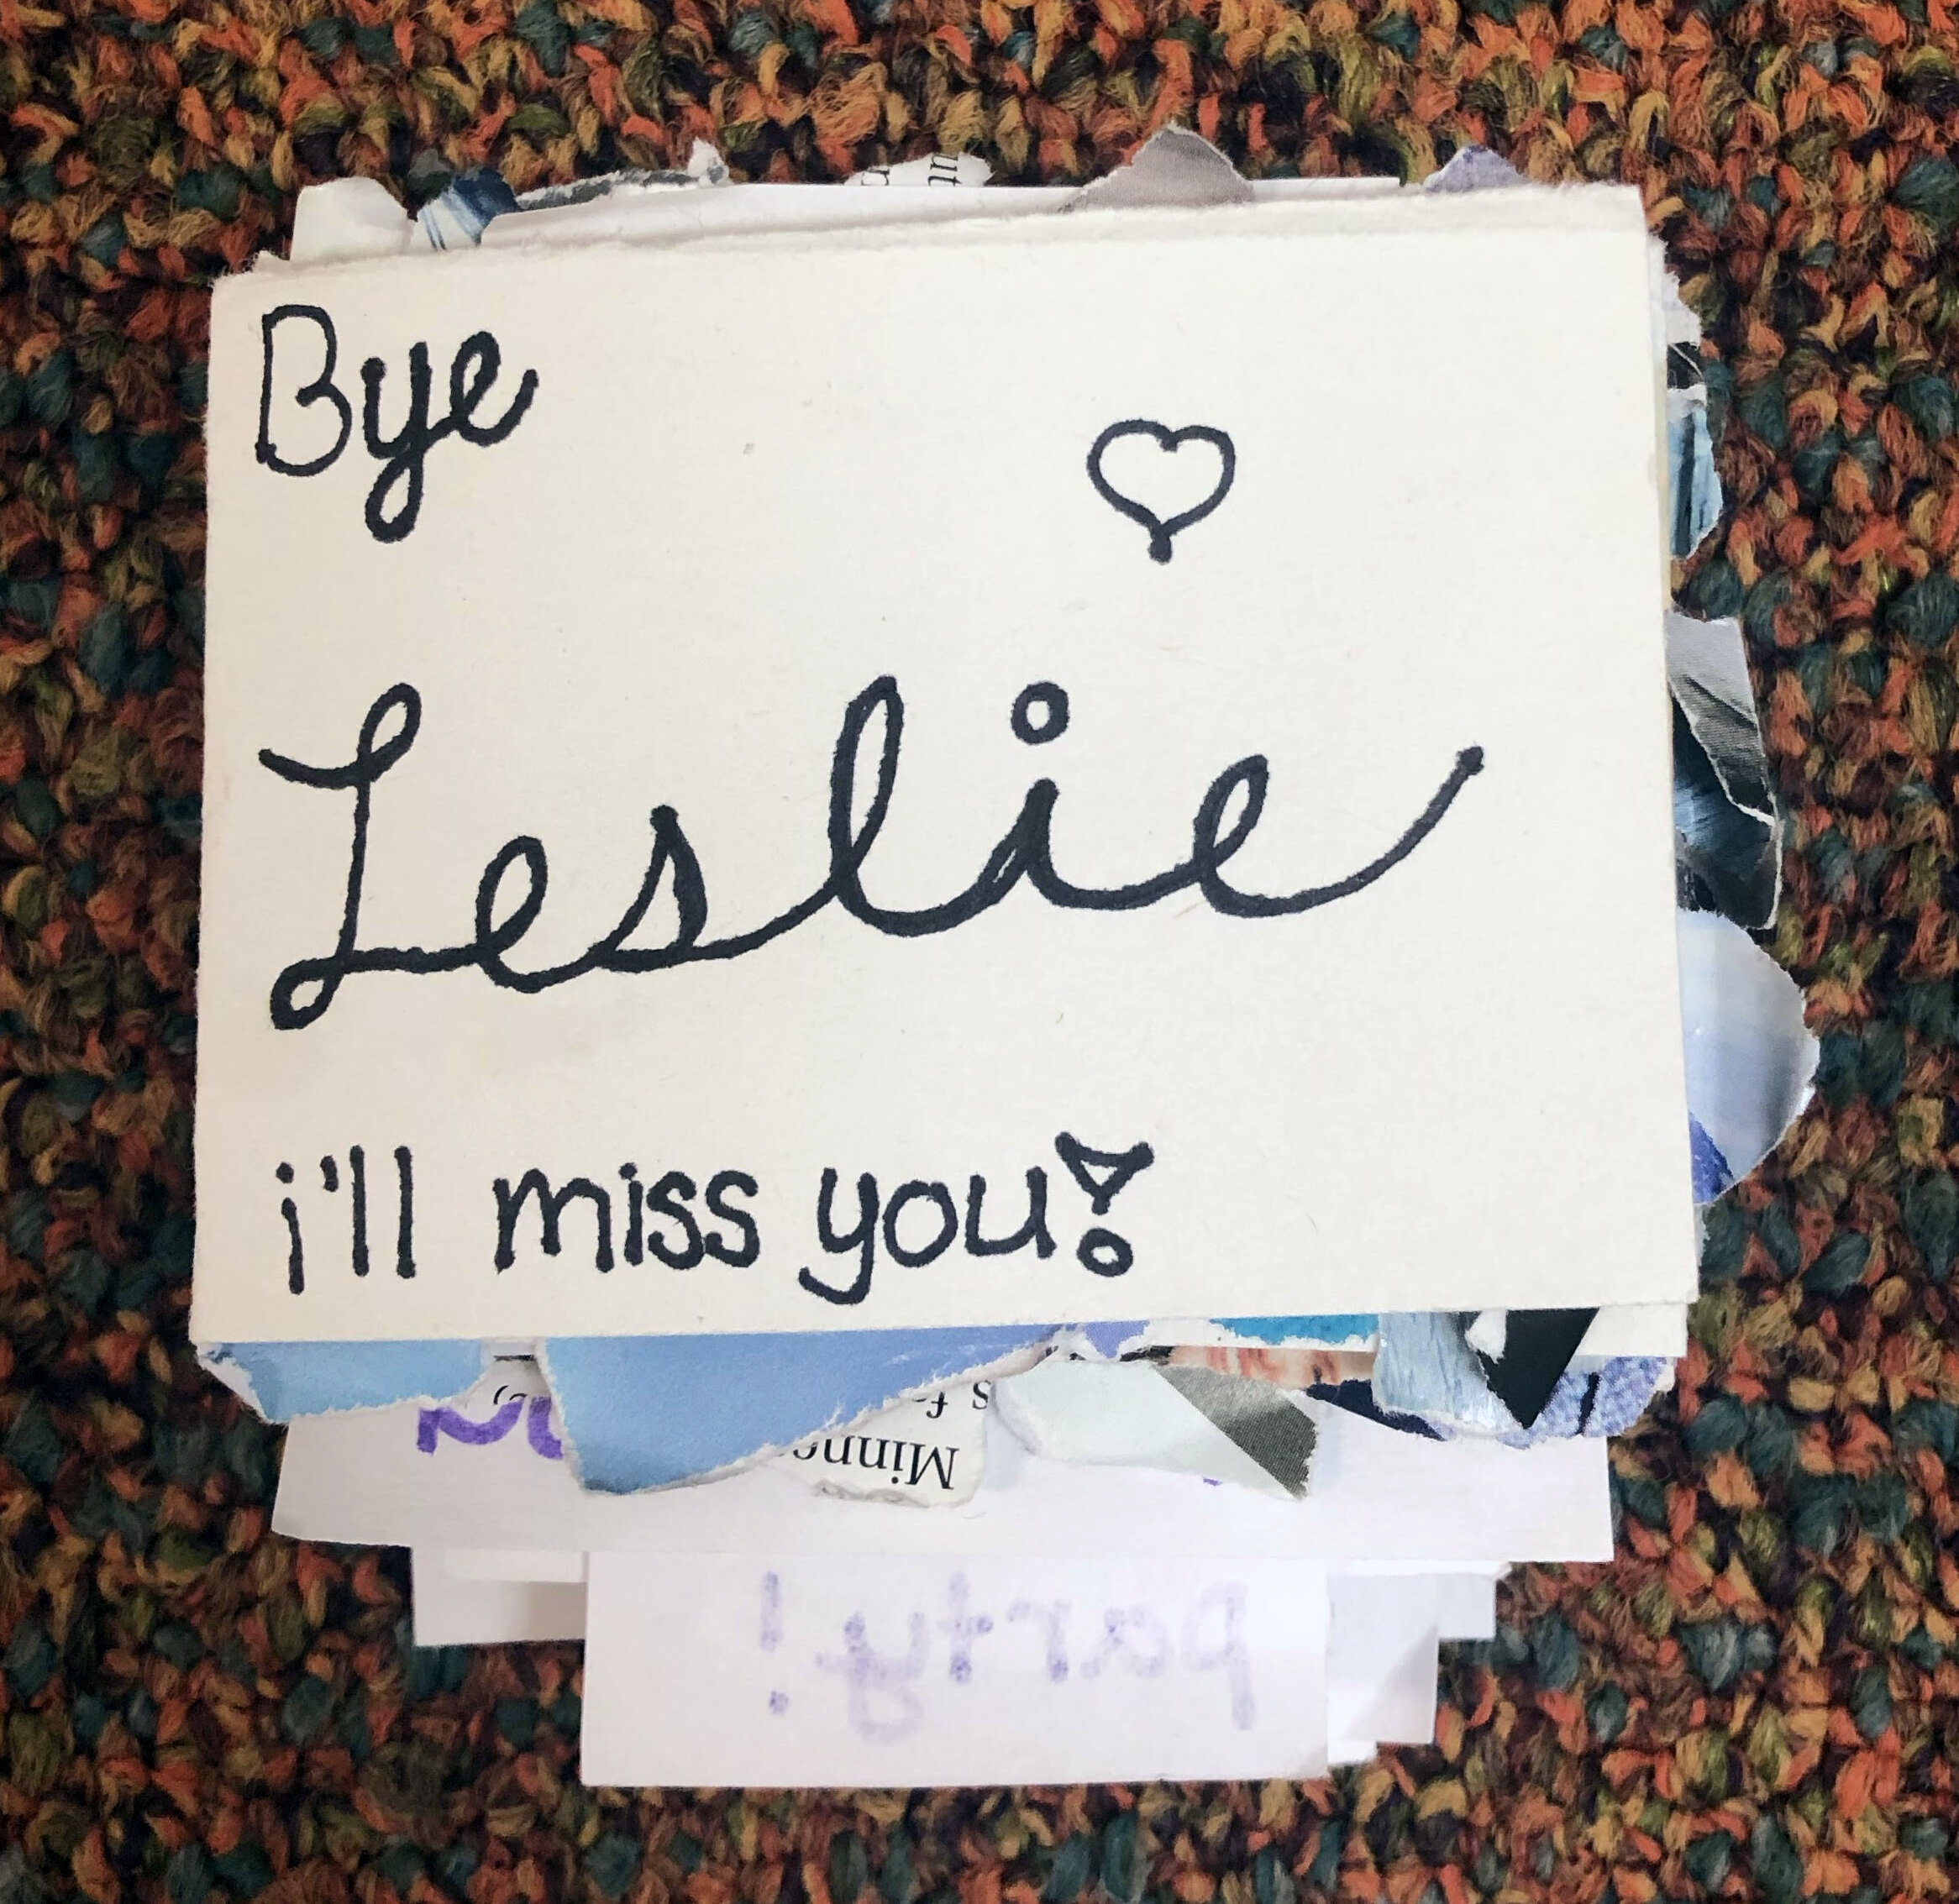
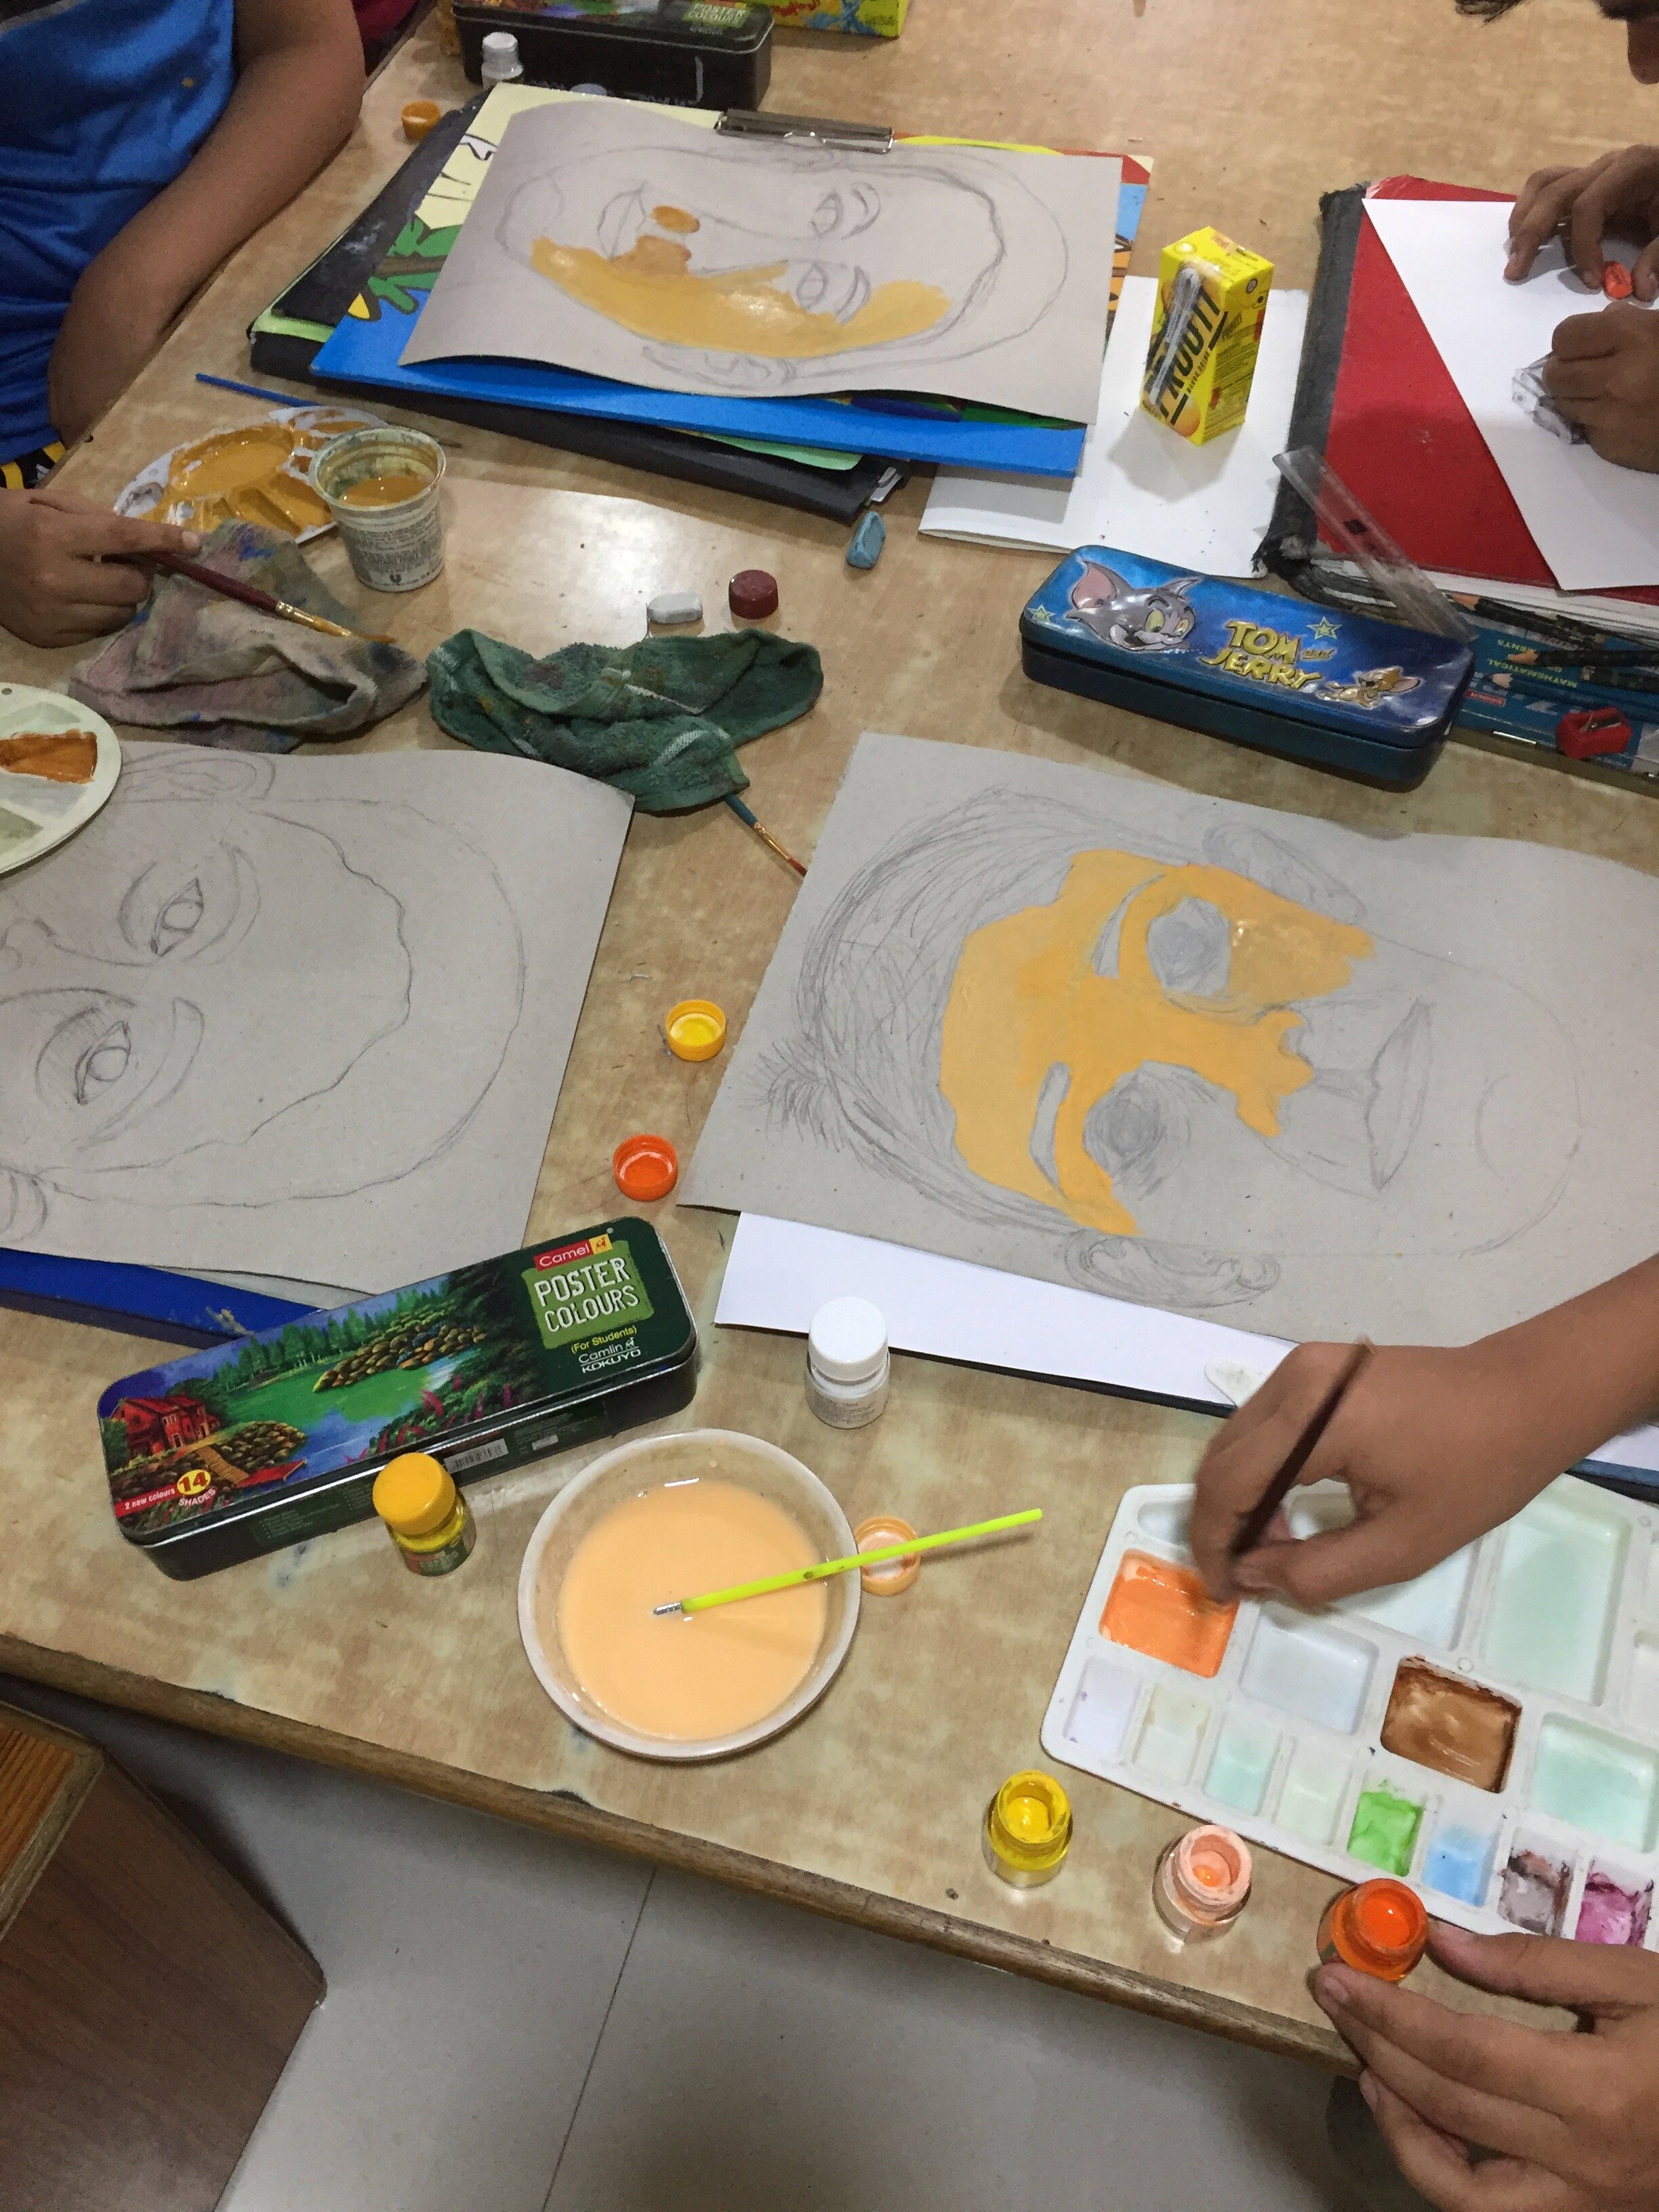
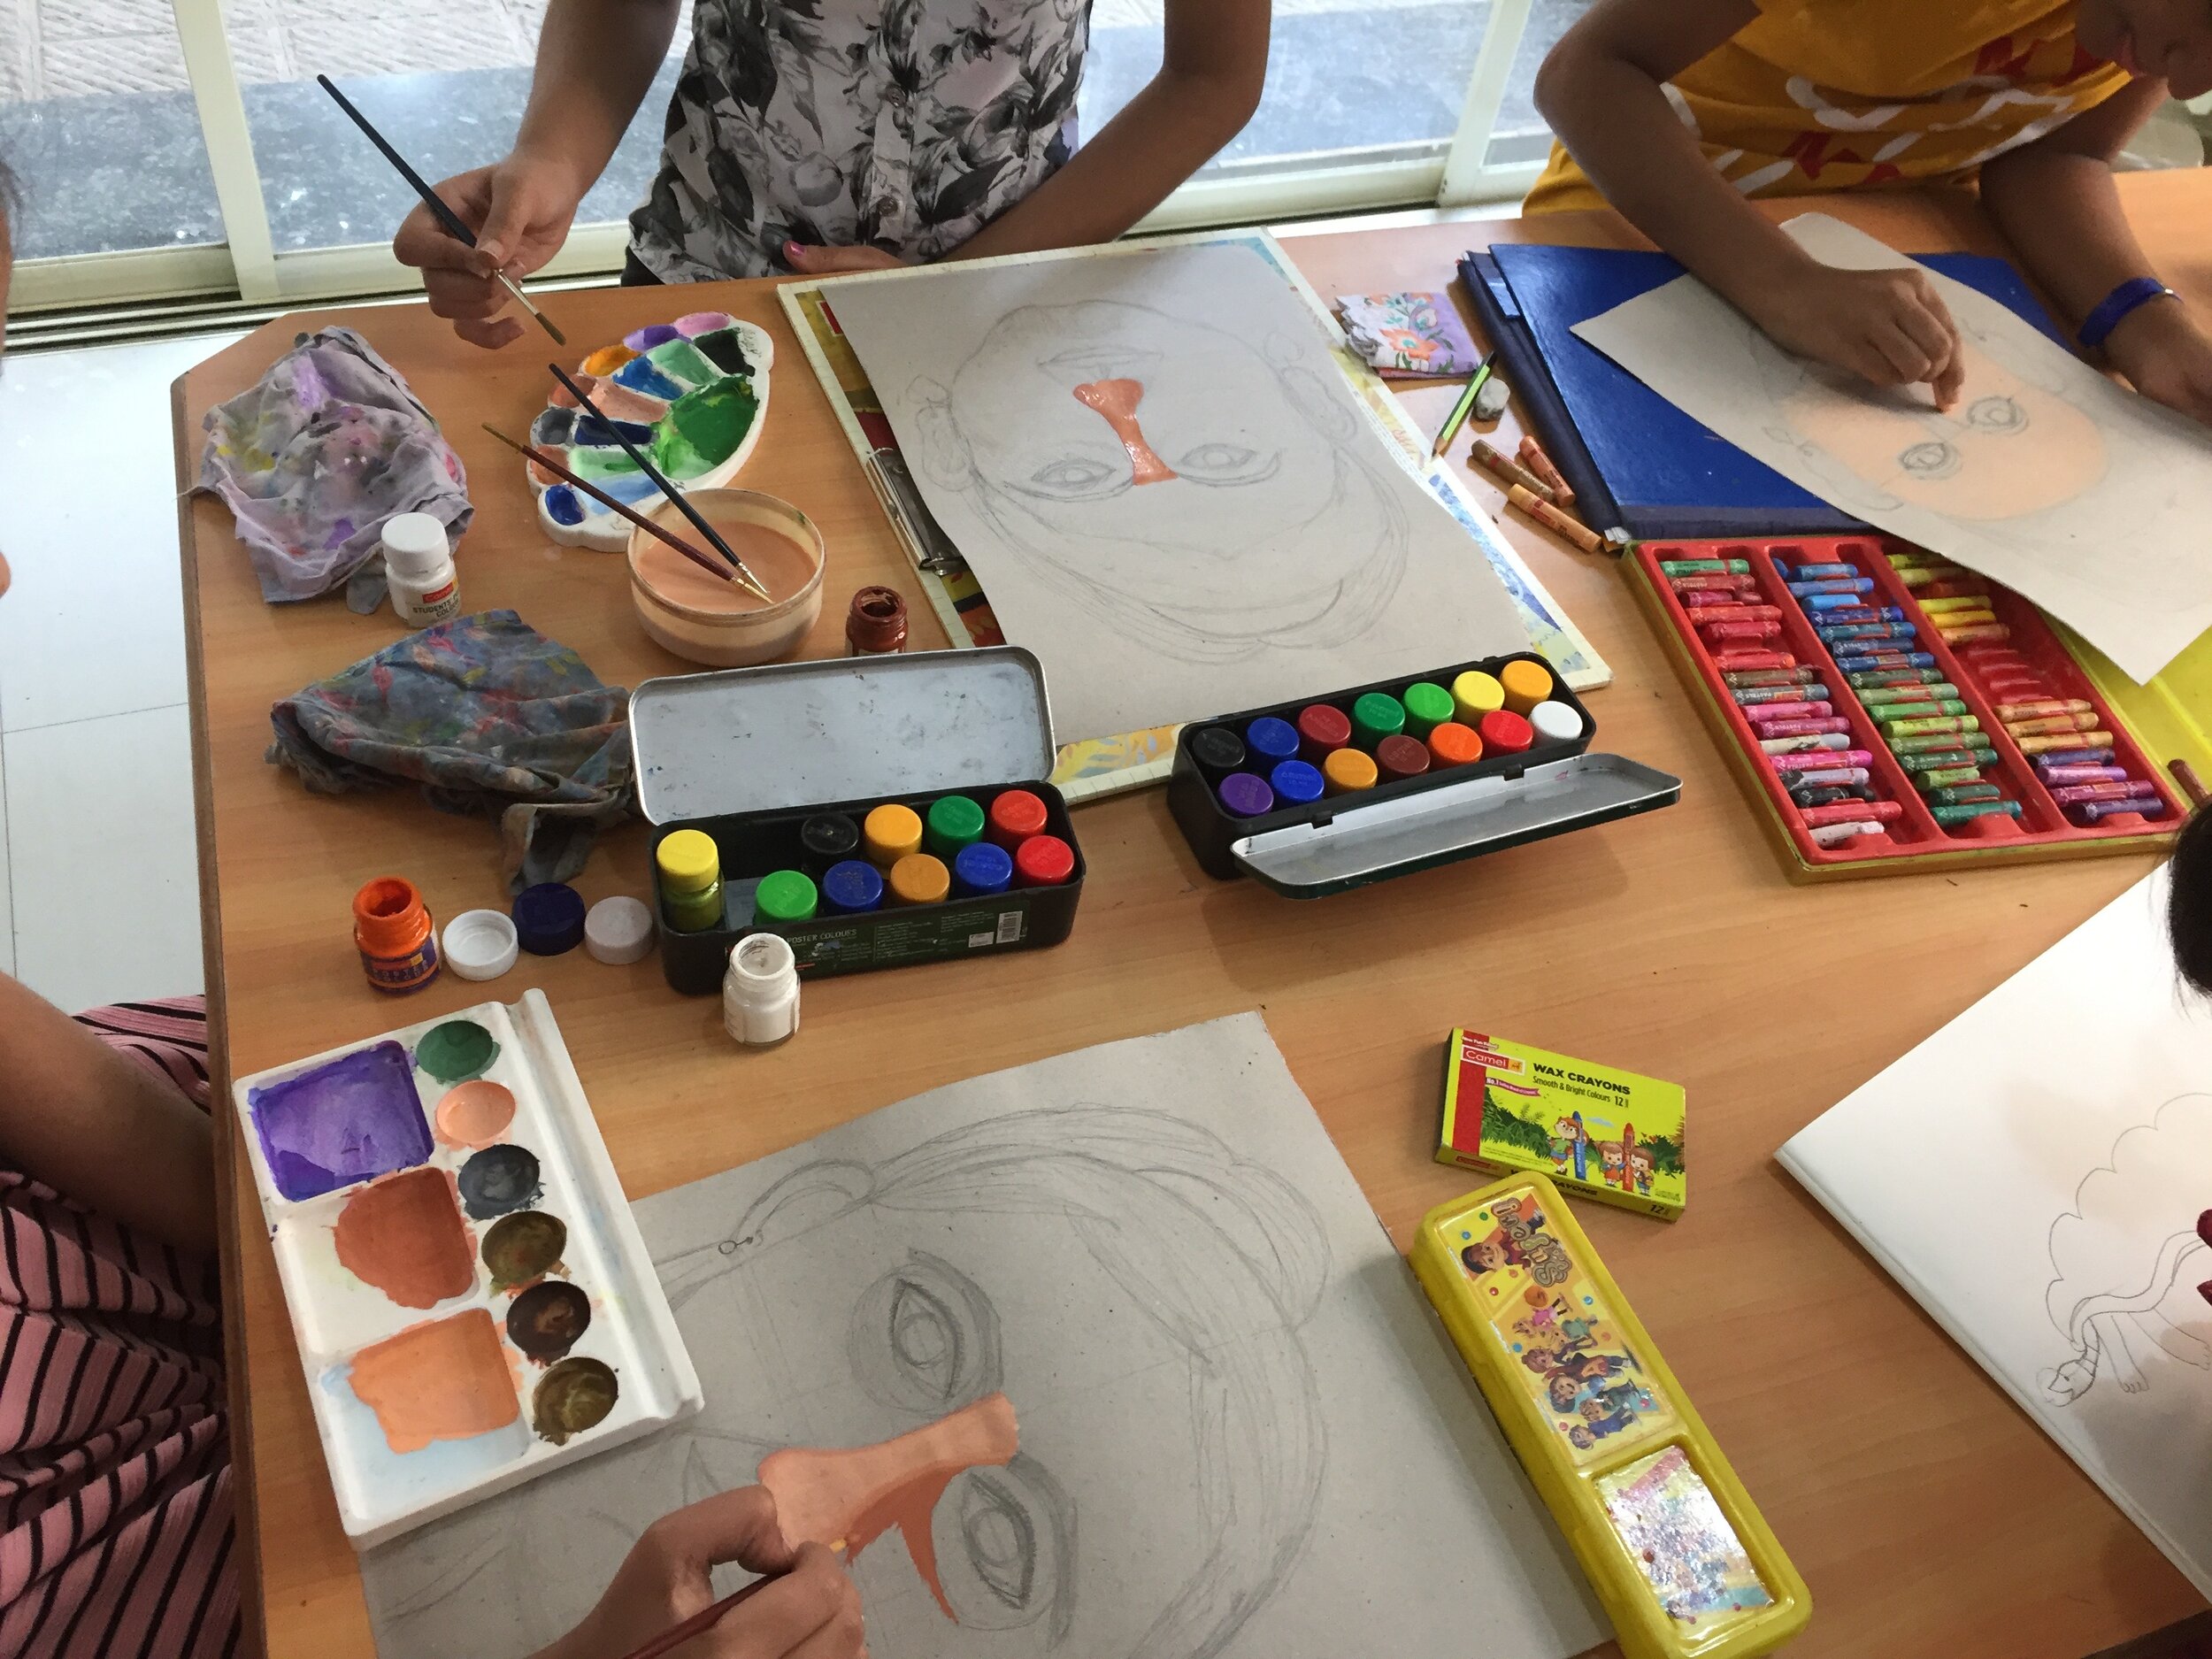
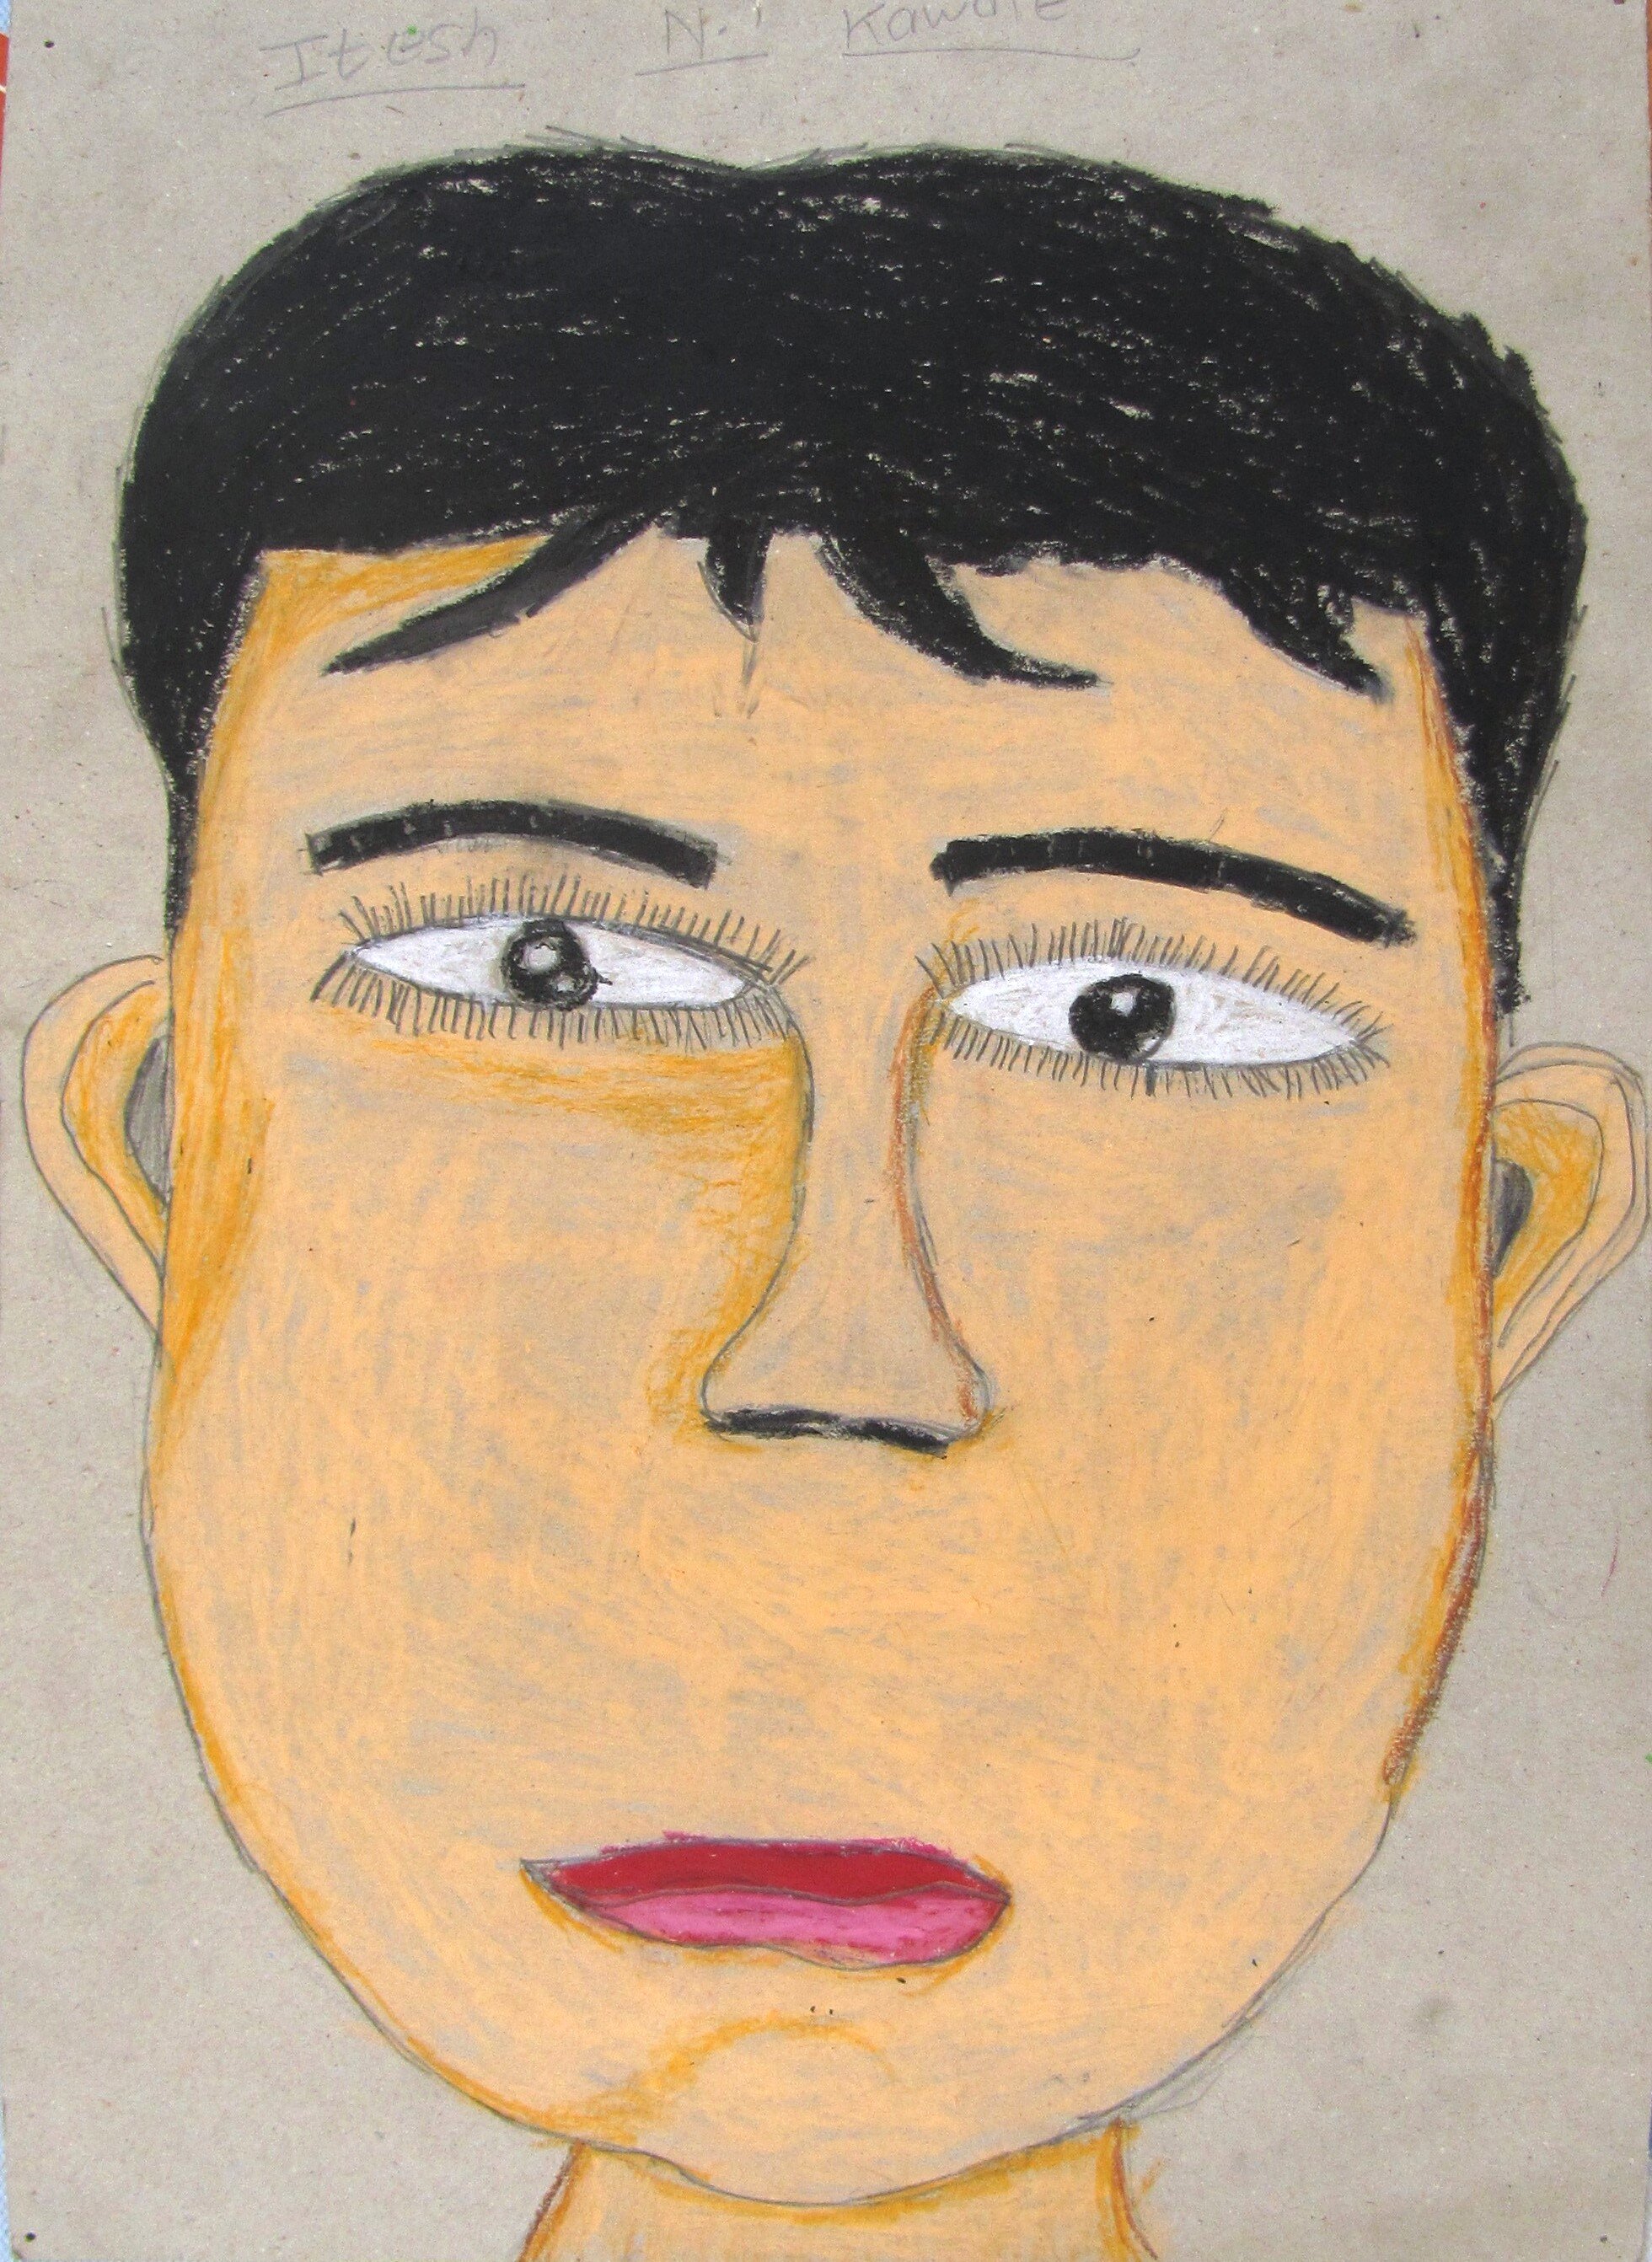
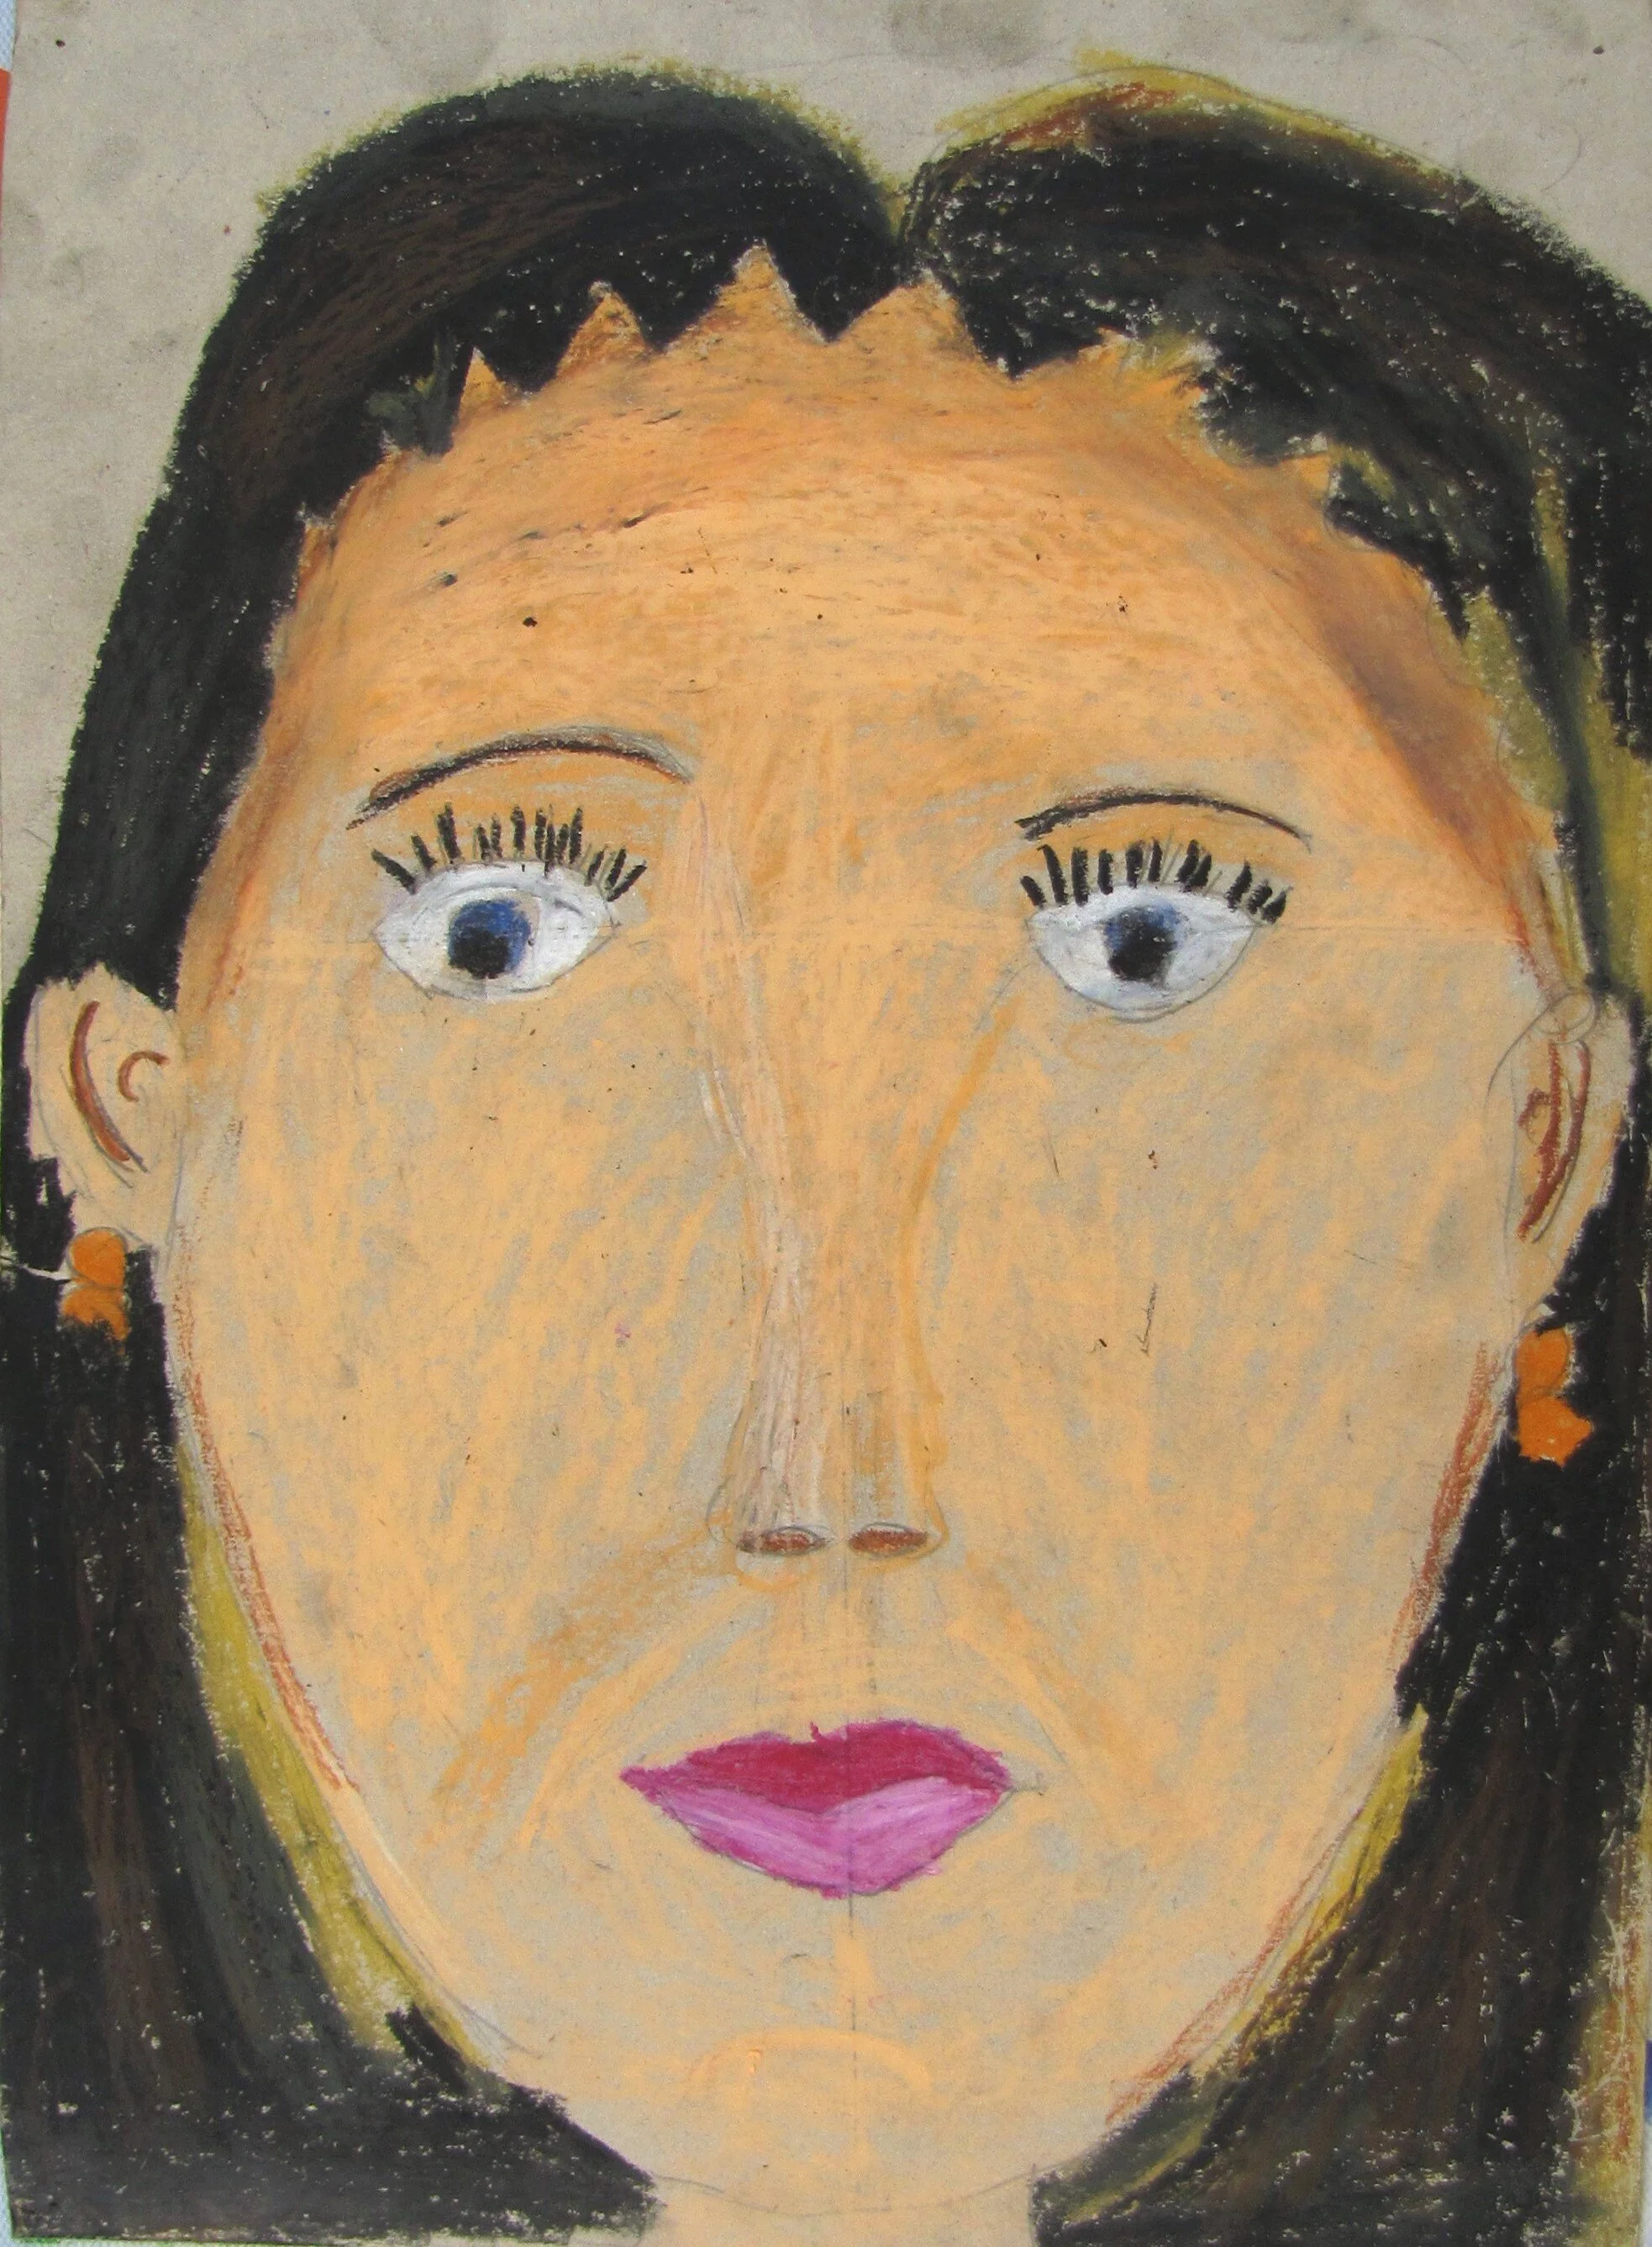
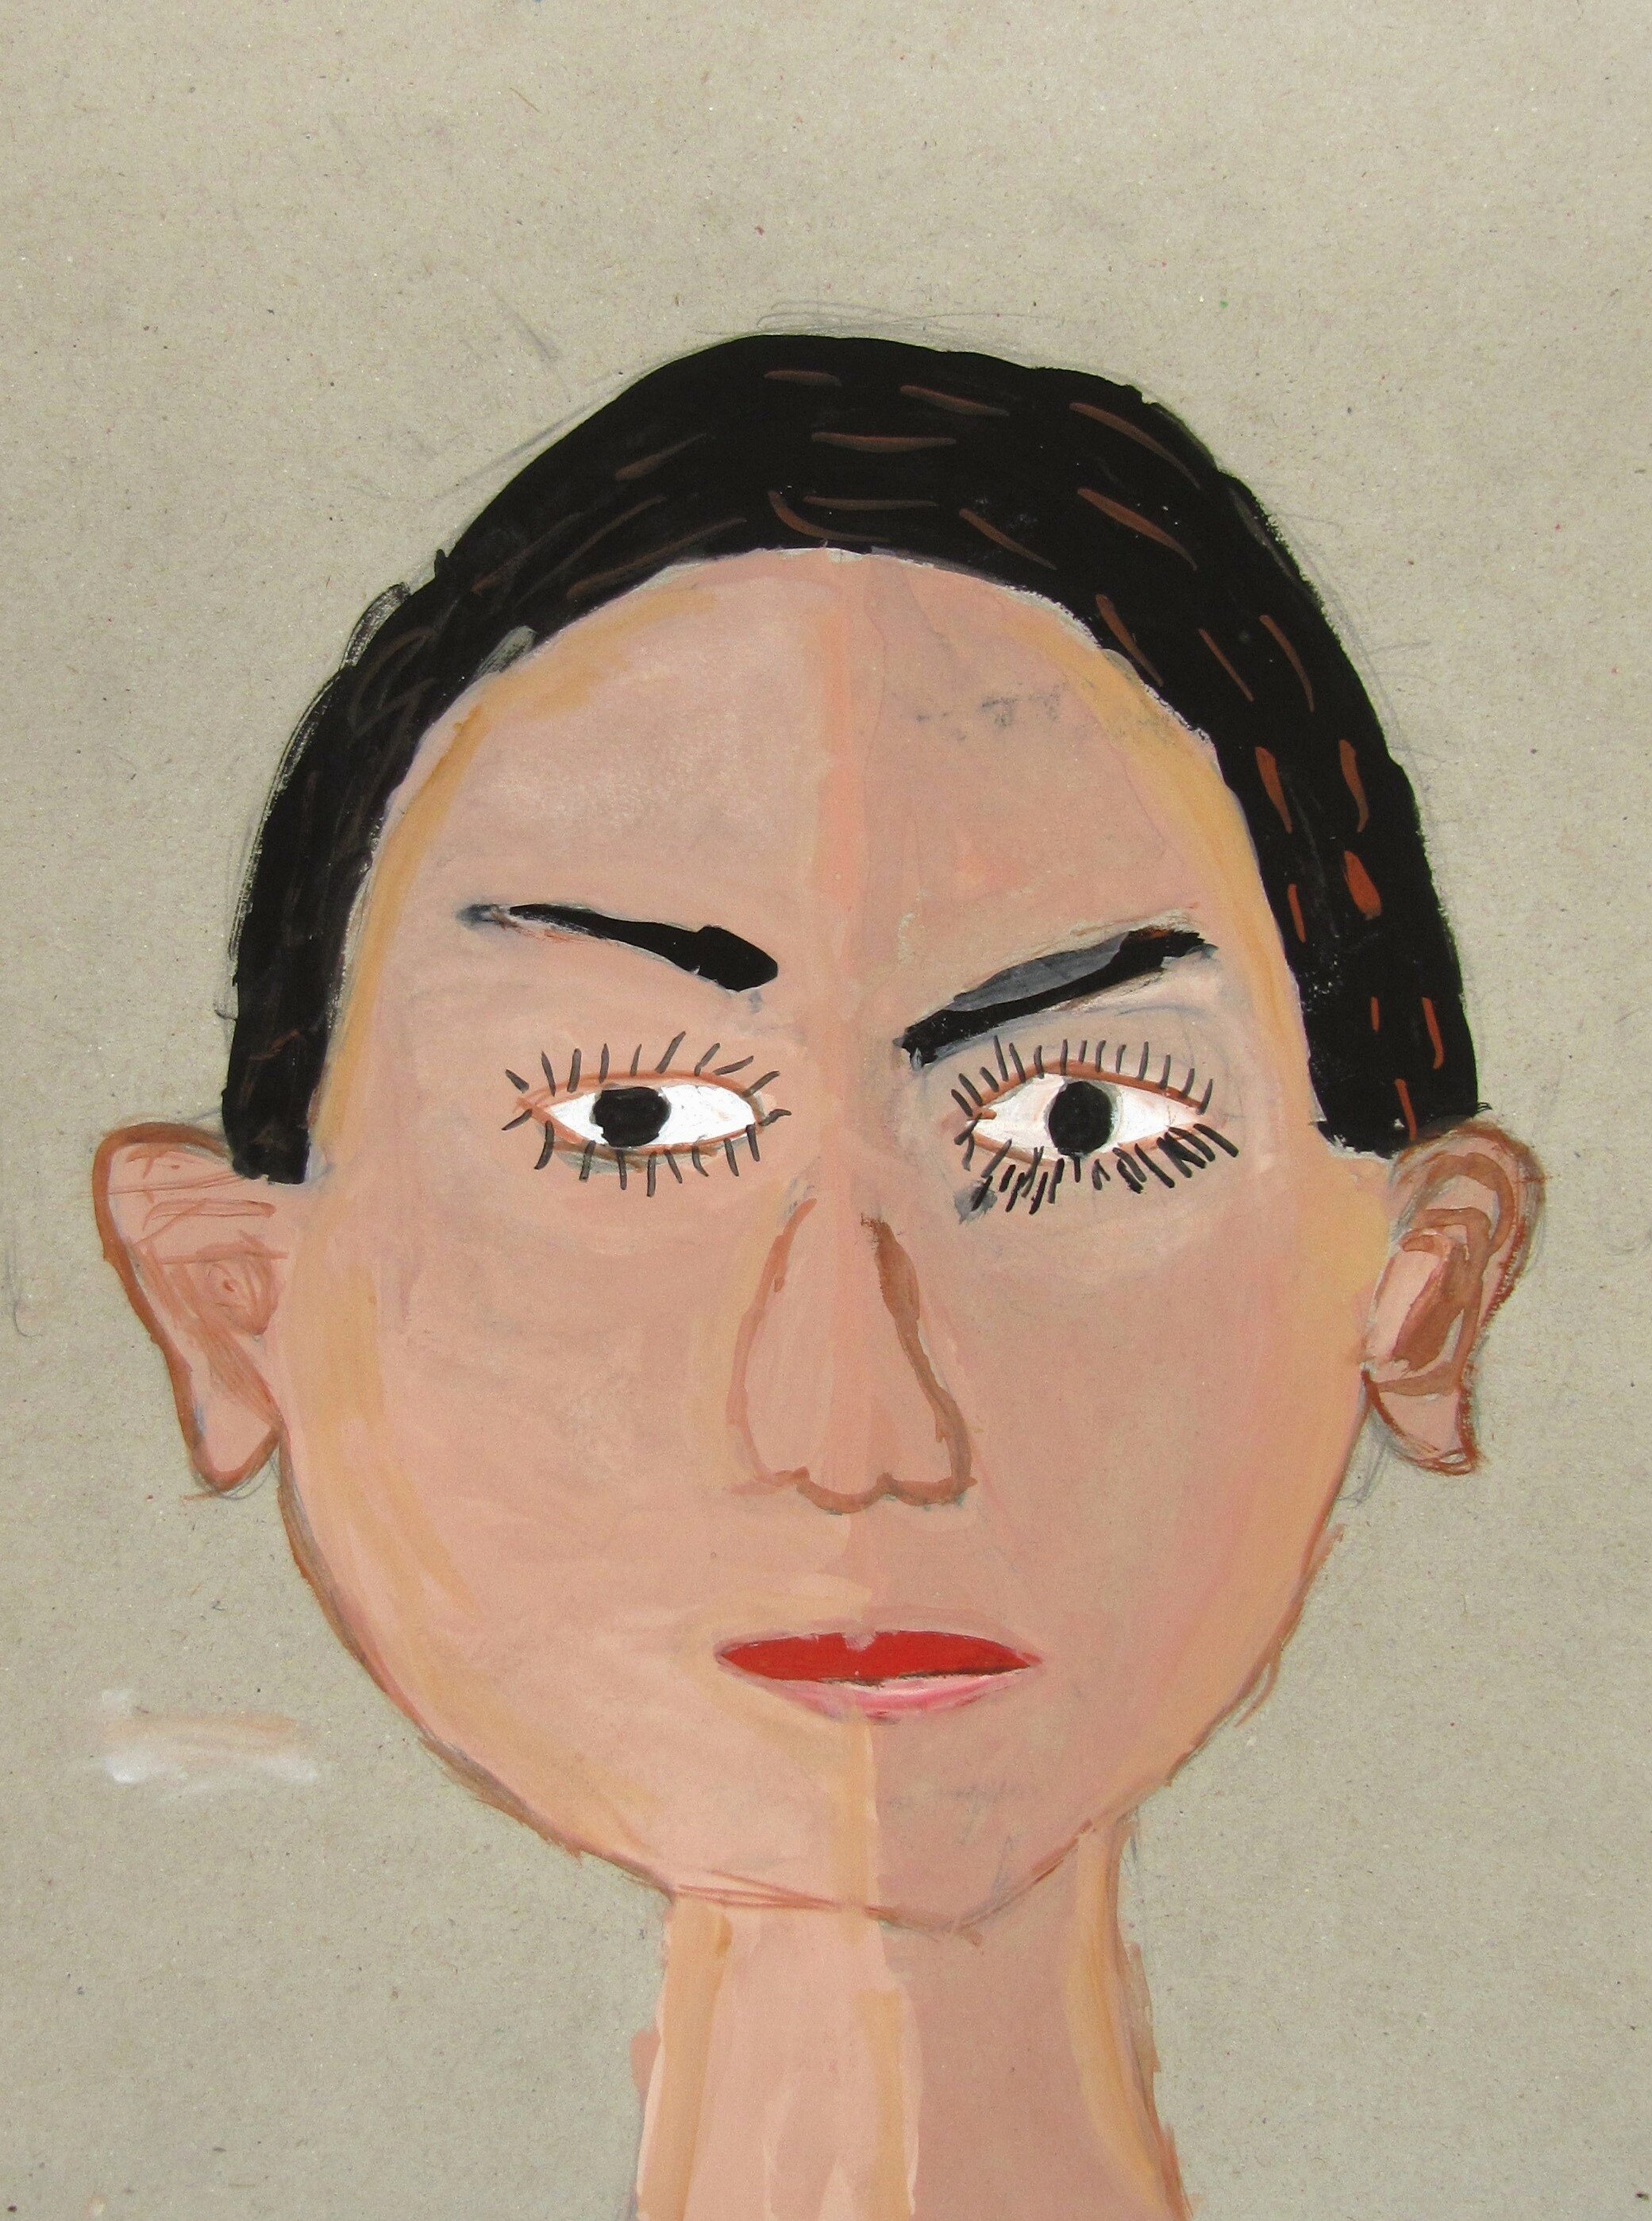
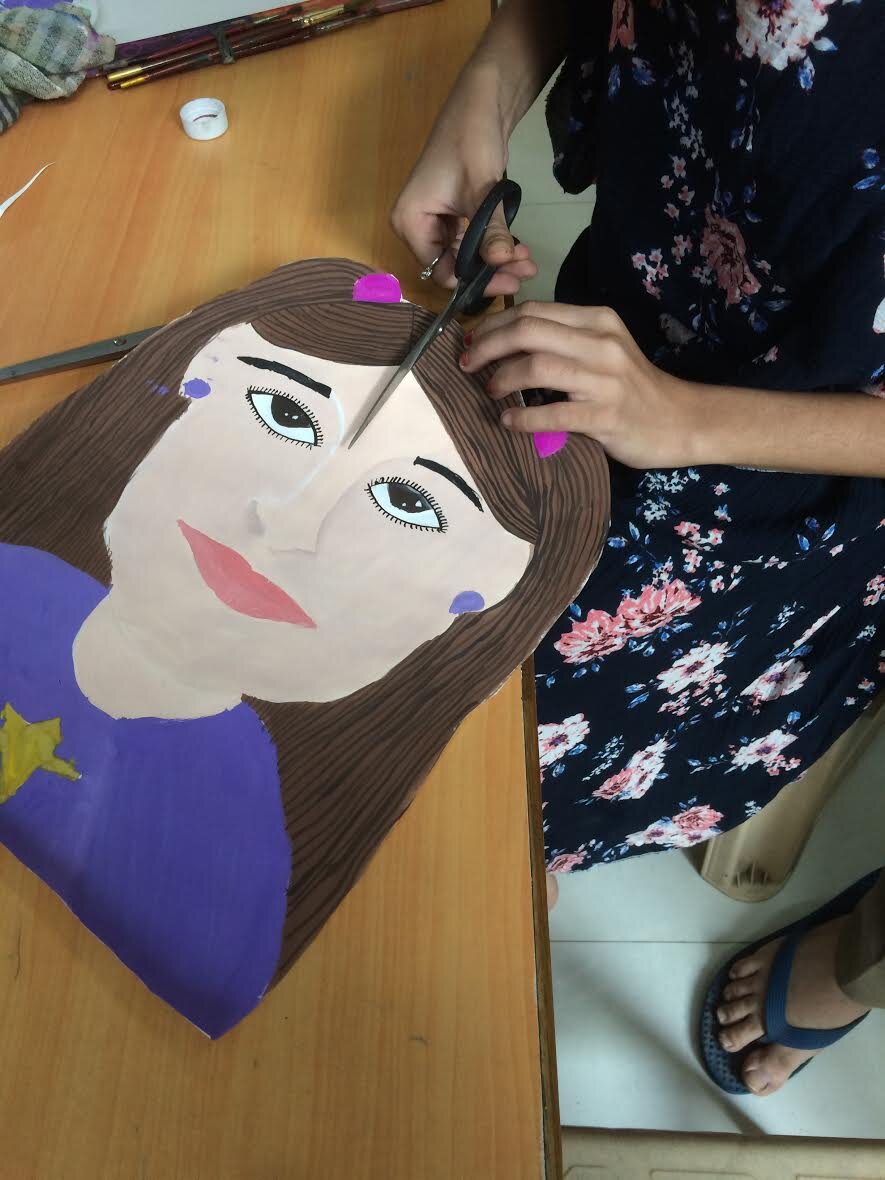
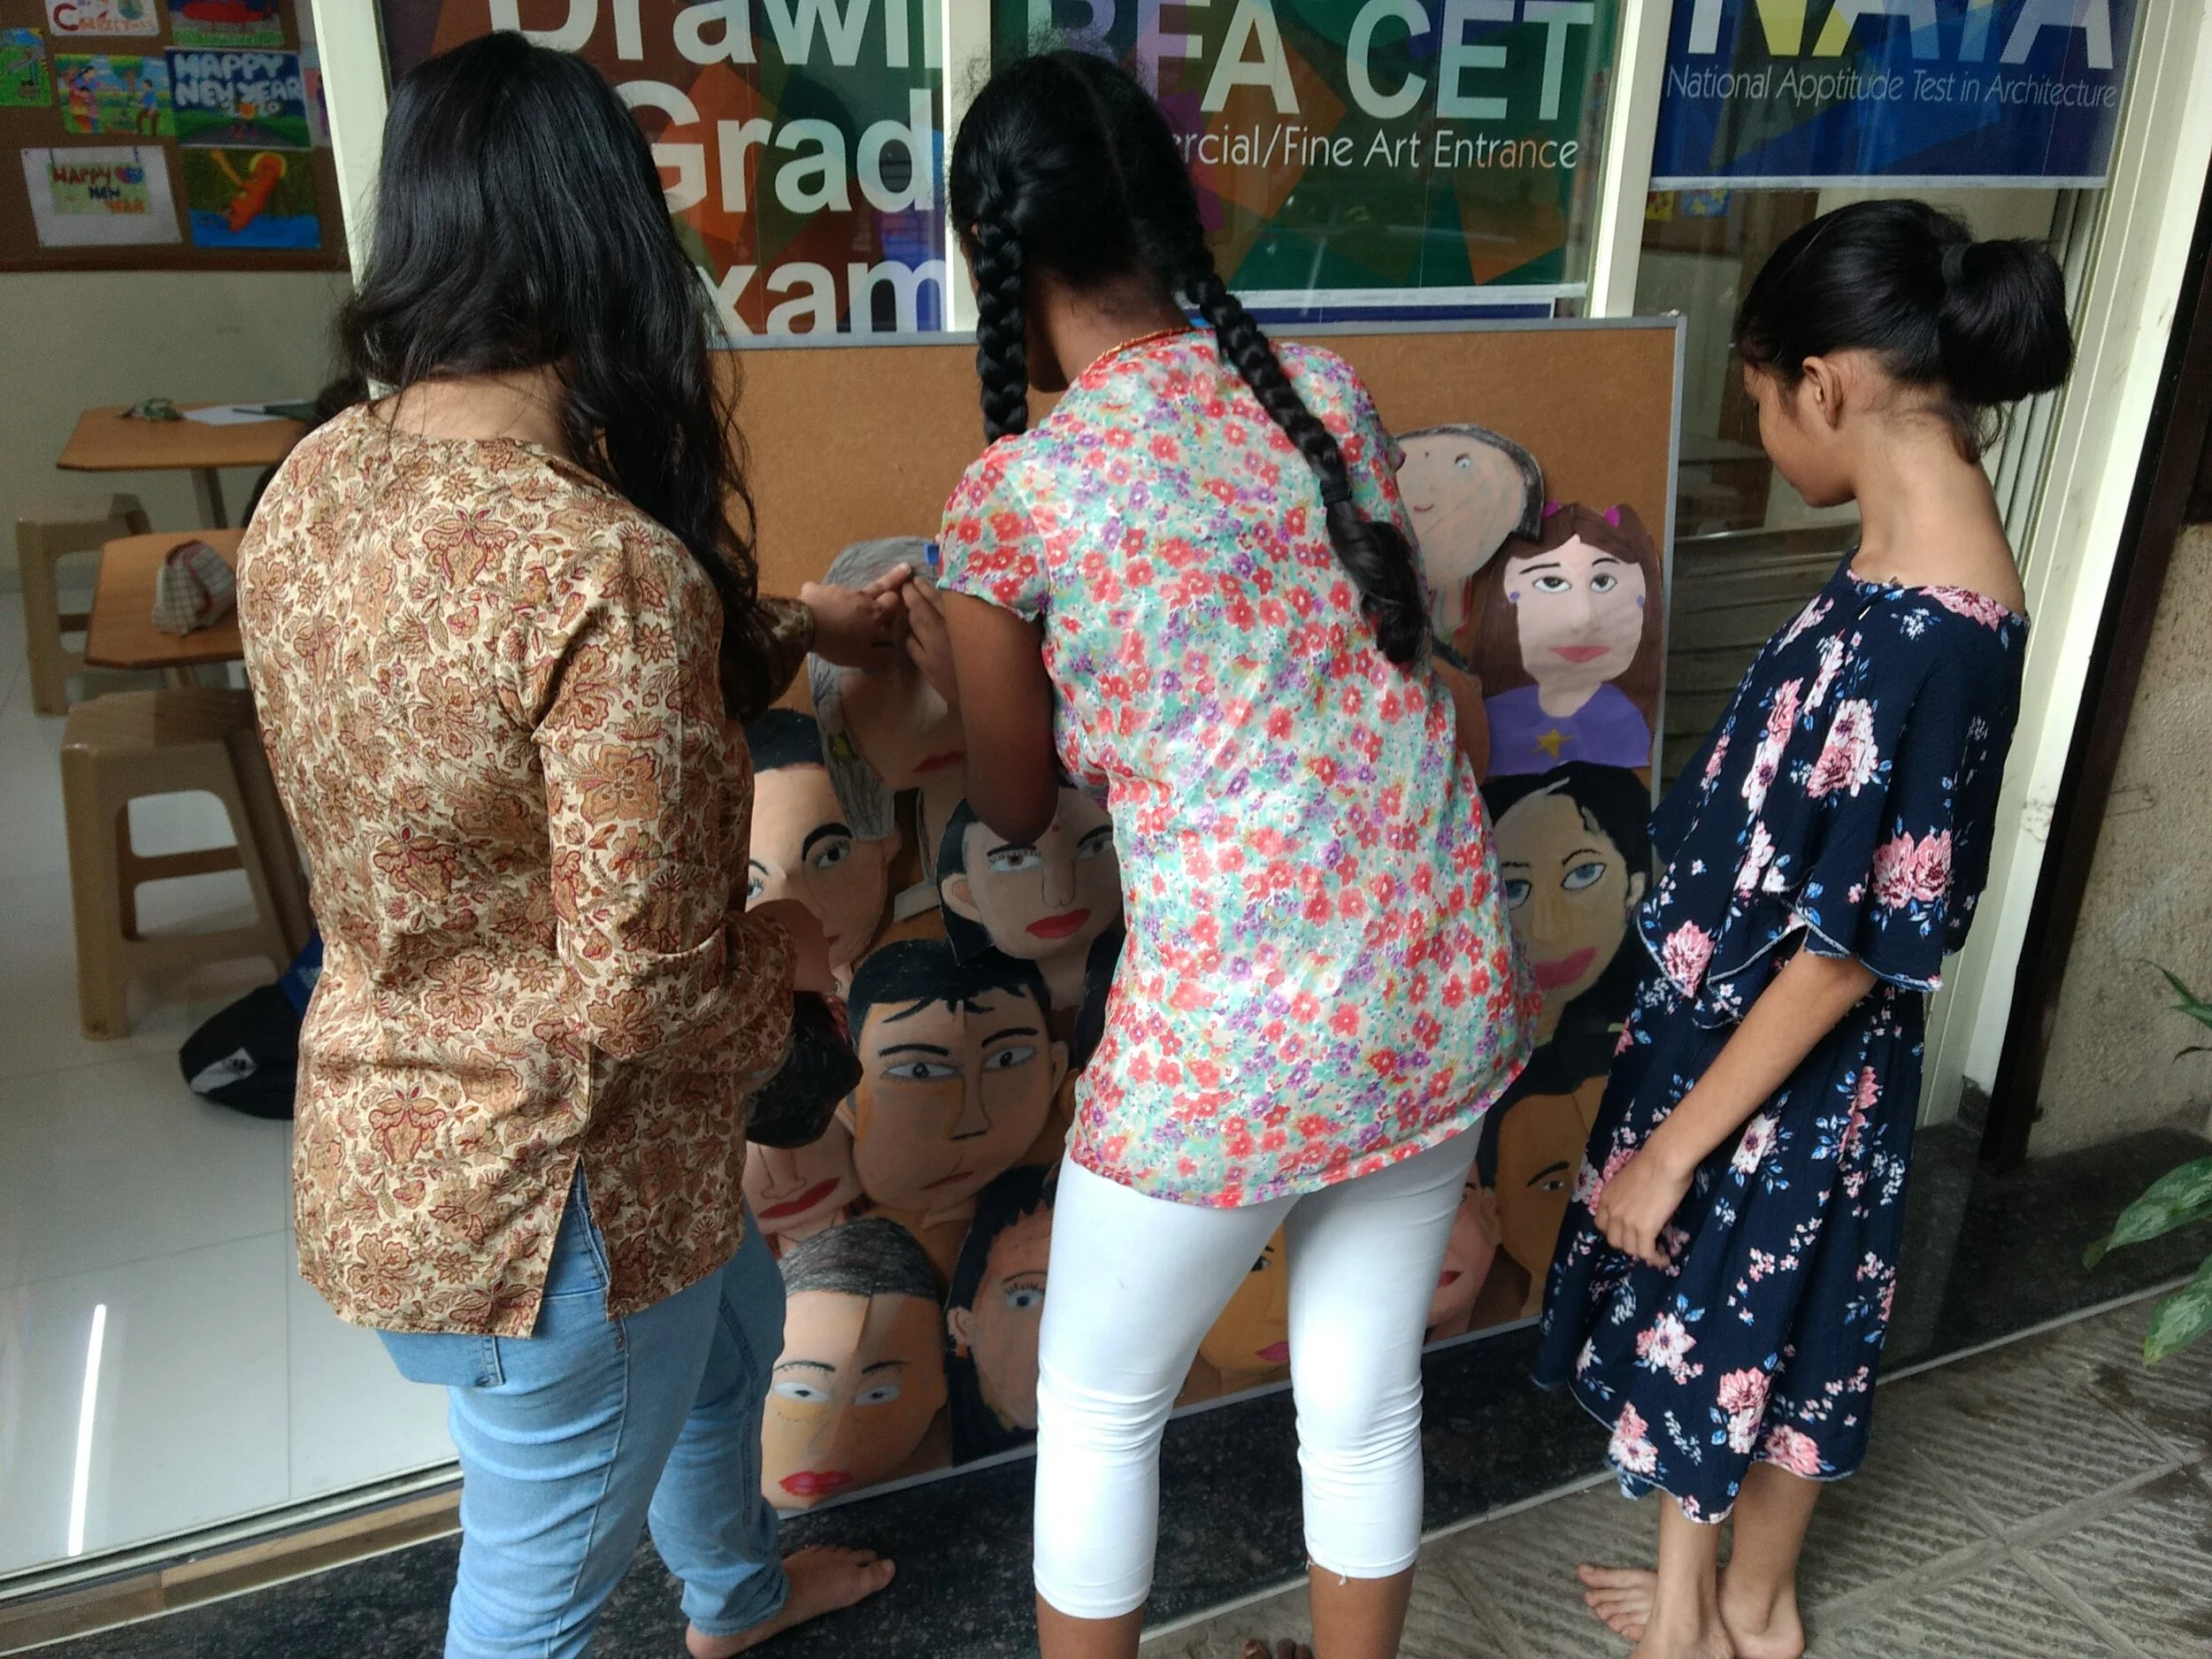
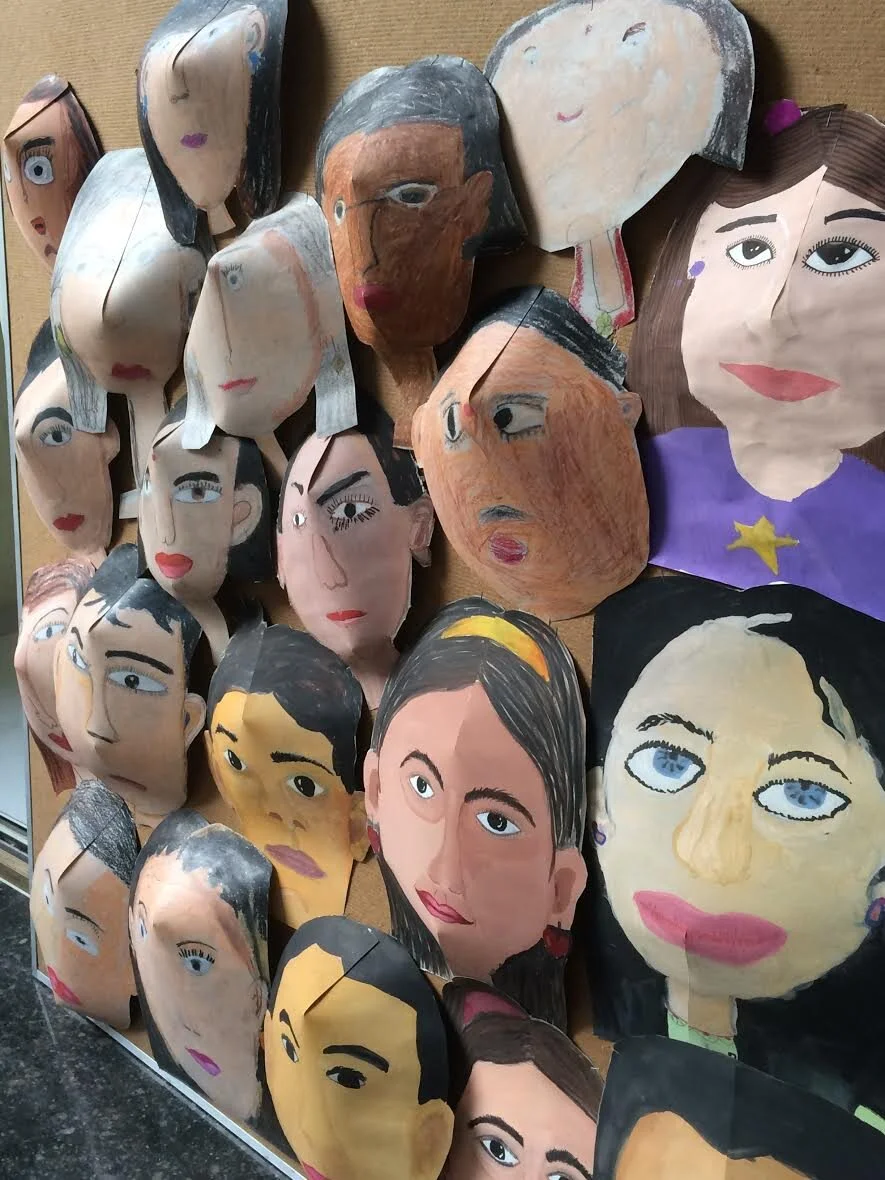
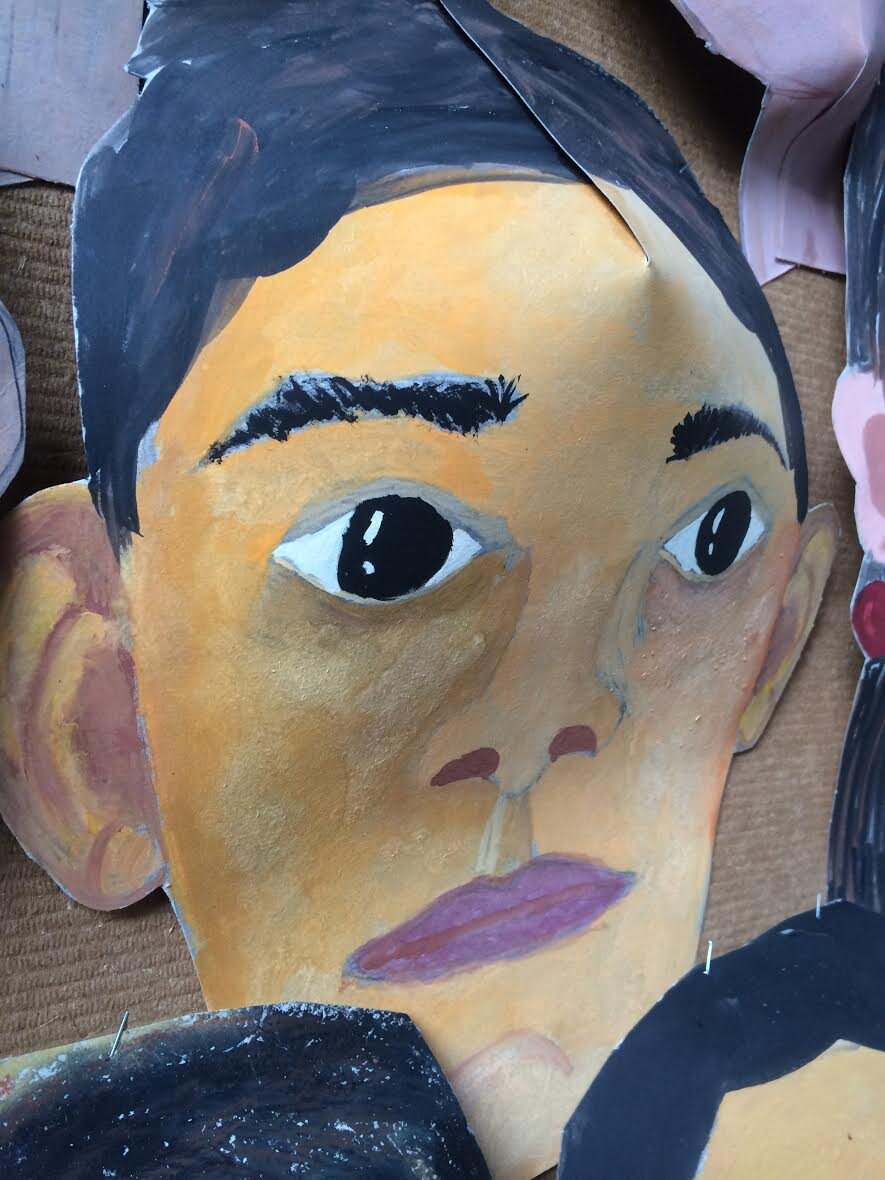
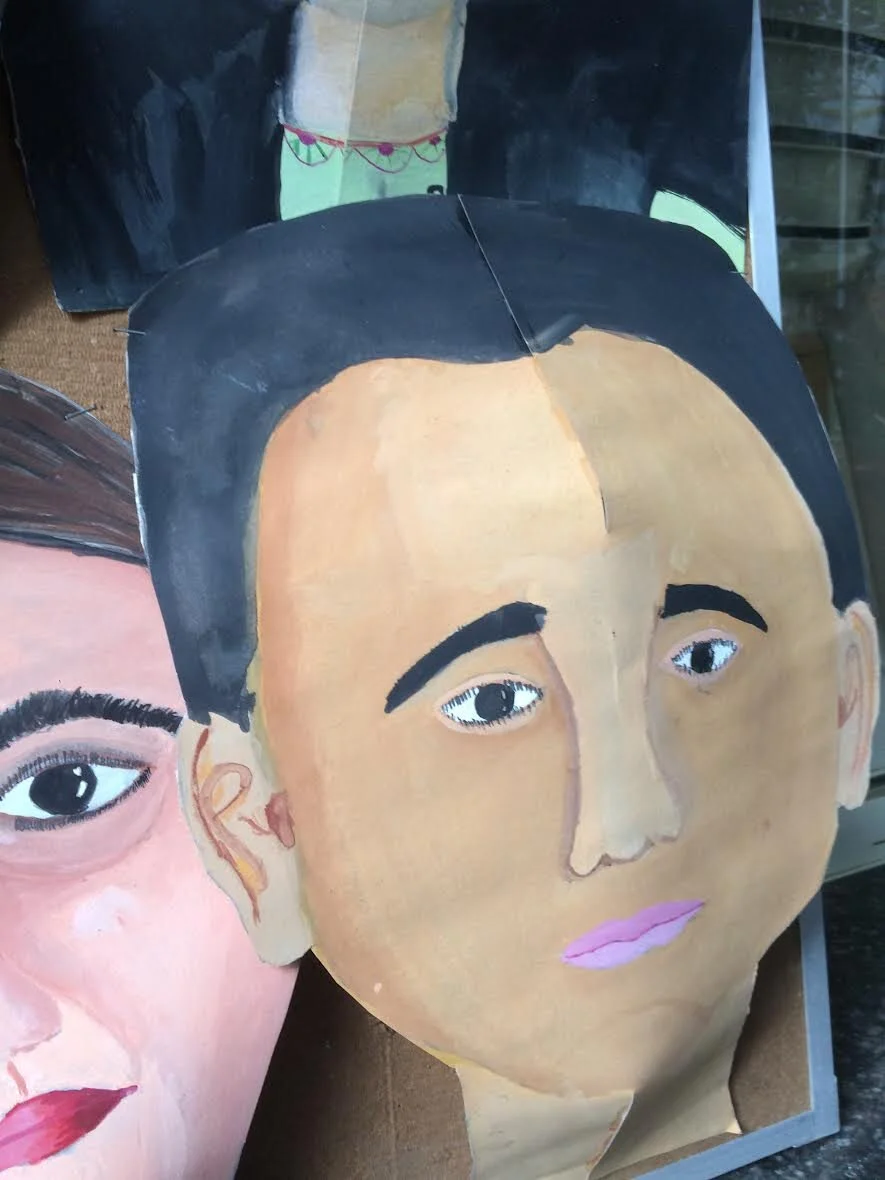
STUDENT WORK GALLERY


