Comic of our Fears
Grade Level or Age of Participant: First grade and above
School, Teacher and Classroom: Minneapolis Institute of Art, Angela Olsen
MCAD Teaching Artist: Anavi Mullick
OVERVIEW OF PROJECT
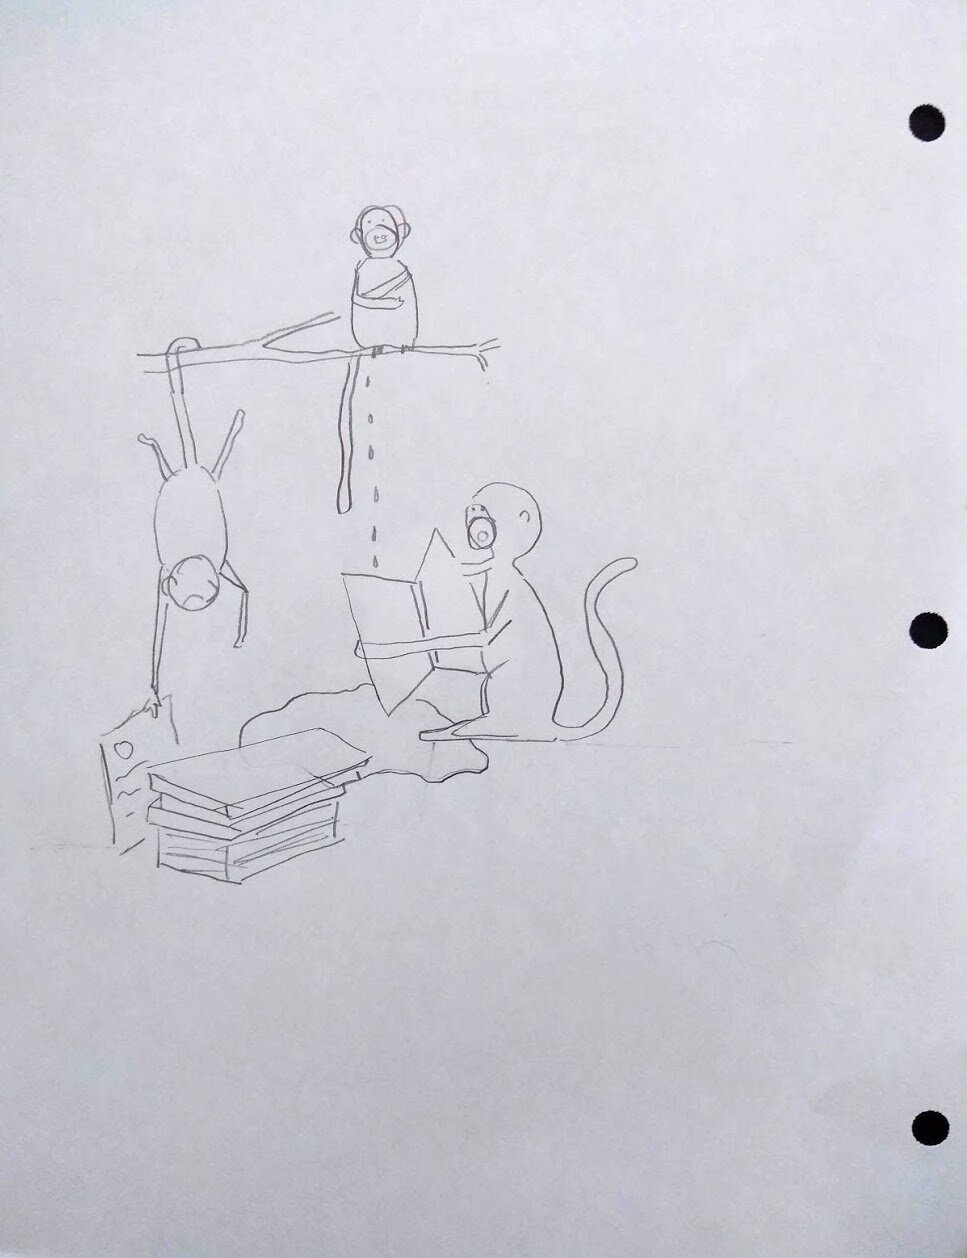
This simple drawing project addresses fears and how to approach them with humor. Participants think about their own fears, choose one that is most alive for them, and then pick an animal which they feel best represents their fears. Then keeping in mind the fear and the animal they will draw the animal in a silly situation. For example; the fear of loved ones falling ill, embodied as a porcupine, and then imagining the porcupine juggling balls, and drawing this.
The lesson was designed focusing on the challenges that we are all facing as we live through a pandemic. Participants will be able to share their work through online social media platforms, as well as with members of their families.
A step-by-step document is featured on the Minneapolis Institute of Art (Mia) Website. Link Here.
“BIG IDEAS”/ ESSENTIAL QUESTION(S)
What are we afraid of? How can we learn to visualize something? How can art be reflective and expressive? How to draw from imagination? How can art be accessible to all?
STUDENT OUTCOME OBJECTIVES
Participants will:
1. Explore their own fears with guidance through a process to visualize a fear.
2. Draw from imagination.
3. Experience art as a form of expression.
4. Reflect on the power of the creative process.
PRIOR KNOWLEDGE
Ability to read/follow step-by-step instructions, or have a partner to help guide the participant.
LESSON PREPARATION TIMELINE
- Brainstorming lesson
- Step-by-Step planning
- Reflect on outcomes and next steps
This lesson was conceived by Anavi Mullick from the MCAD Teaching Artist Practicum course and reviewed and workshopped by the Education Department of the Minneapolis Institute of Art prior to being included in their web lessons during the Covid 19 Pandemic
EXAMPLES OF ARTWORK
Samples chosen from the Collection at the Minneapolis Institute of Art.
- Graham Sutherland, Bird and Mouse, 1968, 24.75 x 19.5 in.
https://collections.artsmia.org/art/54851/bird-and-mouse-graham-sutherland
- Getsuju, Frog and Mouse, late 18th - early 19th century, 65 × 35 in.
https://collections.artsmia.org/art/117177/frog-and-mouse-getsuju
- Gerhard Marcks, Cats, 1921, 15 x 20 in.
https://collections.artsmia.org/art/72892/cats-gerhard-marcks
- Unknown artist, Seated Dog, 386-535.
https://collections.artsmia.org/art/872/seated-dog-china
- John Randolph Carter, Grinning Dog with Raggedy Ann Doll, Clouds with Ears in Sky, 1979, 13.5 x 17 in.
- Dudley Huppler, The Bug of Marianne Moore, 1945, 11 x 9 in.
https://collections.artsmia.org/art/128355/the-bug-of-marianne-moore-dudley-huppler
- Unknown artist, Finial with Animal, late 12th-11th century BCE, 7 x 6 x 2 in.
https://collections.artsmia.org/art/1155/finial-with-animal-china
- Clement Hurd, Animals, second half 20th century, 10.5 x 27 in.
https://collections.artsmia.org/art/117681/animals-clement-hurd
ADDITIONAL RESOURCES
- Henri Rousseau’s (Artist) paintings of animals. (https://www.google.com/search?q=henri+rousseau+animal+paintings&hl=en&sxsrf=ALeKk00R9An6fyTyrO9S3pOqd82ipG4TPQ:1586804902830&source=lnms&tbm=isch&sa=X&ved=2ahUKEwjJ7r30jOboAhWRuJ4KHck5CUUQ_AUoAXoECBMQAw&biw=1172&bih=539)
SUPPORT MATERIALS
ASSESSMENT
-How did you feel at the start of the lesson when you were thinking about what you were afraid of? How did you feel after the lesson?
MATERIALS
1. A drawing tool
a. Any one of the following; pencil. Pen, marker, crayon, color-pencil, paint and brush, chalk.
b. Optional – if you think you would like to color your drawing after, you are welcome to. (crayons, paint, color pencil)
2. A writing tool - a pencil or pen
3. Paper/drawing surface - (2)
a. Anything you have around you. (blank white paper, one sided paper, ruled sheets, an old paper bag, cut open a cereal box and use the inner surface, colored paper, newspaper, your driveway or sidewalk if you are using chalk)
4. A comfy spot to sit, with a flat surface in reach. Not limited to, but a few options are; a dining table, or on the floor, or with a drawing board/a clipboard, or against a wall.
LEARNING ACTIVITIES AND PROJECT OVERVIEW
PROVIDE AN OVERVIEW OF THE PROJECT, PROCESS AND PURPOSE. See description above.
PREPARE. Gather drawing tool and decide on a drawing surface. Have everything at hand prior to starting. Then get comfortable.
Step 1. Brainstorming. Take a few seconds to observe your body, your breath, your heartbeat. You can close your eyes if you would like.
Think about where you are, how you have been feeling, what you are afraid of.
Step 2. Making a list and choosing. If your eyes were closed, you can open them. Pick up your writing tool, and your chosen drawing surface. Make a list of the fears that came to mind.
When you are done with your list, take a moment to look at your list and identify which fear feels the most alive to you? Choose one that stands out to you.
Is it big and overwhelming? Is it small but sharp? Can you imagine this fear as an animal? What animal represents this fear?
Step 3. Imagining. Once you have chosen an animal that represents your fear, think of the animal doing something silly. Is it juggling balls? Eating fourteen bananas at the same time? Jumping on a trampoline? Be as silly as you can!
Step 4. Draw it! Draw the animal doing this silly thing! Color it if you would like to. Do not worry about the animal or the activity looking ‘correct’. Just draw and enjoy! No judgement.
Step 5. Think about it….How do you feel now? Is your fear as great? Do you feel differently?
Step 5. Upload image, hashtag and respond. Tag @artsmia if you choose to post it, or #InspiredbyMia #MiaFromHome #MuseumFromHome. We’d love to hear what animal you chose, why you chose it and how you feel now.
Do as many as you like!
TEACHING ARTIST REFLECTION
- Some participants will need assistance depending on their age in participating.
- Participants might feel intimidated to think about the fears or drawing.
- Challenging to consider consider sharing their artwork online
Assessment from staff, general assessment through social media.


