Blog — MCAD Teaching Artist Practicum

Viewing entries by
Greer Coffman

Collaborative Line Drawing... With a Twist!

Share

Collaborative Line Drawing... With a Twist!

Whatever it is, the way you tell your story online can make all the difference.

Age of participants: 6+

Mcad teaching artist: Greer Coffman

Number of Students: 7

Overview of Project:

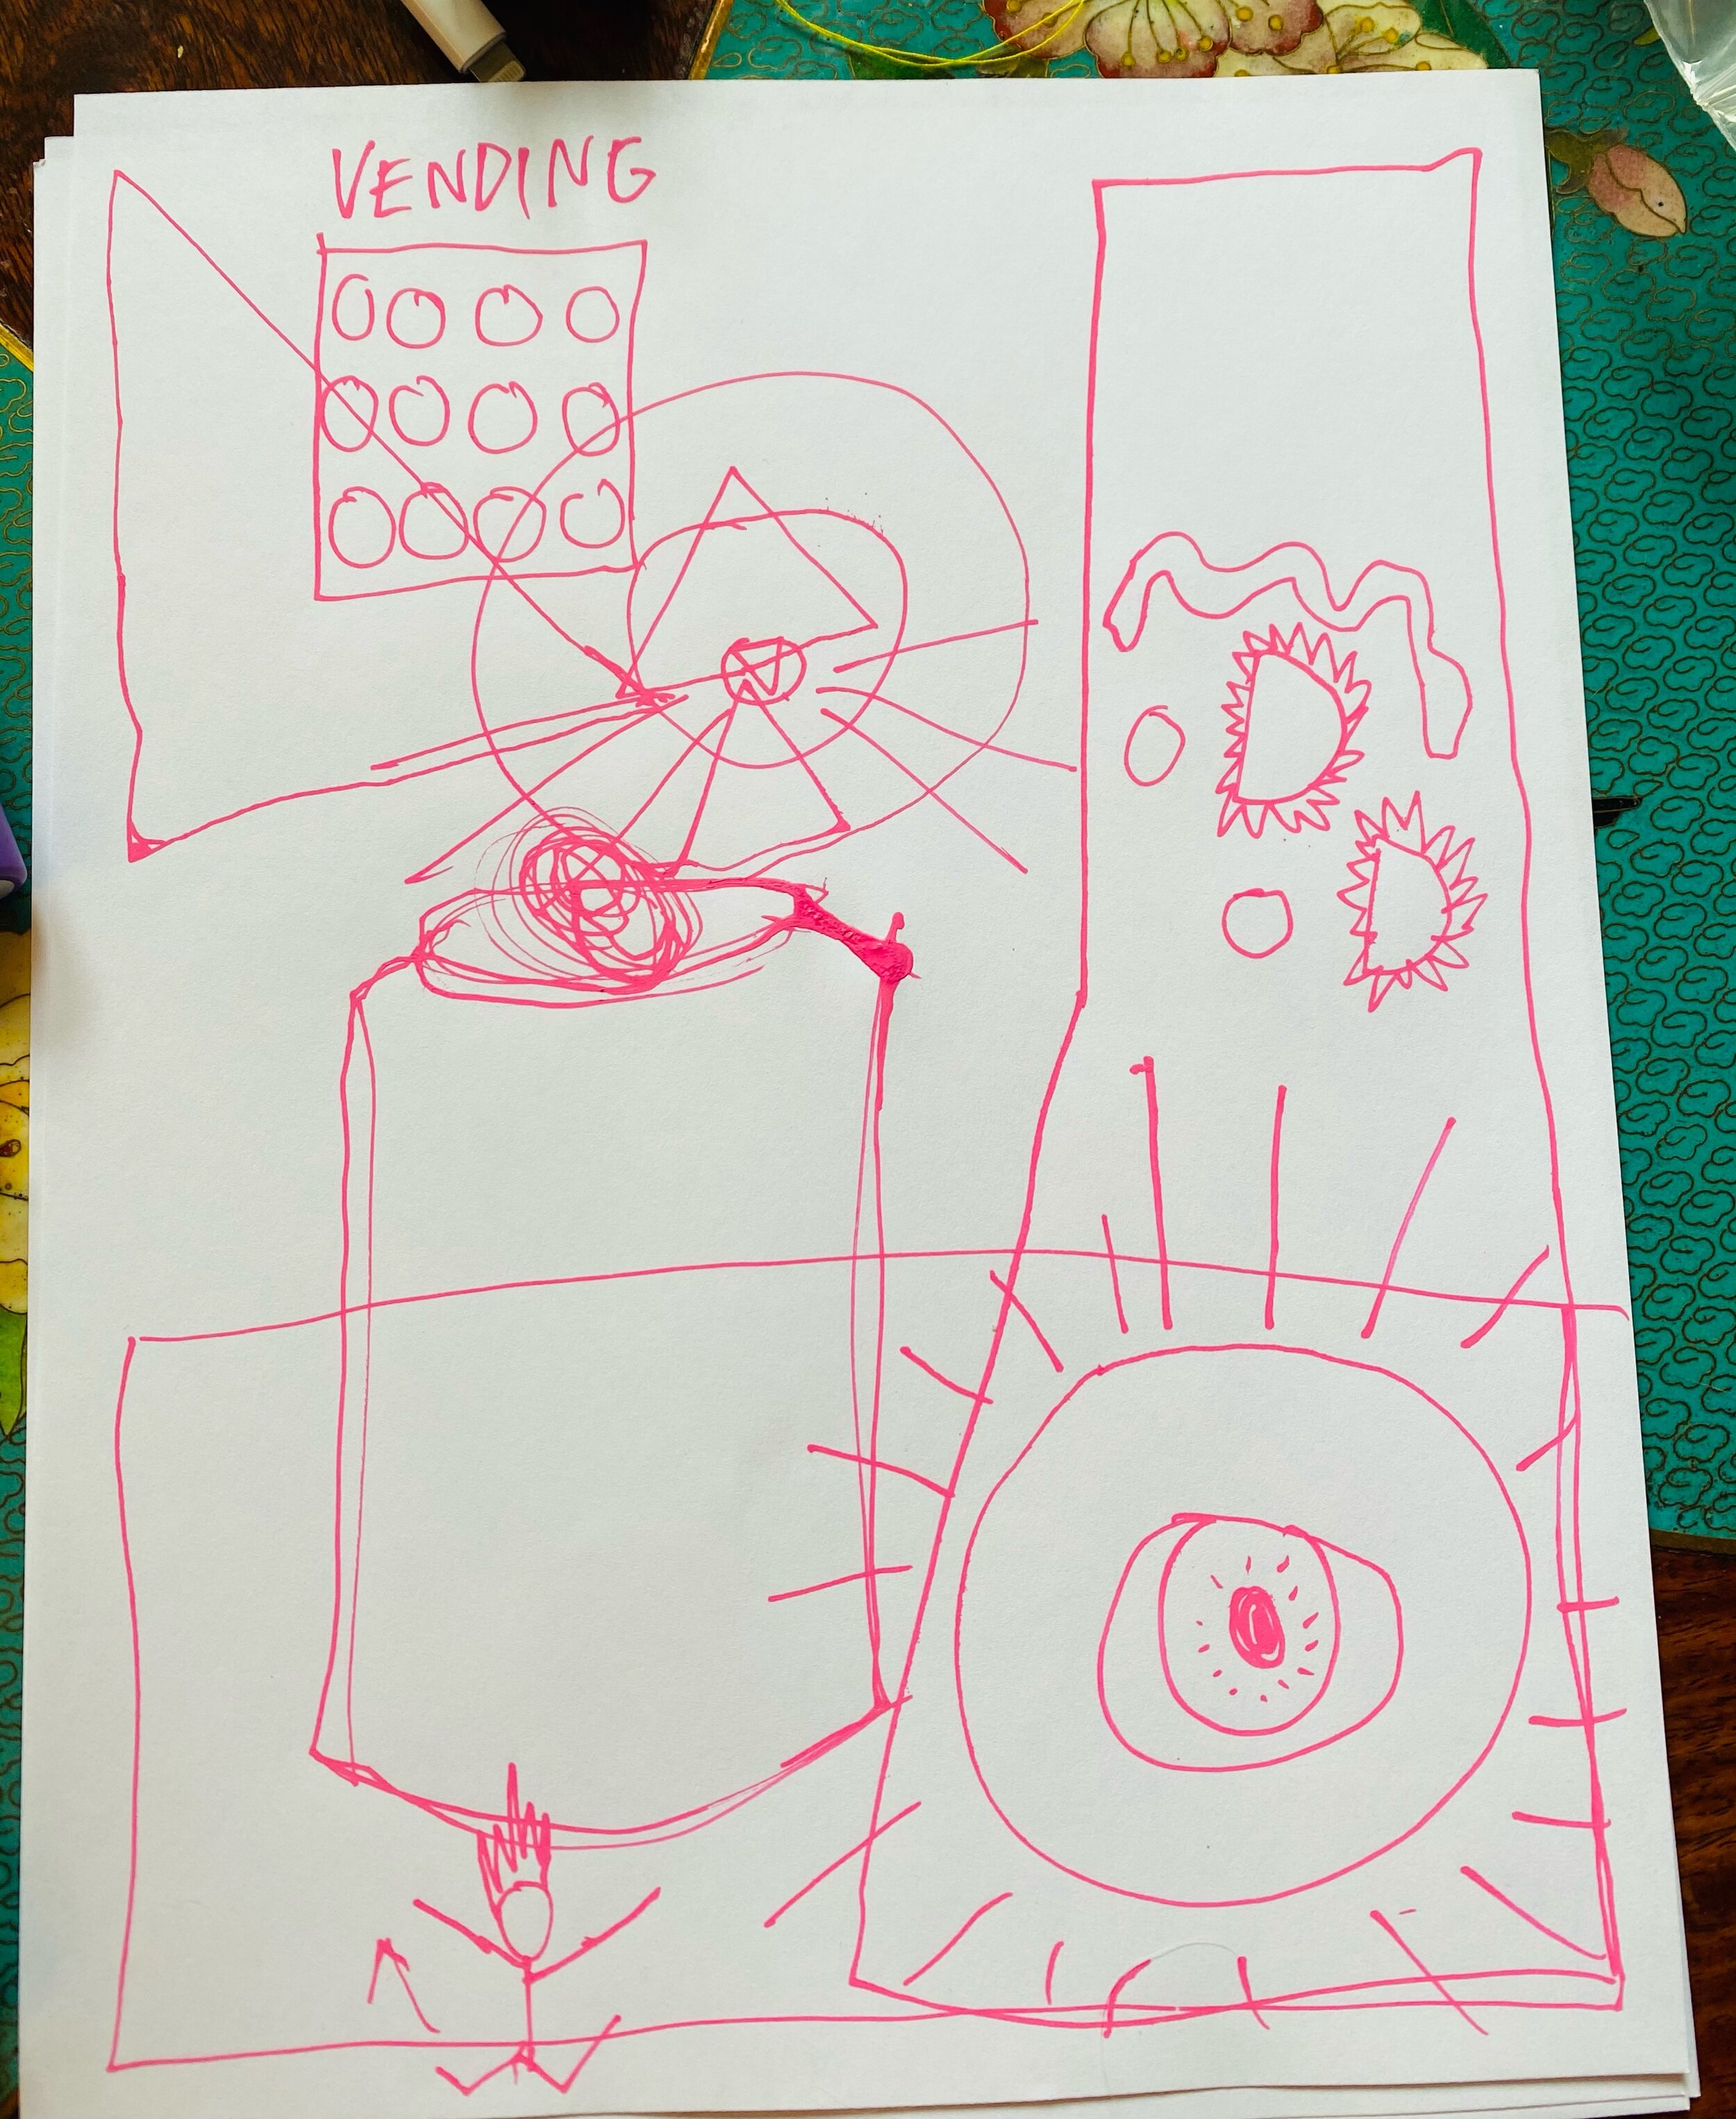
In this project we will come together to create a collaborative blind drawings and explore how to communicate our

goals and intentions with each other, both abstractly and concretely.

Big Ideas:

● clear communication vs abstract communication

● different interpretations of ideas

● individuality

Student Outcome Objectives

Students will:

1. create a collaborative line drawing

2. find ways to communicate with each other to make their points clear

3. have a good time!

Prior Knowledge:

● usage of a mark making tool

● communication skills

lesson preparation timeline:

● planned the lesson

Materials:

● piece of paper

● mark making tool

● google meet software

learning activities and timeline:

1. i will start the lesson by explaining the concept

1. “today we will be creating a collaborative line drawing, one person will start by putting a line on the

paper, and it can be any shape or duration, but as soon as you lift your pencil off the paper, you are

done. you then must describe to the group the line you made and everyone must try and replicate

that line without seeing it. then the next person will go and add on with a line of their own, and

everyone must replicate that line without seeing it, and so on and so forth”

2. I will be the person to start the line drawing, then I will choose someone to do the next line, and then we will

continue in that manner.

3. After we are done with the first round, we will do a second round in which we will try and create something

more grounded, but using more abstract terms. For example, someone will draw a mouse, but instead of

using very specific terms for it, they will be looser with how they describe it, and people can interpret that

how they want.

4. After all of the drawings are complete, we will come together to share and compare our individual interpretations of the prompt!

Share

Suminagashi Lesson Plan

Share

Suminagashi Lesson Plan

DIY Suminagashi

Age of participants: 12+

Organization: greer c workshop for the arts

MCAD teaching artist: greer coffman

Number of students: 2

Overview of Project

● In this project we will come together to explore the printmaking technique Suminagashi! We will be focusing

on a DIY approach, mixing traditional techniques with a slightly more home-friendly, experimental focus.

Ideas Explored

● Exploring the more accessible sides of printmaking

● Control vs chaos, and controlling the chaos

● Nature vs nurture, in terms of the development of an art piece

Student Outcome Objectives

Students will:

1. learn about the art of suminagashi

2. experiment with different ways to effect the ink on the surface of the water

3. Create their own suminagashi prints as a result of their knowledge and experimentation

Prior Knowledge

● usage of a paint brush

Lesson Preparation Timeline

● Took a class on suminagashi

● Experimented and practiced it

● Cut down 60+ sheets of paper

Examples of Artwork

● A variety of my own personal prints

● Natalie Stopka

● Wandering and Orinoco Flow by CHEUK Ka-wai, Cherie

● Tadao Fukuda

Additional Resources:

● suminagashi.com

● https://www.pinterest.com/gomeditate/suminagashi/

● https://www.youtube.com/watch?v=GdgRQf6UiDM&ab_channel=RokoleeDIY

● http://marblinginspain.blogspot.com/2009/11/suminagashi-and-harunobu.html

Assessment:

● Do the students leave the class with a basic understanding of suminagashi?

● Did everyone have a good time?

● Will the students be able to replicate this on their own time if they please?

Materials

● empty hummus containers x3

● 30 precut 3x3 sheets of mullberry paper

● 30 precut 3x3 sheets of handmade paper

● a variety of paint brushes including sumi brushes

● one container of sumi ink

● small containers to hold ink

● spray bottle x3

● 5 hand towels

● 1 gallon of water

● dishwashing liquid

Learning Activities and Timeline

● Single day workshop, 1 hour

● 25 minutes of more traditionally structured suminagashi demonstrations + troubleshooting

○ 5 minutes: Start with stretches and setting the space for suminagashi, physically and mentally

○ 2 minutes: Go over a brief description and history of suminagashi

○ 5 minutes: Start demoing

○ 10 minutes: After one demo is complete, we will work in tandem to create together

○ Once that demo is done, the participants will work independently with suminagashi as I provide

assistance and troubleshooting

● 35 minutes of open work/experiment time

○ We will conclude with creating 3 collaborative suminagashi pieces together that we can each take

home (all of the students individual work they will be able to take home too).

Share