Viewing entries in
Lesson Plan / Grades5-8

Yayoi Kusama Paper Sculpture Flowers

Yayoi Kusama Paper Sculpture Flowers

Name of Project: Yayoi Kusama Paper Sculpture Flowers

Grade Level or Age of Participant: Ages 5-11

School, Teacher and Classroom: Minneapolis Institute of Arts, Family Day - May 8th, Supervisor - Victoria Myers

MCAD Teaching Artist: Natalie Vilter 

Number of Students: ~400


VISUAL ARTS CONTENT OR STANDARDS

 5.1.2.3.1 Visual Arts 

Grade 1: Create original artistic work 

1. Identify and use symbols when creating art

5.1.2.3.2 Visual Arts 

Grade 1: Create original artistic work 

2. Practice safe use of art materials and tools while making art


OVERVIEW OF PROJECT

Students will create their own flower paper sculptures inspired by Yayoi Kusama’s flower sculptures. Students will also use various techniques to make paper into a three dimensional form.


“BIG IDEAS”/ ESSENTIAL QUESTION(S)

How can one use paper, a 2-dimensional object, to create a 3-dimensional sculpture using a series of techniques?

What do you think are important features of a flower and what shapes do these features take in your mind?

STUDENT OUTCOME OBJECTIVES

Students will:

  • Recall the contemporary artist, Yayoi Kusama, and her art practice

  • Compare Yayoi Kusama’s flowers to their own idea of a flower and visualize important features of a flower

  • Construct their own three dimensional flower using paper

  • Explore various techniques to give their flower texture and stand


PRIOR KNOWLEDGE

  • Know basic features of a flower

  • Using a glue stick and scissors

LESSON PREPARATION TIMELINE

  1. Create art example

  2. Write out a lesson plan and short bio about Yayoi Kusama’s work

  3. Create a visual of various techniques to use for a paper sculpture (example shown below)

Visual of Paper Techniques

  1. Meeting with Victoria Myers about revisions to lesson plan

  2. Revisions to lesson plan

  3. Ordering materials

  4. Cut stips of colored paper that are a variety of 0.5 and 1 inch thick

  5. May 8th - Set up for the event 

  6. May 8th - teach for the event

  7. May 8th - take down the event and put away extra supplies


EXAMPLES OF ARTWORK

Paper Sculpture Example

Up Close Example


ADDITIONAL RESOURCES

Yayoi Kusama, Flowers that Bloom Tomorrow (L), FRP, metal, and urethane paint, 2010

https://www.victoria-miro.com/artists/31-yayoi-kusama/works/artworks13475/

Yayoi Kusama, Flowers that Bloom Tomorrow (L), FRP, metal, and urethane paint, 2010

https://www.victoria-miro.com/exhibitions/411/works/96bbb645b1a41a/

ASSESSMENT

The outcome will be successful if the students are able to use basic shapes to create a flower, real or imaginary. Students will see their own success, if they were able to make their flower three-dimensional using various paper sculpture techniques. 


MATERIALS

  • 8” x 6.5” brown paper bag

  • Scissors

  • Ruler

  • Pencil

  • Eraser

  • Pencil sharpener

  • Gluestick

  • Hole Puncher

  • Assorted colors of construction paper that are 0.5” to 1” thick

  • A table for participants to work on

  • Stapler and staples 

LEARNING ACTIVITIES AND TIMING

  1.  Greet incoming participants and ask if they would like to create a paper flower sculpture (5 minutes)

    1. Explain it’s inspired by Yayoi Kusama’s flower sculptures

      1. Explain that Yayoi Kusama is a Japanese contemporary artist who creates a variety of artwork from performances, sculptures, installations, and paintings. She’s known for coating her artwork in polka dots, which has given her the nickname, “The Princess of Polka Dots”. 

      2. Point out the abstract form, but still has features that make it identifiable as a flower

      3. Point out the curves and polka dots on the flowers 

  2.  Give participants a paper bag and scissors. Participants will disassemble the paper bag by removing the entirety of the twine and cutting a slit vertically down the bag until they reach the bottom of the bag. Students will then cut off the entire bottom part of the bag. Students will then unfold the bag, so it becomes one long strip (7 minutes)

  3. Students will then take the long strip and fold it cleanly in half. Then using a glue stick, students unfold the bag, coat the bag in glue and refold the bag. Participants will push down on the bag to make sure the sides stick together. (3 minutes)

    1. NOTE: recommend that they coat the edges of the bag in glue and create a large “X” in the center of the bag with glue

    2. This will be the base for their flower sculpture. 

  4. Pull out a visual of the various techniques students can use for their paper sculpture. (1 minute)

  5. Ask participants what makes a flower identifiable as a flower (1 minute)

  6. Hand out various colors of paper, gluesticks, and scissors for participants to start assembling their flowers. (1 minute)

  7. Students will begin to assemble their flowers. TA will offer guidance when the participant asks. (17 minutes)

  8. Offer hole punch and foam stickers to decorate the base and flower. (5 minutes)


TEACHING ARTIST REFLECTION

  • Depending on the age of the participants, they might have difficulty disassembling the bag with no tears. The teacher and volunteers will be there to help disassemble the bag. 

  • Participants might have difficulty using the glue stick and patiently holding down objects so they stick. Staplers will be provided just in case. 

  • Family Day at the MIA is a public event, so others will be able to see their finished product as they walk through the MIA. 

  • The teacher will receive feedback based on participants' enthusiasm for the project. 

Art of Communication

Art of Communication

Name of Project: Art of Communication

Grade Level or Age of Participant: Ages 5 and up

School, Teacher and Classroom: Friends for 100 Years: A Lasting Legacy - Park Events throughout the summer taught by MIA artists

MCAD Teaching Artist: on staff MIA teaching artists

Number of Students: ~2000 throughout the summer

VISUAL ARTS CONTENT OR STANDARDS

K-3 1. Artistic Foundations 

1. Demonstrate knowledge of the foundations of the arts area. 

Visual Arts 0.1.1.5.1 1. Identify the elements of visual art including color, line, shape, texture and space. 

K-3 2. Artistic Process: Create or Make 

1. Create or make in a variety of contexts in the arts area using the artistic foundations. 

Visual Arts 0.2.1.5.1 1. Create original two- and three- dimensional artworks to express ideas, experiences or stories. 


K-3 2. Artistic Process: Create or Make 

1. Create or make in a variety of contexts in the arts area using the artistic foundations. 

Visual Arts 0.2.1.5.2 2. Revise an artwork based on the feedback of others. 


CURRICULAR LINK / STANDARDS

01155 Communications 

Courses in this classification focus on the application of oral and written communication skills through a variety of formal and informal experiences. They emphasize developing effective interpersonal skills and may include team-building components. How interpersonal communications are affected by stereotypes, nonverbal cues, vocabulary and stylistic choices may be included.


OVERVIEW OF PROJECT

Participants will create a work inspired by Speech by Saul Steinberg (1959), exhibited in the MIA. On a postcard, participants will depict a conversation they had with a friend in the form of shapes, lines, and color in either a representational or abstract style. They can then send the postcard to a loved one. 


“BIG IDEAS”/ ESSENTIAL QUESTION(S)

  • What ways of communication work best for you? Is it by talking? Dancing? Drawing? 

  • How do line, shape, and color affect the tone of an artwork?


STUDENT OUTCOME OBJECTIVES

Students will:

  1. Create a postcard using linework, shape, and color to express themselves

  2. Evaluate how linework, shape, and color give a certain tone to their artwork.

  3. Analyze what forms of communication work best for them

  4. Understand that everyone has a different form of communication and expression, which could cause misunderstandings or confusion between people.


PRIOR KNOWLEDGE

  • Basic motor skills for using a pencil

  • Basic communication in any form (verbal, expressions, body language, etc)


LESSON PREPARATION TIMELINE

  • Map out lesson plan

  • Create artwork example

  • Meeting with Aki Shibata about revisions

  • Revisions to lesson plan

  • Meeting with Krista Pearson about revisions

  • Revisions to lesson plan

  • Collect materials 


EXAMPLES OF ARTWORK

https://collections.artsmia.org/art/129764/speech-saul-steinberg

Saul Steinberg, Speech, Ink, graphite, conté crayon, and rubber stamp on paper, 1959

Teacher Example

ASSESSMENT

Students will be able to see their own success by being able to identify how they best communicate with others and how a conversation could be interpreted using line, shape, and color.  This can come from reflection through the process of creating their artwork or seeing the finished product.


MATERIALS

~$1- 3 each

  • Postcard Sized Cardstock Paper

  • Pencils

  • Colored Pencils

  • Eraser

  • Stamp

  • Table for participants to work on 


LEARNING ACTIVITIES AND TIMING

  1. TA will greet people who walk past and ask if they would like to make a postcard. (1 minute)

  2. TA will explain to the participant that they will express a conversation they had with a friend on a postcard with pencils and colored pencils. It can be representational or it can be abstract. There will be a few print outs of Saul Steinberg’s example for inspiration. The TA can show how the piece is represented with the use of people opening their mouths as if in a conversation, while also showing the abstractness of the way the speech bubbles are formed. The TA will encourage the participants to think about the mood of their overall conversation. Was it happy and exciting? Was it a form of comfort? They will encourage the participant to use colors and shapes they think best help to show the conversation. (3 minutes)

  3. TA will then give them a postcard and drawing utensils. (1 minute)

  4. Participants will then be able to draw on only one side of the postcard. The participants can sketch out their idea lightly with a pencil or they can start drawing right away. (15 minutes)

  5. Once the participant is finished, they can show the TA their postcard 1 by 1 if they so choose and describe the conversation they drew. (1 minute)

  6. TA will ask if they would like to leave the postcard with them, so it can be showcased at the MIA on the first floor. 

  7. If the participant wants to keep it, the TA can offer a stamp so the participant can address and mail their postcard right away. (1 minute)


TEACHING ARTIST REFLECTION

  • This project fits into the communication curriculum because the participant is actively thinking about the tone of a conversation they had. They can reflect on how some people would not understand their conversation based on different interpretations and social cues. 

  • Participants will be able to mail their postcard to a loved one, sharing it with the community. 

  • Feedback will be received by how enthusiastic the students are about creating their postcard.

Character Creation Program #4 - Back/Middle/Foreground

Character Creation Program #4 - Back/Middle/Foreground

Name of Project: Character Creation Program - Perspective/Lair

Grade Level or Age of Participant: Students age 8-11

MCAD Teaching Artist:  Kristina Wacker

OVERVIEW OF PROJECT

Character Creation Program

“Our mentors and students work together to create a one-of-a-kind character and costume based on the child’s imagination and values — along the way, we spark imagination and build confidence. With the help and guidance from their creative mentors, kids are able to explore their creativity and build something more ambitious than they ever thought possible.”

In-person program/Hybrid

  • Connect with your buddy for 1 hour every week for a period of 8 - 10 weeks

  • Create a character and costume using our huge collection of art supplies 

  • Celebrate your creation & participate in a costume parade, presentation, and professional photoshoot

Students will also: 

  • Learn skills and elements of illustration, including the use of color, shape, mark-making, and fore/middle/background

  • Learn more about creative careers from visiting artists


“BIG IDEAS”/ ESSENTIAL QUESTION(S)

Students will, over the duration of the course, build their confidence and explore their creativity through the creation of their super buddy characters and costumes.


STUDENT OUTCOME OBJECTIVES 

Students will:

  1. Distinguish between the foreground, middle ground, and background

  2. Use their knowledge of fore/mid/background to build a landscape/lair with depth

  3. Create a poster using a combination of the skills they have learned throughout this program


ADDITIONAL RESOURCES

[Lesson Timeline]


CHECKING-IN TO STUDENTS UNDERSTANDING

Students will demonstrate their knowledge of the concepts and skills taught throughout the program by using them when creating their final poster.


MATERIALS

  • Buddybook

  • Large paper to create poster

  • Smaller paper to sketch on

  • Crayons

  • Markers

  • Colored Pencils

  • Fabric

  • Tape

  • Scissors

  • Staplers

  • Hot glue guns, glue sticks

  • Ribbon

  • Pipe Cleaners

  • Construction paper

  • Popsicle sticks

  • Pom poms

  • Fake floral items

  • Cardboard

  • Miscellaneous plastic items (bottle caps, googly eyes, etc.)


LEARNING ACTIVITIES AND TIMING

  1. Greeting

    1. “Hey, good morning/afternoon, how are you all doing today?” etc

  2. Lesson (15-20 min)

    1. Foreground, middleground, background definitions (+example)

      1. How to make something part of these perspectives

      2. How to use these to make a space seem more 3D

  3. Students work time with mentor

    1. Student focus on thinking about how they can use what they’ve learned so far to show the answers to questions about their lair/scene

      1. Where lair is, can they use any skills they’ve learned in previous sessions to show this? (ex: color, mark-making)

      2. What is one thing in the background of your lair? One thing in the middle ground? One thing in the foreground? 

      3. Any decorations? Can you tie it to your hero’s powers/likes/backstory?

      4. Where is the super buddy placed?

  4. Virtual check in time (10 min)

    1. Ask about work, if there’s anything the student would like to share about it/how they used what they learned today?

    2. Students respond ____

  5. Wrapping up / Closing - Sharing Circle 

    1. Students will all say one word about lesson

    2. Share one thing they put in their lair

    3. Walk around to see what everyone made maybe?

etc.

Download support materials here:

Character Creation Program #3 - Markmaking

Character Creation Program #3 - Markmaking

Name of Project: Character Creation Program - Mark-Making

Grade Level or Age of Participant: Students age 8-11

MCAD Teaching Artist:  Kristina Wacker


OVERVIEW OF PROJECT

Character Creation Program

“Our mentors and students work together to create a one-of-a-kind character and costume based on the child’s imagination and values — along the way, we spark imagination and build confidence. With the help and guidance from their creative mentors, kids are able to explore their creativity and build something more ambitious than they ever thought possible.”

In-person program/Hybrid

  • Connect with your buddy for 1 hour every week for a period of 8 - 10 weeks

  • Create a character and costume using our huge collection of art supplies 

  • Celebrate your creation & participate in a costume parade, presentation, and professional photoshoot

Students will also: 

  • Learn skills and elements of illustration, including the use of color, shape, mark-making, and fore/middle/background

  • Learn more about creative careers from visiting artists


“BIG IDEAS”/ ESSENTIAL QUESTION(S)

Students will, over the duration of the course, build their confidence and explore their creativity through the creation of their super buddy characters and costumes.


STUDENT OUTCOME OBJECTIVES 

Students will:

  1. Learn the use of mark making to create texture and pattern

  2. Create their own marks/patterns to use

  3. Incorporate mark-making into their costume and lair 


ADDITIONAL RESOURCES

[Lesson Timeline]


CHECKING-IN TO STUDENTS UNDERSTANDING

Students write down/explain what marks they used, and how the marks create or emulate texture in their costume/lair


MATERIALS

  • Buddybook

  • Mark-making Worksheet

  • Crayons

  • Markers

  • Colored Pencils

  • Fabric

  • Tape

  • Scissors

  • Staplers

  • Hot glue guns, glue sticks

  • Ribbon

  • Pipe Cleaners

  • Construction paper

  • Popsicle sticks

  • Pom poms

  • Fake floral items

  • Cardboard

  • Miscellaneous plastic items (bottle caps, googly eyes, etc.)


LEARNING ACTIVITIES AND TIMING

  1. Lesson (15-20 min)

  1. What is mark making?

    1. Way to use line and marks to create texture and pattern

    2. Examples of mark making

      1. Specifically, how it can be used to illustrate different materials

  2. Pass out mark making sheets for students to fill out

  3. Students work time with their mentor

    1. Student focus on thinking about how they can use marks to create texture on their costume

    2. Goal is to use one type of mark into the costume design

  4. Virtual check in time (__ min)

    1. Ask “-_________” 

    2. Students respond ____


  5. Wrapping up / Closing  - Sharing Circle

    1. Students will all say one word about lesson

    2. Share one mark they used and how they used it

etc.

Download support materials here:

Character Creation Program #2 - Shape/Logo

Character Creation Program #2 - Shape/Logo

Name of Project: Character Creation Program - Shape/Logo

Grade Level or Age of Participant: Students age 8-11

MCAD Teaching Artist:  Kristina Wacker


OVERVIEW OF PROJECT

Character Creation Program

“Our mentors and students work together to create a one-of-a-kind character and costume based on the child’s imagination and values — along the way, we spark imagination and build confidence. With the help and guidance from their creative mentors, kids are able to explore their creativity and build something more ambitious than they ever thought possible.”

In-person program/Hybrid

  • Connect with your buddy for 1 hour every week for a period of 8 - 10 weeks

  • Create a character and costume using our huge collection of art supplies 

  • Celebrate your creation & participate in a costume parade, presentation, and professional photoshoot

Students will also: 

  • Learn skills and elements of illustration, including the use of color, shape, mark-making, and fore/middle/background

  • Learn more about creative careers from visiting artists


“BIG IDEAS”/ ESSENTIAL QUESTION(S)

Students will, over the duration of the course, build their confidence and explore their creativity through the creation of their super buddy characters and costumes.


STUDENT OUTCOME OBJECTIVES 

Students will:

  1. Learn the symbolism behind different shapes

  2. Learn how to construct complex shapes out of simpler ones

  3. Use shapes to create a logo for their super buddy

ADDITIONAL RESOURCES

[Lesson Timeline]


CHECKING-IN TO STUDENTS UNDERSTANDING

Students write down/explain what shape they used in their logos, and why/how they used those shapes.


MATERIALS

  • Buddybook

  • Shape Worksheet

  • Large pieces of cardboard or cardstock to make badge

  • Crayons

  • Markers

  • Colored Pencils

  • Fabric

  • Tape

  • Scissors

  • Staplers

  • Hot glue guns, glue sticks

  • Ribbon

  • Pipe Cleaners

  • Construction paper

  • Popsicle sticks

  • Pom poms

  • Fake floral items

  • Cardboard

  • Miscellaneous plastic items (bottle caps, googly eyes, etc.)


LEARNING ACTIVITIES AND TIMING

  1. Greeting

  2. Lesson (15-20 min)

  1. Ask intro questions

    1. “What are some shapes?”

    2. “What do you think of when you see [shape]?”

  2. Shape meanings

    1. Regular vs irregular shapes

    2. Specific shape symbolism (ex: squares sturdy, circles protective (shields), etc)

  3. Breaking down complex shapes into simple ones

    1. How to use simple shapes to make complex ones (ex, cat out of half circles, bat out of crescents, etc)

  1. Students work time their mentor (__ min)

    1. Student focus on thinking about: 

      1. How to make the logo represent their character/what it says about them

        1. Using color, shapes and the meaning behind them

  2. Virtual check in time (__ min)

    1. Ask about work, if there’s anything the student would like to share about it/how they used what they learned today?

      1. What shapes students used? Why? 

    2. Students respond ____

  3. Wrapping up / Closing  - Sharing Circle

    1. Students will all say one word about the lesson

    2. Share a shape they used in their logos

etc.

Download support materials here:

Character Creation Program #1 - Color

Character Creation Program #1 - Color

Name of Project: Character Creation Program - Color

Grade Level or Age of Participant: Students age 8-11

MCAD Teaching Artist:  Kristina Wacker


OVERVIEW OF PROJECT

Character Creation Program

“Our mentors and students work together to create a one-of-a-kind character and costume based on the child’s imagination and values — along the way, we spark imagination and build confidence. With the help and guidance from their creative mentors, kids are able to explore their creativity and build something more ambitious than they ever thought possible.”

In-person program/Hybrid

  • Connect with your buddy for 1 hour every week for a period of 8 - 10 weeks

  • Create a character and costume using our huge collection of art supplies 

  • Celebrate your creation & participate in a costume parade, presentation, and professional photoshoot

Students will also: 

  • Learn skills and elements of illustration, including the use of color, shape, mark-making, and fore/middle/background

  • Learn more about creative careers from visiting artists


“BIG IDEAS”/ ESSENTIAL QUESTION(S)

Students will, over the duration of the course, build their confidence and explore their creativity through the creation of their super buddy characters and costumes.


STUDENT OUTCOME OBJECTIVES 

Students will:

  1. Learn about the color wheel, color symbolism, and types of color pairings

  2. Demonstrate understanding of color theory through color choice in their costume designs

  3. Explain what colors they used in their costume and why


ADDITIONAL RESOURCES

[Color Theory Doc]

[Lesson Timeline]


CHECKING-IN TO STUDENTS UNDERSTANDING

Students write down/explain what colors they picked and why. (E.g. How do the colors they pick connect to their costume/character?)


MATERIALS

  • Buddybook

  • Color Theory Worksheet

  • Crayons

  • Markers

  • Colored Pencils

  • Fabric

  • Tape

  • Scissors

  • Staplers

  • Hot glue guns, glue sticks

  • Ribbon

  • Pipe Cleaners

  • Construction paper

  • Popsicle sticks

  • Pom poms

  • Fake floral items

  • Cardboard

  • Miscellaneous plastic items (bottle caps, googly eyes, etc.)


LEARNING ACTIVITIES AND TIMING

  1. Greeting

  2. Lesson (15-20 min)

  1. Intro to types of colors

    1. Primary, secondary, tertiary

    2. Temperature of colors

  2. Symbolism

    1. What colors mean

    2. How color can change meaning

  3. Students work time with mentor 

    1. Student focus on thinking about: 

      1. what colors they’re choosing

      2. why they’re choosing them

      3. How they relate to the character

  4. Virtual check in time (X min)

    1. Ask about work, if there’s anything the student would like to share about it/how they used what they learned today?

      1. What colors they’re using? 

      2. Why they chose the colors they did?

    2. Students respond ____

  5. Wrapping up / Closing - Sharing Circle

    1. Students will all say one word about the lesson

    2. Share favorite color/one color used

etc.

Download support materials here:

Doodle Buddies

Grade Level or Age of Participant: Teenagers (10th-12th grade)

Number of Students: 10-12


OVERVIEW OF PROJECT

Activity should take 15-20 minutes to complete. This is an icebreaker/grounding activity to warm up before shifting attention to major projects. Participants and facilitator will be providing prompts in order to guide this drawing activity. The prompts will be based on the different bodily parts of a character as well as using other words (adjectives, nouns, verbs) to describe the character and scene. 

Everyone will be creating their own separate drawing using the same prompts given during the duration of the activity. Drawings from the group are not revealed until the end of the activity.


“BIG IDEAS”/ ESSENTIAL QUESTION(S)

Through drawing the characters, learners are building visual interpretation skills.

Through drawing, group will be able to get to know each others. 

Adjective to use to inspire drawing (each students will choose adjective):

They will be choosing the adjective of “How would you describe your week?” OR “How are you feeling about the project they are working on?”  

Spiky / Squiggly / Soft / tangle

“How did AAAA thought about spiky? What do you think AAAA was thinking? ”


STUDENT OUTCOME OBJECTIVES 

Students will:

1. Be able to create their own characters by collaborating with words that has provided from the others.  

2. Listen to the others words and providing visual description 

3. Practice interpatient of adjectives with visual components 

4. Present and verbally explain their visual interpretation 


PRIOR KNOWLEDGE

  • Students must know What adjectives are 

  • Students should be able to interoperate Special balance on the limited size paper

  • Students can call out different Body parts


ASSESSMENT

Everyone would have created drawing work to show at the end of the lesson

At the presentation we can discuss the difference and similarity of each other’s work.

“What is your favorite part of your characters?” 

“What is your favorite part of others characters?”

“Is there anything hard to interpreted?” 

“What is the difference between your work and AAAA’s work? OR similarity?”  

MATERIALS

Blank sheet of paper

Drawing utensil (Choose 1 medium)


LEARNING ACTIVITIES AND TIMING

1.Relating to Audience

Take time to explain that the activity will be short in time and that there are no right or wrong answers/outcomes. The effectiveness of the activity is dependent on interpreting the given prompts and the short duration for each prompt. -


2. Collect Materials

-Give students a couple of minutes to collect materials or ask questions about materials needed for activity. 

-Check-in with students before moving on to the next step.

3. Introduction of Activity

The facilitator explains rules and prompts for the grounding activity

-I decided to give this activity the name “Doodle Buddies”

-The main idea of the activity is that we will all be drawing our own ‘doodle buddies’ using the same information/prompts (to make the prompt process easier- body parts, other descriptive words)

-The prompts are mostly based on the different body parts a character could have (head, arms, legs, etc. ) but will also be influenced by the overall chosen theme and descriptions from group members

-I will be assigning the first part of the prompt (body parts) to the group members as they are chosen to contribute, then they will provide more specific details about said body part.

-I will start off to demonstrate the flow of the activity and also keep a timer to move the activity along


4. Questions

- Take time to answer any final pending questions about the “Doodle Buddies” grounding exercise.

-Suggest overall character theme


5. Begin Activity

Before beginning to draw the character’s head, ask group members if they would like to volunteer prompts or ‘popcorn’ to their peers.

-Choose character theme and write in top left corner

-Re-state that after each prompt is given, we will only have 30 seconds to complete that part of the character

-Re-state that the first part of the prompt is given by me (body parts) and the description comes second. - example: body part - arms, spooky themed - skeleton arms/bones, adjective - decayed bones, noun - chainsaws for arms, verb - flexing

-Check-in with students before moving on to the next step.


6. Prompts

- Head and neck

-Eyes/eyebrows

-Nose

-Mouth

-Ears

-Hair/hair accessories 

-Body - include clothing

-Arms

-Legs - include clothing

-Feet/shoes

-Additional accessories - maybe bag or jewelry

-Pet/companion

-Background

-Name of character - Could also collectively create a name with the group instead of assigning one person


7. Final Product Reveal

After everyone in the group has contributed to the prompts, the facilitator will show their final drawing and name their favorite characteristic that their character was given. Discuss with the group about how their doodle buddy turned out.

(7 min) Share out time

- Show facilitator’s drawing as a sample and talk about “My character name is BBB and I name them that because ________ “ This is the way we can introduce the characters to each others.

- invite next speaker by asking “Did anyone found something similar to my character, come forward and introduce your character ☺” 

- Keep going around till everyone introduce and talk about their character! 


(1 min) Reflection and summary for the project “This is what I noticed doing the project with you”

  • Learned about each other a little bit from this project

  • Made visual interpretation from the language 

  • We made collaboration through sharing words

  • All of our interpretations are different

  • Respecting each other’s differences and artistic choices.


Photography Composition at Home

Photography Composition at Home

Photography Composition at Home!

Grade Level or Age of Participant: K-5

 School, Teacher and Classroom: Kenwood, Jacquelyn Williams, 2nd Grade

 MCAD Teaching Artist: Cassidy Walker

 Number of Students:  25

VISUAL ARTS CONTENT OR STANDARDS

5.3.2.3.1 : Create visual representations of places or systems that are part of everyday life using artistic foundations.

CURRICULAR LINK / STANDARDS

Language Arts, Writing 2

Communicate knowledge and ideas through a variety of presentation styles (such as verbal, visual, written, or digital) appropriate to task, purpose, audience, and discipline.


OVERVIEW OF PROJECT

Students are presented with foundations of photo composition including camera distance and framing tools. Using these foundations as guides, students are then asked to take photographs around their own homes with a phone or tablet. Students then select five of their images to title with an emotion or feeling.

“BIG IDEAS”/ ESSENTIAL QUESTION(S)

What does it mean to capture or “freeze” a part of your life in a photograph?

STUDENT OUTCOME OBJECTIVES

Students will:

1. Understand the foundations of photo composition including camera distance and framing tools.

2. Apply photographic foundations to their own photographs.

3. Create digital photographs of their surroundings and daily life at home.

PRIOR KNOWLEDGE

Experience taking photographs with a mobile phone or tablet. 

ADDITIONAL RESOURCES

Click! Photo Curriculum (pg. 18-35) from MN Perpich Professional Development Center


ASSESSMENT

Students upload their five images to a file-sharing platform (such as Seesaw or Google Folders) with titles

MATERIALS

Mobile phone or tablet with a camera

 LEARNING ACTIVITIES AND TIMING

1. Introduction by classroom teacher

2. Review teaching artist photos

·       Camera distance (close, mid, wide).

·       Composition (rule of thirds)

3. Demonstrate/My Own Examples around my home

4. Ask students to take ten photos using the following prompts

·       A special space in your home

·       Favorite objects

·       People you live with (if they are willing)

5. Review photos and choose 5 and title with an emotion or feeling.

6. Upload to the shared folders. 

TEACHING ARTIST REFLECTION

A possible issue is the student’s access to a camera, tablet, or cell phone with a camera.

If students are using different technology, viewfinders may look different.

Quest of Quizzes: Elements of design Quiz

Quest of Quizzes: Elements of design Quiz

Name of Project: Elements of Design Quest of Quizzes

Grade Level or Age of Participant: 6th grade- 8th grade

School, Teacher and Classroom: Rachel Olmanson, St. Michaels, online class

MCAD Teaching Artist:  Molly Hoghaug


VISUAL ARTS CONTENT OR STANDARDS

5.6.4.8.1, Visual Arts, Respond, Evaluate artistic work by applying Criteria


OVERVIEW OF PROJECT

Students will download the quiz on all the elements of design in visual arts that they have learned in lessons throughout their years at school. The quizz is in the form of a game where students play through the levels and at the end screenshot their score and send it to the teacher.


“BIG IDEAS”/ ESSENTIAL QUESTION(S)

How does a game test ‘knowledge’?

How can testing be ‘fun’?


STUDENT OUTCOME OBJECTIVES

Students will:

1. Use their knowledge about the elements art and design to play a digital game

2. Have fun while taking a quiz and connect to visual art content

3. Use the quiz as a learning opportunity


PRIOR KNOWLEDGE

Knowledge of the elements of design that they have learned In their visual arts programming


ADDITIONAL RESOURCES

https://www.rpgmakerweb.com

The webpage of the program being used to make the quiz 


ASSESSMENT

The assessment will be the final screenshot of their score, this will be sent to the teacher and then the appropriate grade will be given according to the score.

What do I want to know?

MATERIALS

RPG maker program

Computer for students

Host site for game


LEARNING ACTIVITIES AND TIMING

1. Students have directions for the game provided by the instructor

2. Levels include mazes, door choices, and quests for content

3. The length of time needed for the game ranges between 10-30 minutes

4. Scores are revealed to each students as they go and collected by the instructor


TEACHING ARTIST REFLECTION

My concerns are that I will have more trouble explaining it to the teachers than to the students. Such as my mom gave it to her students at a 6th grade level and they got through it fine but I could not show the teachers the ease that the students would have getting through the game. 


The students that it was tested on had a good time, they said it was much more interactive than a pen and paper test. They said they wished it had more video game challenges and was less learning but that’s what would be expected, no kid really wants to do schoolwork. 

Dance Mimesis Project

Dance Mimesis Project

Video Demo Sent out to Students: https://www.tiktok.com/@teachinggrover

Video Demo Sent out to Students: https://www.tiktok.com/@teachinggrover

Dance Mimesis Project

Grade Level or Age of Participant: 12-14

School, Teacher and Classroom: Clara Barton Open School, Allison Rubin

MCAD Teaching Artist: Grover Hogan


VISUAL ARTS CONTENT OR STANDARDS

1.0.2.4.1

1. Dance

2. Create

4. Revise and complete original artistic work.

1. Respond to suggestions for changing movement in a guided improvisation.        

1.1.2.4.1

1. Dance 1

2. Create

4. Revise and complete original artistic work.

1. Apply suggestions to change movement in a guided improvisation.

1.7.3.5.2

1. Dance 7

3. Perform

5. Develop and refine artistic techniques and work for performance.

2. Refine partner and ensemble skills.
For example: Focus, awareness in executing complex patterns, sequences, and formations.


OVERVIEW OF PROJECT

Students replicate a choreographed dance done by the teaching artist. However, each student will do the dance to a different song and will adjust the emotion, tone, and pace of the dance moves to correlate with the song that they chose. Students and teaching artist ideally post a video of their interpretation to the app TikTok, however YouTube, Google Drive, or any other video uploading platform will suffice.


“BIG IDEAS”/ ESSENTIAL QUESTION(S)

1.     How can subtle movements and actions change tone?

2.     How does dance and music influence each other?

3.     What does collaboration look like, especially when that collaboration occurs in nonphysical spaces?

4.     What is artistic license and appropriation?


STUDENT OUTCOME OBJECTIVES

Students will:

1. Communicate tone and voice through dance and understanding of music

2. Consider tempo and affect in dance movements affected by music

3. Build collaboration skills through a virtual space


PRIOR KNOWLEDGE

Students will need prior experience recording video with either computer, phone, etc.  as well as a basic understanding of dance, music, and rhythm.


LESSON PREPARATION TIMELINE

Create Lesson Plan and Storyboard

Record Demo (1 video without music, 2 with different songs for each video, resulting in 3 videos total)

Upload all materials and send in to teacher so that class may view and recreate

Review Assessments


EXAMPLES OF ARTWORK

 1.     https://www.youtube.com/watch?v=yjZfuIME7vc

Keke Janajah, Video, 2020, Savage Dance Tutorial (Savage by Megan Thee Stallion, 2020)

2.     https://www.tiktok.com/@yodelinghaley/video/6774888255801396486

Hayley Sharpe, Video, 2019, Say So Dance Tutorial (Say So by Doja Cat, 2019).

3.     https://www.youtube.com/watch?v=rdff8hycRo8

Jalaiah Harmon. Video, 2020, Renegade Dance Tutorial (Lottery (Renegade) by K CAMP, 2019)


ASSESSMENT

Students will upload their own interpretation of the dance and will be allowed to leave comments on each other’s videos, including the teaching artist’s videos. Comments cannot be deleted by the user but are monitored by the application, and any comment that uses inappropriate language will not be visible. Comments may be reported and will then be removed by the application if shown to be harassment. Positive and constructive comments will be encouraged.  Students may choose to turn their comment section off if they wish.

Teaching Artist will also provide comments on student’s dances and interpretations, as both a way to set an example of how a critique should look like as well as a form of sincere critique within itself.


MATERIALS

Students will need access to an electronic device that will allow for recording and uploading. Ideally, the student would have the application TikTok. Materials will be what the student has at home.

 TEACHING ARTIST DEMO

ADDITIONAL RESOURCES AND INSTRUCTION

Instructions for instructor and students

LEARNING ACTIVITIES AND TIMING

Within a shared Google Document that will go out to the class, both links to exemplar videos as well as written instructions on how to share and critique other’s videos will be provided. The following will be mentioned/ linked to in the document:

1.     Teaching Artist will upload choreography to TikTok without any music, giving a slow and steady step by step instruction (approx. 30- 60 seconds)

2.     In addition, an example of the dance applied to two different songs will also be uploaded (2 30-60-second-long clips)

3.     Teaching Artist will ask students to leave comments and create their own video uploaded with the same hashtag (#CopyCatDanceChallenge)

4.     Students will be asked to leave positive and constructive feedback on each other’s videos


TEACHING ARTIST REFLECTION

1.     Students may not have access to the proper technology; need to find a way to make certain all have access to a cell phone and data

3.     Students may be embarrassed to dance in front of their peers; provide a way for students to submit work to teacher and teaching artist

4.     Students fun of others for what they upload off site; review protocols for feedback, social emotional learning connections

The Tin Foil Figure: Creating an Animation from Materials at home

The Tin Foil Figure: Creating an Animation from Materials at home

The Tin Foil Figure: Creating an Animation from Materials Found at Home -

Grade Level or Age of Participant: 4th Graders

School, Teacher and Classroom: DaVonte Robertson at Spero Academy

MCAD Teaching Artist:  Shaelynn Waseka

Number of Students: 10

VISUAL ARTS CONTENT OR STANDARDS

5.4.2.3.2

5. Visual Arts

Grade 4

2. Create

3. Create Original Artistic Work

2. Demonstrate awareness of environmental implications of art materials, tools, studio space, and equipment.

OVERVIEW OF PROJECT

This lesson focuses on using objects from home to create an animated form. The lesson helps students step back from reality and let them explore their creativity. They begin with tinfoil that is bunched up to create character or human form. The form can be can be easily manipulated to adjust to various scenerios or for stop motion animation. Documenting the character, either through photography or animation, they will share what they have created.

“BIG IDEAS”/ ESSENTIAL QUESTION(S)

What shapes create a human form?

How do our bodies move?

How do we balance?

STUDENT OUTCOME OBJECTIVES

Students will:

1.     Apply balance and proportions to the figure in a sculpture

2.     Create a human form from tinfoil

3.     Use the form to replicate movement

4.     Document the form in human poses

PRIOR KNOWLEDGE

Following directions on a screen

Safety with Tinfoil (serrated edge on box)

Optional (how to operate a phone, how to download and use an app)


EXAMPLES OF ARTWORK

I will be creating a step by step video of me doing the project. I will include an artist as a quick snippet of information.  


ADDITIONAL RESOURCES

Identify books or weblinks used to prepare the lesson plan and/or student learning materials.

Alan Becker (Animator vs. Animation (original)) Interesting video about stick figures

Gerard Regot Stop Motion Animation Techniques

L.S. Lowry, MatchStick Man Famous for painting stylized figures that were described as Match Stick men

Alberto Giacometti Sculpture famous for disproportioned bodies 


ASSESSMENT

Hopefully I will get feedback from this art lesson. But, theoretically students will be successful with this lesson if they can create a character where they can pose it in different forms. Another bonus would be getting the character to stand alone in a pose. This will show that they understand proportions and balance enough to keep the character standing.


MATERIALS

Part One

Phone, Pad or Computer access ( for video demo and directions)

Tinfoil

Pencil, Pen, Marker etc.

Piece of Paper

Scissors

Part Two

Cell phone

Scissors

TinFoil Man

Coffee Cup


LEARNING ACTIVITIES AND TIMING

Part 1 Making the TinFoil Figure

1. Open video

2. Watch video through and through to understand concept (Around 9-minute video). Feel free to stop the video as you work on the project.

3. Make a list of materials needed and bring them to a work area. (Tin foil, tablet, phone, smart device with camera, scissors, marker)

4. Take a sheet of tinfoil and add lines and labels like shown in the video

5. Label all parts of the tinfoil where head, legs, and arms are supposed to go.

6. Take scissors and cut where the lines are on the form in the video

7. Scrunch up the foil sections to create character; add additional tinfoil as needed for strength or detail

8. You may develop the form for additional foil characters. use it to create different sizes of foil characters

At this point, you may take pictures of your figure(s) in various settings with a camera or cell phone or you may create an animation with your figure. Do so so follow the directions in the video.

Part Two: Animating the Figure

1.     Collect Materials

2.     Create a coffee cup tripod (Cut two notches out of top of a coffee cup)

3.     Watch Tutorial

4.     Experiment with app

5.     Start taking pictures; slightly move the figure for each shot in the app

6. Play back the animation!

7. TA DA!


TEACHING ARTIST REFLECTION

What problems are anticipated with this lesson?

Lack of materials

Potentially could be too easy for some students and too hard for others.

Questions arise and students cannot ask anyone what to do. Parents or sibs may need to assist

Character falls apart


How does this project fit into overall curriculum planning for the subject areas?

This project helps the students understand balance and movement. Helps them understand another art form (Stop-Motion)

How will your students’ work be shared with the community?

Work can be shared with parents, classroom teachers or on social media with student releases

How will you receive feedback on your teaching methodology and quality of student work?

Photos back from the students of the completed projects it will help me understand if my method worked

Comic of our Fears  hosted by Mia

Comic of our Fears hosted by Mia

Comic of our Fears

Grade Level or Age of Participant: First grade and above

School, Teacher and Classroom: Minneapolis Institute of Art, Angela Olsen

MCAD Teaching Artist: Anavi Mullick

OVERVIEW OF PROJECT

This simple drawing project addresses fears and how to approach them with humor. Participants think about their own fears, choose one that is most alive for them, and then pick an animal which they feel best represents their fears. Then keeping in mind the fear and the animal they will draw the animal in a silly situation. For example; the fear of loved ones falling ill, embodied as a porcupine, and then imagining the porcupine juggling balls, and drawing this.

The lesson was designed focusing on the challenges that we are all facing as we live through a pandemic. Participants will be able to share their work through online social media platforms, as well as with members of their families.

A step-by-step document is featured on the Minneapolis Institute of Art (Mia) Website. Link Here.

“BIG IDEAS”/ ESSENTIAL QUESTION(S)

What are we afraid of? How can we learn to visualize something? How can art be reflective and expressive? How to draw from imagination? How can art be accessible to all?


STUDENT OUTCOME OBJECTIVES

Participants will:

1. Explore their own fears with guidance through a process to visualize a fear.

2. Draw from imagination.

3. Experience art as a form of expression.

4. Reflect on the power of the creative process.

PRIOR KNOWLEDGE

Ability to read/follow step-by-step instructions, or have a partner to help guide the participant.

LESSON PREPARATION TIMELINE

-       Brainstorming lesson

-       Step-by-Step planning

-       Reflect on outcomes and next steps

This lesson was conceived by Anavi Mullick from the MCAD Teaching Artist Practicum course and reviewed and workshopped by the Education Department of the Minneapolis Institute of Art prior to being included in their web lessons during the Covid 19 Pandemic


EXAMPLES OF ARTWORK

Samples chosen from the Collection at the Minneapolis Institute of Art.

-       Graham Sutherland, Bird and Mouse, 1968, 24.75 x 19.5 in.

https://collections.artsmia.org/art/54851/bird-and-mouse-graham-sutherland

-       Getsuju, Frog and Mouse, late 18th - early 19th century, 65 × 35 in.

https://collections.artsmia.org/art/117177/frog-and-mouse-getsuju

-       Gerhard Marcks, Cats, 1921, 15 x 20 in.

https://collections.artsmia.org/art/72892/cats-gerhard-marcks

-       Unknown artist, Seated Dog, 386-535.

https://collections.artsmia.org/art/872/seated-dog-china

-       John Randolph Carter, Grinning Dog with Raggedy Ann Doll, Clouds with Ears in Sky, 1979, 13.5 x 17 in.

https://collections.artsmia.org/art/8873/grinning-dog-with-raggedy-ann-doll-clouds-with-ears-in-sky-john-randolph-carter

-       Dudley Huppler, The Bug of Marianne Moore, 1945, 11 x 9 in.

https://collections.artsmia.org/art/128355/the-bug-of-marianne-moore-dudley-huppler

-       Unknown artist, Finial with Animal, late 12th-11th century BCE, 7 x 6 x 2 in.

https://collections.artsmia.org/art/1155/finial-with-animal-china

-       Clement Hurd, Animals, second half 20th century, 10.5 x 27 in.

https://collections.artsmia.org/art/117681/animals-clement-hurd


ADDITIONAL RESOURCES

-       Henri Rousseau’s (Artist) paintings of animals. (https://www.google.com/search?q=henri+rousseau+animal+paintings&hl=en&sxsrf=ALeKk00R9An6fyTyrO9S3pOqd82ipG4TPQ:1586804902830&source=lnms&tbm=isch&sa=X&ved=2ahUKEwjJ7r30jOboAhWRuJ4KHck5CUUQ_AUoAXoECBMQAw&biw=1172&bih=539)


SUPPORT MATERIALS

ASSESSMENT 

-How did you feel at the start of the lesson when you were thinking about what you were afraid of? How did you feel after the lesson?


MATERIALS

1.     A drawing tool

a.     Any one of the following; pencil. Pen, marker, crayon, color-pencil, paint and brush, chalk.

b.     Optional – if you think you would like to color your drawing after, you are welcome to. (crayons, paint, color pencil)

2.     A writing tool - a pencil or pen

3.     Paper/drawing surface - (2)

a.     Anything you have around you. (blank white paper, one sided paper, ruled sheets, an old paper bag, cut open a cereal box and use the inner surface, colored paper, newspaper, your driveway or sidewalk if you are using chalk)

4.     A comfy spot to sit, with a flat surface in reach. Not limited to, but a few options are; a dining table, or on the floor, or with a drawing board/a clipboard, or against a wall.


LEARNING ACTIVITIES AND PROJECT OVERVIEW

PROVIDE AN OVERVIEW OF THE PROJECT, PROCESS AND PURPOSE. See description above.

PREPARE. Gather drawing tool and decide on a drawing surface. Have everything at hand prior to starting. Then get comfortable.

Step 1. Brainstorming. Take a few seconds to observe your body, your breath, your heartbeat. You can close your eyes if you would like. 

Think about where you are, how you have been feeling, what you are afraid of.

 Step 2. Making a list and choosing. If your eyes were closed, you can open them. Pick up your writing tool, and your chosen drawing surface. Make a list of the fears that came to mind.

 When you are done with your list, take a moment to look at your list and identify which fear feels the most alive to you? Choose one that stands out to you.

Is it big and overwhelming? Is it small but sharp? Can you imagine this fear as an animal? What animal represents this fear?

Step 3. Imagining. Once you have chosen an animal that represents your fear, think of the animal doing something silly. Is it juggling balls? Eating fourteen bananas at the same time? Jumping on a trampoline? Be as silly as you can!

Step 4.  Draw it! Draw the animal doing this silly thing! Color it if you would like to. Do not worry about the animal or the activity looking ‘correct’. Just draw and enjoy! No judgement.

Step 5. Think about it….How do you feel now? Is your fear as great? Do you feel differently?

Step 5. Upload image, hashtag and respond. Tag @artsmia if you choose to post it, or #InspiredbyMia #MiaFromHome #MuseumFromHome. We’d love to hear what animal you chose, why you chose it and how you feel now.

Do as many as you like!

TEACHING ARTIST REFLECTION

-       Some participants will need assistance depending on their age in participating.

-       Participants might feel intimidated to think about the fears or drawing.

-       Challenging to consider consider sharing their artwork online

 Assessment from staff, general assessment through social media.

Making an Accordion Journal from Simple Materials with 2 Video Demos

Making an Accordion Journal from Simple Materials with 2 Video Demos

Hand torn Accordion Journal

Teaching Artist: Tanvi Kulkarni

 Age or Grade Level: 6-12 grade  

 Overview of Project

Students make an accordion book with cover and band. The lesson provides simple instruction for creating the book with minimal materials and without scissors.. Students will use the journals for daily reflections. Two short informational videos are available in the lesson as demonstration.


“Big Ideas”/ Essential Question(s)

  • How to be creative by using available material?

  • How to express ourselves through bookmaking?


Student Outcome Objectives

Students will:

  1. Create an accordion fold journal, cover and band to hold it together

  2. Use materials that are available and easy to access in a creative and intentional way

  3. Use the journal to connect their work to current events through writing and visual content


Prior Knowledge

None

Examples of Artwork

 Next to Nothing by Jody Williams https://mcad.edu/faculty/jody-williams

 Spatial Geometries by Karen Wirth http://karenwirth.com/books/books_spatial_geometries.htm


Additional resources

https://www.readbrightly.com/diy-accordion-book/

https://bookriot.com/2017/05/30/how-to-make-a-paper-bag-book-cover/


Assessment

How was the bookmaking process?

Did you learn something new?

What engaged you? What did you enjoy?

Materials

List of ALL material needed with specified amounts, sizes and/or quantities needed.

glue stick

paper , such as printer paper/newspaper/magazine/ discarded artwork

ruler

pencil

Learning Activities and Timing

30 mins: To make 3 types of accordion books.

20 mins: creative own content in the book.

10 mins: Create the cover for the journal.  

Step by Step Process

Video 1 - How to Make and Accordion Fold Book with few Supplies by Tanvi Kulkarni

Introduction and overview of the project

o   Gather materials: A4 size paper, glue, tape, and ruler

o   Cut a piece of paper in half lengthwise make two long rectangles.

o   Fold the rectangle in half widthwise.

o   Fold the top flap in half again by aligning the edge with the middle fold.

o   Flip the paper and do the same on the other side.

o   Do the same thing with another long rectangle

o   To attach the 2 Ws, flip one W to M shaped paper

o   Put glue on the page of W and glue the page of M on it, So it will look like WV.

o   Another way to attach the 2 Ws—>align the edges of W together, and put a tape on them

o   To make a pop out, cut two slits on the fold and push in the opposite direction of the paper

o   Angle the tear to create shapes.

Video 2 - How to Make a Cover and Band for an Accordion Fold Journal by Tanvi Kulkarni

Video 2

o   Material: A4 size paper, pencil, ruler, glue and accordion book

o   Take a piece of paper.

o   Cut the paper to the size of the book.

o   Fold top and bottom edges to the size.

o   Slide the page of the book on the cover.

o   Wrap it around the book.

o   To make a band, take a long strip of paper.

o   Wrap it over the book to size it.

o   Mark the length and glue both ends.

o   Slide the band on the cover.

 Teacher provides writing, drawing and artmaking prompts

Teaching Artist Reflection:

It might be hard to make a book without using Exacto knife and scissors because it is not easy to get sharp edges without cutting tools. I feel there is a thin line between DIY and art. Do not be concerned about the torn edge. It becomes part of the form.

STUDENT WORK GALLERY


Virtual Reality Drawing

Virtual Reality Drawing

Planning Backwards Model* 

Teaching Artist Practicum

Name of Project: Virtual Reality Line Learning

Grade Level or Age of Participant: 7th Grade

School, Teacher and Classroom: St Michaels, Art Classroom, Rachel Olmanson

MCAD Teaching Artist:  Molly Hoghaug

Number of Students: 10

VISUAL ARTS CONTENT OR STANDARDS

Students will investigate the elements of design in collaborative manor.

1.7.2.2.1 Generate and develop original artist ideas

CURRICULAR LINK / STANDARDS (if in a classroom only)

*links have changed to all Covid-19 links*

This project is about the design element of lines. 

1.7.2.2.1 Generate and develop original artist ideas

OVERVIEW OF PROJECT

Each student will have around two minutes in the headset to draw a portion of a work that will be a large collaboration with the whole classroom.  The students will work in Virtual Reality using lines to collaborate with the other classmates to create one large piece of art work in the virtual reality program. 

“BIG IDEAS”/ ESSENTIAL QUESTION(S)

The big idea will be learning to collaborate with others ideas and creating a bigger picture with every one else but by only using lines. Collaboration is essential to creativity within the classroom.

STUDENT OUTCOME OBJECTIVES

Students will:

1. Collaboration with each other a virtual reality piece 

2. Apply lines and colors to create an image with their classmates

3.Participate in a virtual reality experience that could contribute to their future


PRIOR KNOWLEDGE

Experience drawing and learning the element of line.

Experience any kind of digital game 

LESSON PREPARATION TIMELINE

*write the lesson plan

*prepare the materials

*retrieved materials

EXAMPLES OF ARTWORK

https://www.youtube.com/watch?v=pijO5vH9Ojc

This video gives an example of what they are doing to the best explanation without actually doing it.

ADDITIONAL RESOURCES

https://www.youtube.com/watch?v=BE9AHsFgLhI

ASSESSMENT

Success would be all student participation and contributing to the art work

MATERIALS

*Vr Headset

*Controllers

*CoolPaintVR

*PS4

*Adapter for smart board

*!!! Lens Wipes for headset and sanitizer wipe for nose piece!!!* (for the virus precautions)

LEARNING ACTIVITIES AND TIMING (40 MINUTES)

1.     Introduce the lesson (about 3 minutes)

a.     Idea - with only lines you will collaborate with classmates to make a VR painting.

b.     Rules - 2 minutes per student or less depending on what they want to do with their lines.

2.     Instruction ( 5 minutes)

a.     How to put on the headset (stay next to student when they do so anyway to make sure its right and nothing breaks)

b.     Controller buttons. What buttons to hit and only what buttons to hit.

c.     NO QUICK MOVEMENTS WHILE IN THE HEADSET!

3.     Worktime (32 Minutes)

a.     Students will get roughly two minutes in the headset to draw their portion.

b.     Monitor students for acceptable use of equipment and directions

4.     After class

a.     Make sure they put away all things that they were doing while waiting for the headset and that they are respectful with the equipment after use

5.     VR Video upload for teacher

a.     https://support.google.com/youtube/answer/6316263?hl=en (YouTube instructions)

b.     Export from PS4 https://www.youtube.com/watch?v=leqybBMmAWM 

c.     Share link with the class so they can see their work! 

headgear.jpg

Mythical Creature  Clay Project

Mythical Creature Clay Project

Mythical Creature Clay Project

Grade Level or Age of Participant: 5th Grade

School, Teacher and Classroom: Whittier Elementary, Alex Lange, Room 230

MCAD Teaching Artist:  Grover Hogan

Number of Students: 33 - 36


VISUAL ARTS CONTENT OR STANDARD

Code: 5.A.1.1

Strand: 1. Foundations

Standard: 1. Use foundational knowledge and skills while responding to, creating, and presenting artistic work.

Code: 5.5.2.2.1

Strand: 2. Create

Standard: 2. Generate and develop original artistic ideas.

Benchmark: 1. Generate and document an innovative idea for art making.

Code: 5.4.2.2.2

Strand: 2. Create

Standard: 2. Generate and develop original artistic ideas.

Benchmark: 2. Incorporate personal choice into divising a solution for a creative art problem

Code: 5.6.2.2.1

Strand: 2. Create

Standard: 2. Generate and develop original artistic ideas.

Benchmark: 1. Elaborate upon an initial concept for art making.

CURRICULAR LINK / STANDARDS (LANGUAGE ARTS)

The most appropriate for this assignment seem to be the from the Language Progressive Skills list  -- you could pick a coupe from there. However, if we were thinking about this in the future the arts portion ncould easily intersect with writing or reading they are doing in class for LA currently.

Code: 5.2.3.3

Strand: 2. Key Ideas and Details

Standard: 3. Analyze how and why individuals, events, and ideas develop and interact over the course of a text

Benchmark: Explain the relationships or interactions between two or more individuals, events, ideas, or concepts in a historical, scientific, or technical text based on specific information in the text. 

OVERVIEW OF PROJECT

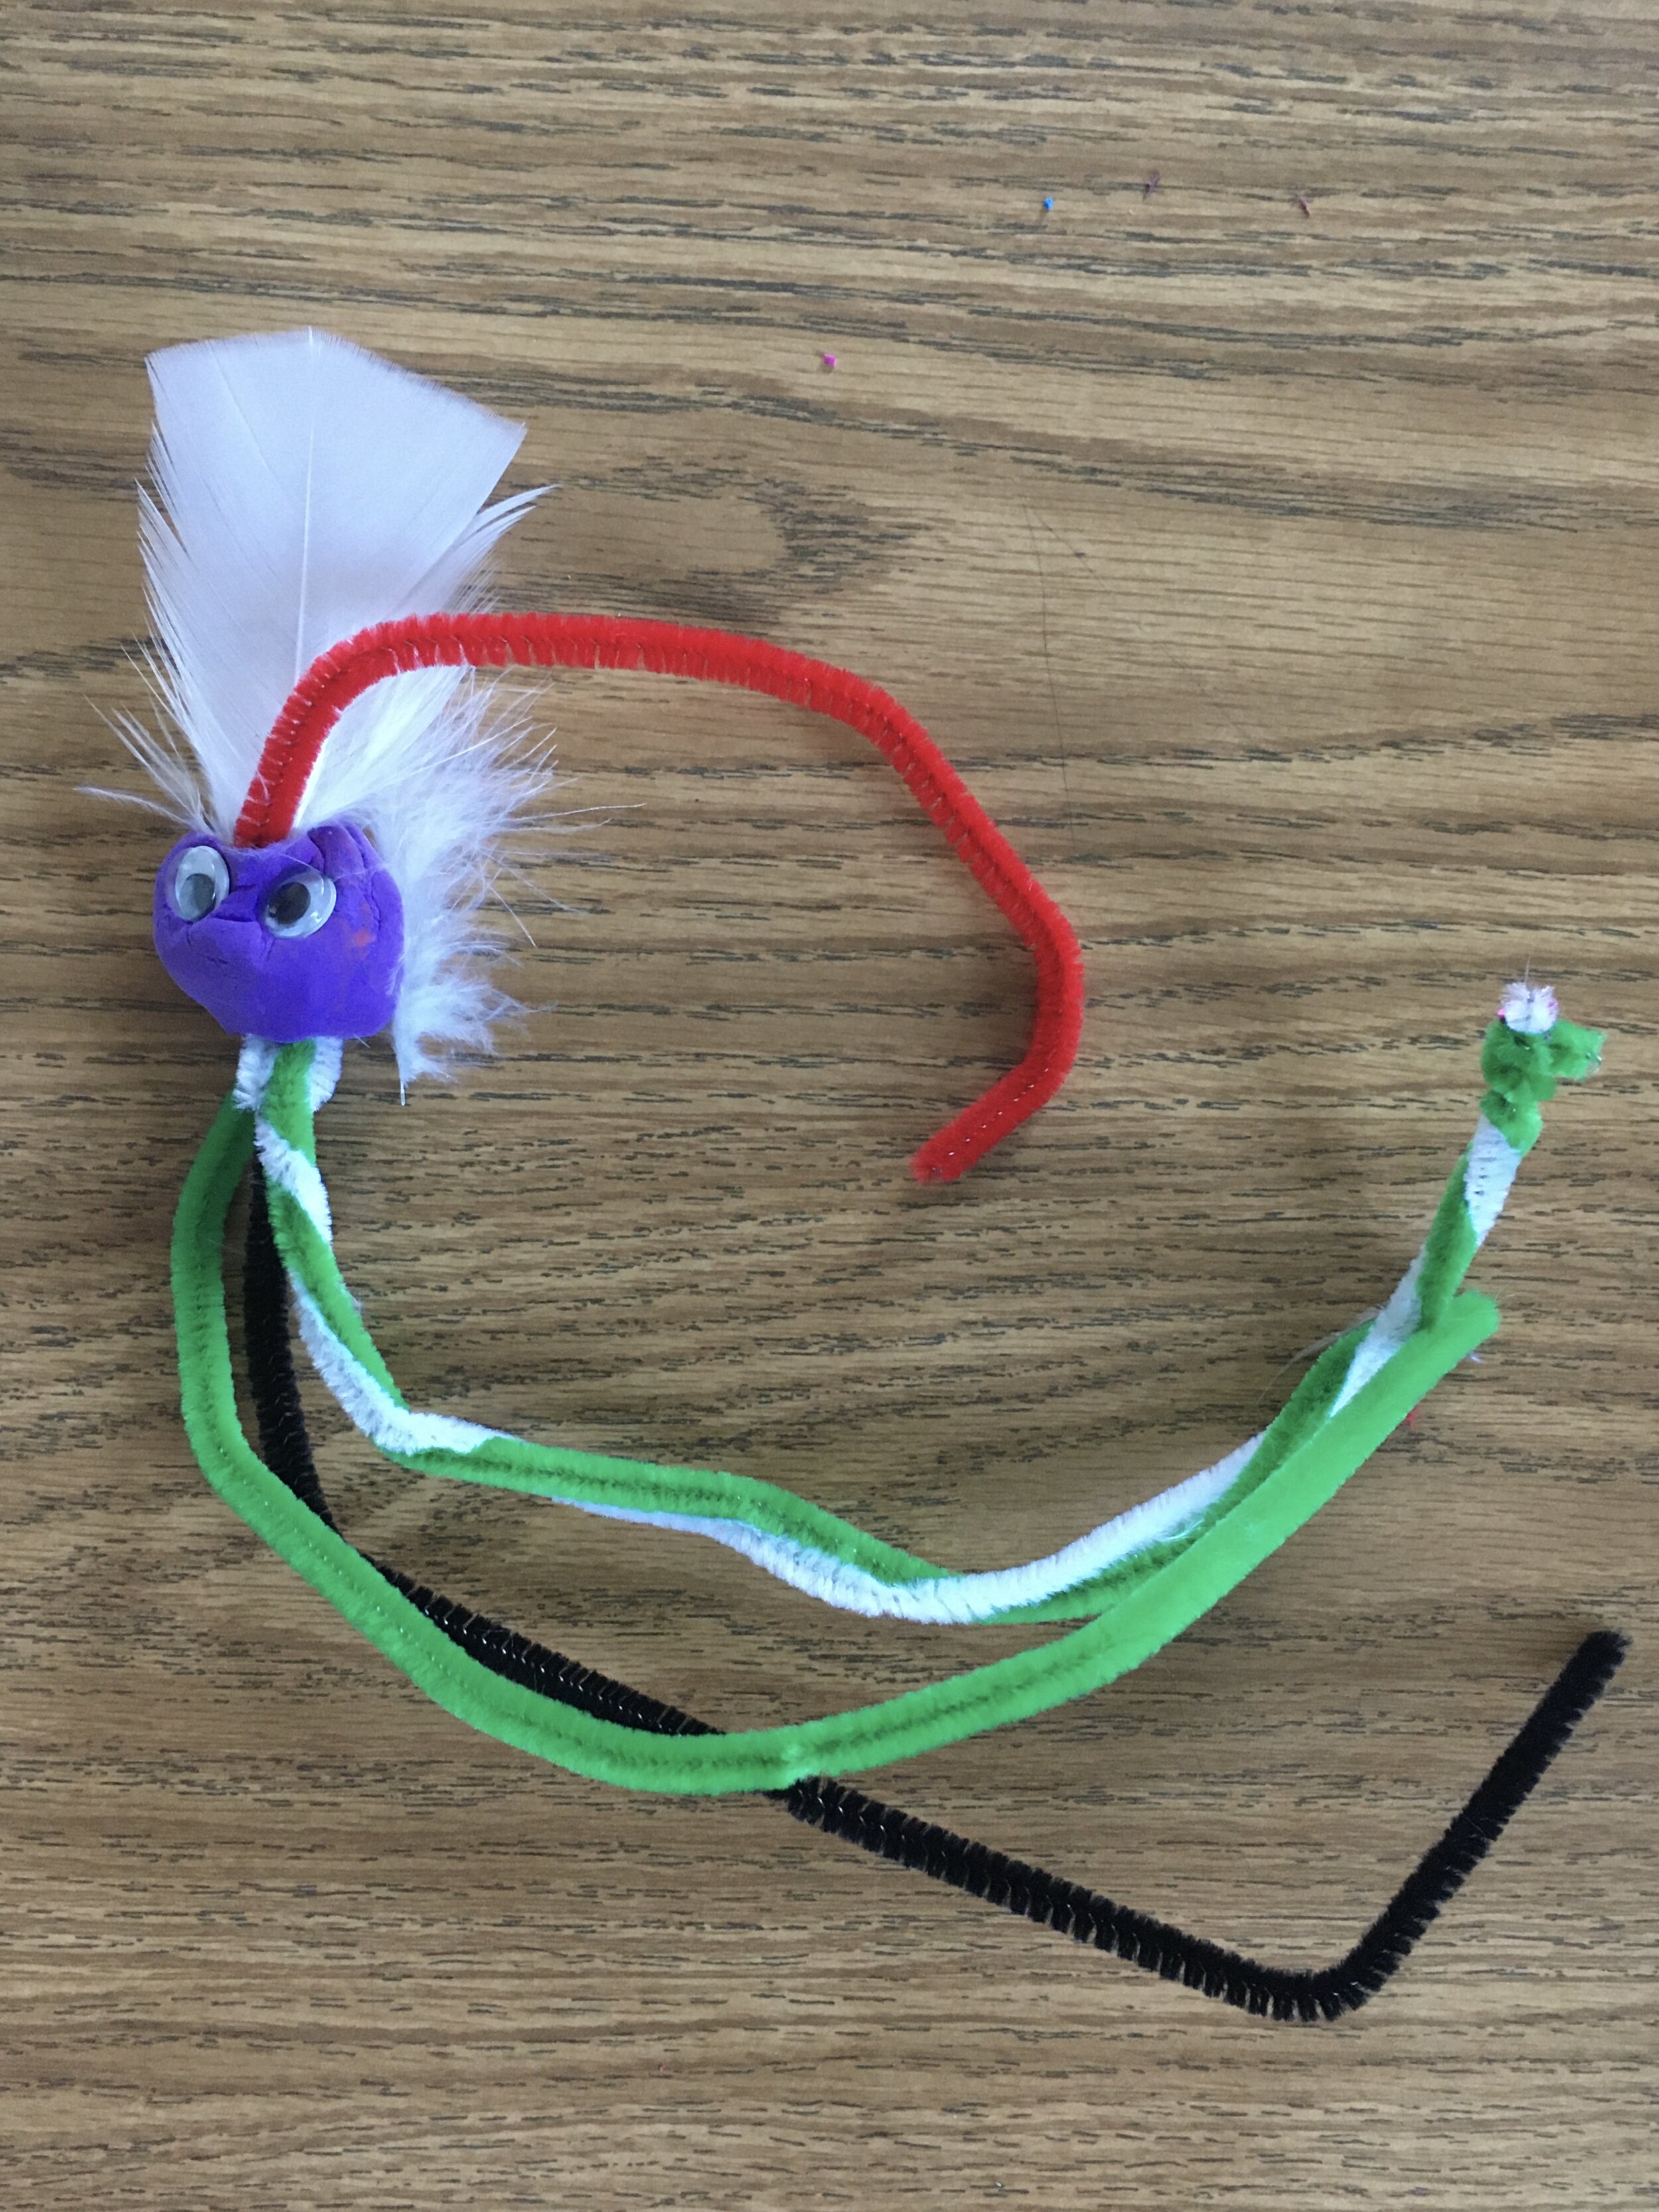
Students will be creating their own mythical creatures of clay, pipe cleaners, and other craft materials. They will be referencing other cultures, natural occurrences, animals, and other symbols in order to come up with their own creature that has a positive effect on the world.


“BIG IDEAS”/ ESSENTIAL QUESTION(S)

-       What is the difference between myth and fact?

-       How could we make the world be a better place?

-       What does a better world look like?

-       How could we translate ideas into 3D objects?


STUDENT OUTCOME OBJECTIVES

  1. Students will learn to model clay

  2. Students will be able to translate written ideas into 3D objects

  3. Students will be able to come up with a creative explanation or solution to one of the world’s occurrences or problems.


PRIOR KNOWLEDGE

Students will need to know the basics of sculpting 3D works out of clay materials, have an understanding of the world around them, and be able to translate what they have written into an art form.


LESSON PREPARATION TIMELINE 

2.5.2020: Set up date for teaching

2.8.2020: Schedule and confirm with Lynda

2.12.2020: Meeting with Lynda, order supplies

2.14.2020: Receive supplies

2:16.2020: Turn in lesson plan

2.17.2020: Finish power point/ any materials/ demo materials

2.19.2020: Final regular teaching day with students, as well as check in with class and teacher

2.21.2020: Teaching day, start at 2:15pm


EXAMPLES OF ARTWORK

1.     Hercules and Cerberus by Antonin Pavel Wagner, 1893, Hofburg Palace, Vienna Austria, marble

2.     Figure of Ra-Horakhty, 3rd century bc, Brooklyn Museum of Art

3.     Syrenka, Konstanty Hegel, 1855, Warsaw, Poland, Bronze


ADDITIONAL RESOURCES

http://mermaidsofearth.com/syrenka-the-famous-mermaid-of-warsaw/


ASSESSMENT

Students will have a gallery walk in which they will put their name on a sticky note under their sculpture and the entire class will walk around to see their peer’s creations. The teaching artist(s) will then select a few students who raise their hand so that the students may share what their creature/ mythical being does and what its powers are. The Writing portion will be used as a reference for the student and will help them put ideas into words and brainstorm. These writings will also be picked up at the end of the lesson and will be used as part of the teaching artist’s assessment.


MATERIALS

-       Tools for shaping clay

o   Knives

o   Spoons

o   Forks

-       3 (36 Count) Packages of Model Magic Clay (108 .5oz packets total, different colors) - self drying clay

-       Various Craft Materials

o   Pipe Cleaners

o   Buttons

o   Feathers

o   Googly Eyes

o   Post it notes/ engrave


LEARNING ACTIVITIES AND TIMING

1.     Prep room

a.      Have everything set up, about 18 packs of clay for each table, encourage students to share, a few materials in addition

2.    Begin Lesson

a.     Powerpoint and questions about Myths (Greek/ Nordic/ African/ Aztec etc.)

b.     Have students talk and participate, start generating ideas

c.     Do writing first

                                               i.     Powers

                                              ii.     Colors

                                             iii.     Name

                                             iv.     Are they helpers? Do they interact with nature? Are they like animals? How do they make the world a better place?

3.     Demo

a.     Demo with clay and how to use it (Demo in Circle or on overhead)

                                               i.     Mixing colors

                                              ii.     Blending

                                             iii.     Sticking eyes on things

                                             iv.     How much clay each student should take

                                              v.     Remind students that clay will dry in 24 hours and only use as much as they need (3 colors per student and no extra)

4.     Engage Questions

5.   Create creatures

6. Conclude with having a post it with their name and the creatures name)

6.   Share (a few volunteers/ share with a neighbor - maybe a gallery walk

7.    Put away creations to dry overntie + Clean up

                                               i.     Be clear about clean up - ask them what clean up means to them

                                              ii.     Make sure figurines are put away so that they can dry completely-leave for the weekend, clay takes 24 hours to dry properly

                                             iii.     Have creations put away in a safe place to dry over-night or over the weekend in the classroom. Do not take creatures home 


TEACHING ARTIST REFLECTION

Possible issues include:

-       Students will be distracted and talk/ uses materials not for their intended uses

-       Students will have creative blocks and will be scared to make something

-       Class will run out of model magic clay


This project will fit within understanding history, culture, and literature

Students will share works through a gallery walk and a few students will be selected to speak about their creation

Teaching Artist will keep in contact with class teacher and ask for feedback if possible. There will also be casual conversation with students during the project where the TA asks how the student is doing/ feeling

A Shoe's Perspective

A Shoe's Perspective

A Shoe’s Perspective

Grade Level or Age of Participant: Planned for Grade 5 students, valid for any age.

Duration: 2 hours (can be split over two sessions)

School, Teacher and Classroom: Whittier Elementary International School, Jane Swatosh. Classroom 210

MCAD Teaching Artist: Anavi Mullick

Number of Students: 30

VISUAL ARTS CONTENT OR STANDARDS

Code: Visual Arts 5.5.2.2.1

Grade: 5

1. Strand: Create

2. Generate and develop original artistic ideas

1. Modify an original idea for a work of art.

CURRICULAR LINK / STANDARDS (if in a classroom only)

Code: English Language 5.6.3.3

Grade: 5

Substrand: 6. Common Core Writing Standards K–5

Anchor Standard: 3. Write narratives and other creative texts to develop real or imagined experiences or events using effective technique, well-chosen details, and well-structured event sequences.

Benchmark: 4. Use concrete words and phrases and sensory details to convey experiences and events precisely.

OVERVIEW OF PROJECT

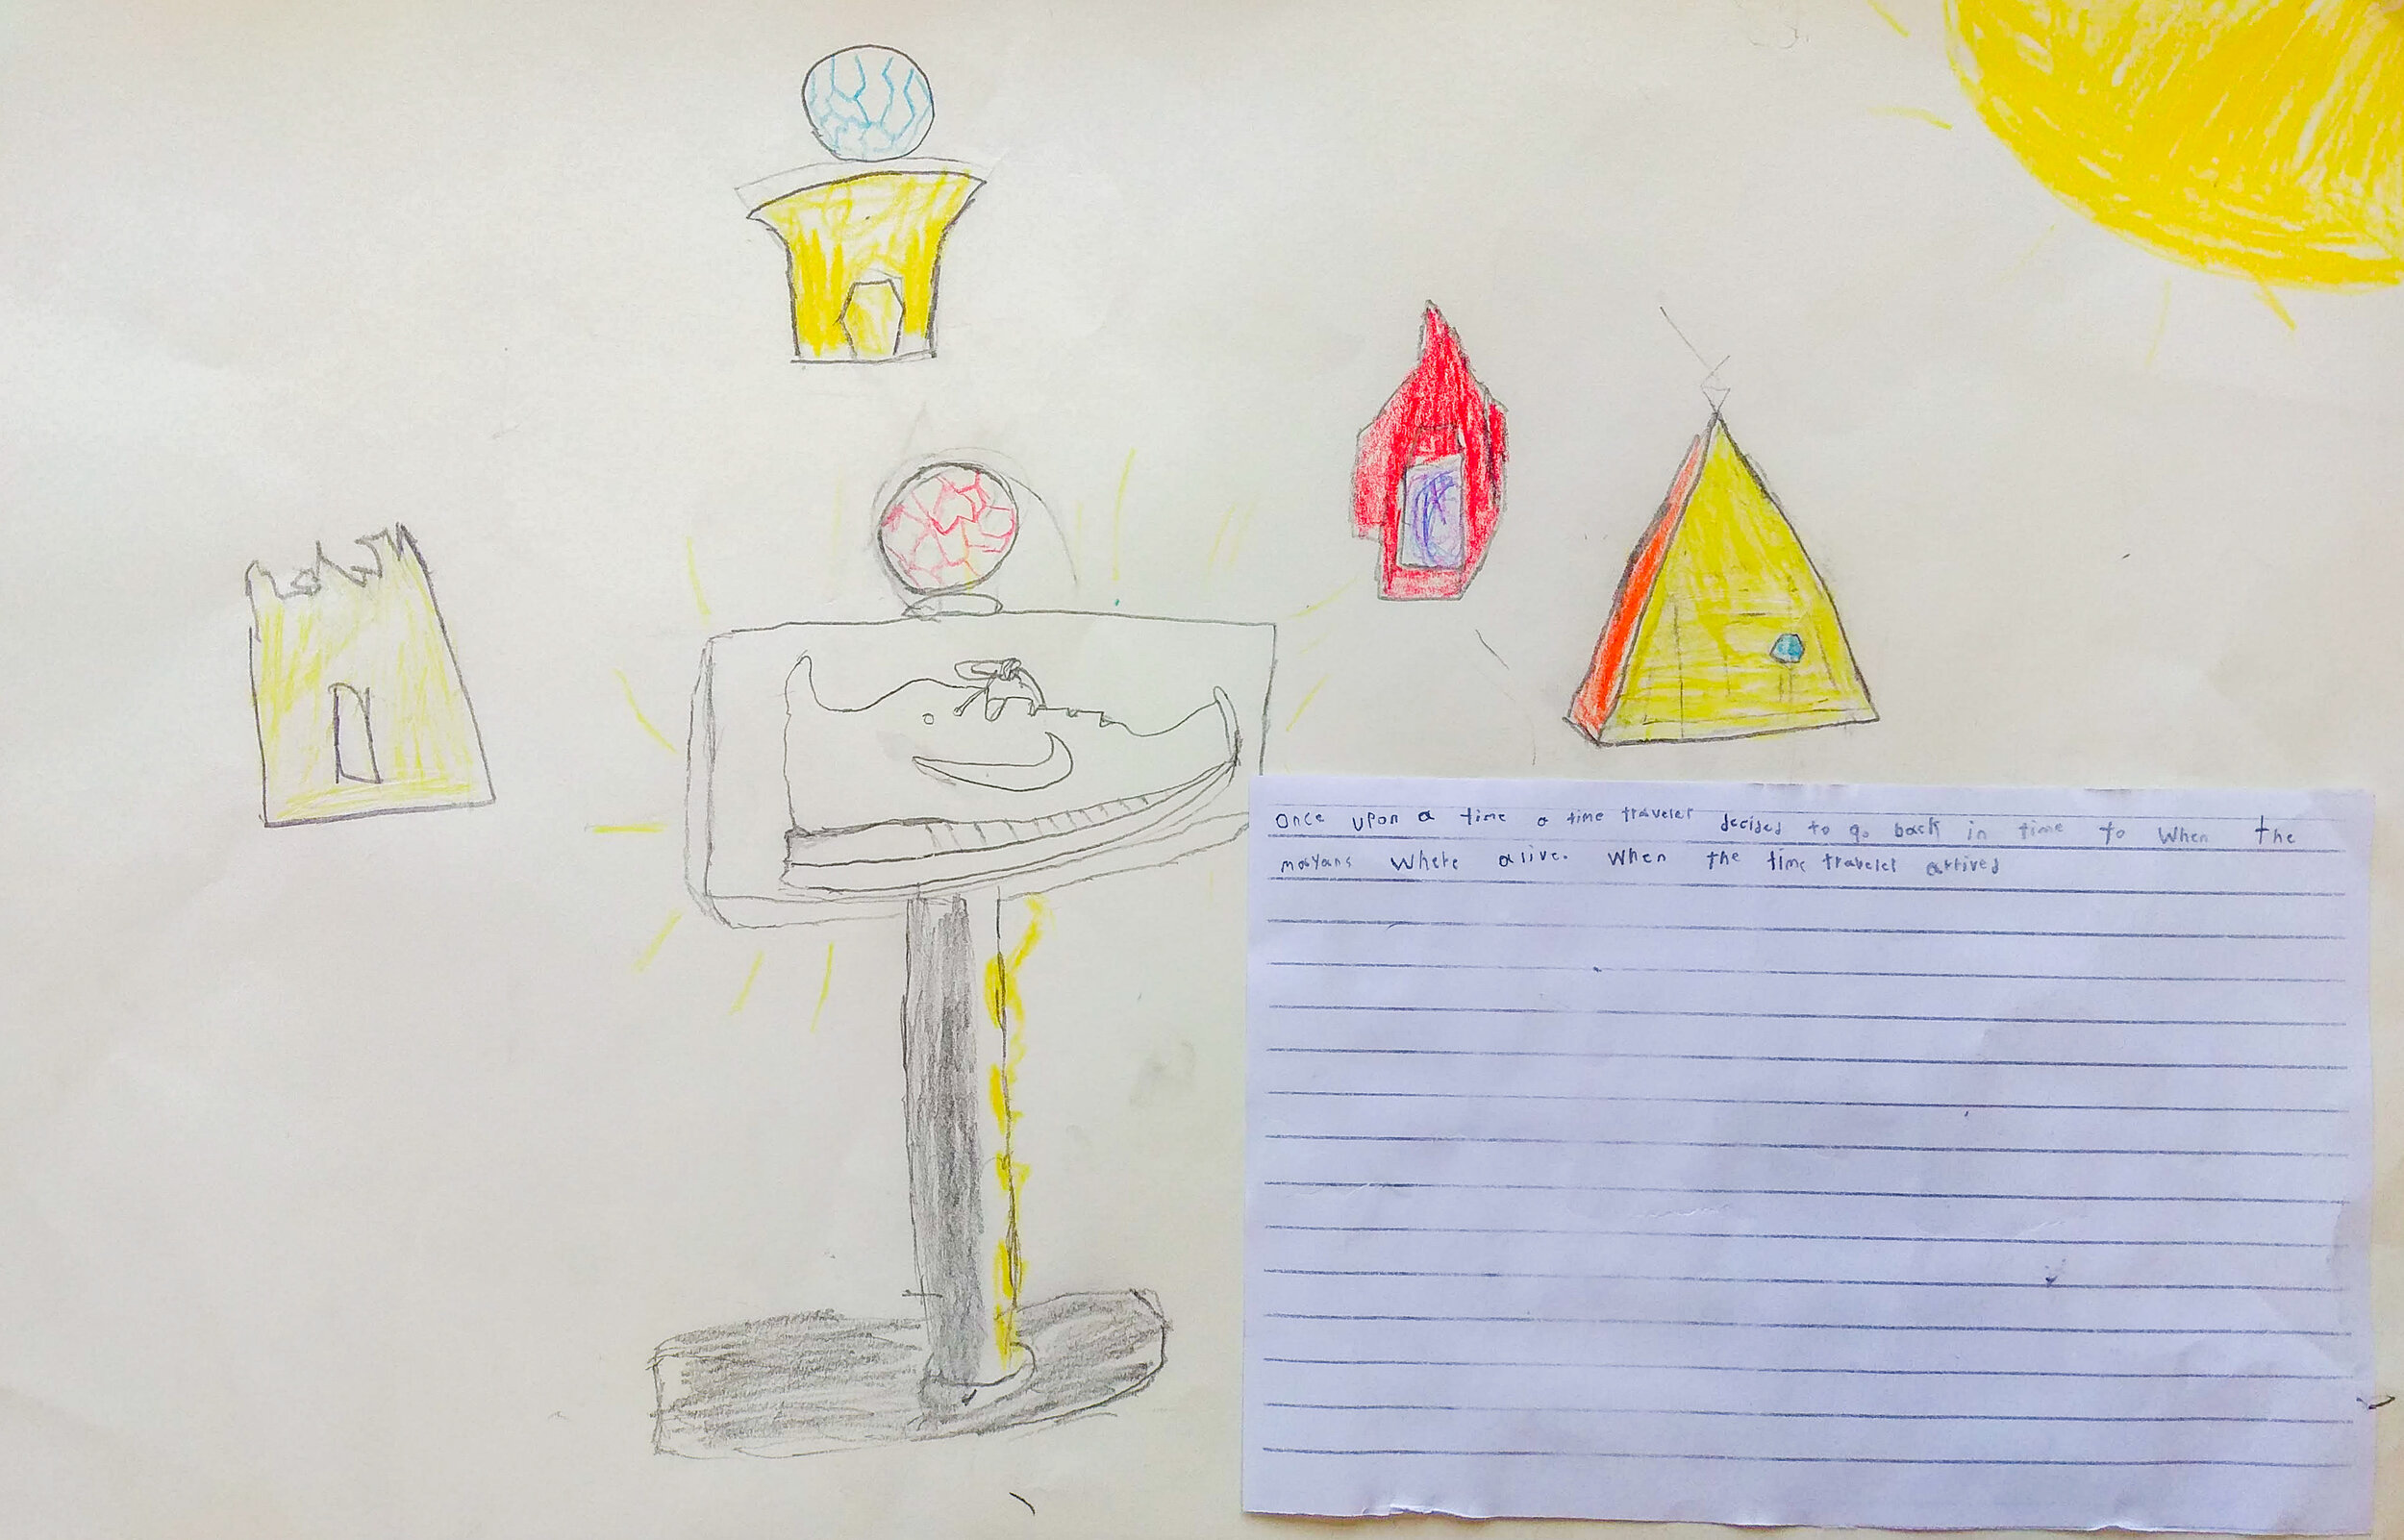
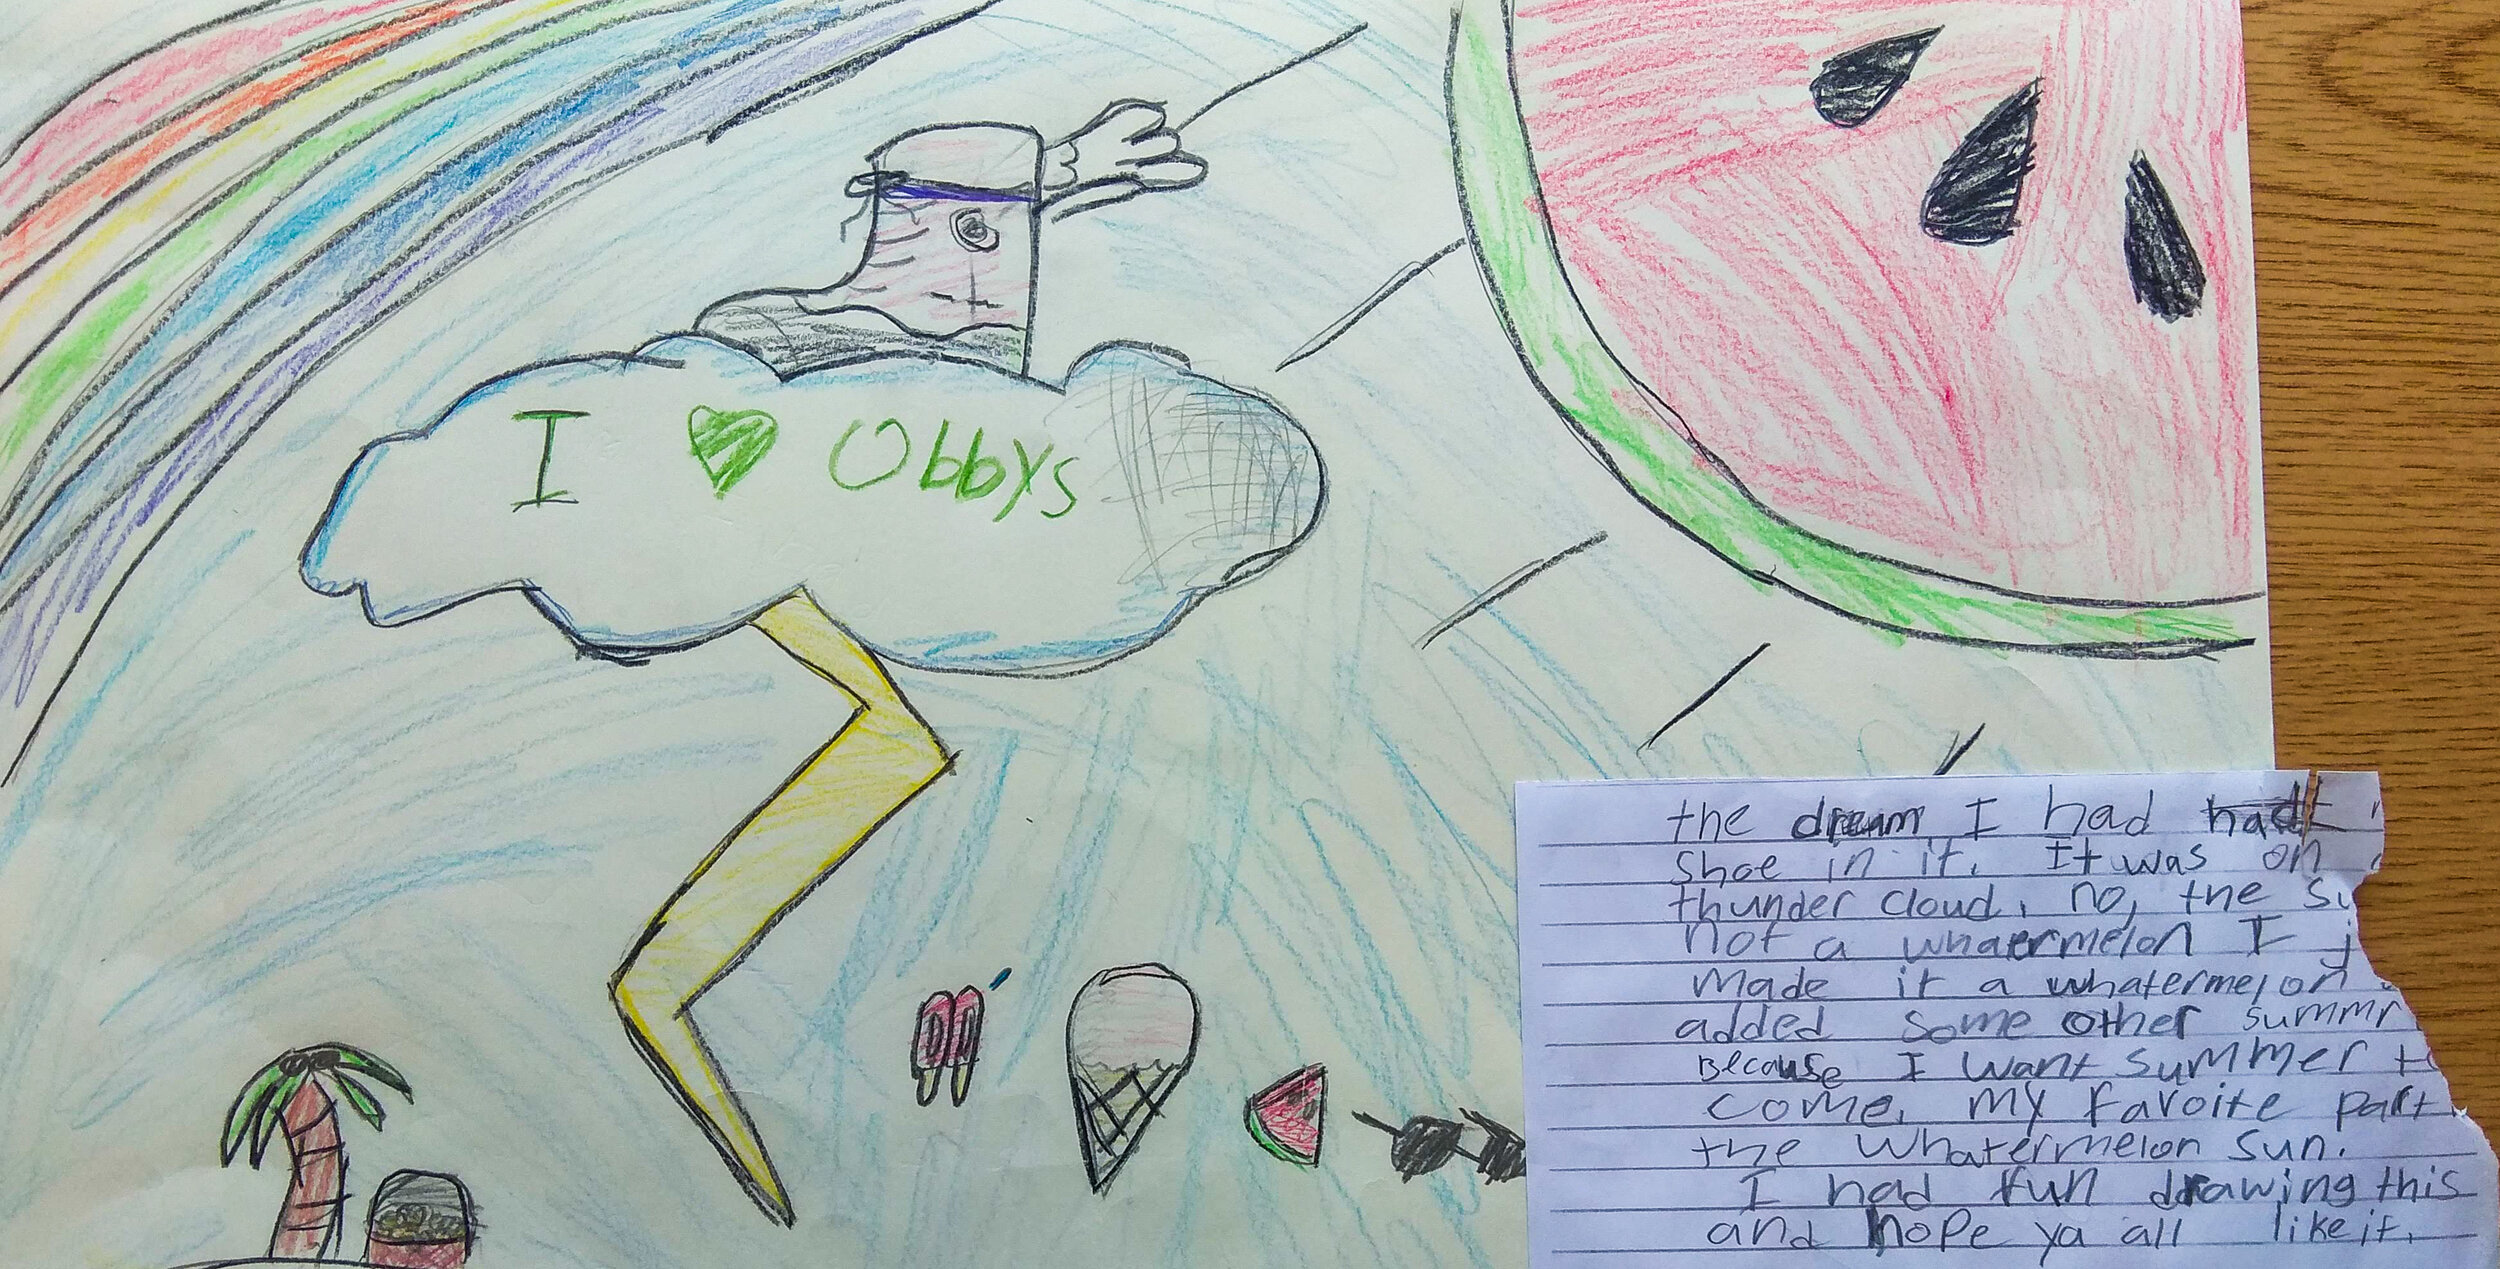
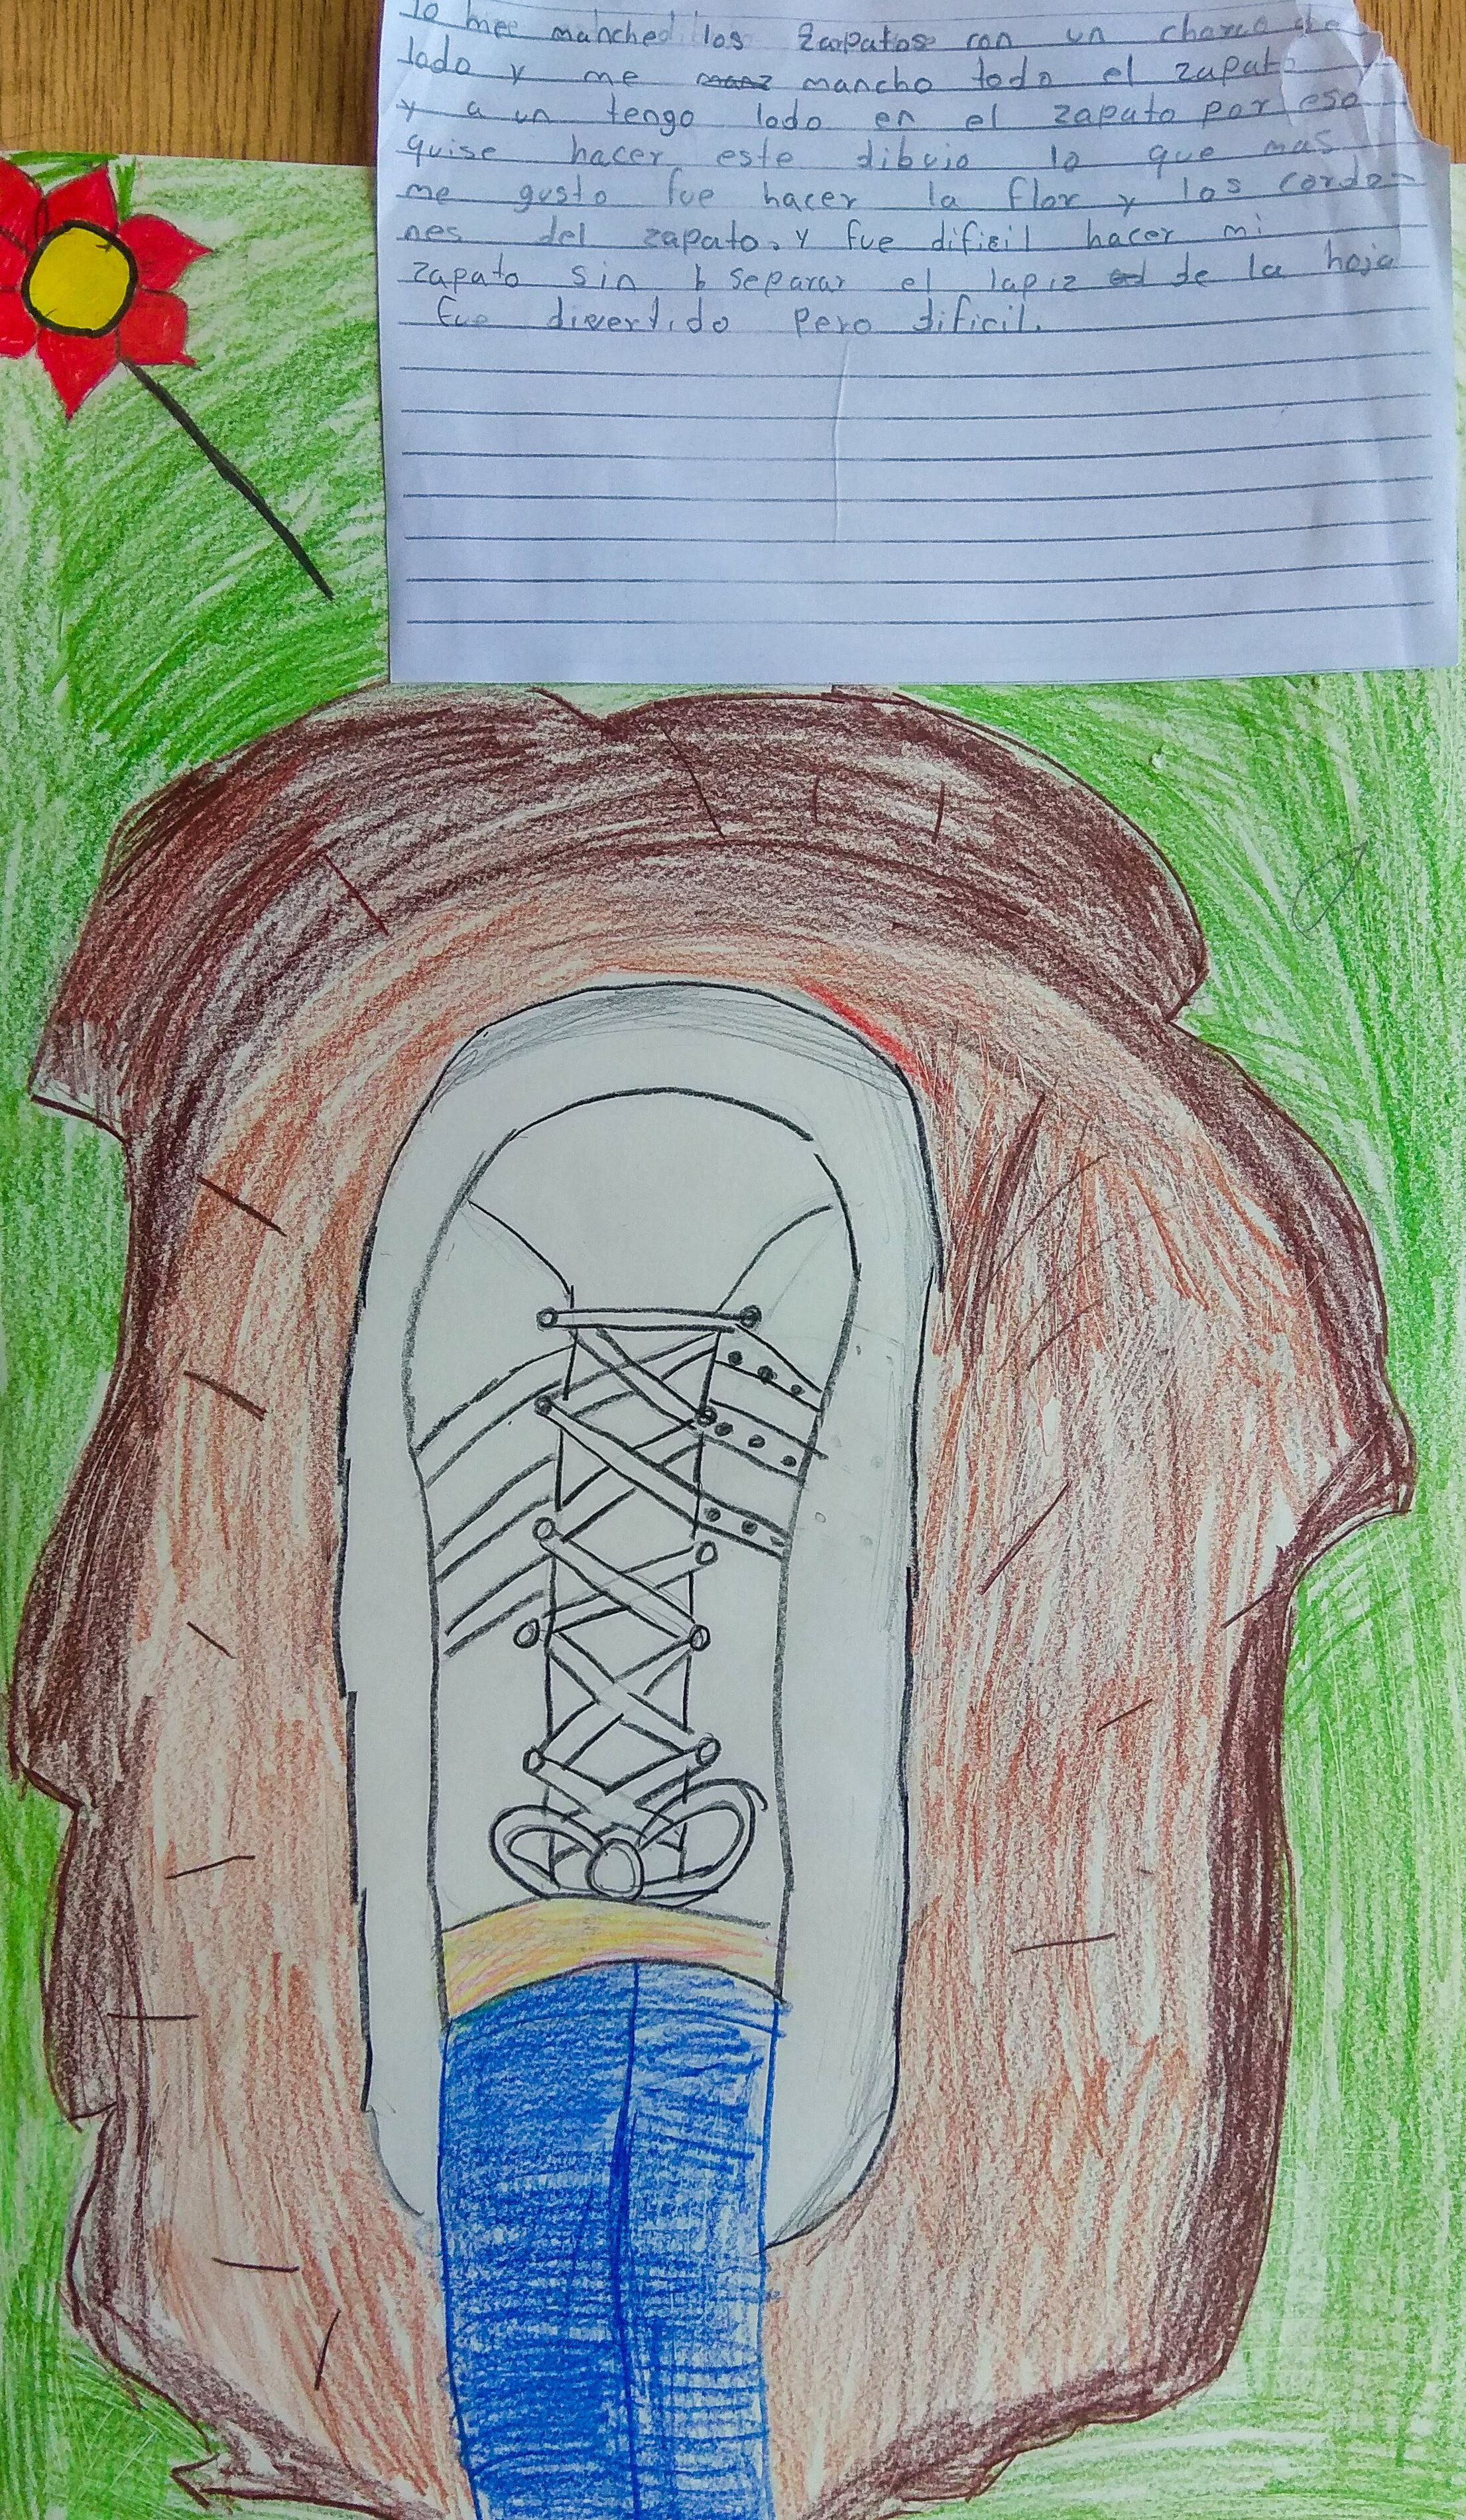
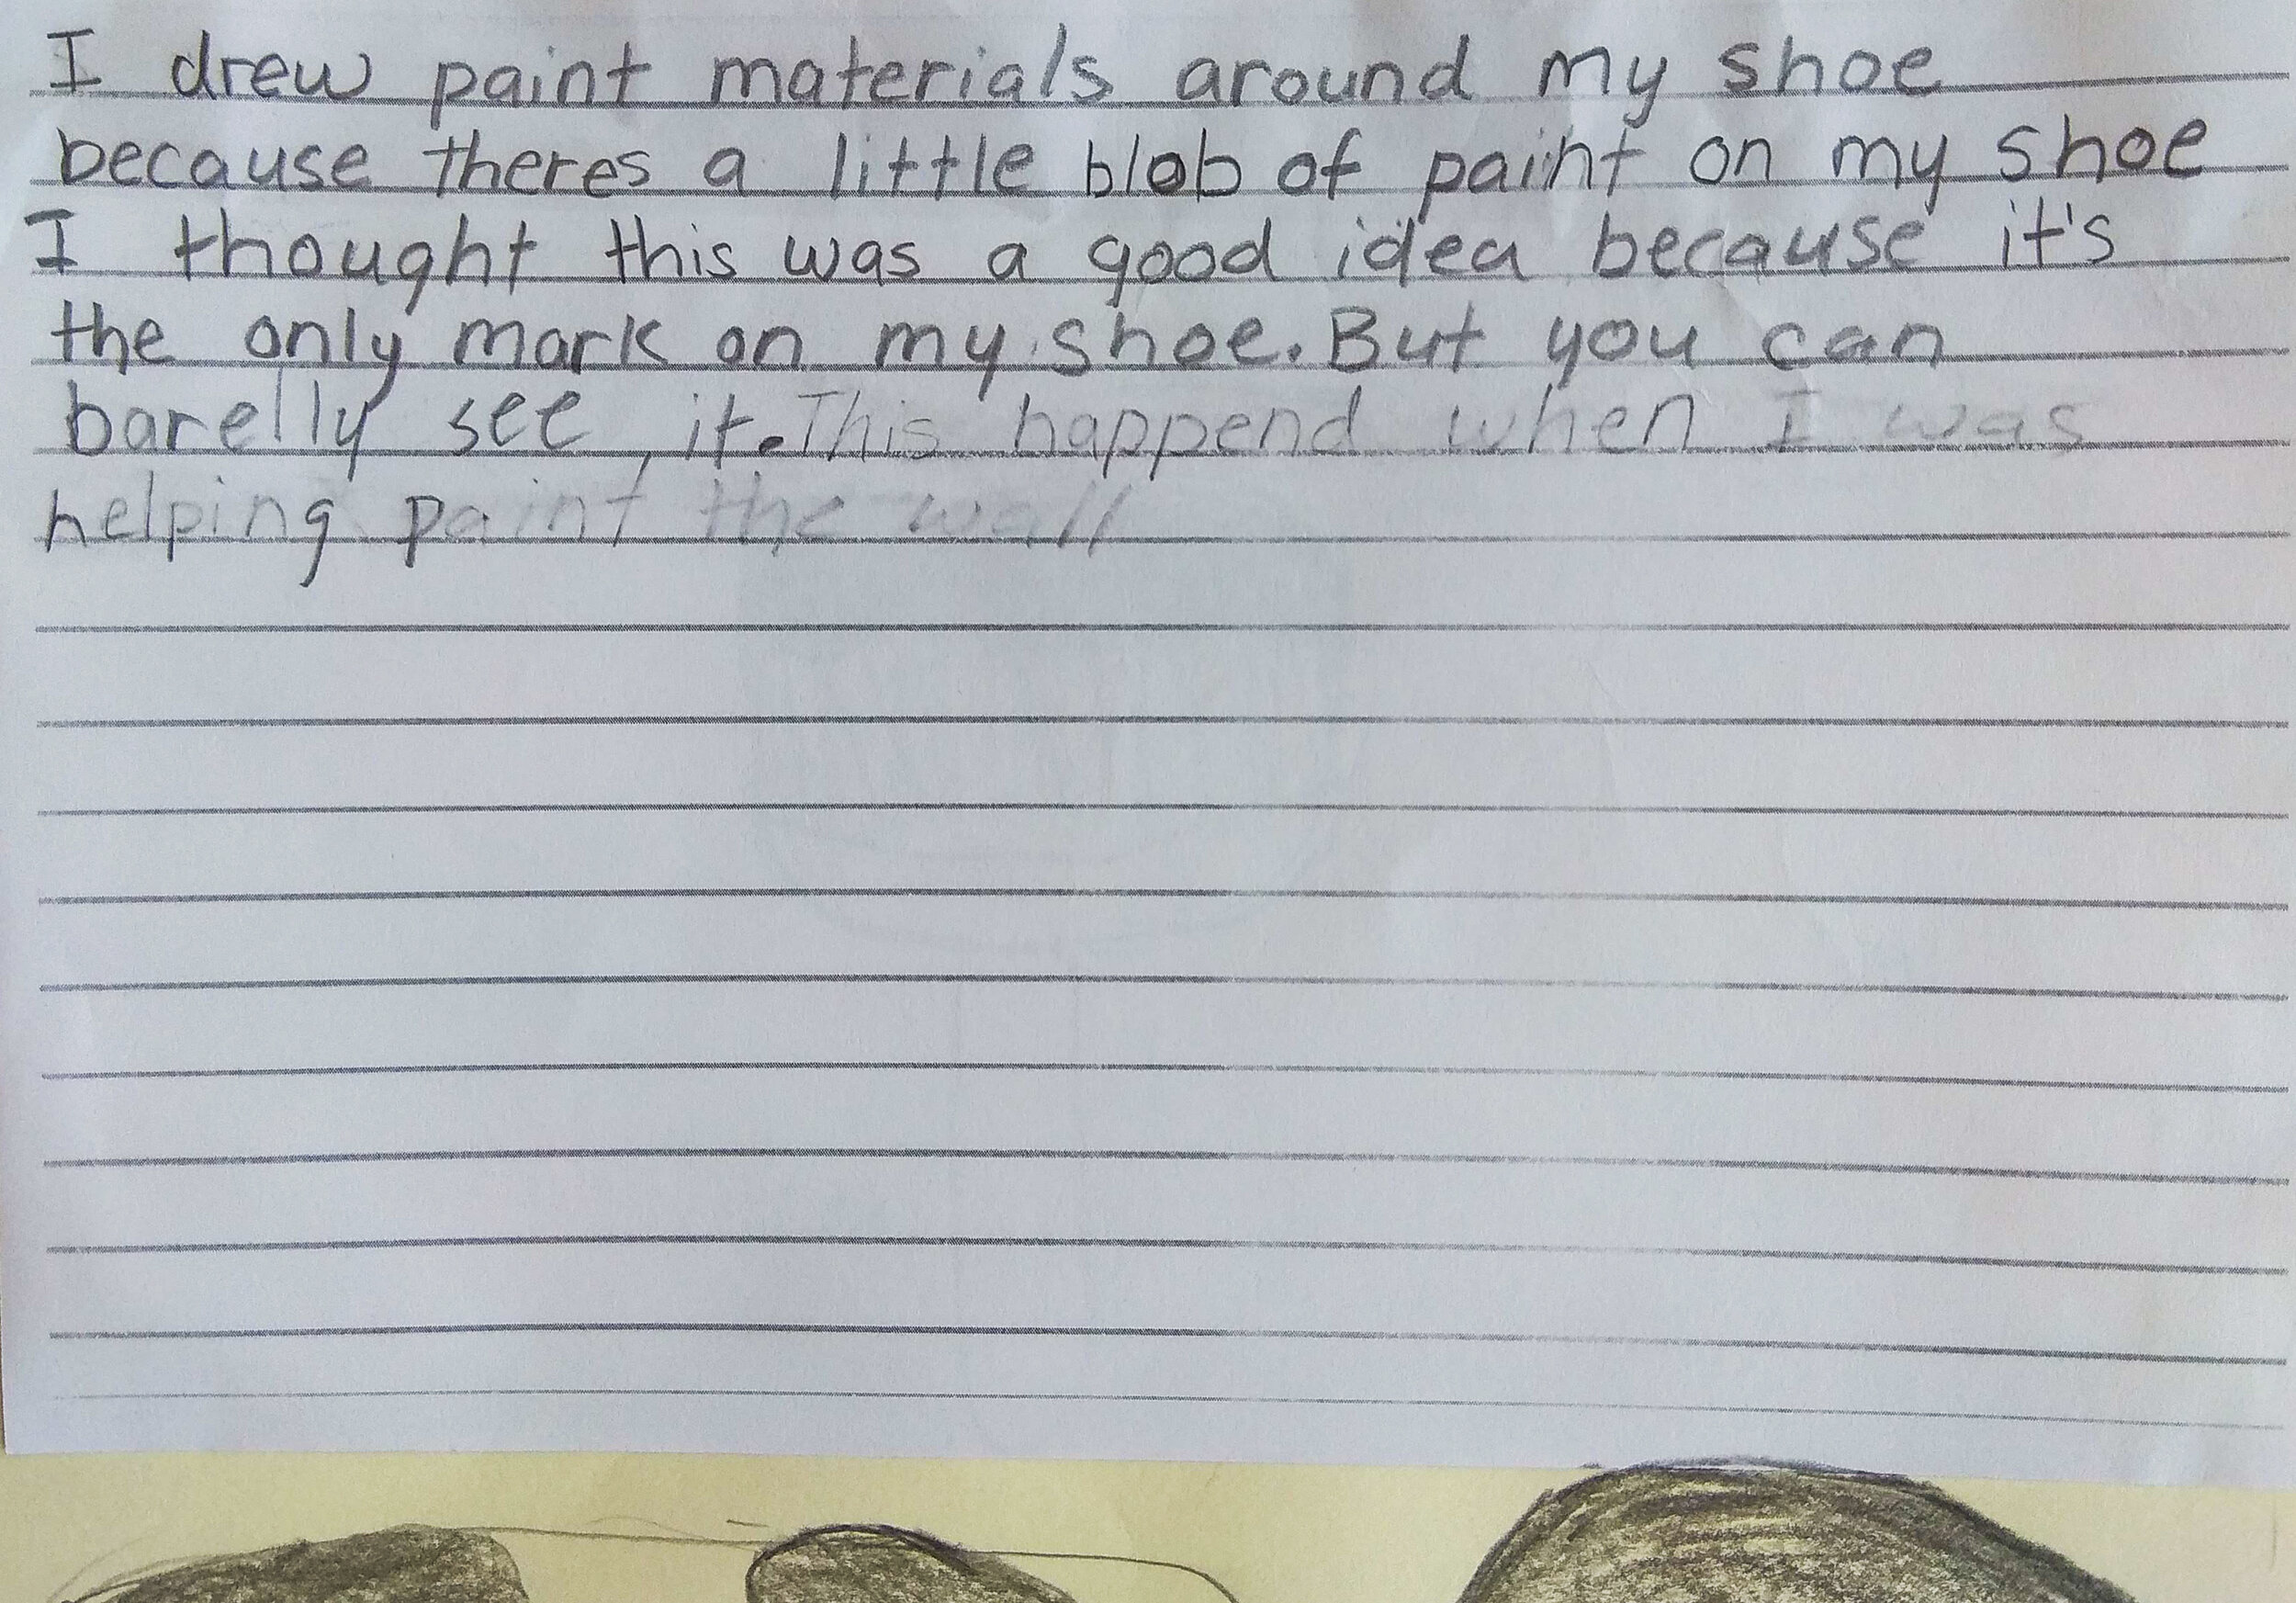
This drawing project focuses on combining observational drawing with storytelling and narrative. Students will do a contour line drawing of their own shoes, adding visual elements to emphasize their personal stories/narrative.

“BIG IDEAS”/ ESSENTIAL QUESTION(S)

What big idea or question(s) will students explore and wrestle with?

How do you learn to draw what you see, not what you know? How do you tell a story through images?

STUDENT OUTCOME OBJECTIVES

Students will:

1. Develop their creative thinking skills as they create narratives of a non-living object.

2. Expand their observational drawing skills by slowing down and following the contours of a still-life object, (contour line drawing).

3. Think about the process of editing, as they will add/remove visual information that contributes to their personally chosen narrative.

PRIOR KNOWLEDGE

- Little or no drawing experience

- Basic writing skills

LESSON PREPARATION TIMELINE

- Brainstorming Meeting with Lynda Monick-Isenberg (02/20/2020)

- Planning Backward Model Draft 1 (02/23/2020)

- Revised Planning Backward Model (02/25/2020)

- Create Materials Budget

- Create exemplar

- Reference Artists

- Gather materials

EXAMPLES OF ARTWORK

Allison Kunath- Seven years of contour line portraits

Drawings by previous students who participated in a similar lesson plan.

Julie Mehretu, Alberto Giacometti- Gesture Drawing

ADDITIONAL RESOURCES

http://www.allisonkunath.com/blind-contour-portraits

http://www.iansklarsky.com/portraits


ASSESSMENT

- One-word verbal share that describes their experience of the lesson.

- Written feedback; what did you like most about today? What did you find challenging?

MATERIALS

Supplies needed for each student

- Paper - 3 sheets each, 12”x 9.5” ( One for blind contour drawing, one for contour drawing/coloring and one to place still-life object on), extras.

- Graphite Draing Pencil

- Color Pencils - assorted colors

- Printed artist works to show students or image to project on white board

- Ruled paper for writing

- Pencil Sharpener

LEARNING ACTIVITIES AND TIMING

1. Introducing the project (10 min).

- Talk about drawing as a universal visual language, brainstorm with students, different professionals who use some form of drawing. Painter, printmaker, architect, scientist, furniture maker. Show them different kinds of drawings-gestural, contour, etc.

2. Showing artist samples of Blind Contour drawings. (5 min)

- Do a demo of the blind contour drawing process. Do not finish the drawing. Have them watch – and share what they notice about what you did.

3. Blind contour drawing of their shoe. (5-10 min)

- Let them know the winner of this ‘race’ is the last to finish. Suggest they draw as slowly as a snail crawling on the surface of the shoe.

4. A sighted contour line drawing. (20 min)

- Have students reflect on the drawing. What did they notice about the shoe? Ask them to speculate about where the shoe has been, what has it walked through, how did it get here?

6. Coloring (Color Pencils) (20-30 min)

5. Write down their stories. (15 min)

- What does it look like? Has it got colorful shoelaces, long? skinny? muddy? Is its sole worn out?

- Where did it come from? A store? A hand-me-down? Somewhere else?

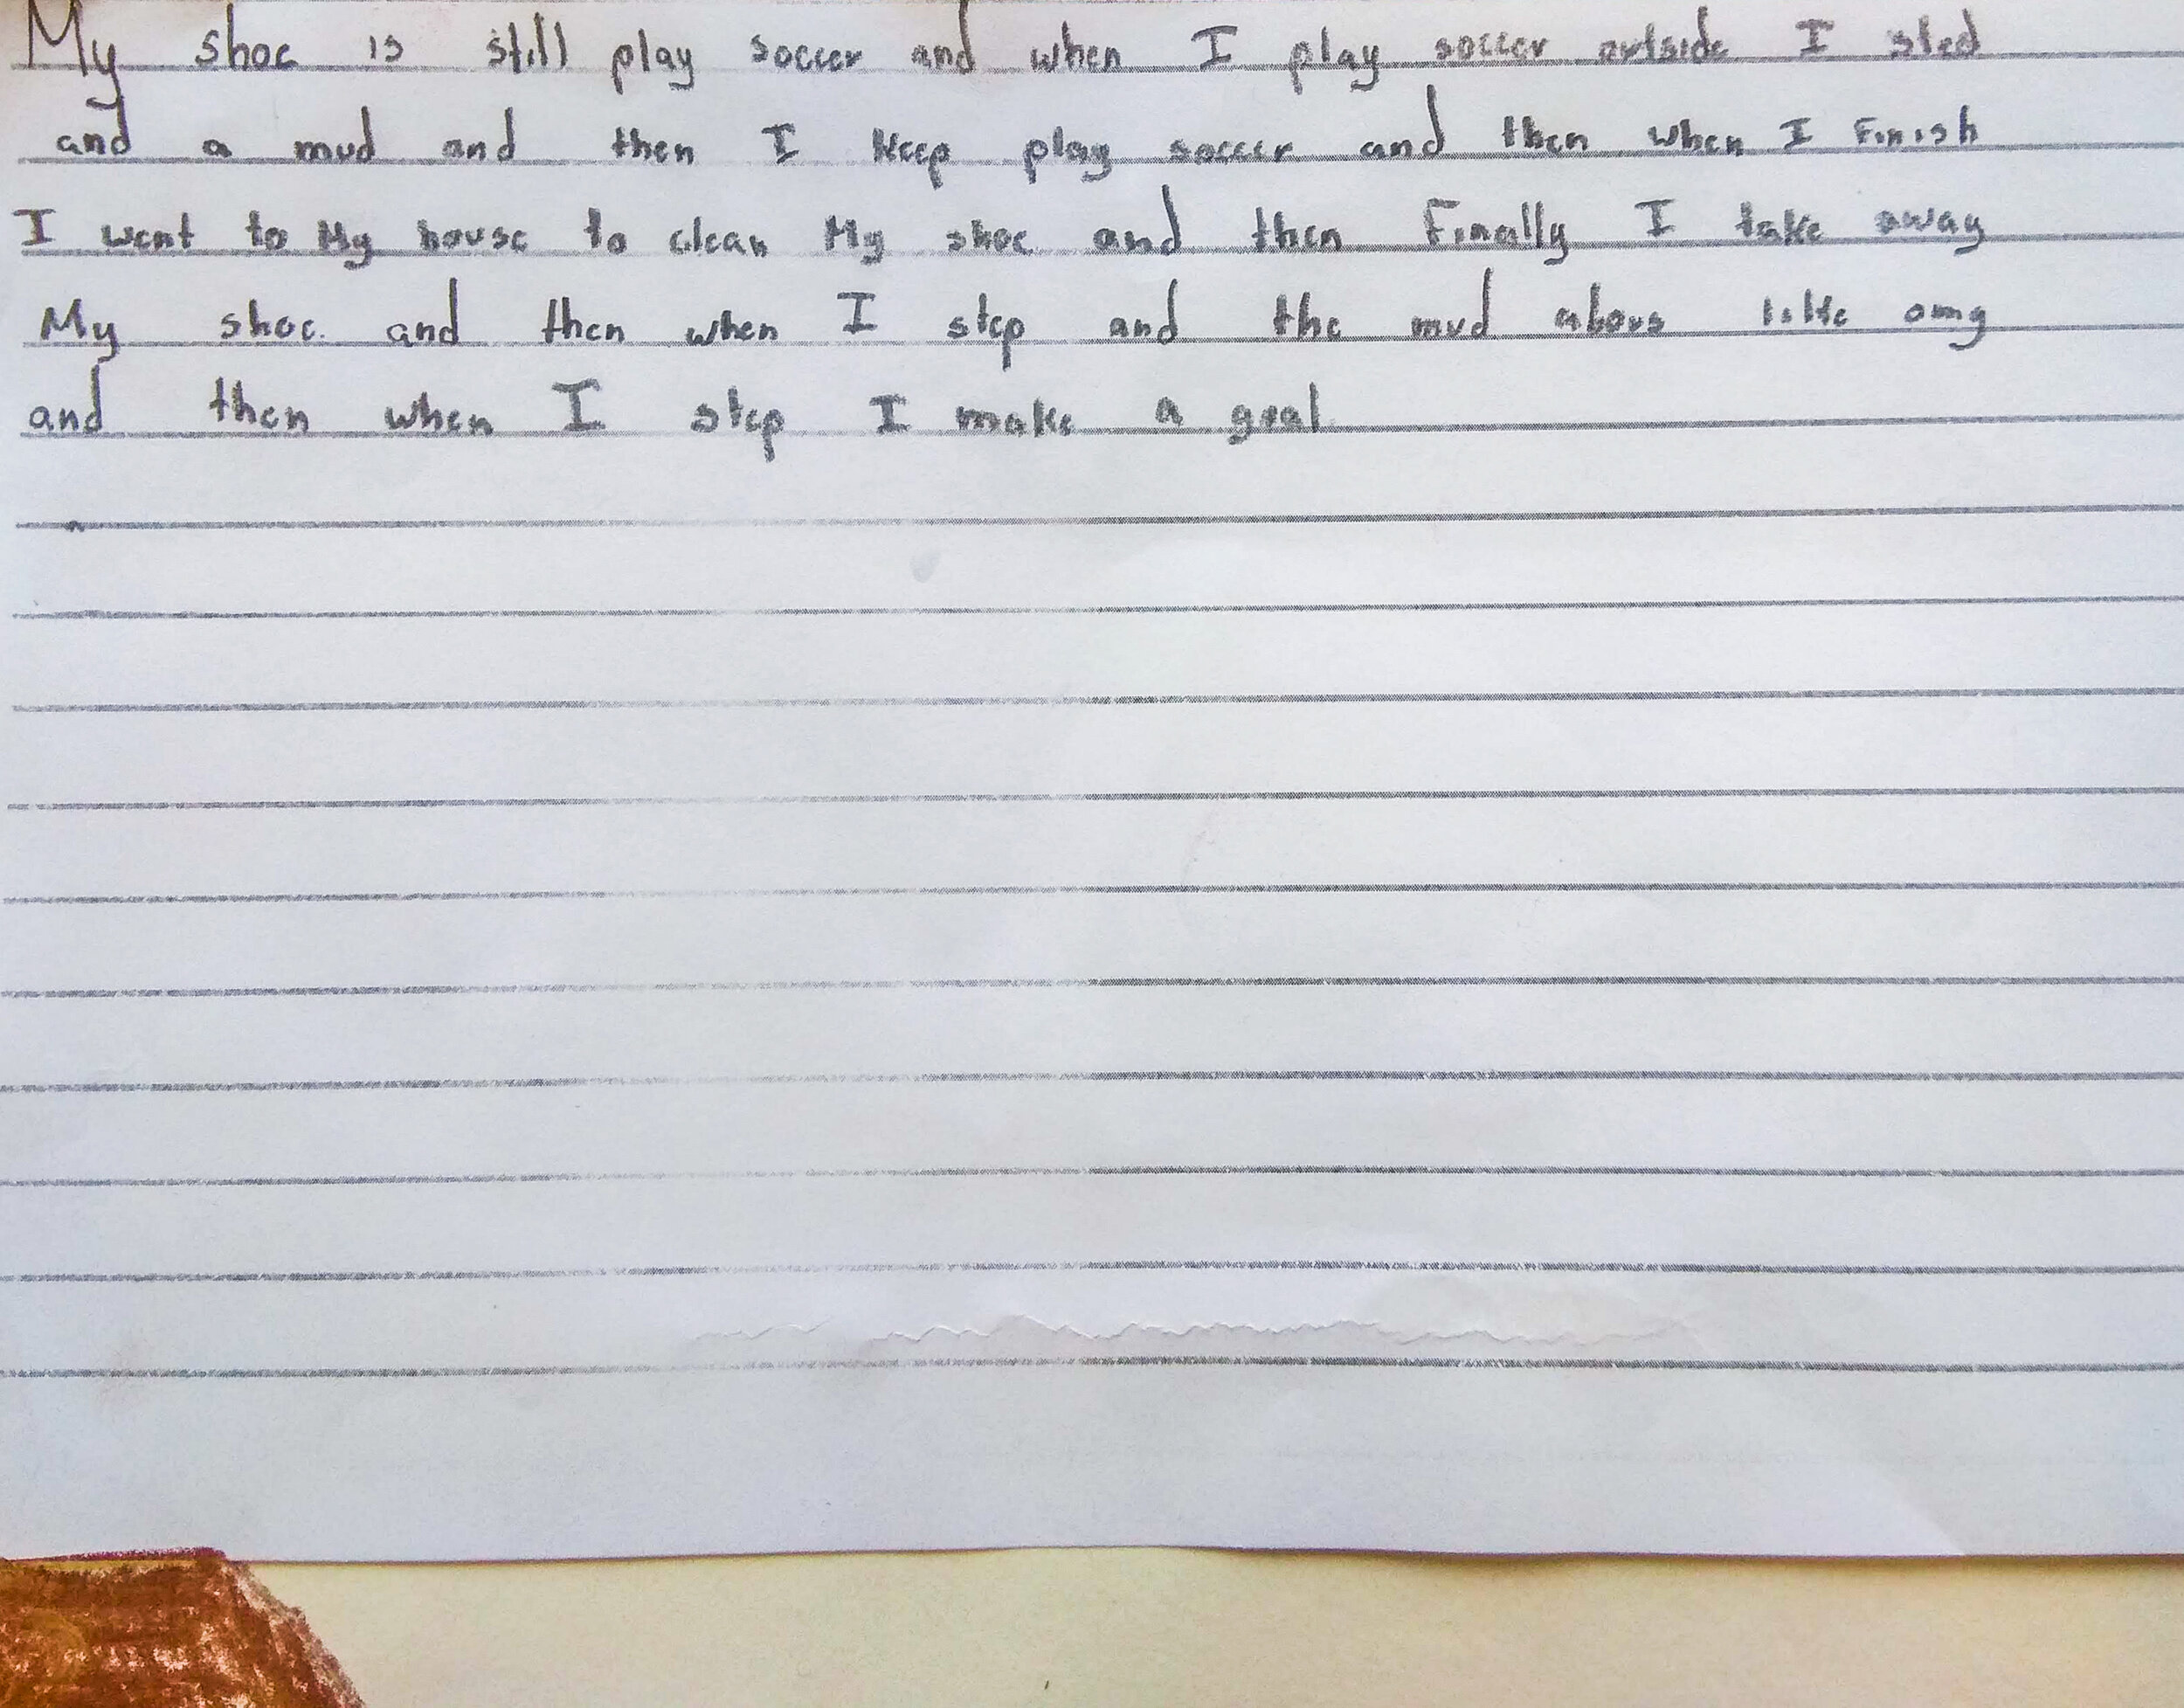
- Think of it as describing the biography of your shoe, or a story from the shoe’s point of view.

- Can be invented/fictional.

6. Sharing their stories (20 min)

- 30 children, maybe a minute sharing, optional sharing.

- Sit in a circle to share.

7. Collect the stories and artwork for documentation purposes.

- Display work around school

8. Evaluation (one-word verbal and two-three written questions) (5-7mn)

etc.

- while sitting in a circle.

- Remind children to write names on the back of the drawing.


TEACHING ARTIST REFLECTION

- Students may find it challenging to come up with their own stories. They might be frustrated that their drawings look different than expected.

- This project relates to their overall curriculum as they have been recently learning to research and summarize their readings and well as write their own fictional stories. The project will address their creative writing skills.

- Students work will be displayed in the hallways of the School

- Feedback will be received from students, teacher, and self-evaluation.


Portrait Workshop

Portrait Workshop

Portraits 

Teaching Team Members: Tanvi Kulkarni 

Age or Grade Level: 5th - 8th  grade

Duration: 1.5 hours for 3 days

Visual Arts Content / Standards

6.1.2.5.1- Demonstrate the characteristics of the tools, materials, and techniques of various two-and-three dimensional media for intentional effects in original artworks.

Overview of Project

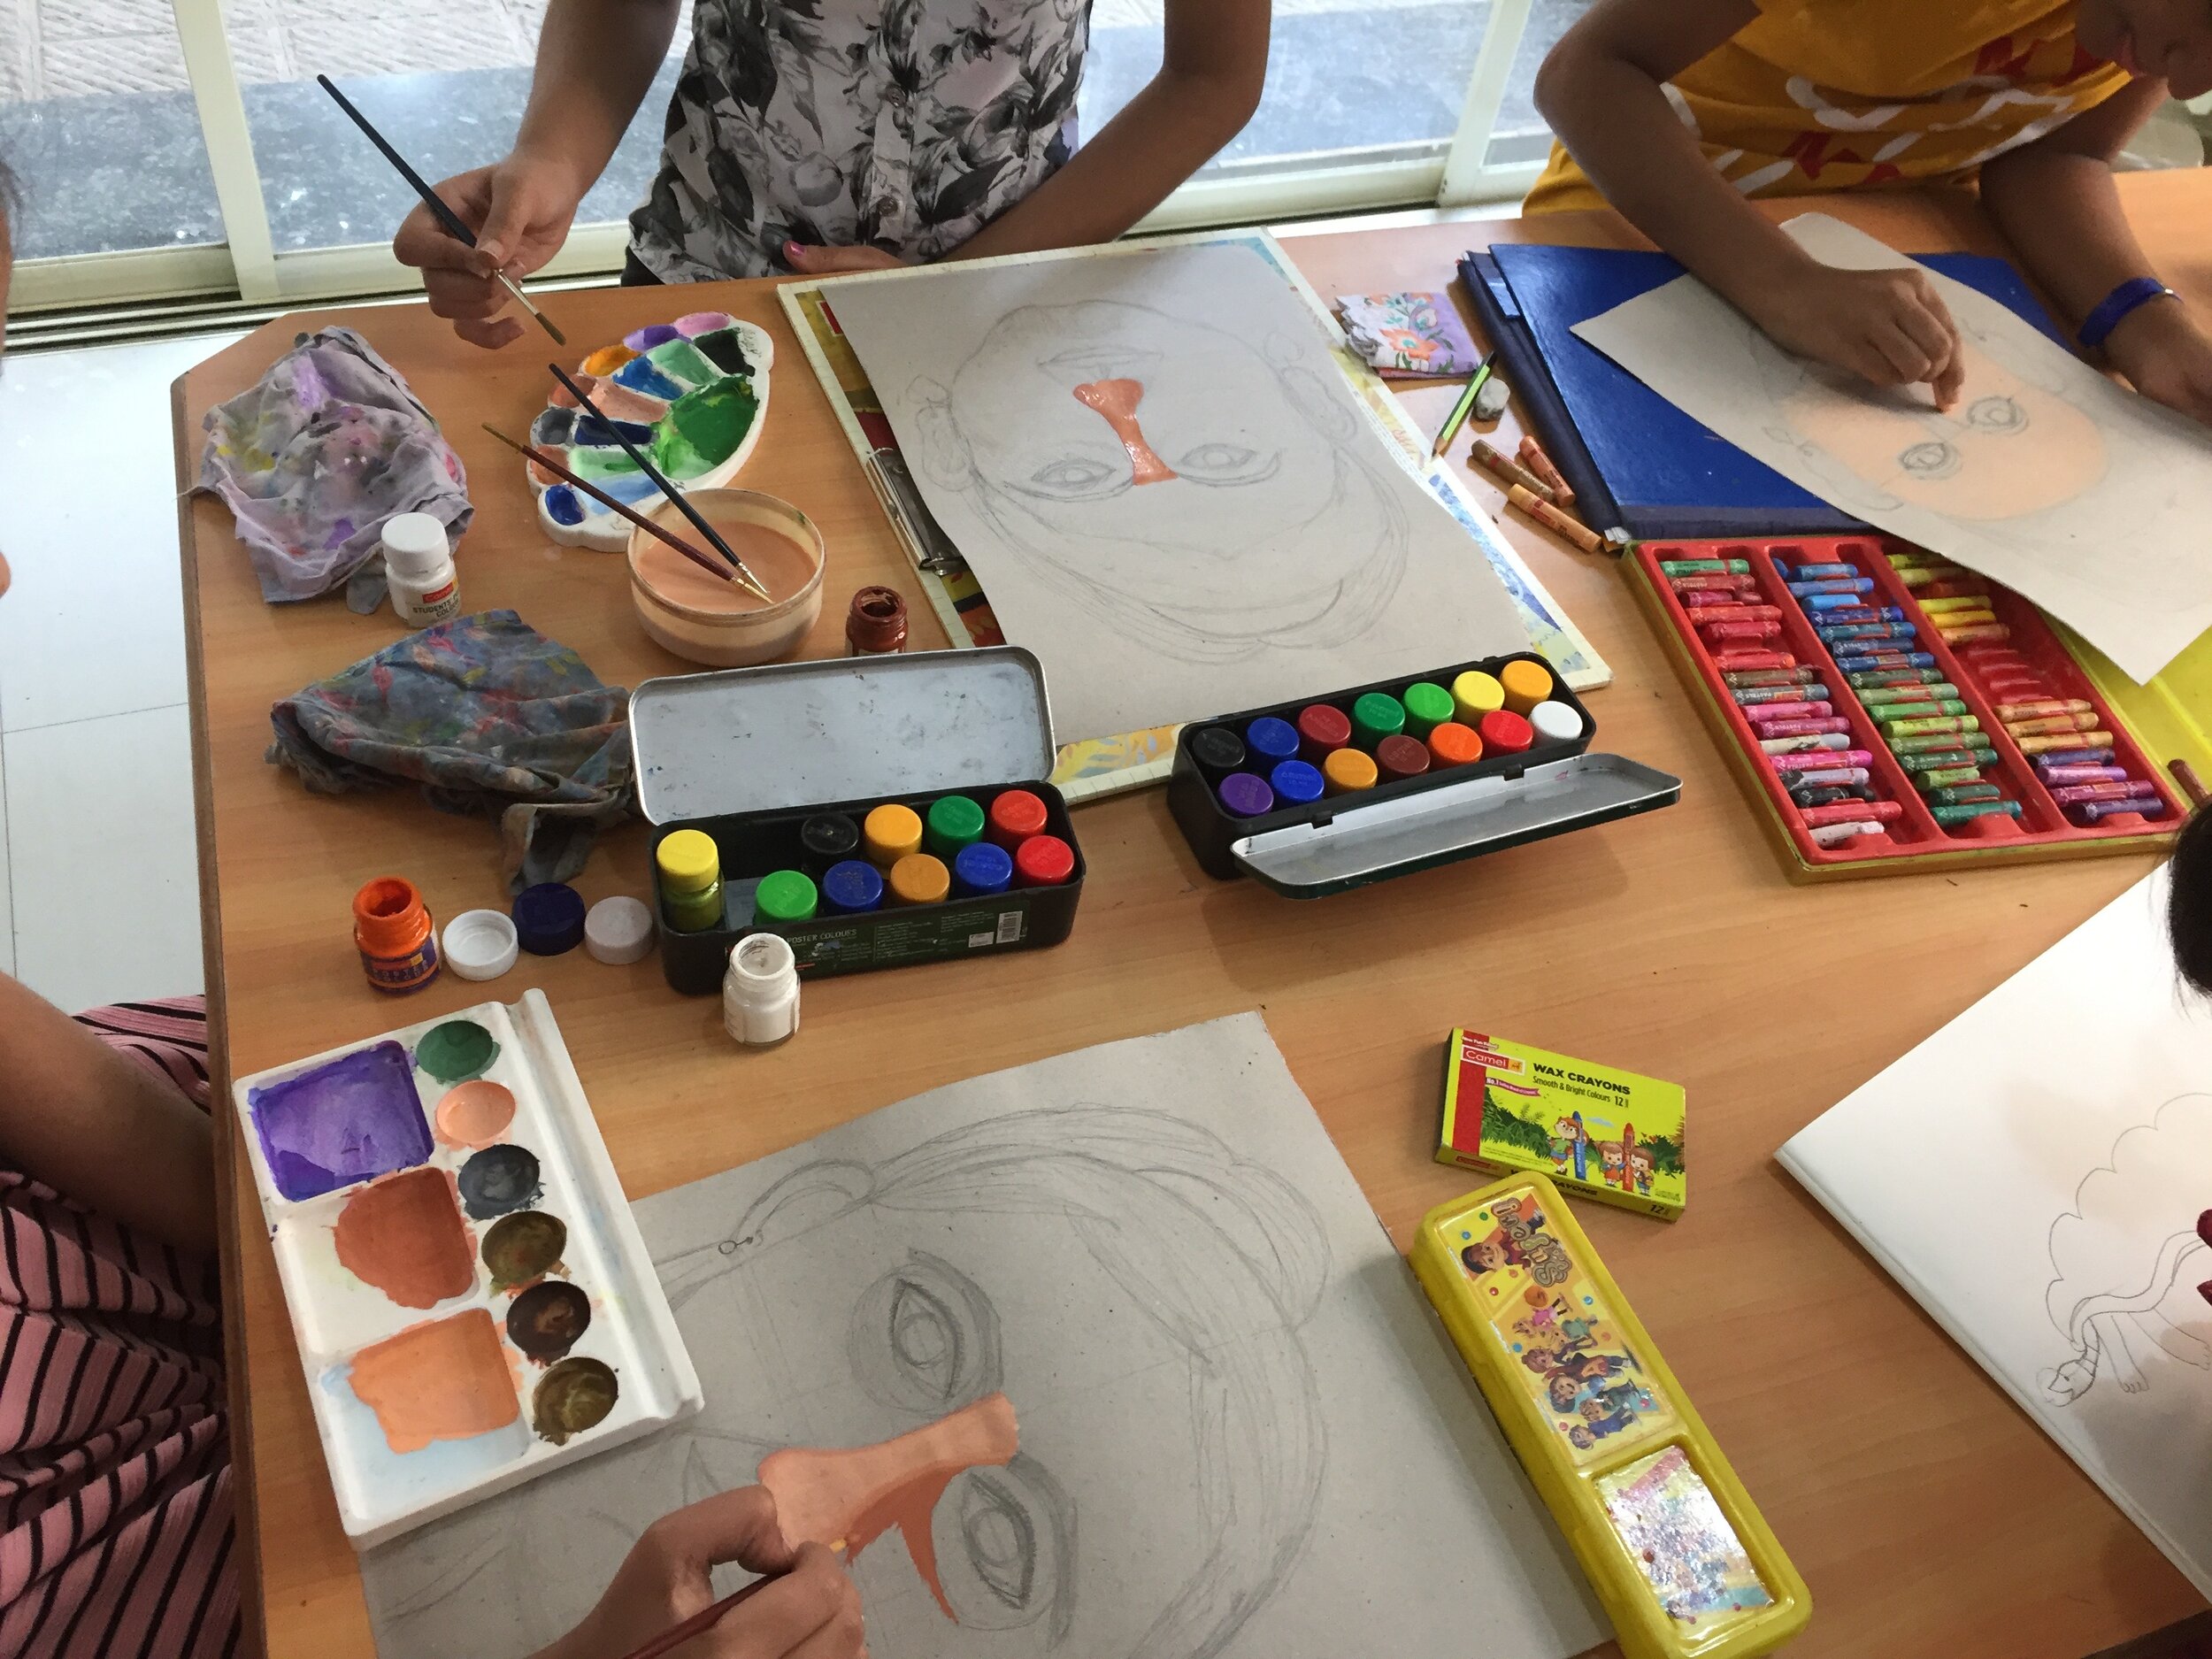
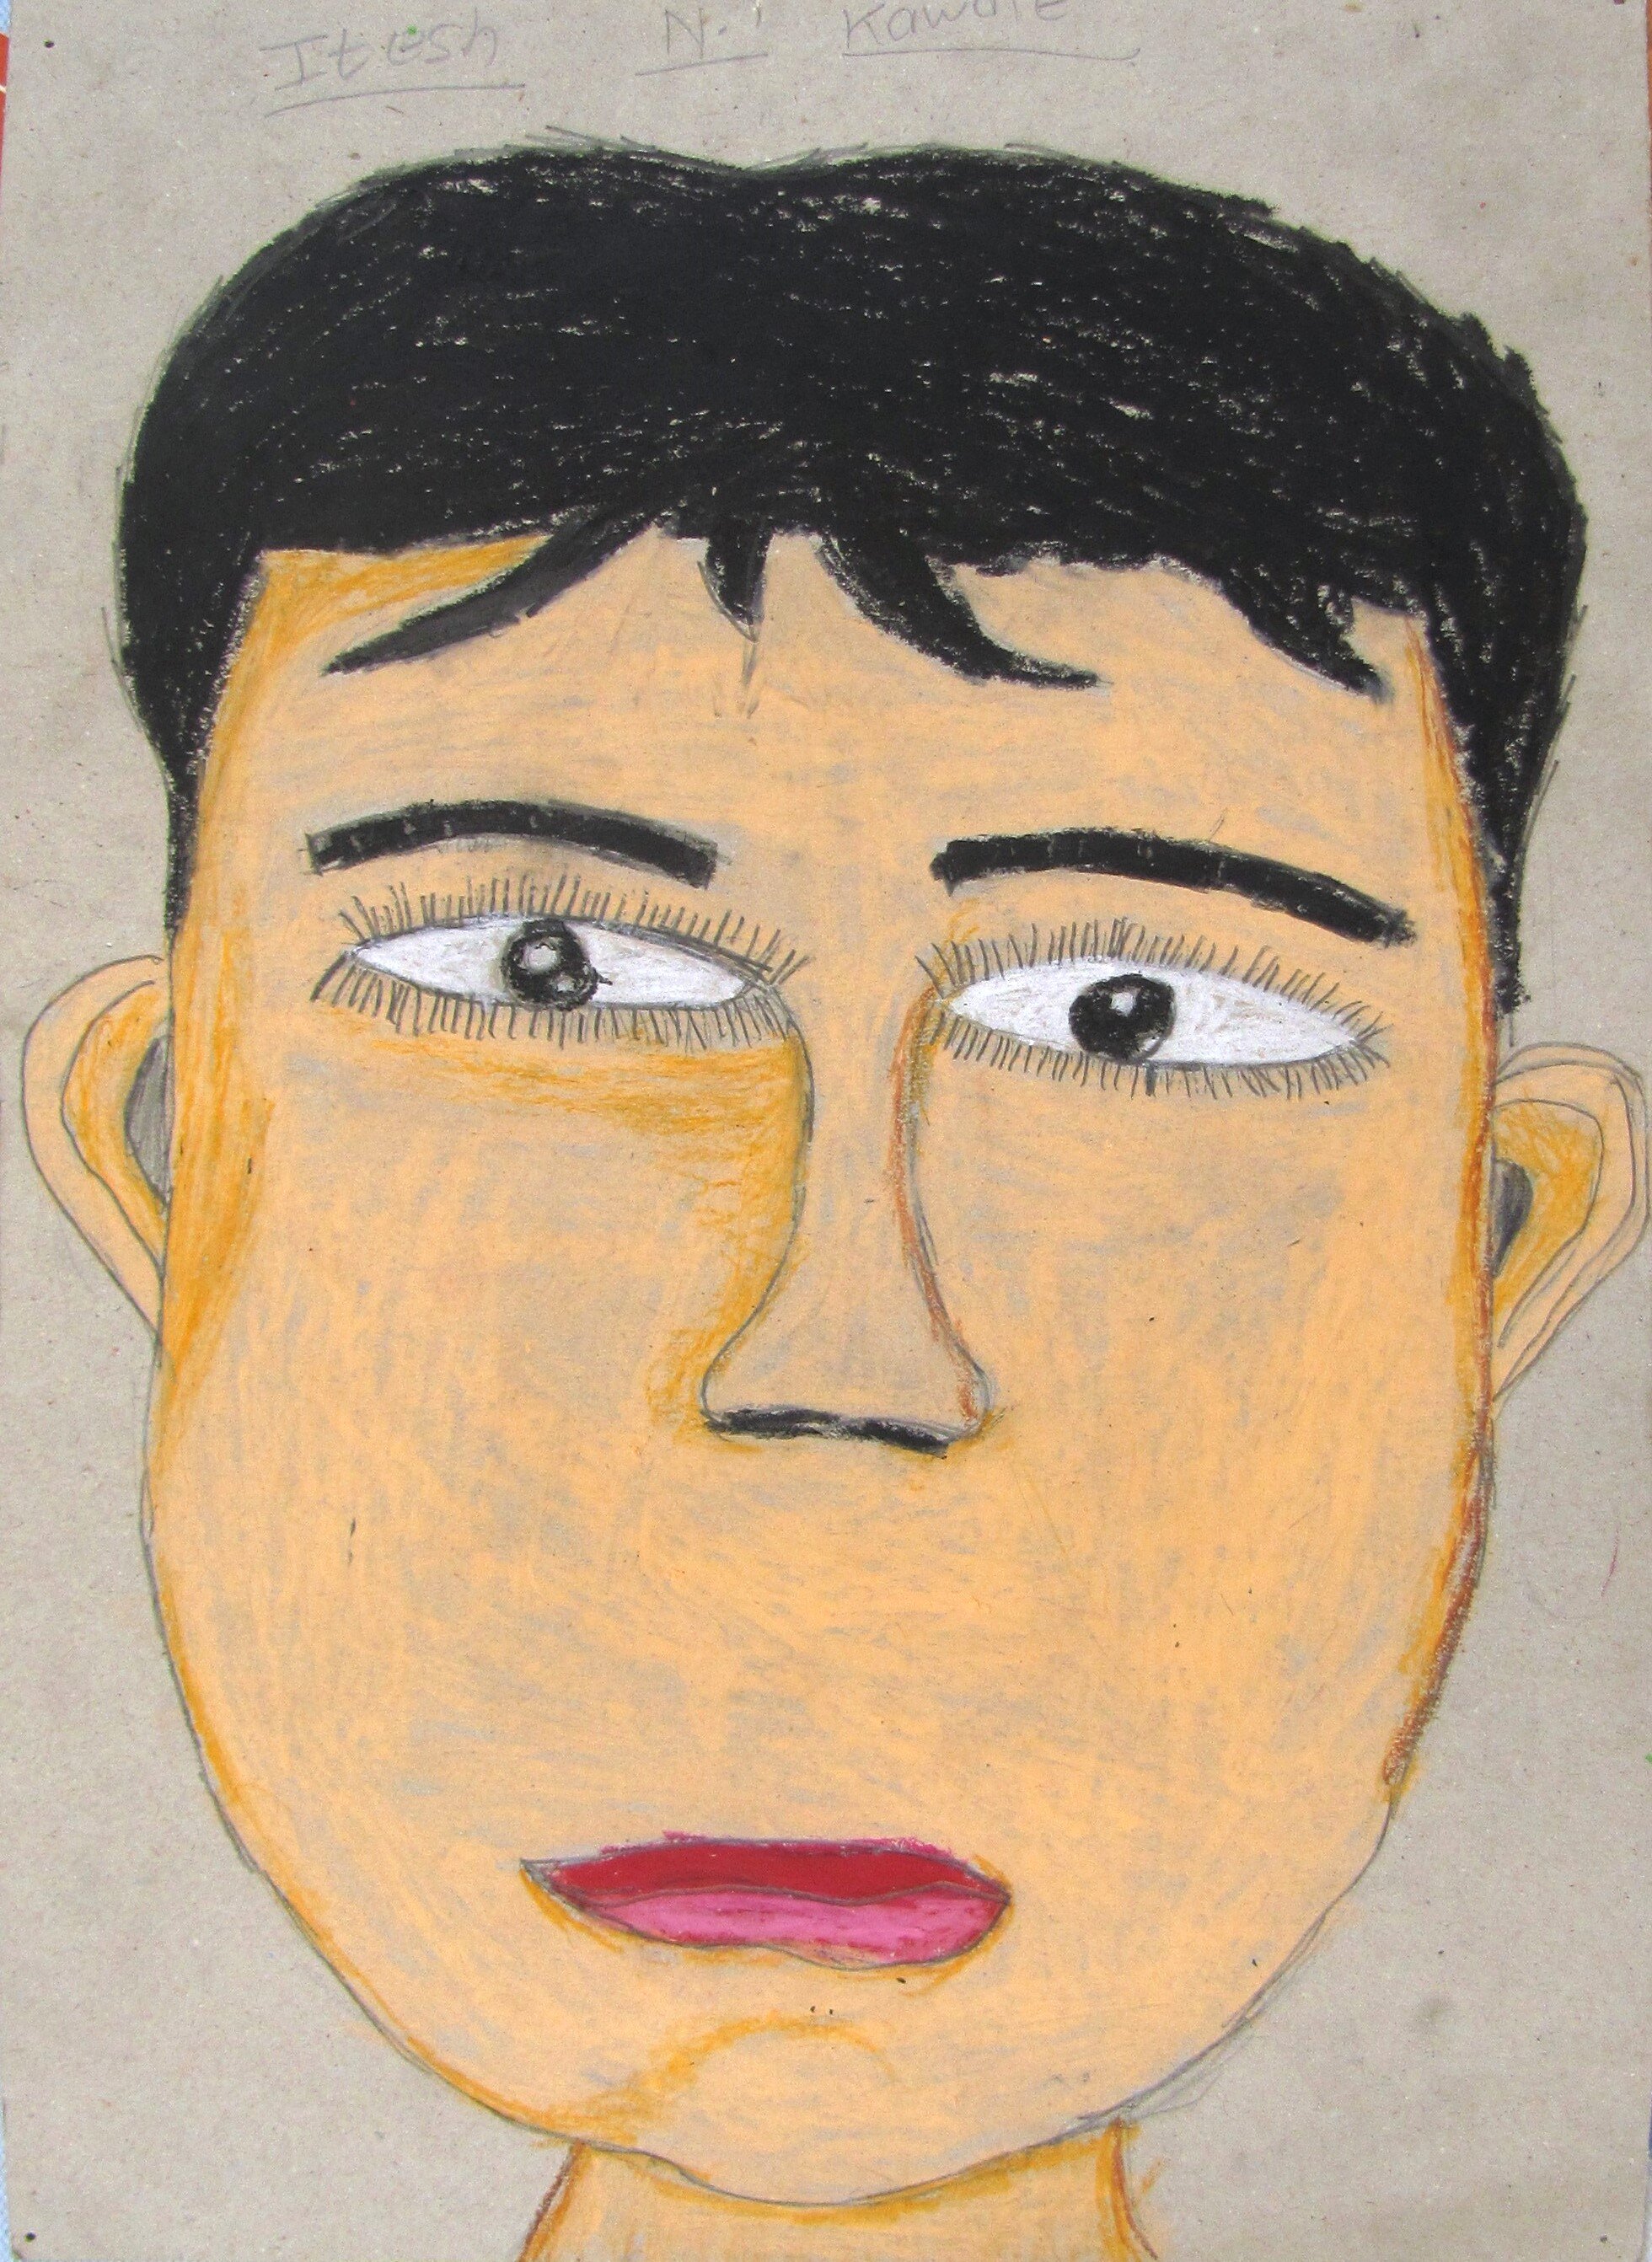
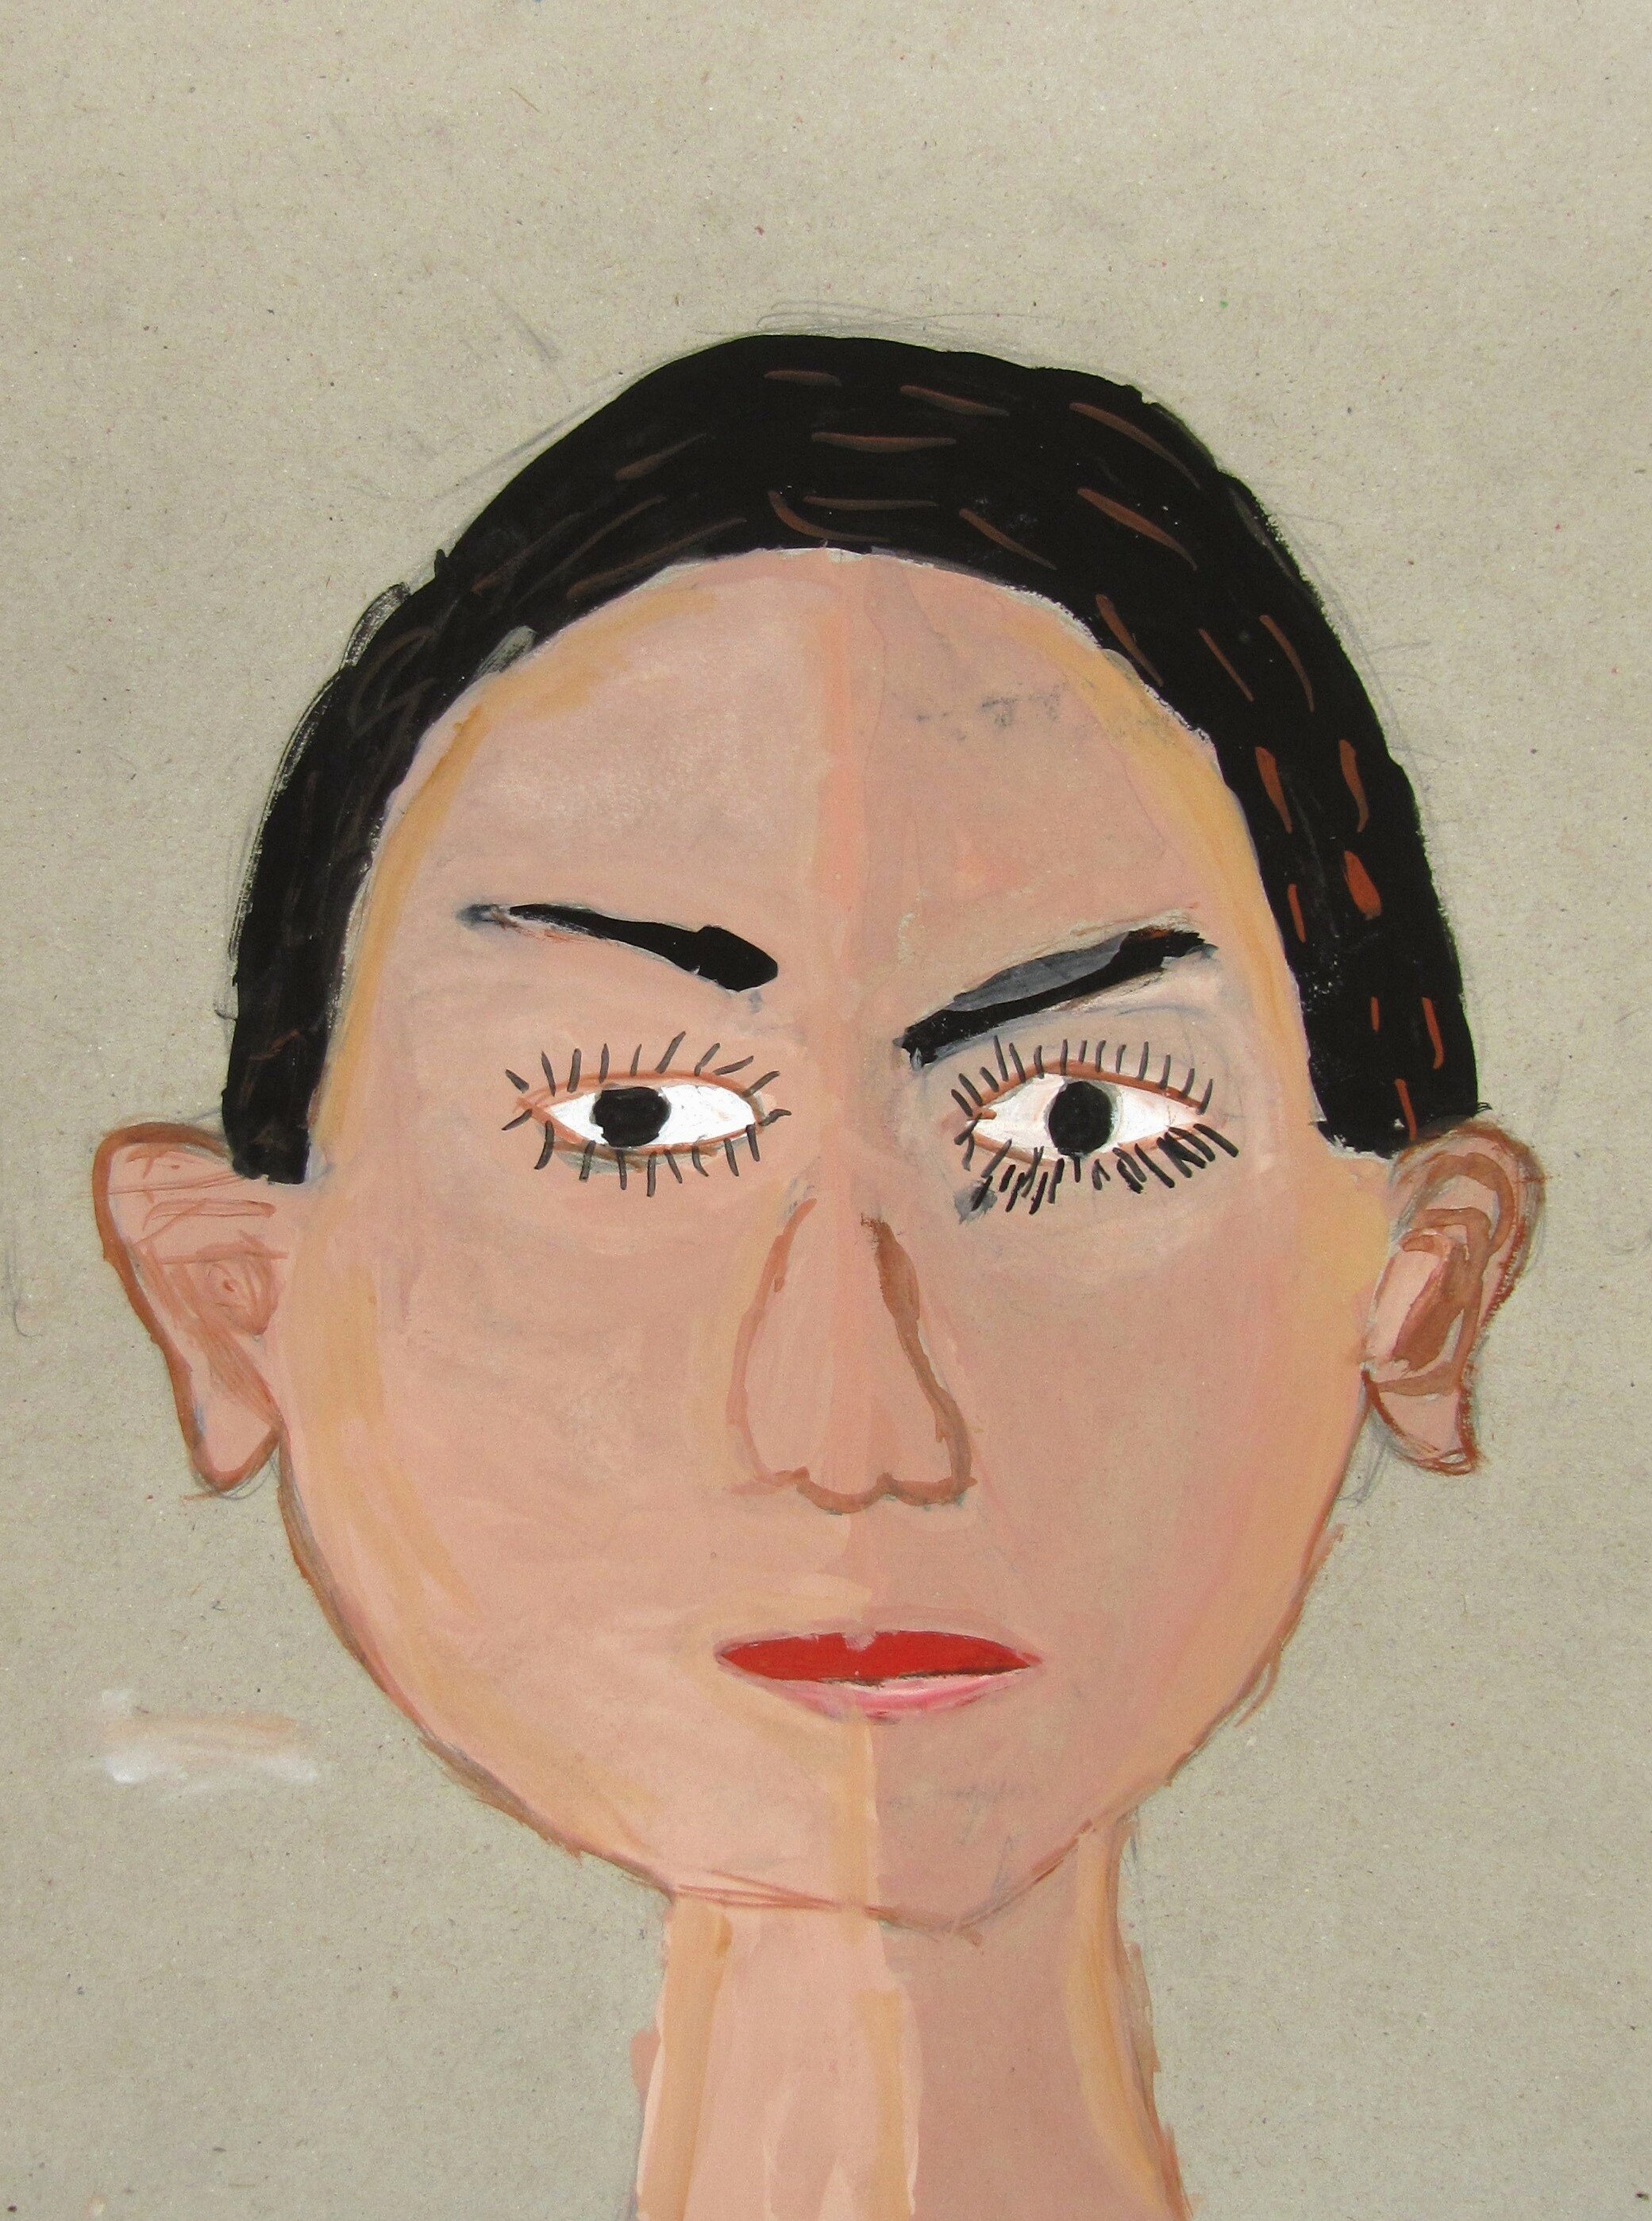
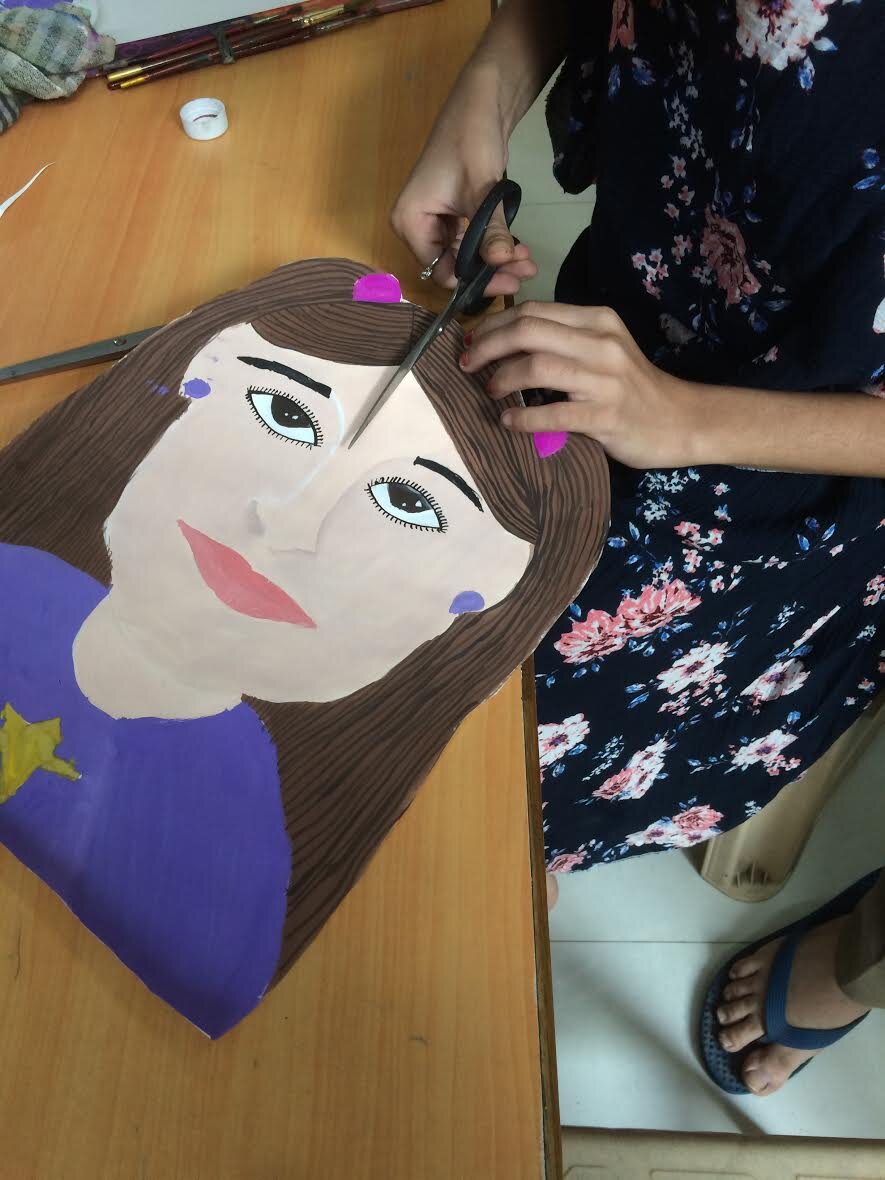
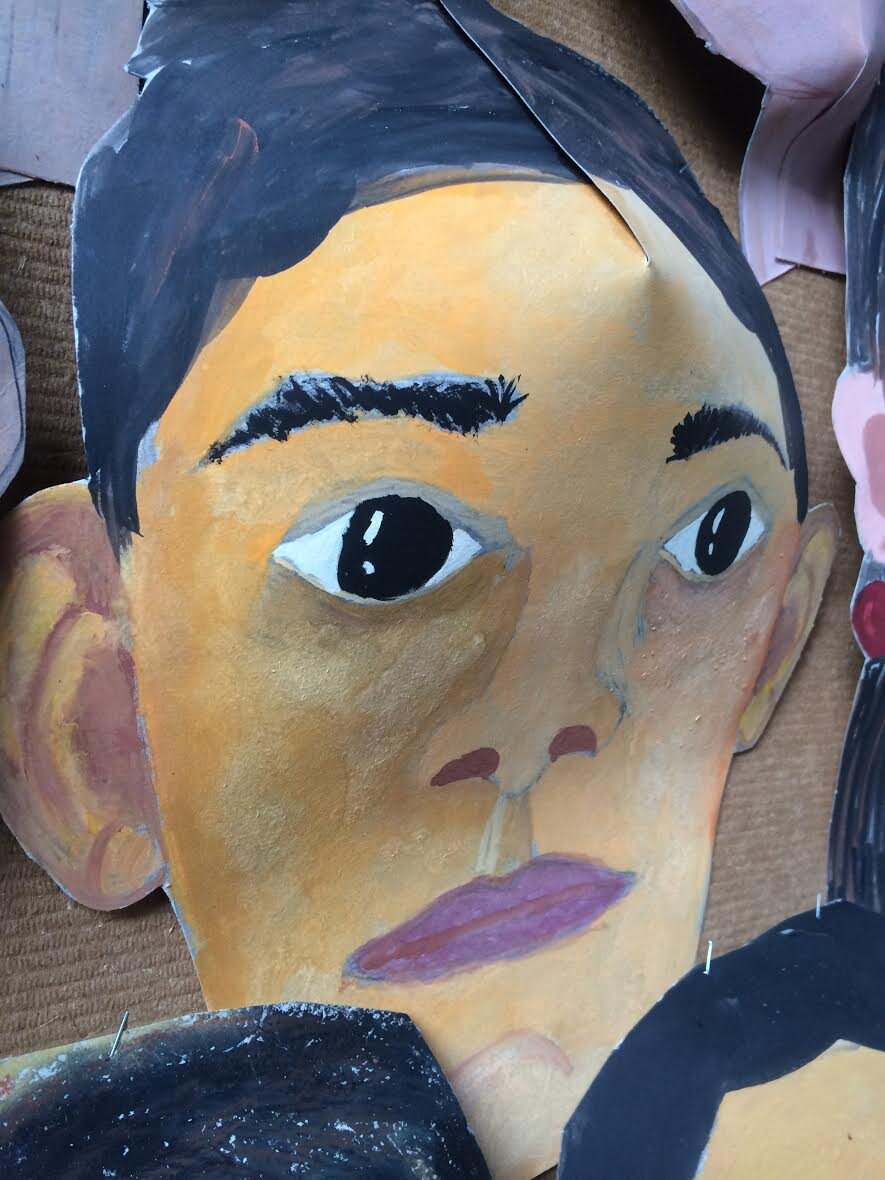
In this project, students create a three-dimensional structure of a human face, explore facial features and proportions, and address abstractions using cardboard and colored paper in the creation of a portrait of family or friends. 

“Big Ideas”/ Essential Question(s)

  • What is a portrait or/ what does a portrait tell?

  • What is the relationship between abstraction and realism? 

  • What are art and craft? Or how are art and craft related?

Student Outcome Objectives

 Students will:

  1. Explore proportions in the facial structure by measuring the distance between the  eyes, nose, ears and other facial structures. 

  2. Move portraiture from 2D to 3D form

  3. Craft a mask considering content, feature proportions, color through a handbuilt and painted mediam

Prior Knowledge

Students will need basic drawing and cutting skills.

Lesson Preparation Timeline

Saturday, Dec 28, 2020 - Cut boards for masks into 4 pieces ( 24 pieces total ) 

Examples of Artwork

contemporary-portrait.com/gallery.html 

artnet.com/artists/chuck-close/self-portrait-a-fQPIdxPeuXbDU73uPua7Mg2

Additional Resources

The Salvidor Dali Salad by Red Grooms https://collections.artsmia.org/art/7629/dali-salad-ii-red-grooms

https://img.fireden.net/ic/image/1517/12/1517120281109.jpg

Raja Ravi Varma https://www.mid-day.com/articles/gita-uplekar-the-girl-in-glow-of-hope-painting-dies-at-the-age-of-102/19860166

Assessment

How did abstraction help to understand the human facial structure?

How did three-dimensional paper form help to understand light and shadow?

 Materials

Cereal box board - 12 X 18 inches 

Acrylic/ oil pastel colors 

Brushes

Glue

Drawing paper

Drawing utensils

Erasers

Scissors 

Matt knives and self-healing matte or cardboard to cut on

Learning Activities and Timing

Day 1  ( total: one and a half hour )

  1. 10 min:  Greet students, and introductions: Discussion about portraiture which will include questions like, have they done portraits before? What do they notice in portraits? Talk about proportions, Show the references of portraits:https://boards.fireden.net/ic/thread/3291354, https://collections.artsmia.org/art/7629/dali-salad-ii-red-grooms.  See if there are any immediate questions. 

  2. 15 min: Introduce the project to the students: Demo of drawing portrait. Help them with proportions 

  3. 1 hour: Work Time: Drawing portrait on the board.

  4. 10 min: Clean up

Day 2 ( total: 2 hours)

  1. 10 min: Revise what we did in the last session. Share portraits drawings in the classroom.

  2. 15 min: Introduction the portrait painting: Demo of portrait painting. Discus about the light source.  https://www.mid-day.com/articles/gita-uplekar-the-girl-in-glow-of-hope-painting-dies-at-the-age-of-102/19860166

  3. 1 hour:  painting 

  4. 5 min: Clean up

Day 3 ( total:  1 hour )    

  1. 15 min: Revise the process and share of painted portraits in the classroom. 

  2. 10 min: Demo of cutting painted portrait to make it three-dimensional.

  3. 15 min: Cut portraits and glue them by overlapping the cut section.

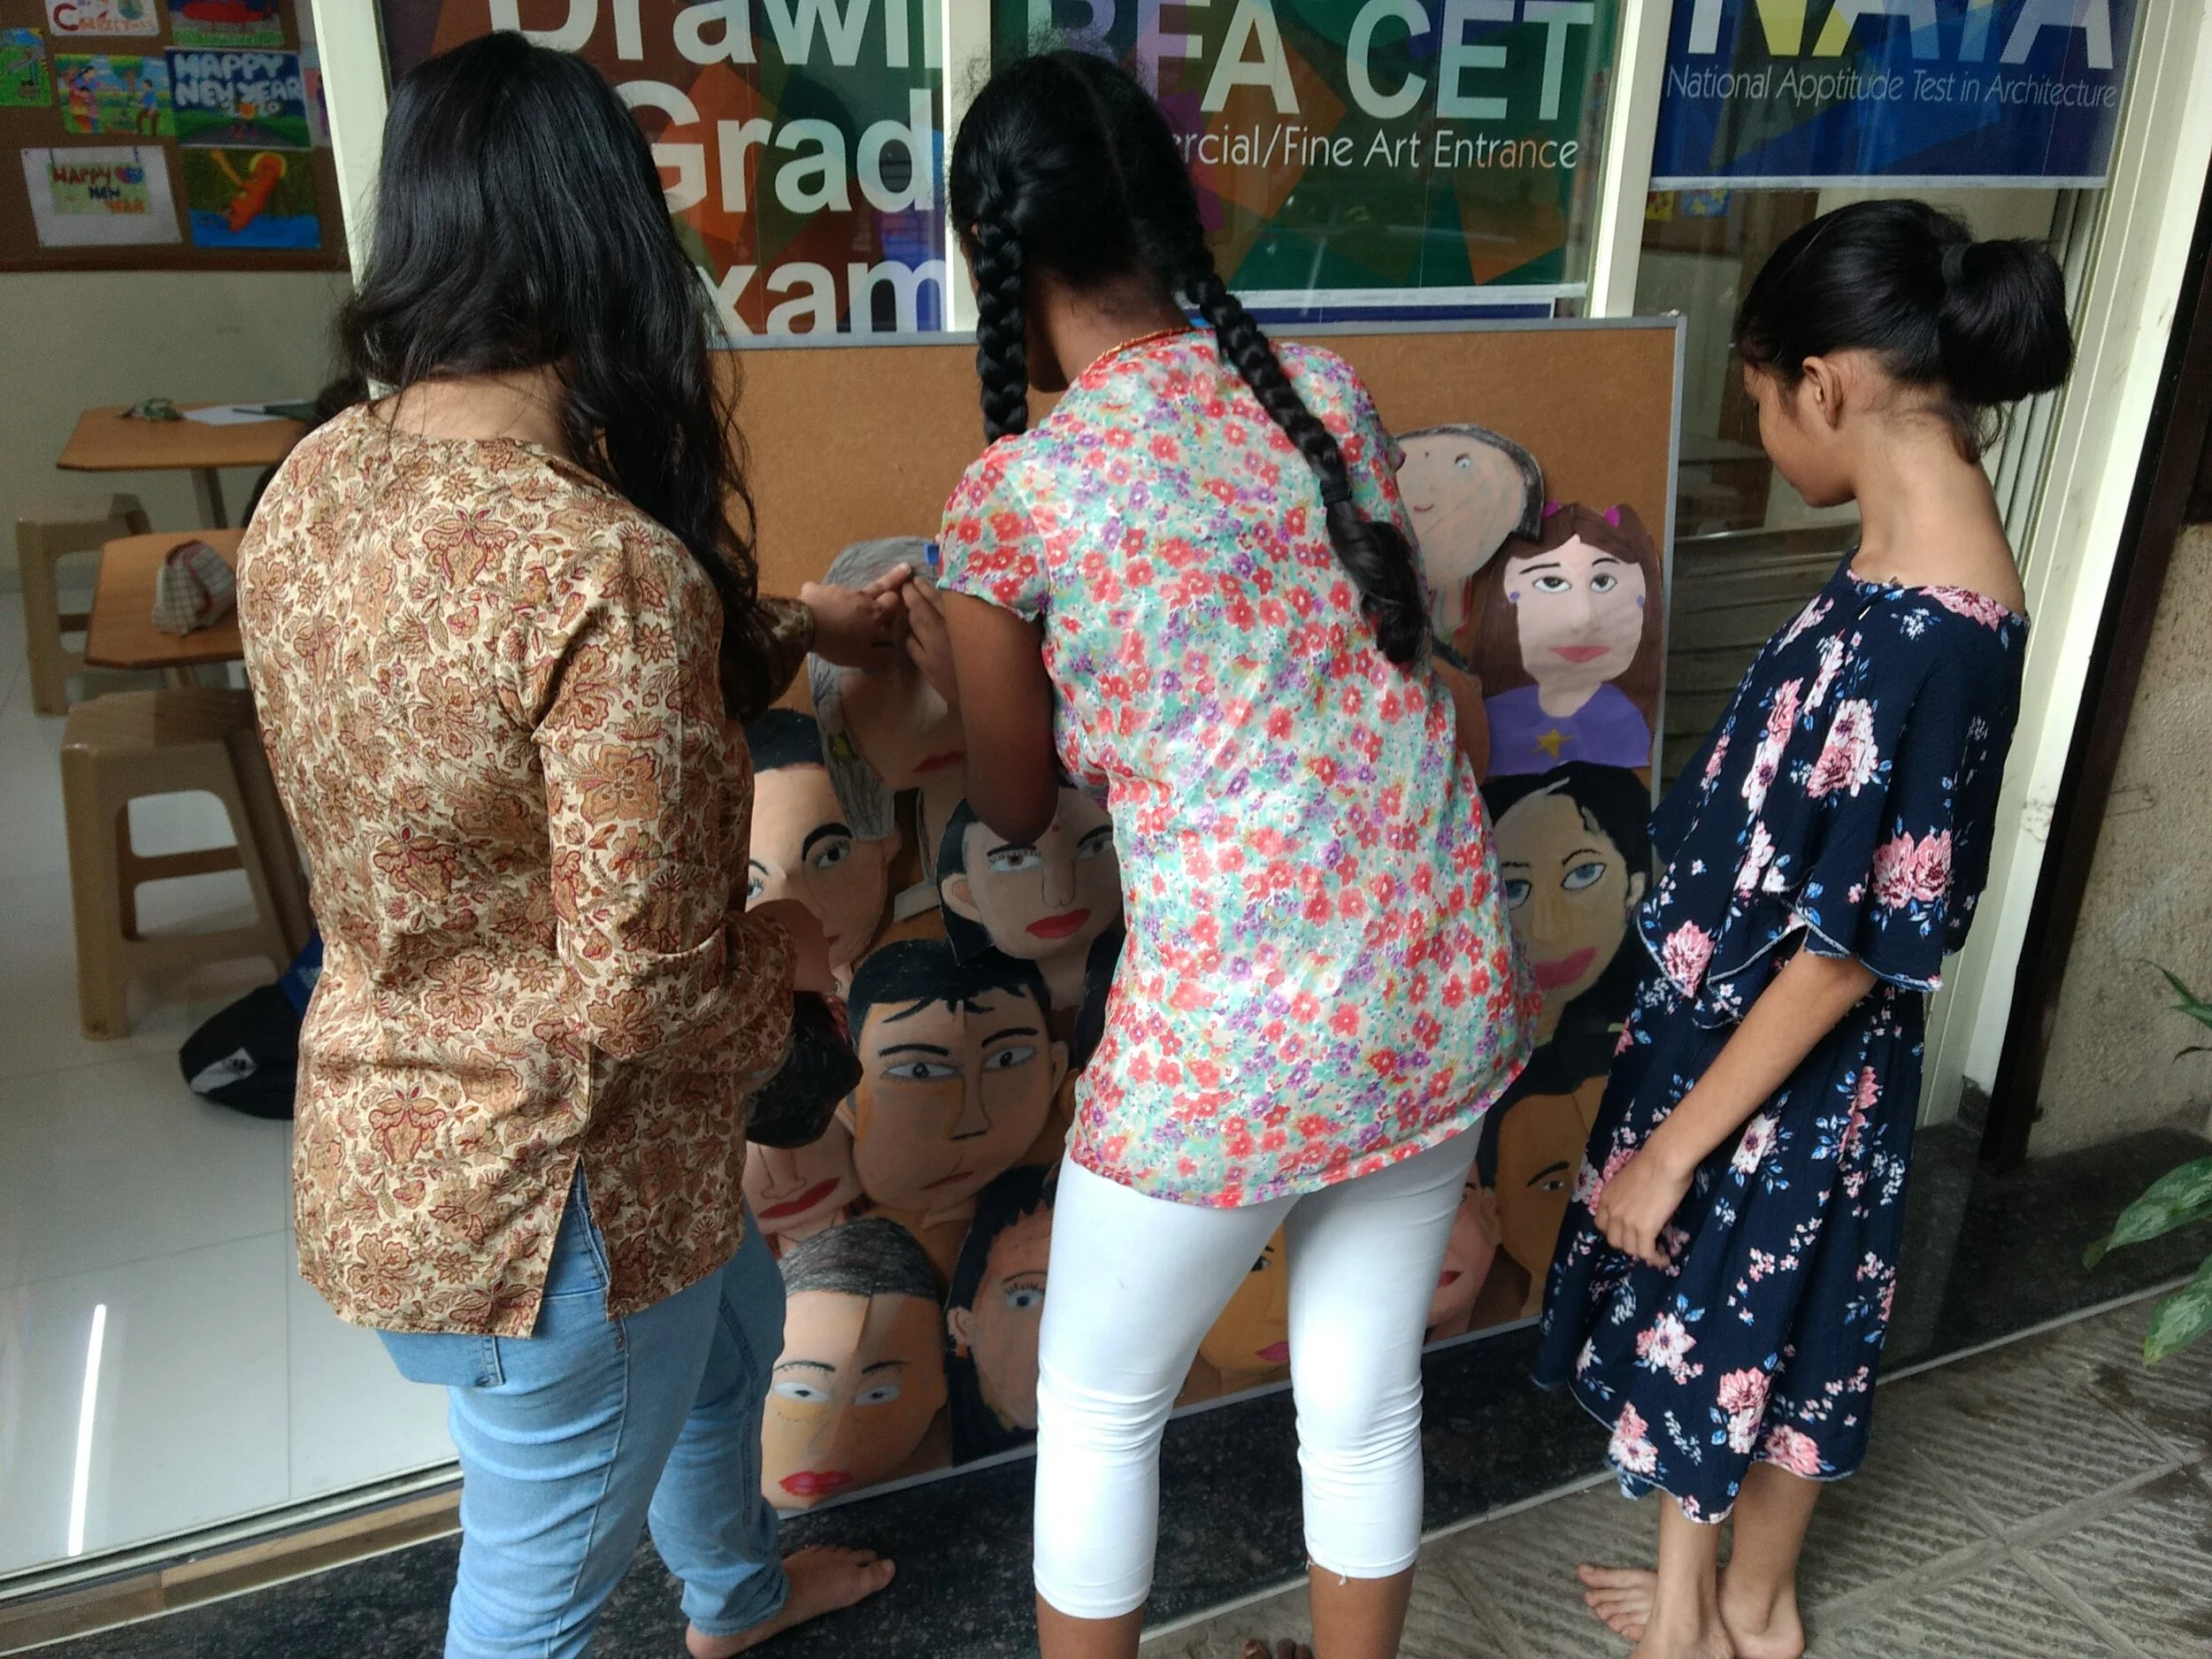
  4. 15 min: Arrange all the portraits together and install them on the wall/ surface. 

  5.  Reflection: How did you measure facial proportions? What is a craft and what is art for you in this process? What did you enjoy the most and why? 

  6. 5 min: Clean up - Install all the portraits on the wall.

•Adapted from the http://www.cesnorthwest.org/essential_questions.htm Northwest Coalition of Essential Schools

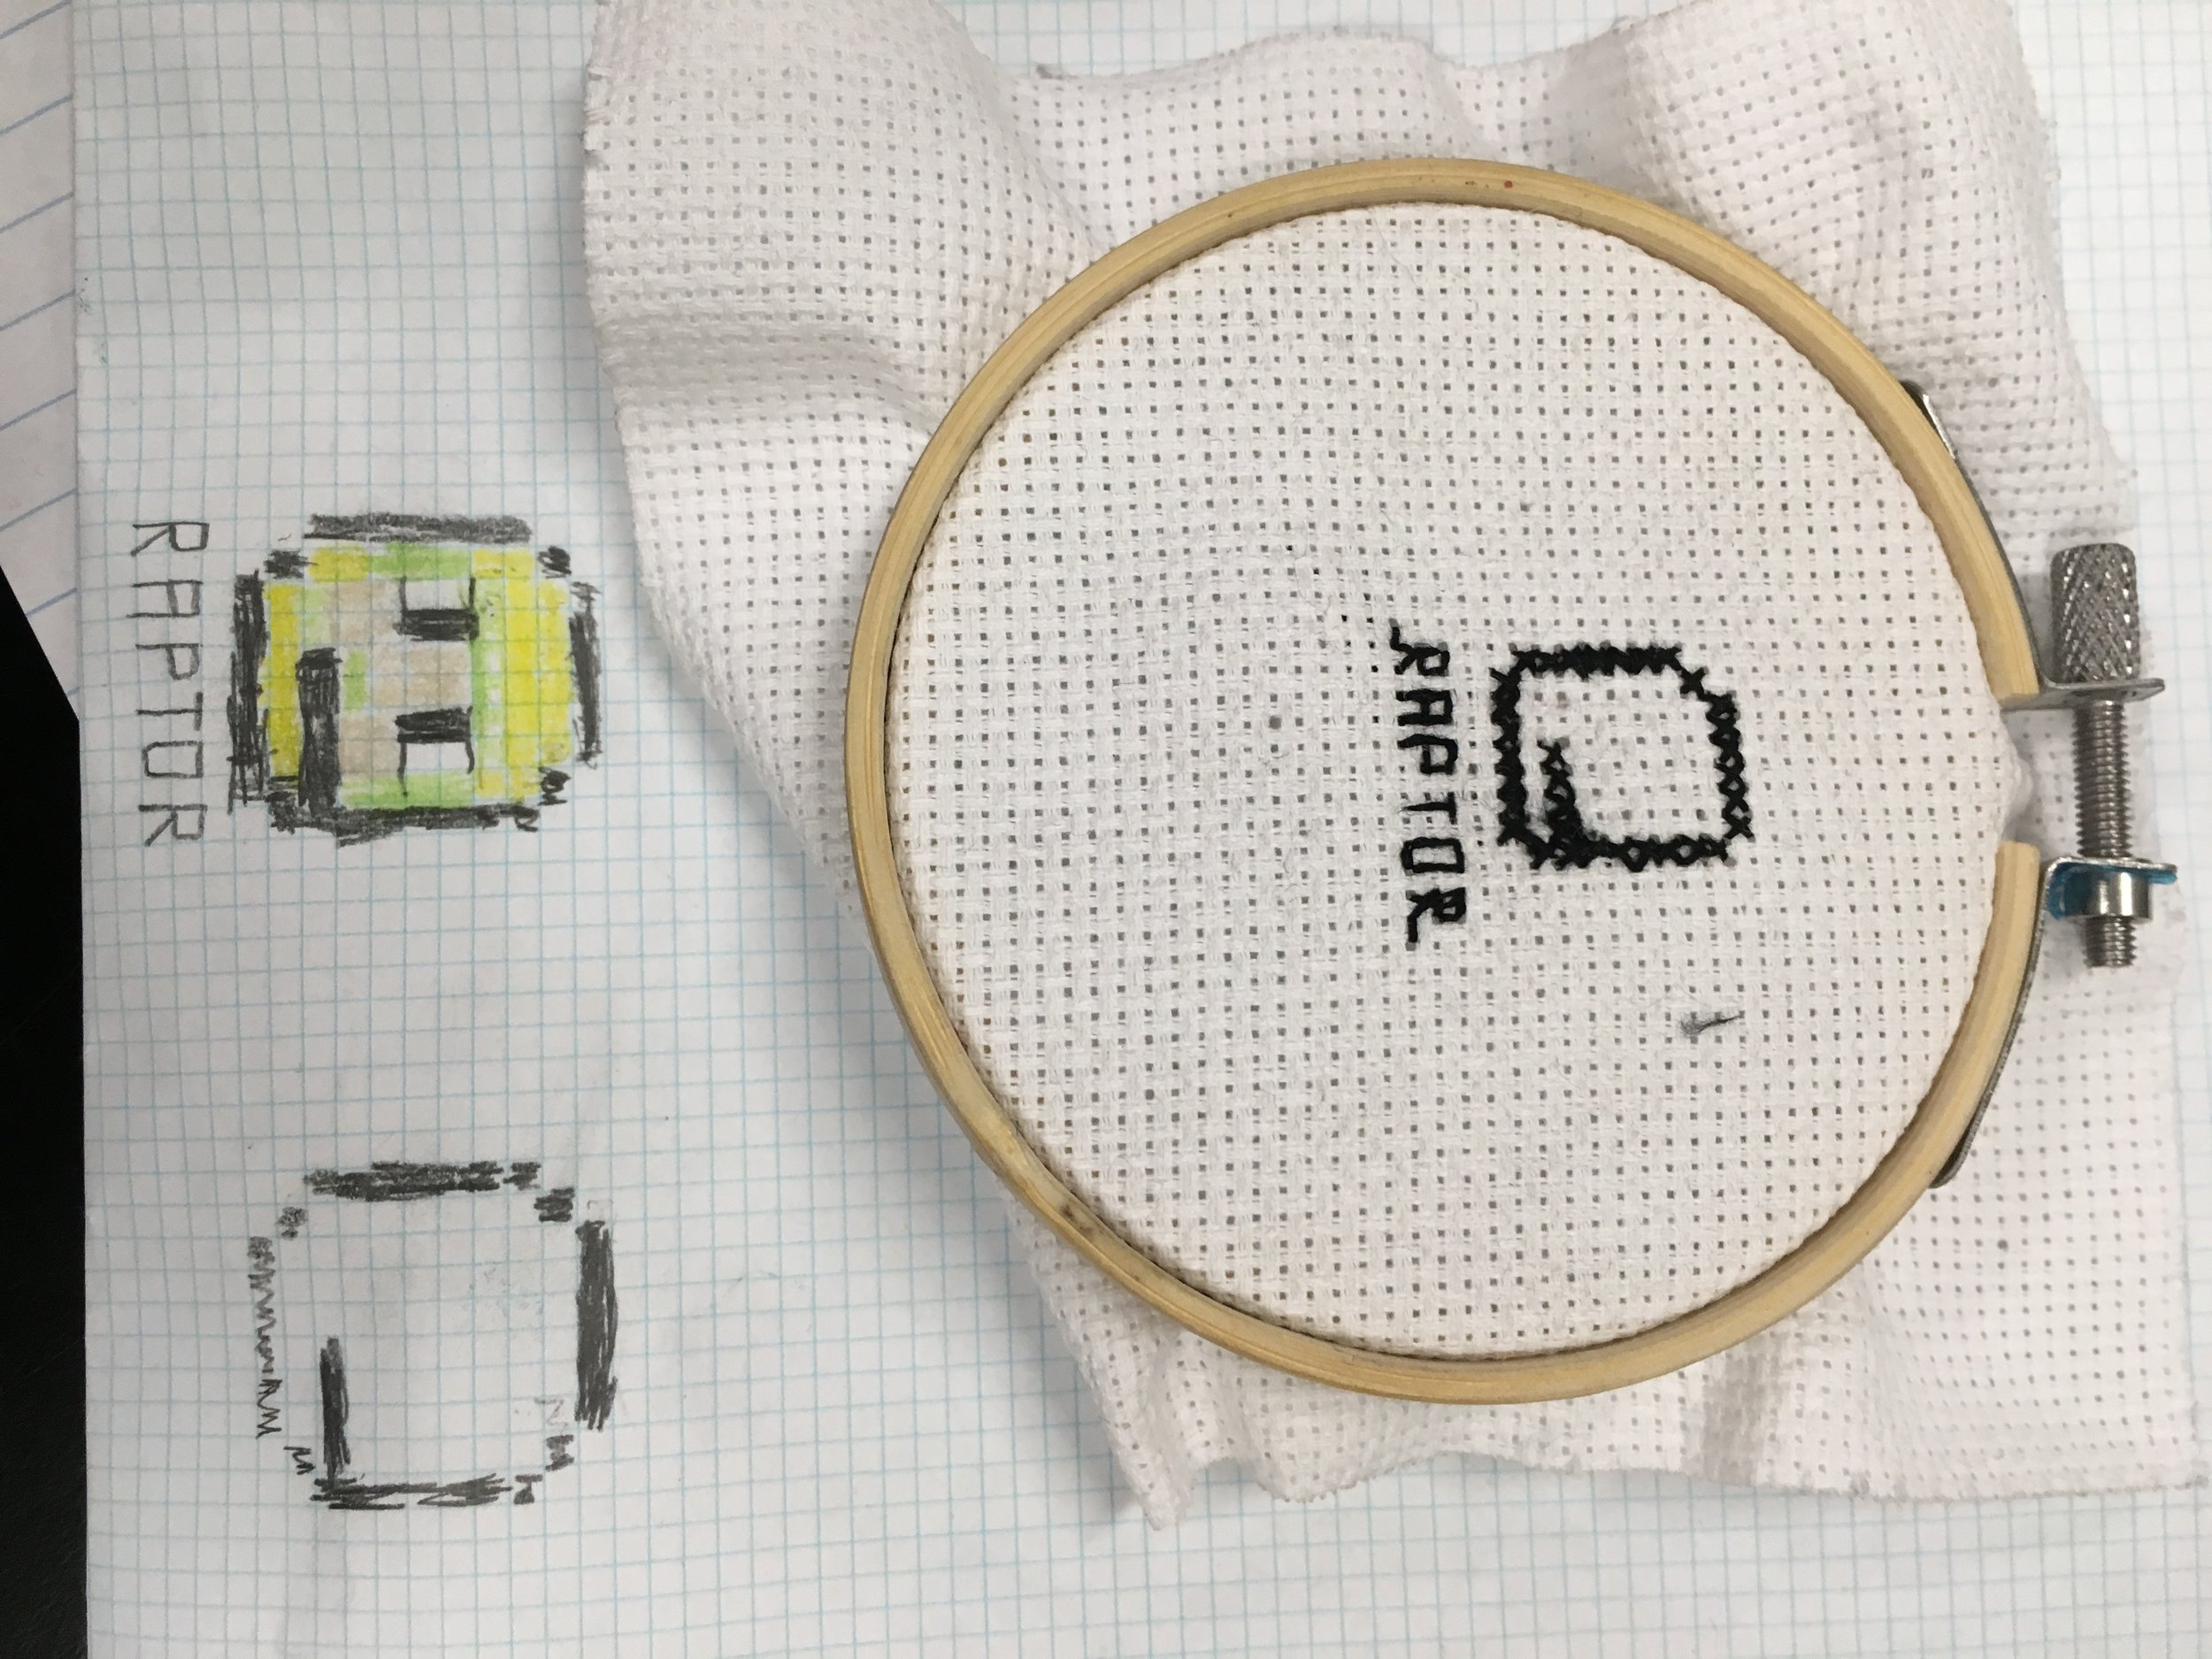
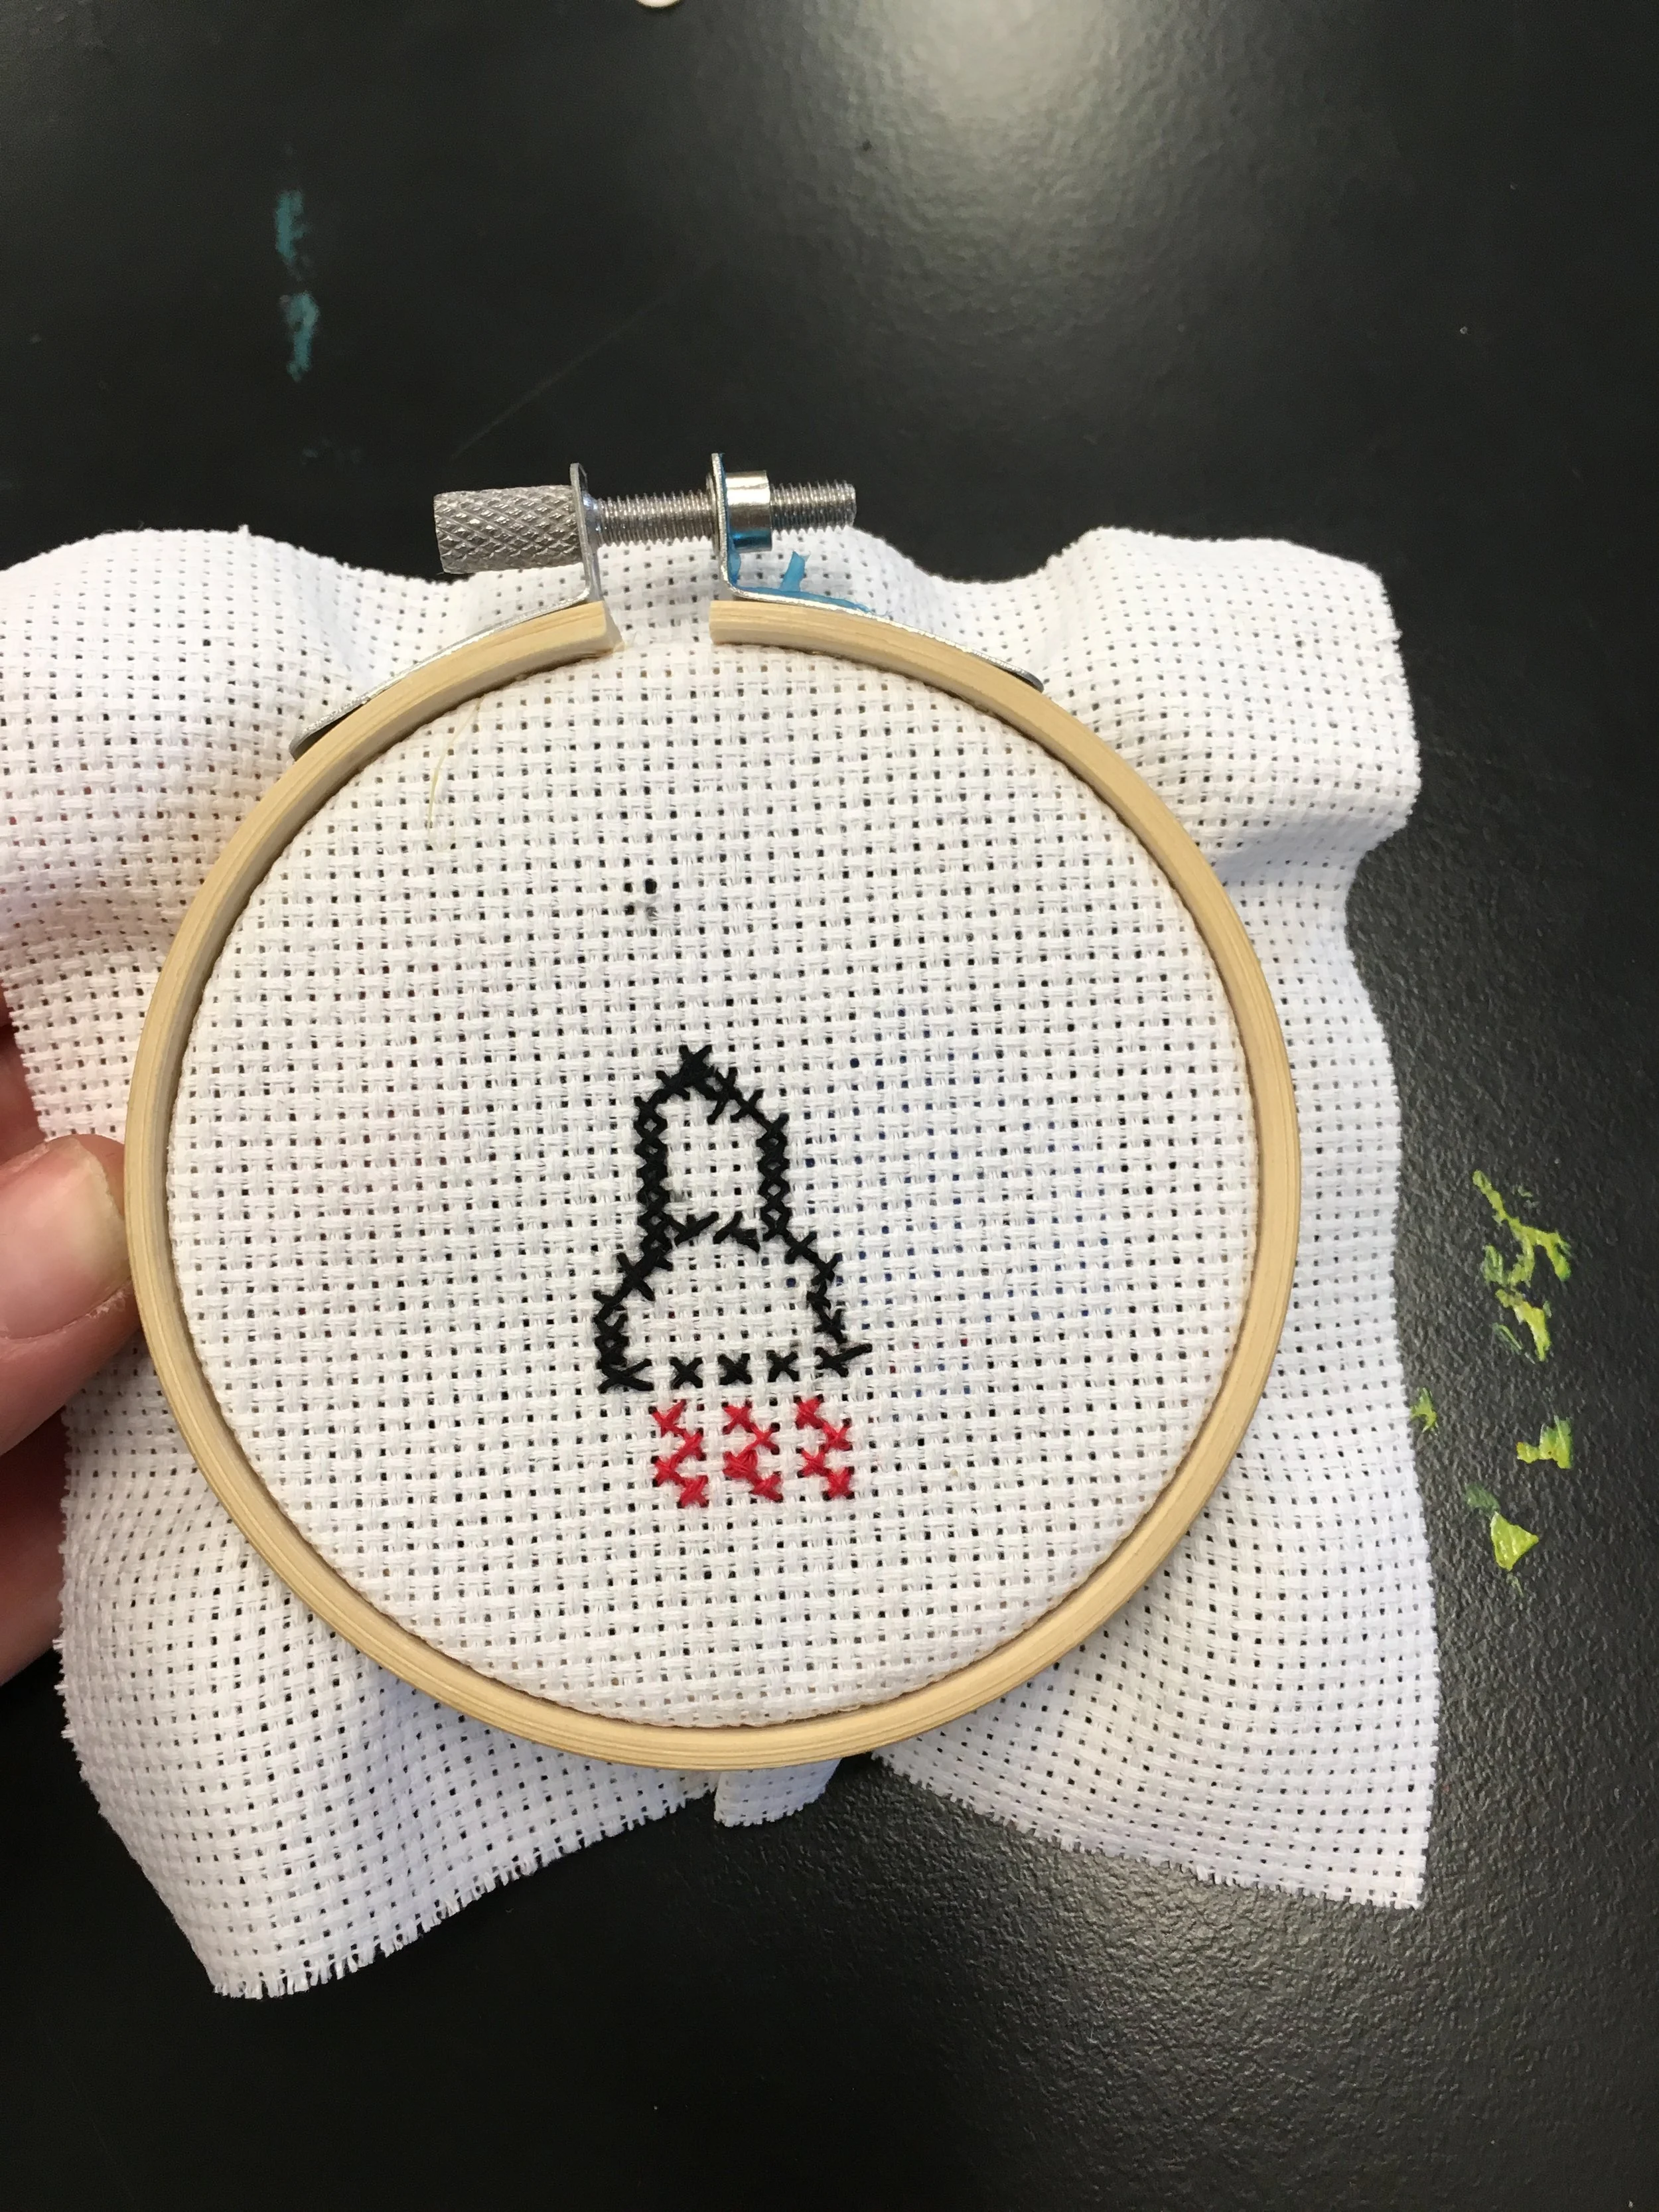
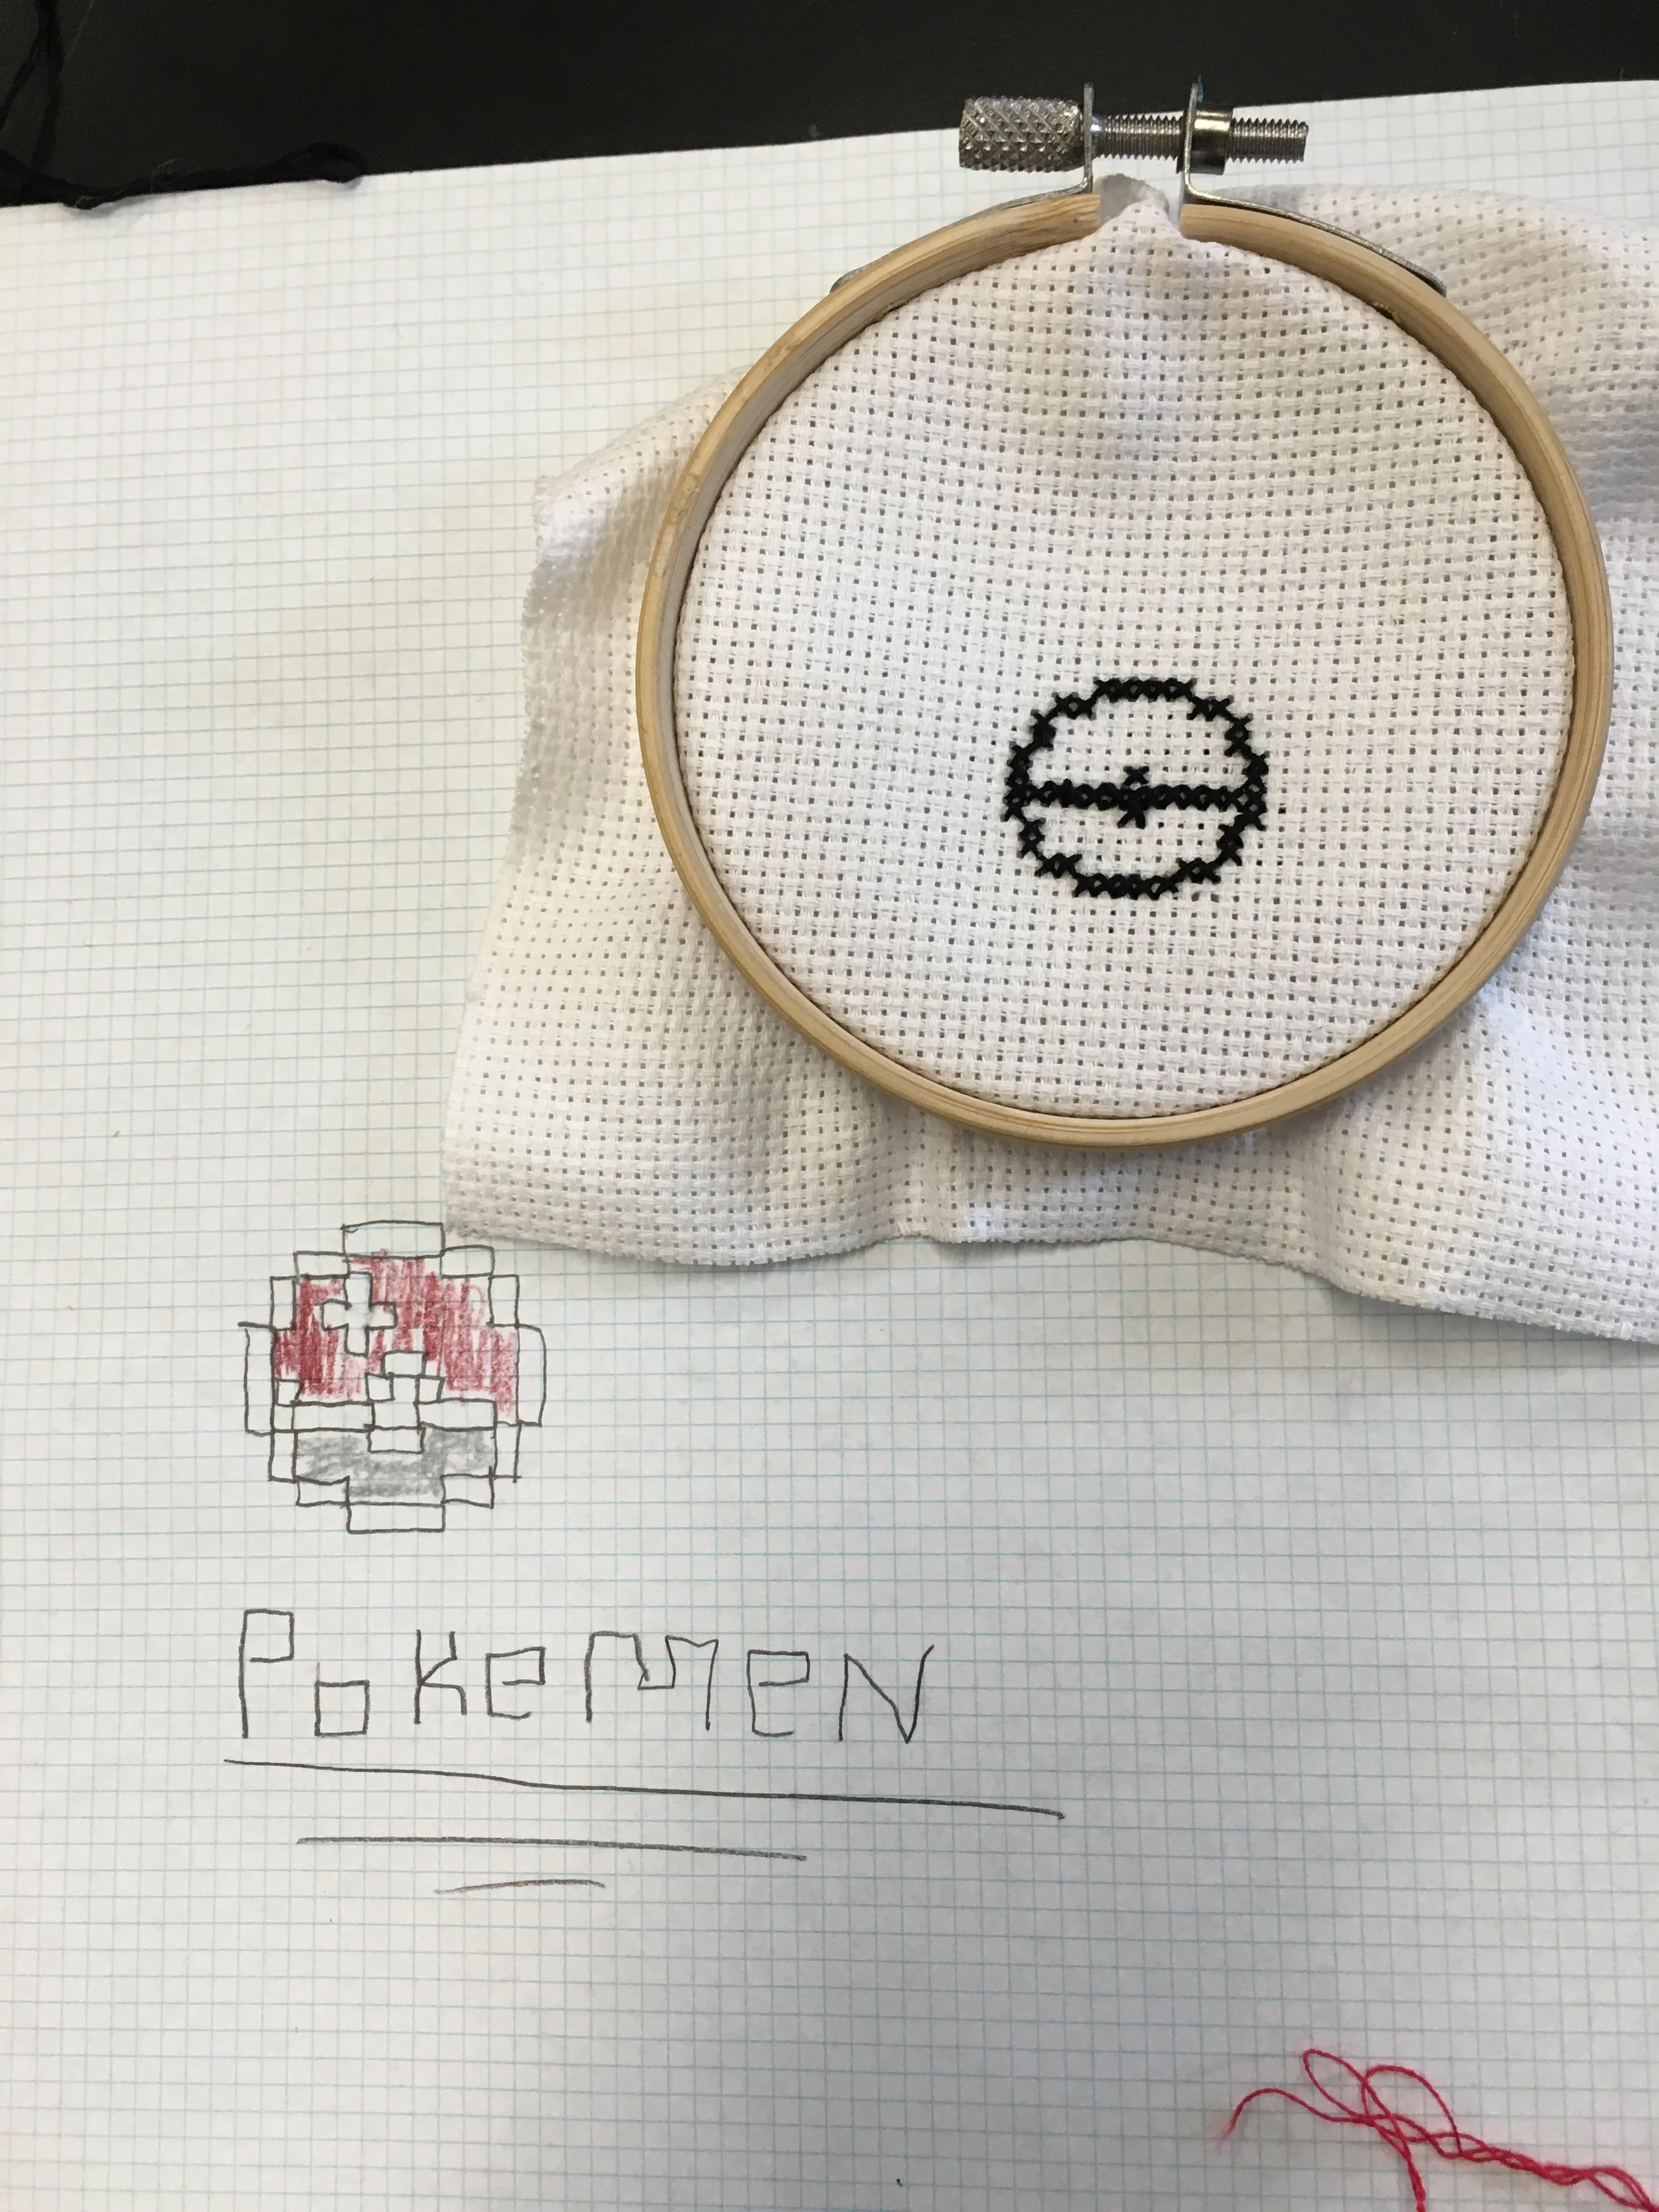
Cross-Stitching Small Objects

Cross-Stitching Small Objects

Cross-stitching Objects

School/Teacher/Classroom or Arts Organization/Mentor: Melodee Strong, Franklin Middle School

Grade Level or Age of Participants: 6th grade

MCAD Teaching Artist:  Eli deVries

Number of Students: 27

Visual Arts Content or Standards

Grades 6-8

2. Artistic Process: Create or Make

1. Create or make in a variety of contexts in the arts area using the artistic foundations. Visual Arts 6.2.1.5.1 1. Create original two- and-three-dimensional artworks in a variety of artistic contexts.


Overview of Project

Students will create a 3” cross-stitch using cross-stitch fabric, embroidery DMC floss, and design their own pattern. They will start by choosing an image of their object and translating that to graphing paper, and then transferring the pattern to the fabric. The project will allow for both an introduction and a focus to embroidery and the importance of creating small, intimate work.


“Big Ideas”/ Essential QUESTION(s)

Is craft art?


Student Outcome Objectives

Students will:

1. Learn how to pixelate an object using graph paper

2. Learn how to transfer and cross-stitch their design onto fabric

3. Finish their piece and discuss the importance of small works

-focusing on detail/persistence


Prior Knowledge

No prior knowledge is necessary.

Examples of Artwork

IMG_1981.jpg

Wone and Youa Vang, Mo Money Mo Problems, cross-stitch, 2018

IMG_1980.jpg

Wone and Youa Vang, (Not) Your Grandmother’s Cross-stitch, mixed-media installation, 2018 – Minnesota Museum of American Art


 Rebecca Ballinger, embroidery including cross-stitch, linen and silk, 1830


Additional Resources

https://www.waterproofpaper.com/graph-paper/graph-paper-eighth-inch.pdf

Assessment *

Quality work will be finished with even stitching (top stitch facing same direction).


Materials

-       14 ct. AIDA cross-stitch cloth, 5 x 5 pieces (9 pieces/packages)

-       DMC embroidery floss

-       3 in. embroidery hoops

-       embroidery needles

-       colored pencils

-       1/8-inch graph paper

-       scissors

-       paper bobbins


Learning Activities and Timing

Day 1

  1. Introduce project via powerpoint – 5 min.

  2. Show examplers (with both graph and finished cross-stitch) - 5 min.

  3. Begin and finish creating design for pattern (search for images on ipads if need be) - 40 min.


Day 2

  1. Brief reintroduction, overview – 3 min.

  2. Students will pick colors and cut their string. - 5 min.

  3. Show students how to thread their needle and how to begin their cross-stitch – 5 min.

  4. Address questions as they arise during work time – 35 min.


Day 3

  1. Continue working on project – 50 min.


Day 4

  1. Finish cross-stitch – 30 min.

  2. Discussion – 20 min.

  3. Prepare cross-stitches and install – about an hour


Teaching Artist Reflection


Problems anticipated:

-       Students may not finish on time

-       Some students may not be engaged because of embroidery/stitching


Melodee wanted to include an embroidery project.

Students work will be installed and on view in the school.

Feedback when having discussion about the work.

Experimenting with Yupo Paper for Middle Schoolers

Experimenting with Yupo Paper for Middle Schoolers

Experimenting with Yupo Paper

School/Teacher/Classroom or Arts Organization/Mentor: Elissa Cedarleaf-Dahl at Justice Page School

Grade Level or Age of Participants: 6-7th grade

MCAD Teaching Artist:  Lin Ajdukiewicz

Number of Students: 35-40

Visual Arts Content or Standards

6.1.2.5.1- Demonstrate the characteristics of the tools, materials and techniques of various two-and-three dimensional media for intentional effects in original artworks.

Overview of Project

Students will use Yupo paper to experiment with abstract watercolor techniques. They will observe the differences between synthetic and non-synthetic paper and use those observations to loosen up their techniques on non-synthetic paper. Without much prior knowledge on how to use watercolor, students may feel timid to let go with the medium and using a paper that allows no control over the medium will loosen the students techniques while they work on abstract pieces.  Can you share why this is important?

“Big Ideas”/ Essential QUESTION(s)

  • How can we engage with unexpected results in a positive way and see them as productive and positive?

Student Outcome Objectives

Students will:

  1. Experiment with synthetic paper to create abstract watercolor figures.

  2. Use the experimental and unpredictable techniques that they learned from the synthetic paper to work more loosely and freely on a final watercolor paper design.

Prior Knowledge

Students must know basic watercolor techniques such as, wet on wet, dry on wet, wet on dry and dry brushing techniques.

Examples of Artwork:

Additional Resources

https://paintingdemos.com/painting-with-watercolors-on-yupo-paper-a-few-techniques/

Assessment

The assessment for this project could be a formative assessment where students raise their hand and tell the class one thing that they have learned after using the new type of paper or a portfolio assessment. For the portfolio assessment, students lay out all of their work from the day on their desk and students can speak at their tables about what they made.

It is important for students to see each other’s work since the medium is unpredictable. Seeing others allows the students to figure out what else they can also do with their paper. With the setup of the classroom being in tables, it allows for students to have close access to each other's work.

Materials

  • Yupo Paper (4, 20”x29’’ sheets cut into 5” by 4” rectangles)

  • Watercolors

  • Watercolor Brushes; Flat, sharp, round

  • Water cups

  • Paper to blot brushes

Learning Activities and Timing

  1. I will begin in the front of the class by explaining what Yupo paper is and its qualities. It is key that students understand the difference between synthetic paper and non-synthetic paper. Yupo can be used over and over again, specifically with watercolor, the pigment can be washed off and it will only minorly stain the paper.

  2. The demo video will start and I walk around with my example that I had made in the demo video. Students can feel the paper and see the watercolor techniques that I used.

  3. The video will loop throughout the whole class, with no sound, so that if students need inspiration for techniques they can look up and view the demo video.

  4. Students will retrieve materials and begin to experiment. SInce this lesson is tagged along to another lesson about abstract watercolor creatures, students will attempt to make these creatures on the Yupo paper.

  5. When done with experiments, students will be instructed to move to their watercolor paper final where they will use the skills that they learned from the Yupo paper.


Collagraph Printmaking for Middle Schoolers and Highschoolers

Collagraph Printmaking for Middle Schoolers and Highschoolers

Collagraph Printing

School/Teacher/Classroom or Arts Organization/Mentor: Carmen Elate

Grade Level or Age of Participants: 7th-12th grade

MCAD Teaching Artist:  Lindsay Ajdukiewicz

Number of Students: 20

Visual Arts Content or Standards

9.2.1.5.1. Create a single, complex artwork or multiple artworks to express ideas.

Overview of Project

Students will learn to collagraph print using found objects and cardboard. This style of printmaking is accessible an can be made anywhere so it gives students a new method of creation for expression.  

“Big Ideas”/ Essential QUESTION(s)

  • How can printmaking be made outside of the traditional printmaking studio?

  • How can printmaking change the way a student thinks about an idea or image?

Student Outcome Objectives

Students will:

1.  Create a collagraph print and plate that demonstrates a place that is real or imagined.

2.  Students will understand the process and steps that go into executing a collagraph  print.

Prior Knowledge:

Students must be able to use shapes to create a picture

Lesson Preparation Timeline:

2/28:

-       Observe at Residency center and further discuss lesson with Carmen Elate.

-       Meet with Lynda Monick-Isenberg about planning backwards model, collect materials from the teaching artist closet.

3/4:

-       Introduce the project and show examples to the class.

-       Hand out plates and materials and have students begin to work on their plates.

3/7:

-       Lynda Monick-Isenberg attends class to observe and help teach the lesson.

-       I will do a printmaking demo with a previously used plate to emphasize how to actually make a print.

3/11:

-       Students will all be printing by this day since they will have time in between lessons to complete their plate.

Examples of Artwork:

FullSizeRender.jpeg
FullSizeRender-1.jpeg

Additional Resources

https://www.handprinted.co.uk/ramblings/collagraph-printing

https://cdn.dick-blick.com/lessonplans/collagraph-printmaking/collagraph-printmaking-collagraph-printmaking.pdf

Assessment

This is a portfolio assessment. I will observe the work in comparison to the actually assignment to view what students understood and what things had been missed after explaining.

Students will caption or title their work to explain their setting that they created for their image.

Materials

  • Brayers

  • Water based black ink

  • Raised paper and fabrics

  • Cardboard plates

  • Retarder

  • Copper plate paper

  • Gloss medium

Learning Activities and Timing

Day 1:

1. Small presentation on what a collagraph print is and also the significance of setting.

2. Students will write down 5 settings that they can think of.

3. Show examples of a collagraph print.

4. Present materials and lets students start building their plates.

Day 2:

1. Will start the day by evaluating where people are with creating their prints, if any students are ready to print. Demo.

2. Demo includes a pre-made plate to create an example, use brayer and ink emphasizing how to know how much ink is enough ink and how to apply ink to the plate.

3. Students who are still creating their plate can do that while students who are printing can begin.

Teaching Artist Reflection

- Prints might come out too light

- Water based ink may dry too quickly creating failed prints.

- Students art will be hung up in the hallway to be seen by all in the residency center.