Viewing entries in
Lesson Plan / PreK-Grade4

3D Jellyfish (2nd Grade)

3D Jellyfish (2nd Grade)

Name of Project: 3D Jellyfish 

Grade Level or Age of Participant: 2nd Grade 

School, Teacher and Classroom:

MCAD Teaching Artist:  Lydia Egge

Number of Students: 27 students 

Visual Arts Content or Standards

5.2.2.2.2

5.2.2.3.1

5.2.2.3.2

5.2.2.4.1


5.2.3.6.1 (1. Choose artwork based on a theme or concept for an exhibit.)?


5.2.4.7.1

5.2.4.8.2 (maybe)


Curricular Link / Standards

2009 Minnesota Academic Standards in Science 

2.2.1.1.1

2.2.2.1.2


Overview of Project

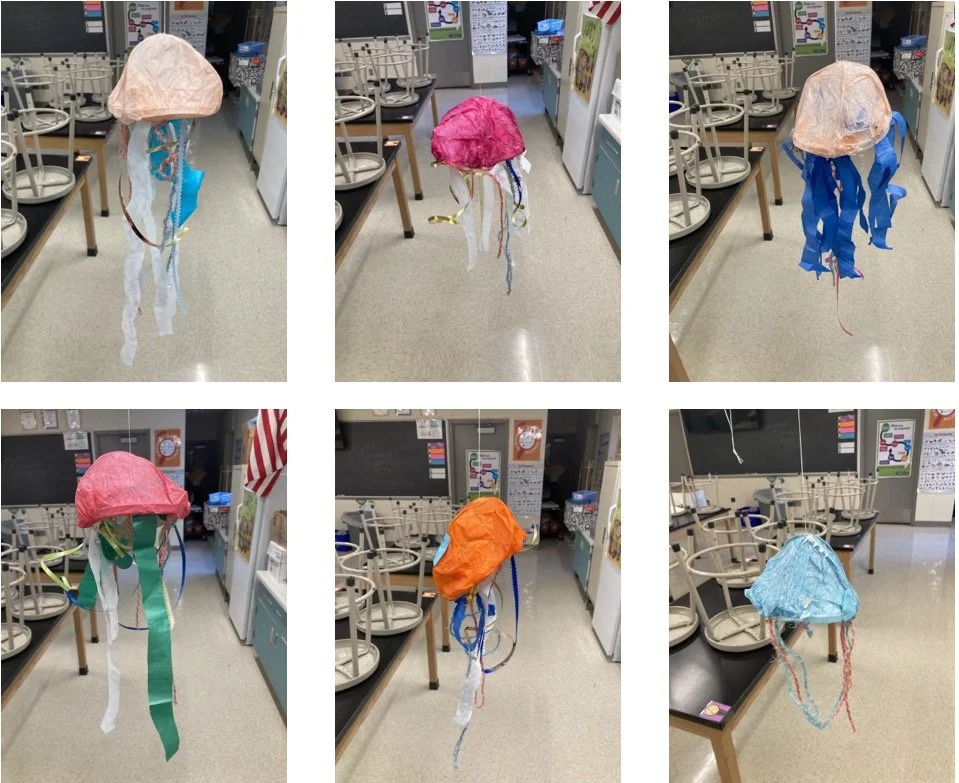
This project will consist of two parts. Part one will be forming the hood of the jellyfish with sculpting metal, tissue paper, and glue. Part 2 will be creating the tentacles using yarn, paper, and ribbon and then attaching the tentacles to the body. 


“Big Ideas”/ Essential QUESTION(s)

What can I do to a material to change its visual properties?

Manipulation of materials. 


Student Outcome Objectives 

Students will:

1. Be able to translate 2d visuals into a 3d representation 

2. Discover through experimentation

3. Visualize or Solve?


Prior Knowledge

No prior knowledge is needed.


Lesson Preparation Timeline

Teaching dates: 1/27/2022 and 2/3/2022

Still planning talking about possible installation dates 


Examples of Artwork

I will bring in examples of what the possible project outcome could be (including one made by a friend of mine that I tested the project on)


Additional Resources

I am planing on showing a video of jellyfish swimming while they work, pictures of real jellyfish, and pictures of jellyfish sculptures. I also am using materials that I have recently been experimenting with on my own. 


Assessment

After the class reflecting on what makes something that’s not moving look like it is or could?

How did certain treatments (like adding water to paper or crumpling up paper) affect a material and how could that affect be useful in translating an idea or visual. 


Materials

Material list:

Ring (deli lids with middle cut out)

Elmers Glue

Sculpting wire

Tissue Paper

Sparkles

Paint brushes 

Plates for glue

Newspaper (for mess)

Blue tape with strings (name tags)

Cardboard box  (carrying everything and potentially ones labeled for each class for drytime)

Water bottle (washing glue paintbrushes)

Paper towels (potential mess)

Yarn

Ribbon

Garbage bags (cut into strips)

Cardstock paper strips (gluing tentacles to this)

Glue sticks (provided by kids..maybe have some extras?)


Kit 1:

Sculpting metal x2

Deli lid x1

Tissue paper squares x2 

Glob of glue on paper plate 

2” Paintbrush 


Kit for Part 2:

Ribbon x2

2 pieces of yarn 

Garbage bag strips x1

Tissue paper strips x1

1” Strip of cardstock paper 


Learning Activities and Timing

Before class starts:

Lay out newspaper, plates with glue, and kits 

  1. Say hello and introduce myself: My name is Lydia and I am currently in school studying furniture design. I work with many different materials including things like: metal, wood, paper, glue, plaster etc and we are going to working with some of those materials today to make jellyfish sculptures.

(remind students to not touch anything yet) 

  1. Open up presentation and introduce the project: We are going to be making 3d jellyfish sculptures

  2. Show some examples of 3d jellyfish sculptures

  3. Talk about the basic Jellyfish parts (the ones we will be making in the sculpture)

Jellyfish parts:

- The hood (or bell) is what encloses the internal structure of the jellyfish

- Tentacles are covered with cells called “cnidocytes” that can stings and kill other animals

- Oral arms are also coated in a venomous cell (nematocysts). The oral arms are closer to the mouth and body of the jellyfish and and are used to draw food up to their mouths

6.  Show photos of real jellyfish 

-What do you notice in the photos? How would you describe them? Ask 2 students to share words. (Repeat for jellyfish sculptures) 

Ask: “How would you describe the differences between the real and fake jellyfish? 

1:20

7. Explain the project briefly (overview)

8. Tutorial 1:

- on bending wire and wrapping it

- applying glue and tissue paper (remind them that this is tricky and if you feel frustrated to take a deep breath and try again or ask for help)

1:25

10. Play video of jellyfish on big screen while the kids work 

11. Walk around and help 

1:35

12. Once ready for step 2 have everyone stop working and listen to Tutorial 2

-show to attach tentacles to cardstock 

-show different techniques for manipulating material

1:40

13. Talk about materials they could find and use at home to add to their jellyfish

14. Final step attaching tentacles  (If we run out of time students who don’t get to the step leave them and I will do it after class)

1:55

15. Reflect:

Share one choice you made for your 3D jellyfish. (did you crumple the tissue paper? Did cut things short or keep them long? Did you use all of your materials or only a few?)

Art Buddies Craft #2

Name of Craft: Mosaic Stained Glass Hanging 


Objectives: To design a craft for elementary students that prioritizes them using their imagination to create, while being appropriately complex for their age range.


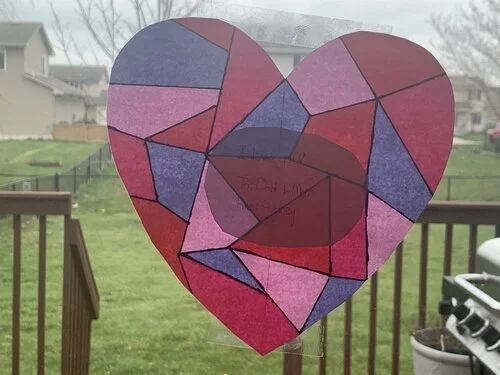
Overview of the craft: The students will take a thin piece of clear film, and glue little torn pieces of colored tissue paper onto it, creating a dappled look. Then, a piece of string will be tied through the two punched holes and the ‘stained glass’ can be hung in a window, letting light pass through and illuminating the colors.


Student Outcomes: I want students to enjoy working with their hands, and experiment with different colors on the project. The process of ripping up and pasting tissue paper is a lot more tactile and freeform than the other craft, which adds variety.


Research and resources: I looked to Pinterest and Google like the other crafts. I needed to replace the origami craft because it was too difficult to do for the students, so I looked for a way they could use paper and light in an interesting way.


Materials: Tissue paper, glue, transparent film, yarn


Art Buddies Craft #1

Name of the craft: ‘Exquisite Buddy’

Objectives: To design a craft for elementary students that prioritizes them using their imagination to create, while being appropriately complex for their age range.


Overview of the craft: The craft is an imaginary made-up animal made from different pieces of cut up paper. Students will follow the instructions to cut out different shapes, not knowing what parts of the creature the shapes correlate to. At different points the students will trade some of the shapes with each other, adding to the randomness of their results. The end of the instructions tells them which parts of the animal are which, and they then glue all the pieces together to create their imaginary beast. The students can then give it a funny name, and draw on specific details like a tail or a face, in whatever way they like.


Student outcomes: I want students to enjoy the act of creation with a project that they don’t have full control over, and without an idea of how it’s supposed to look when its finished. The random element of the craft is what makes it fun, and students will come away from the craft with an appreciation for not always going into art with a specific desired outcome in mind.


Research and resources: I wanted to come up with a craft that felt original, so in my research for fun crafts, I didn’t want to lean in too closely to any of the ones that I found. Google and Pinterest came in handy for inspiration. The idea around this craft comes from the concept of the ‘exquisite corpse’, which is a drawing brought together by multiple people without knowing what the other parts look like. I also knew this craft had to be made with materials that wouldn’t make much of a mess, so that did influence what I came up with.


Materials: Construction paper, scissors, glue, pencils, googly eyes, letter stickers.


Learning activities: Following instructions, cutting out shapes with paper, appropriately using crafting supplies


Character Creation Program #1 - Color

Character Creation Program #1 - Color

Name of Project: Character Creation Program - Color

Grade Level or Age of Participant: Students age 8-11

MCAD Teaching Artist:  Kristina Wacker


OVERVIEW OF PROJECT

Character Creation Program

“Our mentors and students work together to create a one-of-a-kind character and costume based on the child’s imagination and values — along the way, we spark imagination and build confidence. With the help and guidance from their creative mentors, kids are able to explore their creativity and build something more ambitious than they ever thought possible.”

In-person program/Hybrid

  • Connect with your buddy for 1 hour every week for a period of 8 - 10 weeks

  • Create a character and costume using our huge collection of art supplies 

  • Celebrate your creation & participate in a costume parade, presentation, and professional photoshoot

Students will also: 

  • Learn skills and elements of illustration, including the use of color, shape, mark-making, and fore/middle/background

  • Learn more about creative careers from visiting artists


“BIG IDEAS”/ ESSENTIAL QUESTION(S)

Students will, over the duration of the course, build their confidence and explore their creativity through the creation of their super buddy characters and costumes.


STUDENT OUTCOME OBJECTIVES 

Students will:

  1. Learn about the color wheel, color symbolism, and types of color pairings

  2. Demonstrate understanding of color theory through color choice in their costume designs

  3. Explain what colors they used in their costume and why


ADDITIONAL RESOURCES

[Color Theory Doc]

[Lesson Timeline]


CHECKING-IN TO STUDENTS UNDERSTANDING

Students write down/explain what colors they picked and why. (E.g. How do the colors they pick connect to their costume/character?)

MATERIALS

  • Buddybook

  • Color Theory Worksheet

  • Crayons

  • Markers

  • Colored Pencils

  • Fabric

  • Tape

  • Scissors

  • Staplers

  • Hot glue guns, glue sticks

  • Ribbon

  • Pipe Cleaners

  • Construction paper

  • Popsicle sticks

  • Pom poms

  • Fake floral items

  • Cardboard

  • Miscellaneous plastic items (bottle caps, googly eyes, etc.)

LEARNING ACTIVITIES AND TIMING

  1. Greeting

  2. Lesson (15-20 min)

  1. Intro to types of colors

    1. Primary, secondary, tertiary

    2. Temperature of colors

  2. Symbolism

    1. What colors mean

    2. How color can change meaning

  3. Students work time with mentor 

    1. Student focus on thinking about: 

      1. what colors they’re choosing

      2. why they’re choosing them

      3. How they relate to the character

  4. Virtual check in time (X min)

    1. Ask about work, if there’s anything the student would like to share about it/how they used what they learned today?

      1. What colors they’re using? 

      2. Why they chose the colors they did?

    2. Students respond ____

  5. Wrapping up / Closing - Sharing Circle

    1. Students will all say one word about the lesson

    2. Share favorite color/one color used

etc.

Download support materials here:

PART 1/3: Paint Collages Inspired by Jack Whitten

PART 1/3: Paint Collages Inspired by Jack Whitten

Name of Project: Paint Collages inspired by Jack Whitten: PART 1/3

Teacher:  Lula

 Age or Grade Level: Prepared for 3rd grade

 Visual Arts Content / Standards

MN Arts Standard 3501.0820 

Subpart 1a - Foundations:

The student will use foundational knowledge and skills while responding to, creating, and presenting artistic work.

Subpart 5b - Connect:

The student will understand that artistic works influence and are influenced by personal, societal, cultural, and historical contexts, including the contributions of Minnesota American Indian tribes and communities. 

National Core Arts Standard:

Relate artistic ideas and works with societal, cultural and historical context to deepen understanding.

Overview of Project

This will be the first part of a 3-part lesson series investigating the life and work of renowned painter Jack Whitten. We will explore his involvement in the Civil Rights movement of the 1960s, his work as an artist in New York City, and his famous break from traditional painting techniques to collage work using hardened paint. 

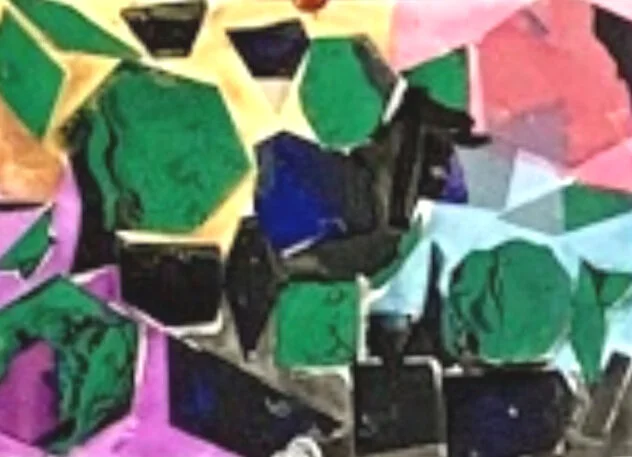
This week, in Lesson 1, I will present a slideshow to students about Whitten’s life and work, from his childhood to his Black Monolith series. We will look at his works and discuss what emotions we feel when we look at them. We will discuss what larger forms we see, then zoom in and observe what small shapes collage together to comprise the whole painting. We will compare a photograph of Muhammad Ali with Whitten’s portrait of Muhammad Ali to introduce the idea of representation vs. abstraction.

We will create an acrylic pour painting, which will harden over the next two weeks. We will notice the colors we have chosen and how they look next to each other.

“Big Ideas”/ Essential Question(s)

  • How can small shapes make up a big picture? Why do we look for smaller shapes?

  • How is Jack Whitten’s work influenced by his experience fighting for Civil Rights in the 1960s? 

  • What emotions do we feel when seeing and making political work?

  • What happens when we combine colors? How can we create a color-unified composition?

  • What is abstraction? Why do we use it?

Student Outcome Objectives 

Students will:

1. Learn about Jack Whitten’s life and work

2. Be able to explain the difference between abstract work and representational work, and demonstrate understanding of why artists use abstraction.

Prior Knowledge

Students recently were taught about the Civil Rights movement of the 1960s. This will allow us to utilize language like civil rights, racism, segregation, protest and activism to contextualize Jack Whitten’s involvement in the movement and how his work was influenced by growing up in segregated Alabama.

Examples of Artwork

Here is my slideshow with Whitten’s work included, feel free to download and use it:

Assessment

Ask questions like, “What do you feel when you’re making this?” “Where is your mind wandering to while you’re pouring this paint?” “How do these colors make you feel?” to confirm the goal of abstraction as expressing emotions/ideas through art. We will compare Whitten’s abstract work to photographs and students will explain the difference between abstract and representational.

Materials

Large paper for pouring paint onto

Paint ingredients (paint must be prepped ahead of time to marble when it’s poured):

3 parts Acrylic paint, tempera can work too

1 part Elmers Liquid Glue

Isopropyl alcohol to thin the mixture

Cups & Sticks to stir

Teacher Reflection

Word of advice to future educators of this lesson: the paint pour takes longer than expected (I had planned 10 minutes of pouring but it took us almost 30) and you will need more paint mixture than you expect, about a dixie cup full for each child. This is a no-brush painting activity!!! Kids move the paper around to guide the paint. Make sure to have wet wipes ready & ask children to roll up sleeves first.

A stude
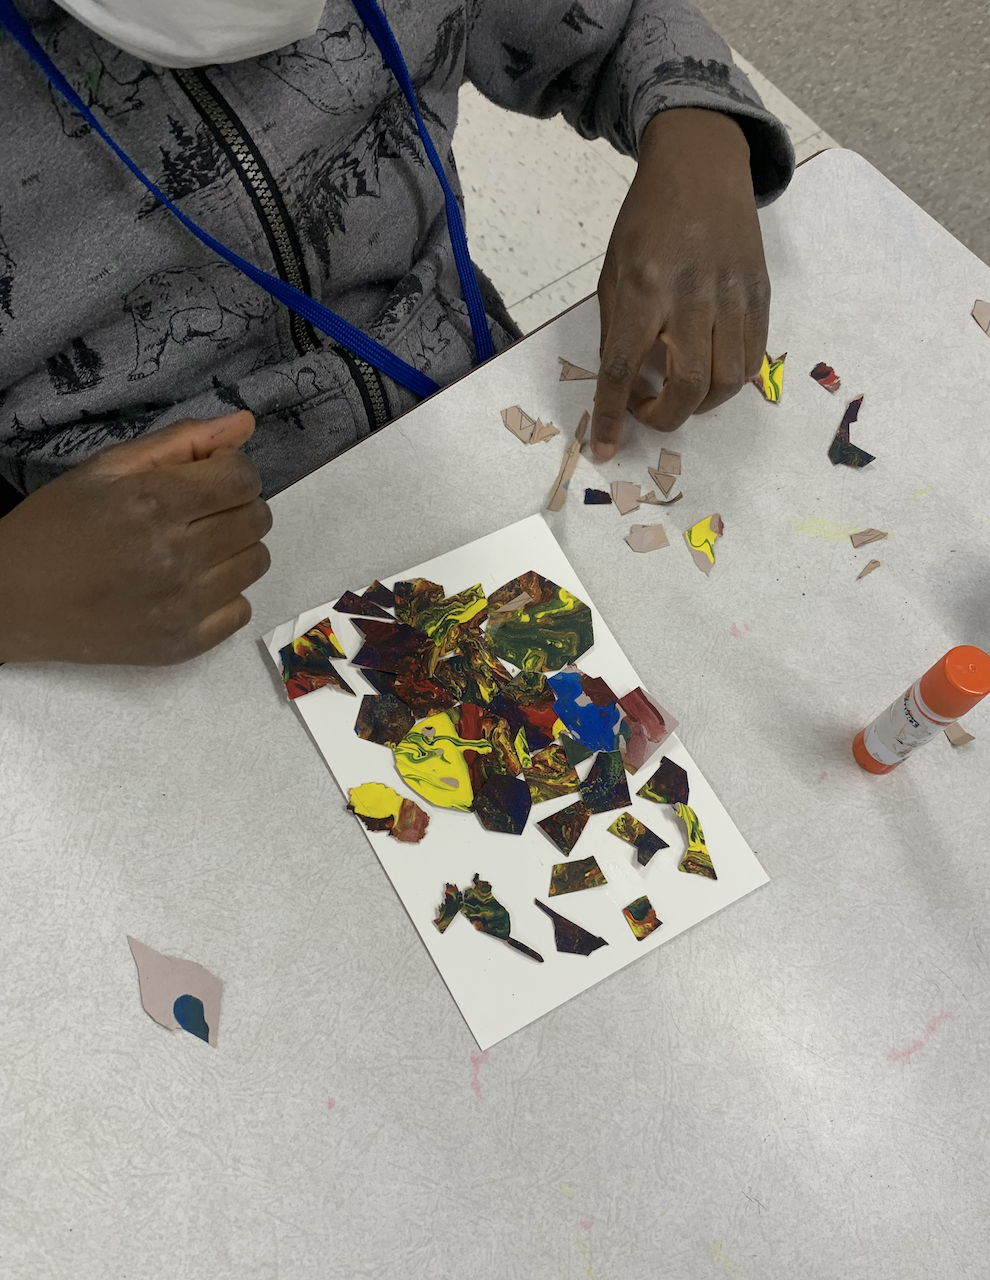
Students manuvering the paint around their papers by tilting the paper up and down, side to side.

Students manuvering the paint around their papers by tilting the paper up and down, side to side.

PART 2/3: Paint Collages Inspired by Jack Whitten

PART 2/3: Paint Collages Inspired by Jack Whitten


Planning Backwards Model 

Name of Project: PART 2/3: Paint Collages Inspired by Jack Whitten

 Teacher:  Lula McConnell

 Age or Grade Level: Prepared for 3rd grade

 Visual Arts Content / Standards

MN Arts Standard 3501.0820 

Subpart 1a - Foundations:

The student will use foundational knowledge and skills while responding to, creating, and presenting artistic work.

Subpart 5b - Connect:

The student will understand that artistic works influence and are influenced by personal, societal, cultural, and historical contexts, including the contributions of Minnesota American Indian tribes and communities. 

National Core Arts Standard:

Relate artistic ideas and works with societal, cultural and historical context to deepen understanding.

Overview of Project

This will be the second part of a 3-part lesson series on the life and work of renowned painter Jack Whitten. We will explore his involvement in the Civil Rights movement of the 1960s*, his work as an artist in New York City, and his famous break from traditional painting techniques to collage work using hardened paint. 

This week, in Lesson 2, I will present a shorter slideshow to students to refresh their knowledge about Jack Whitten’s life and work. I will use questions about what we remember from last week to recap important points: What is abstraction? Who is Jack Whitten? Why do artists use abstraction? How did Jack Whitten paint? We will study geometric shapes by naming them and observing them within Whitten’s painting 9-11-01 (2006). We will talk about tessellations to introduce the geometric term. 

We will use geometric templates to trace shapes onto the back of our painted pages from last week. We will then cut them out and collage them with glue sticks to make tessellations on small canvases.

“Big Ideas”/ EssentialQuestion(s)

  • How can small shapes make up a big picture? Why do we look for smaller shapes?

  • What emotions do we feel when seeing and making political work?

  • What is abstraction? Why do we use it?

Student Outcome Objectives 

Students will:

1. Observe how Jack Whitten uses small geometric shapes to create large organic forms

2. Create work in the style of Jack Whitten

3. Learn rudimentary geometry terms

Prior Knowledge

Students have previously learned about figure drawing by combining simple shapes to draw more complex forms. This is an important foundational drawing skill, and will help them understand how to observe a large work with the intention of finding smaller shapes within it.

Students recently were taught about the Civil Rights movement of the 1960s, and learned about Jack Whitten’s life and work in the context of his experiences in the segregated South. 

Students learned about how Jack Whitten paints in a unique style, by pouring paint, breaking it up into dried chips, and then collaging them together.

Students learned about what abstraction is and why artists use it to express strong emotions.

Examples of Artwork

I have attached my slideshow here: with images for this week

Assessment

Notice shapes the children have used and ask “what is the name of this shape?” to gauge whether they responded to the geometry portion of the lesson. Ask questions about feelings and wandering thoughts while working. Ask if they see any images in their abstract work because of the way they have combined the shapes.

 Materials

  • Paint pours from last week

  • Sturdy watercolor paper

  • Glue sticks

  • Scissors

Teacher Reflection

Provide glue sticks/strong liquid glue and brushes if possible. We used the glue sticks each kid had in their desk. Some worked well and others peeled off the next day. I ended up spending an hour gluing lost pieces back onto their canvases, use strong glue to avoid this :)


Screen Shot 2021-05-05 at 1.11.58 AM.png
Screen Shot 2021-05-05 at 1.12.21 AM.png
Screen Shot 2021-05-05 at 1.13.02 AM.png

PART 3/3: Paint Collages Inspired by Jack Whitten

PART 3/3: Paint Collages Inspired by Jack Whitten

Planning Backwards Model 

Name of Project: PART 3/3: Paint Collages Inspired by Jack Whitten

 Teacher:  Lula McConnell

 Age or Grade Level: Prepared for 3rd grade

 Visual Arts Content / Standards

MN Arts Standard 3501.0820 

Subpart 1a - Foundations:

The student will use foundational knowledge and skills while responding to, creating, and presenting artistic work.

Subpart 5b - Connect:

The student will understand that artistic works influence and are influenced by personal, societal, cultural, and historical contexts, including the contributions of Minnesota American Indian tribes and communities. 

National Core Arts Standard:

Relate artistic ideas and works with societal, cultural and historical context to deepen understanding.


Overview of Project

This will be the third part of a 3-part lesson series based on the life and work of renowned painter Jack Whitten. We will explore his involvement in the Civil Rights movement of the 1960s*, his work as an artist in New York City, and his famous break from traditional painting techniques to collage work using hardened paint. 

This week, in Lesson 3, I will present a shorter slideshow reviewing content from the previous two lessons: Who is Jack Whitten? How does he paint? What is abstraction? Why do we use abstraction? What is a tesselation?

I will introduce the concept of background/foreground. We will use examples from Jack Whitten’s work as well as Faith Ringgold’s story quilts to differentiate the background from the foregeound in both abstract (Whitten) and representational (rRnggold) works. We will then add an acrylic wash background to our collages from the past two lessons. The watercolor paint bonds to the watercolor paper, but not to the acrylic paint. This provides a good opportunity to briefly discuss how paint is made and why different bases make paint work differently.

“Big Ideas”/ EssentialQuestion(s)

  • What emotions do we feel when seeing and making political work?

  • What is abstraction? Why do we use it?

  • How do two artists’ work in different styles relate to each other foundationally?

Student Outcome Objectives 

Students will:

1. Identify foregeound and backgoround in abstract and representational work

2. Create work in the style of Jack Whitten

3. Experiment with latering different paint types

Prior Knowledge

Students have now spent two weeks learning about abstraction, innovating painting techniques, and the work of Jack Whitten.

In the past, I taught a lesson on how to make paint by mixing pigment with a base, so the kids have some background knowledge of differences between paints.

Students previously completed a lesson with a fellow teaching artist based on Faith Ringgold’s story quilts.

Examples of Artwork

See (and feel free to use) attached slideshow:

Assessment

This will be our final lesson in the style of Jack Whitten. Observe final compositions, how students choose to combine colors. Do students notice that the watercolor bonds with the blank watercolor paper but not the acrylic paint chips? Can the students tell me which part of their work is the background and which is the foreground? Can students connect their emotions to the work they are creating?

Materials

  • Paint pours collages from last week

  • watercolor sets, 1 per child

  • paintbrushes

  • cups w/ water for rinsing & paper towels for drying

Teacher Reflection

Some demo on how to clean watercolor brushes would have been helpful. I started demoing the watercolors and a lot of kids were like “we know how to use watercolors!” I should have continued to demo, because it was clear that many kids did not, but I stopped. Definitely demo these skills so you don’t end up with a bunch of all brown watercolor pallettes.


Screen Shot 2021-05-05 at 1.33.49 AM.png
Screen Shot 2021-05-05 at 1.34.49 AM.png
Screen Shot 2021-05-05 at 1.35.08 AM.png
Screen Shot 2021-05-05 at 1.34.15 AM.png

Ancient Greece Vases

Ancient Greece Vases

Age or Grade Level:  4th Grade


VISUAL ARTS CONTENT / STANDARDS


Code:  4.1.1.5.1

Grade:  4th Grade

Strand:  Artistic Foundations

Substrand: 1. Describe the characteristics of the elements of visual art including color, line, shape, value, form, texture, and space. 

Standard: 1. Demonstrate knowledge of the foundations of the arts area. 


CURRICULAR LINK / STANDARDS, IF APPLICABLE

English

Code: 4.1.4.4

Grade:  4th Grade

Strand:  Reading

Substrand: Craft and Structure

Standard: Determine the meaning of words and phrases as they are used in a text, including those that allude to significant characters found in mythology (e.g., Herculean). (Allegories, Fables)

OVERVIEW OF PROJECT

  Create an ancient greek vase using the imagery from Greek mythology Gods and Goddesses.  Connect the images to everyday life and themselves.  (Midas Tire, Nike, Apollo Theater, ect)


“BIG IDEAS”/ ESSENTIAL QUESTION(S)

  The big idea for this lesson is to connect ancient greek mythology to everyday life.  

What do these symbols mean and why did you choose them? 

STUDENT OUTCOME OBJECTIVES

Students will:

  1. Create a scratch off vase.

  2. Illustrate an image from a Greek allegory/fable relating to everyday life. 


PRIOR KNOWLEDGE

 The students should have prior knowledge of  Greek Mythology, of Greek Allegories, and allusions.

TEAM LESSON PREPARATION TIMELINE

  • Create draft lesson plan 03/17

  • Teach drafting part of lesson 03/17

  • Teach lesson on 03/22


EXAMPLES OF ARTWORK

I will show examples of ancient Greece vases to inspire the students.  I will also create an example for the students and create with them. 


ADDITIONAL RESOURCES 

Greek mythology books, powerpoint about greek allusions


ASSESSMENT

See http://artsedge.kennedy-center.org/educators/how-to/supporting-individual-needs/do-tell-giving-feedback.aspx for a varied list of assessment techniques in the arts.

 I will grade these based on how they connect greek mythology symbols to their own personalities, also how they use line, patterns, and shape according to the elements of art. 

MATERIALS

  • Paper

  • Kabob Sticks

  • Paint

  • Paint Brushes

  • Soap

  • Little cups

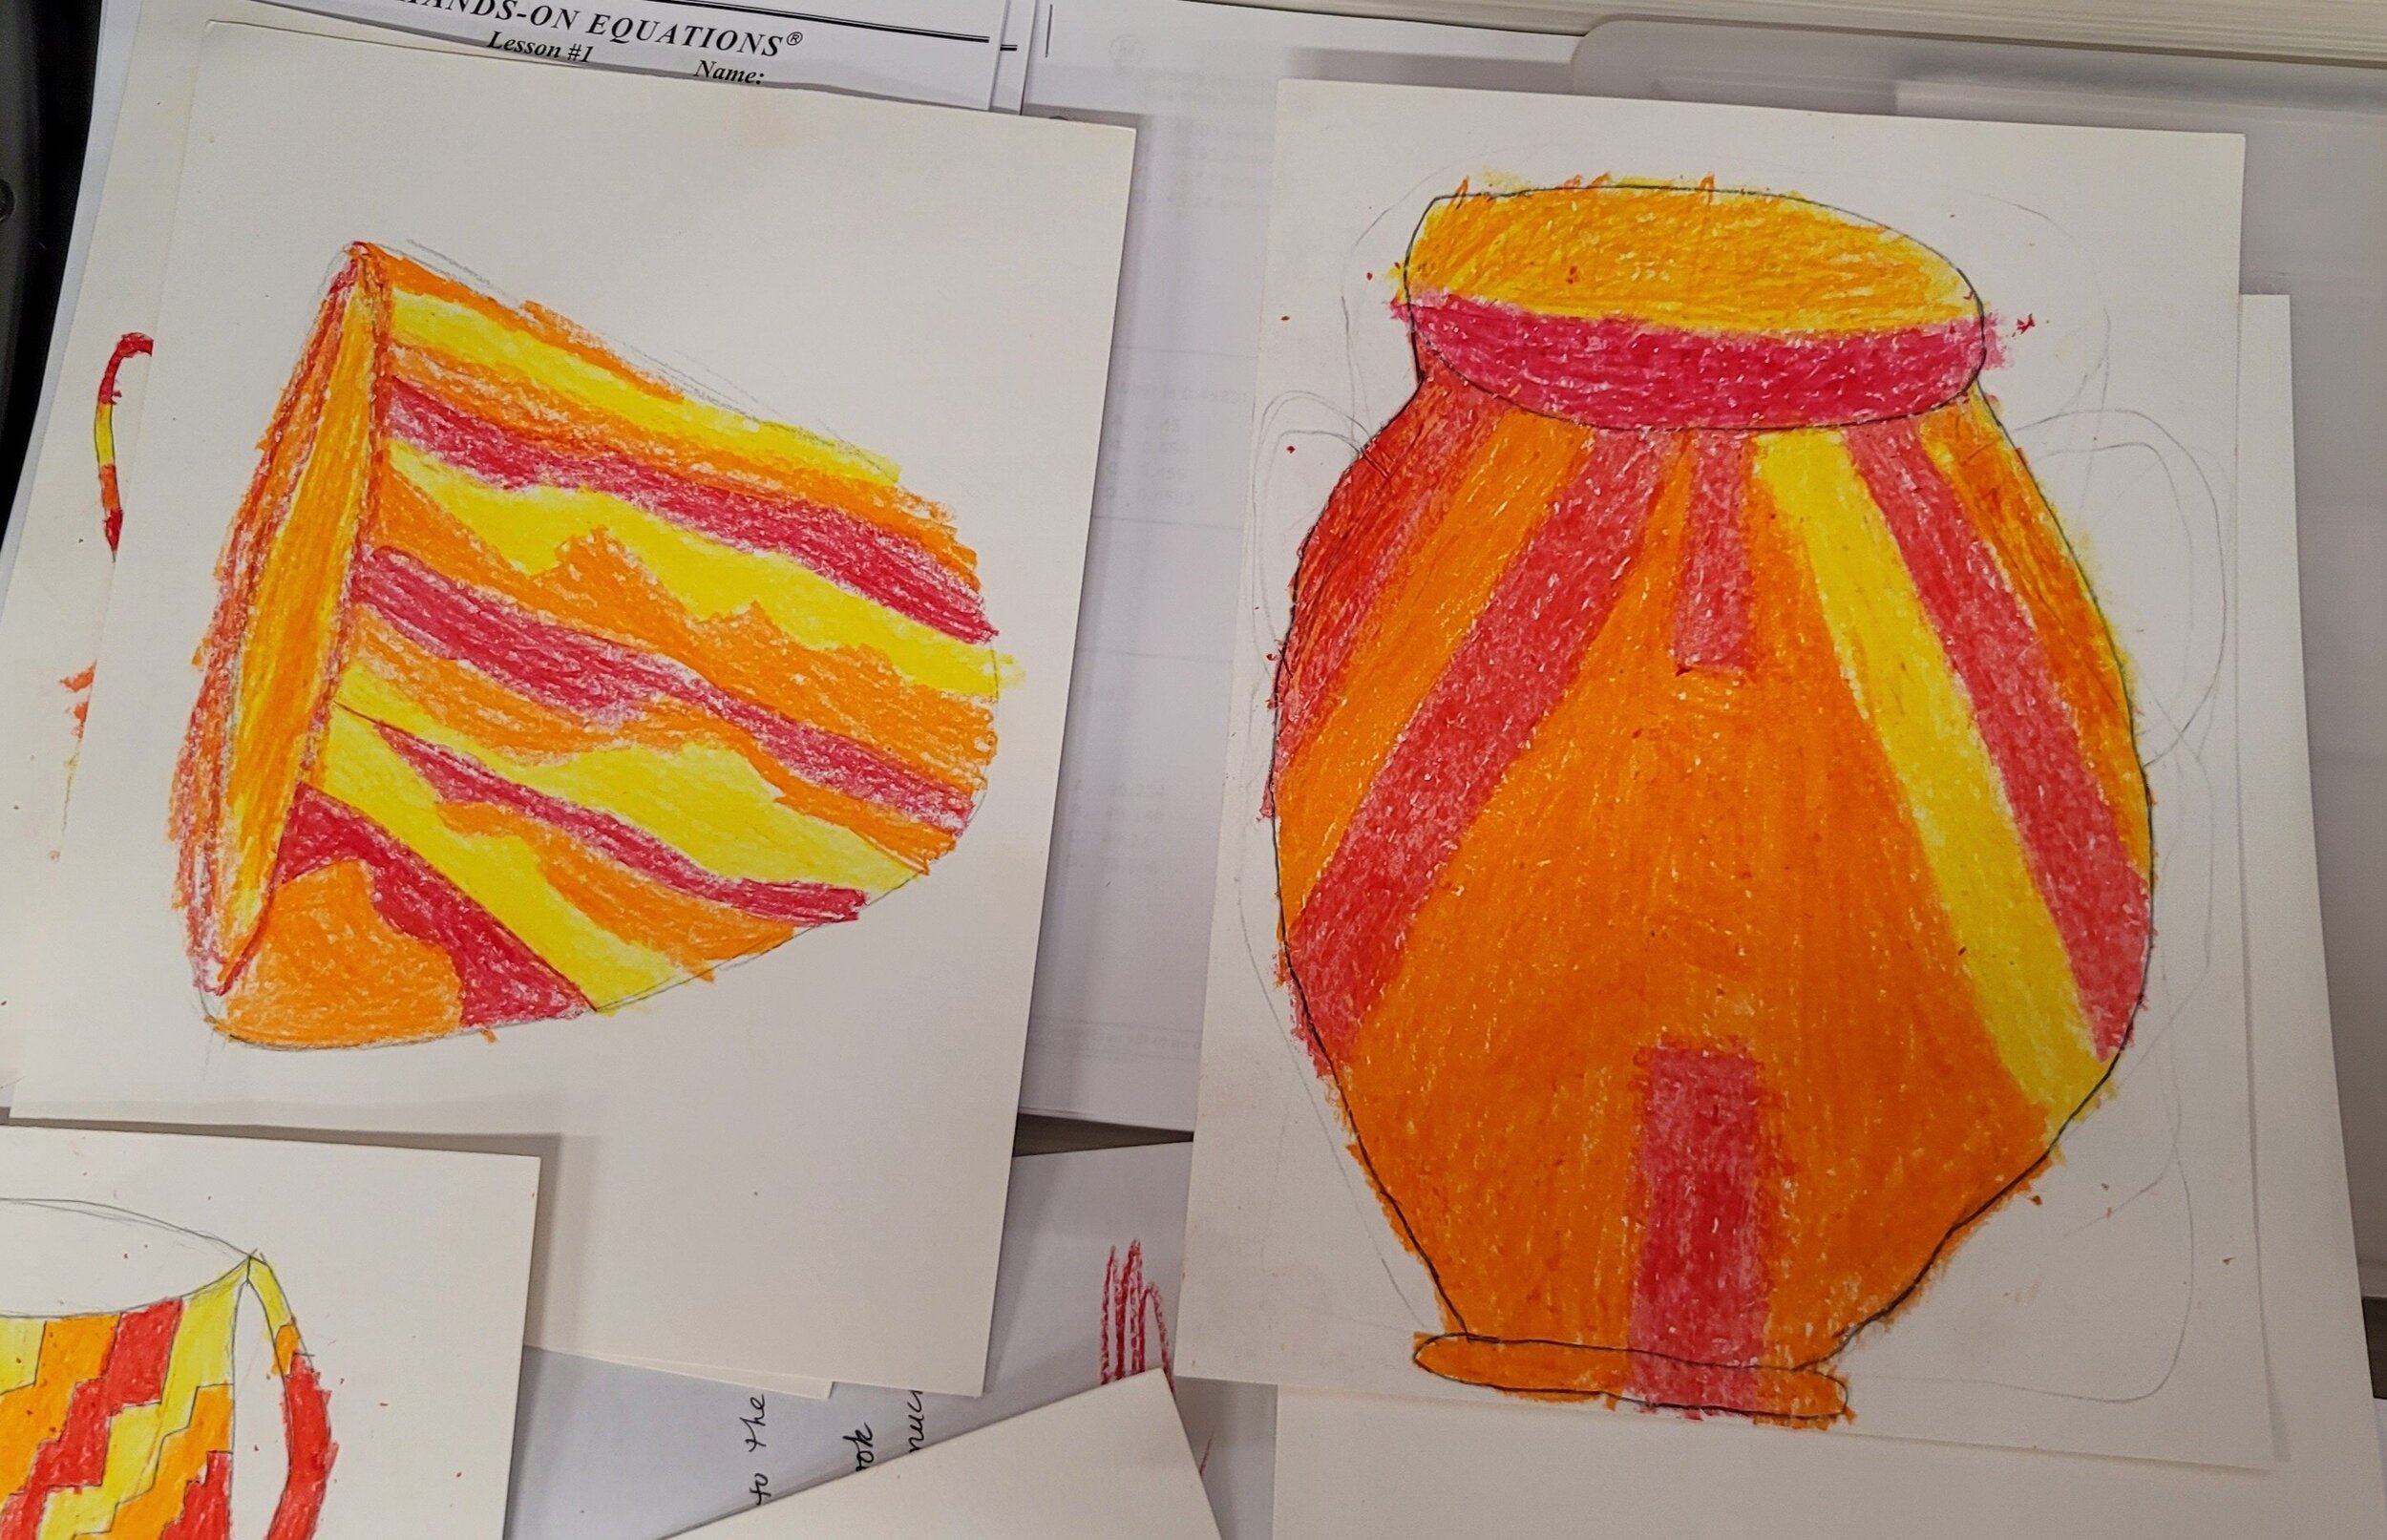
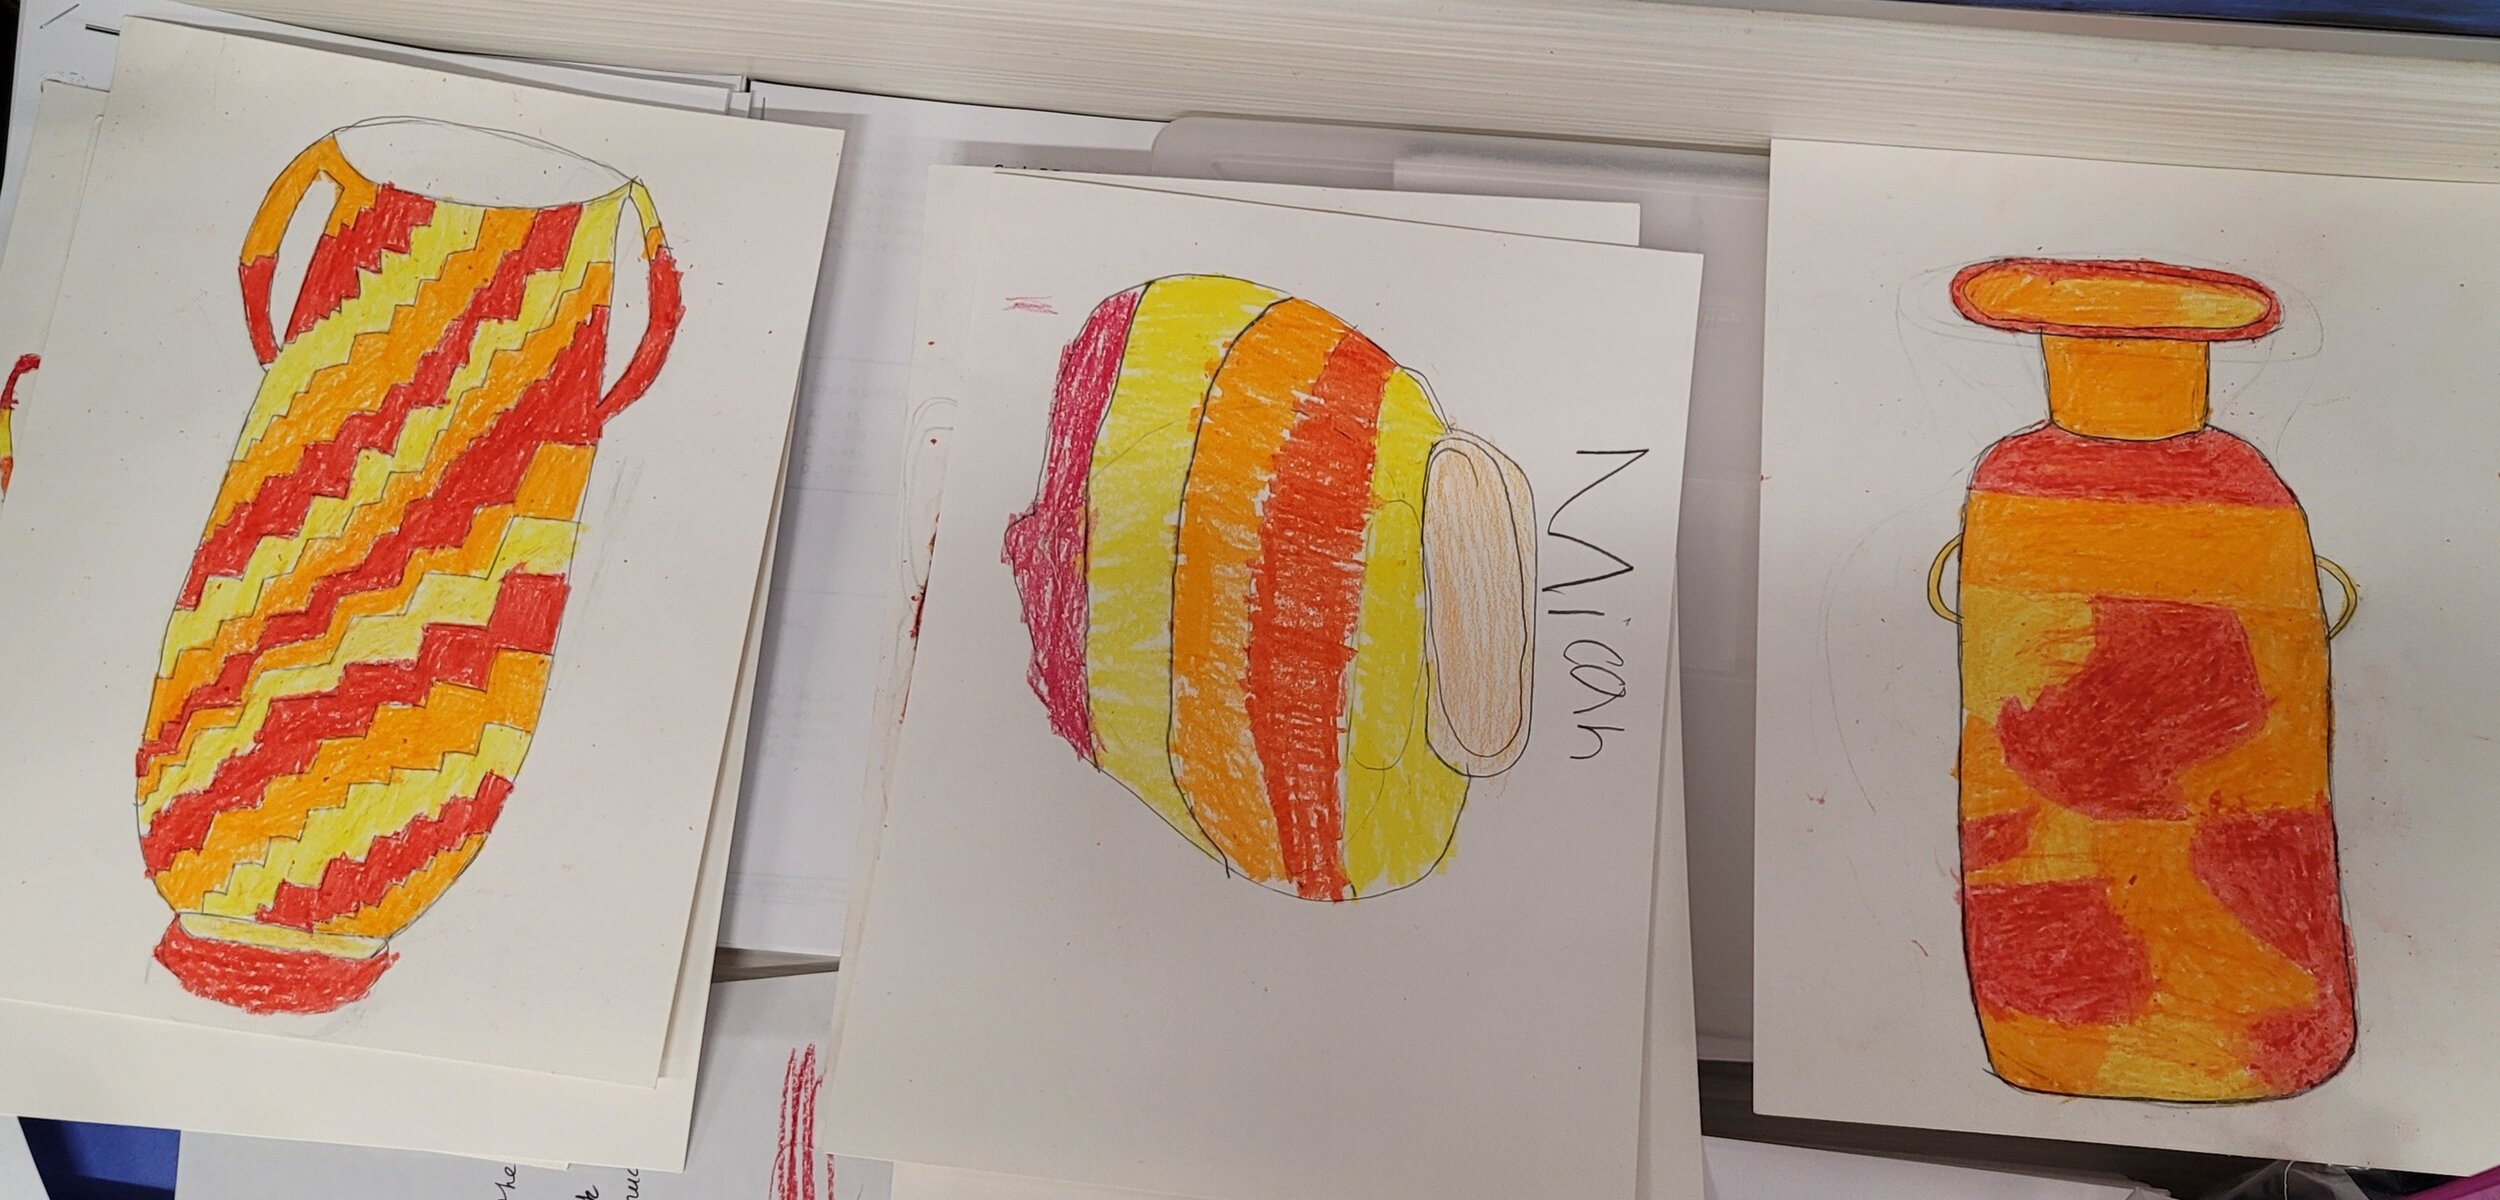
  • Orange and Red Crayons

  • Pencil

LEARNING ACTIVITIES AND TIMING

Day 1:

  1. Create a draft drawing of the vase based on the images on the slide show (slide 3).  Just a simple outline of the vases. (15min)

  2. Show Slideshow, slide 2. About the background of ancient greek vases.  (3min)

  3. Go over the project and have the students figure out some images to etch into their vases.  Slides 4 and 6 (10min)

Day 2 (could combine with day 1):

  1. Gather Supplies for the project  (5min)

  2. Show slides 3 for examples of vase shapes.  Have the students draw their vase on their piece of paper, color in.  (20min)

  3. Paint over with black paint. Let dry.  (5min)

Day 3:

  1. Show slides 4 and 6 with examples. Have the students draw on scratch paper with their ideas. (10min)

  2. Start etching patterns into the vase. Talk about the elements and principles of art specifically pattern, line, and shape. Slide 5  (5min)

  3. Etch the image onto the vase of the greek allegory they chose. (10min)

  4. Done :) write names on papers.

 Catchphrases 2020-2021

Catchphrases 2020-2021

Age or Grade Level:  4th Grade


VISUAL ARTS CONTENT / STANDARDS

Code:  4.2.1.5.1, 4.1.3.5.1, 4.1.3.5.2

Grade:  4th Grade

Strand:  Create and Make, and Foundations

Substrand:  1. Create original two- and-three-dimensional artworks to express specific artistic ideas. 

1. Describe the personal, social, cultural, or historical contexts that influence the creation of visual artworks including the contributions of Minnesota American Indian tribes and communities. 2. Describe how visual art communicates meaning. 

Standard: 1. Create or make in a variety of contexts in the arts area using the artistic foundations. 

3. Demonstrate understanding of the personal, social, cultural and historical contexts that influence the arts areas. 


CURRICULAR LINK / STANDARDS, IF APPLICABLE

English

Code:4.6.10.10, 4.6.6.6, 4.6.5.5 

Grade:  4th Grade

Strand:  

Substrand: 

Standard: Write routinely over extended time frames (time for research, reflection, and revision) and shorter time frames (a single sitting or a day or two) for a range of discipline-specific tasks, purposes,and audiences. a. Independently select writing topics and formats for personal, enjoyment interest, and academic tasks. 

With some guidance and support from adults, use technology, including the Internet, to produce and publish writing as well as to interact and collaborate with others; demonstrate sufficient command of keyboarding skills to type a minimum of one page in a single sitting.

With guidance and support from peers and adults, use a writing process to develop and strengthen writing as needed by planning, drafting, revising, and editing. (Editing for conventions should demonstrate command of Language standards 1–3 up to and including grade 4 on page 41-42.)


OVERVIEW OF PROJECT

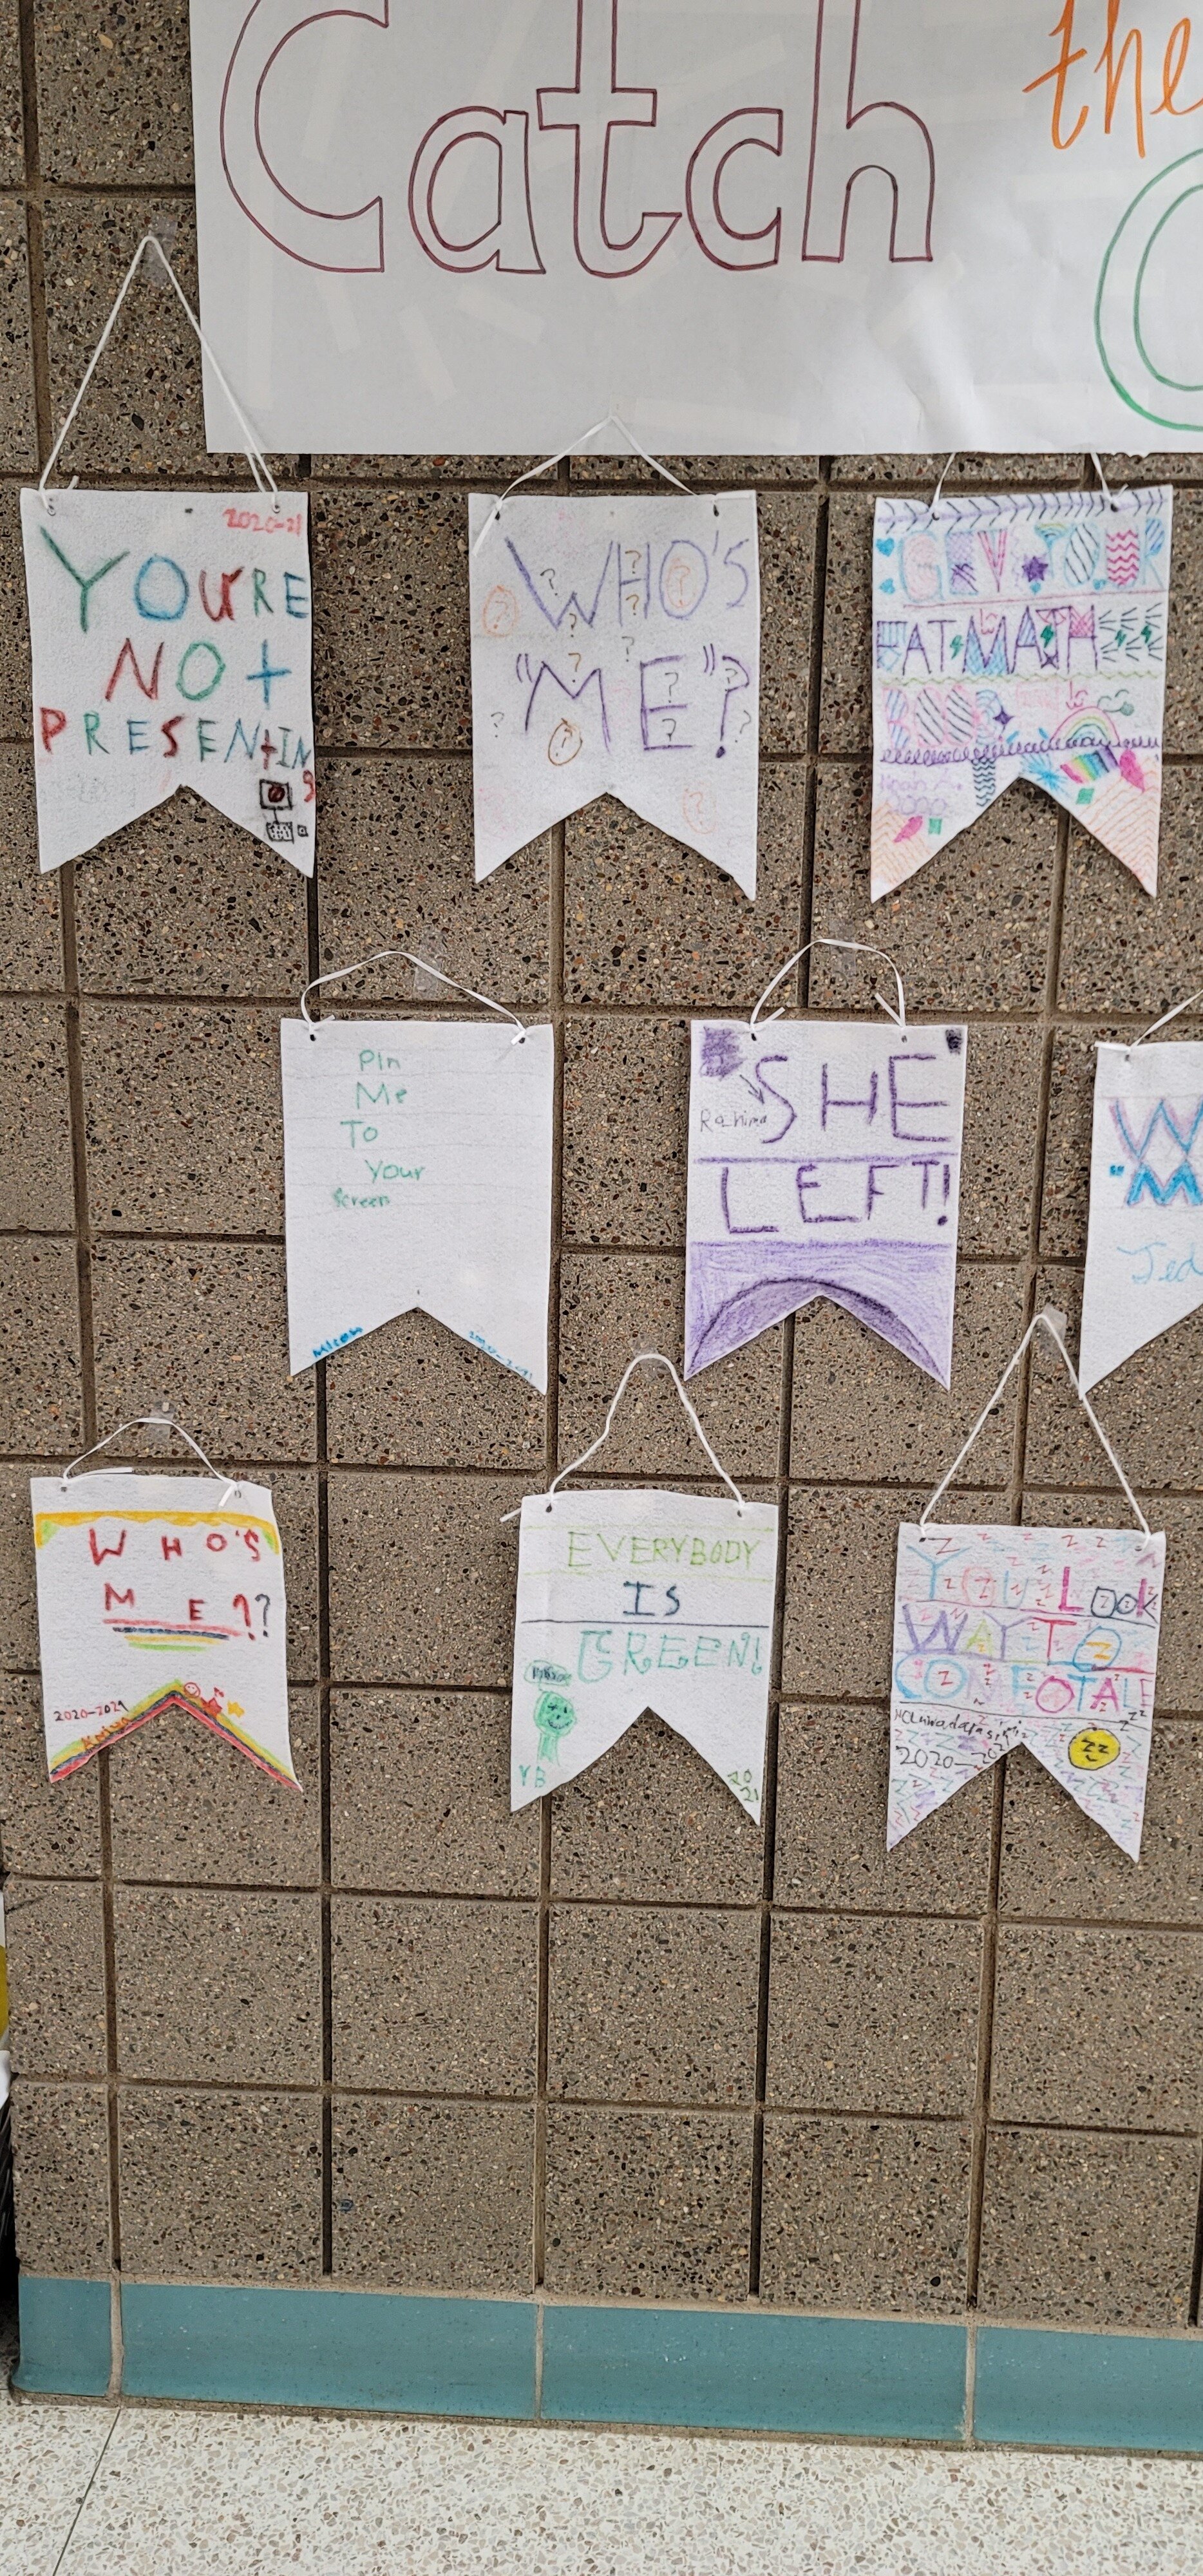
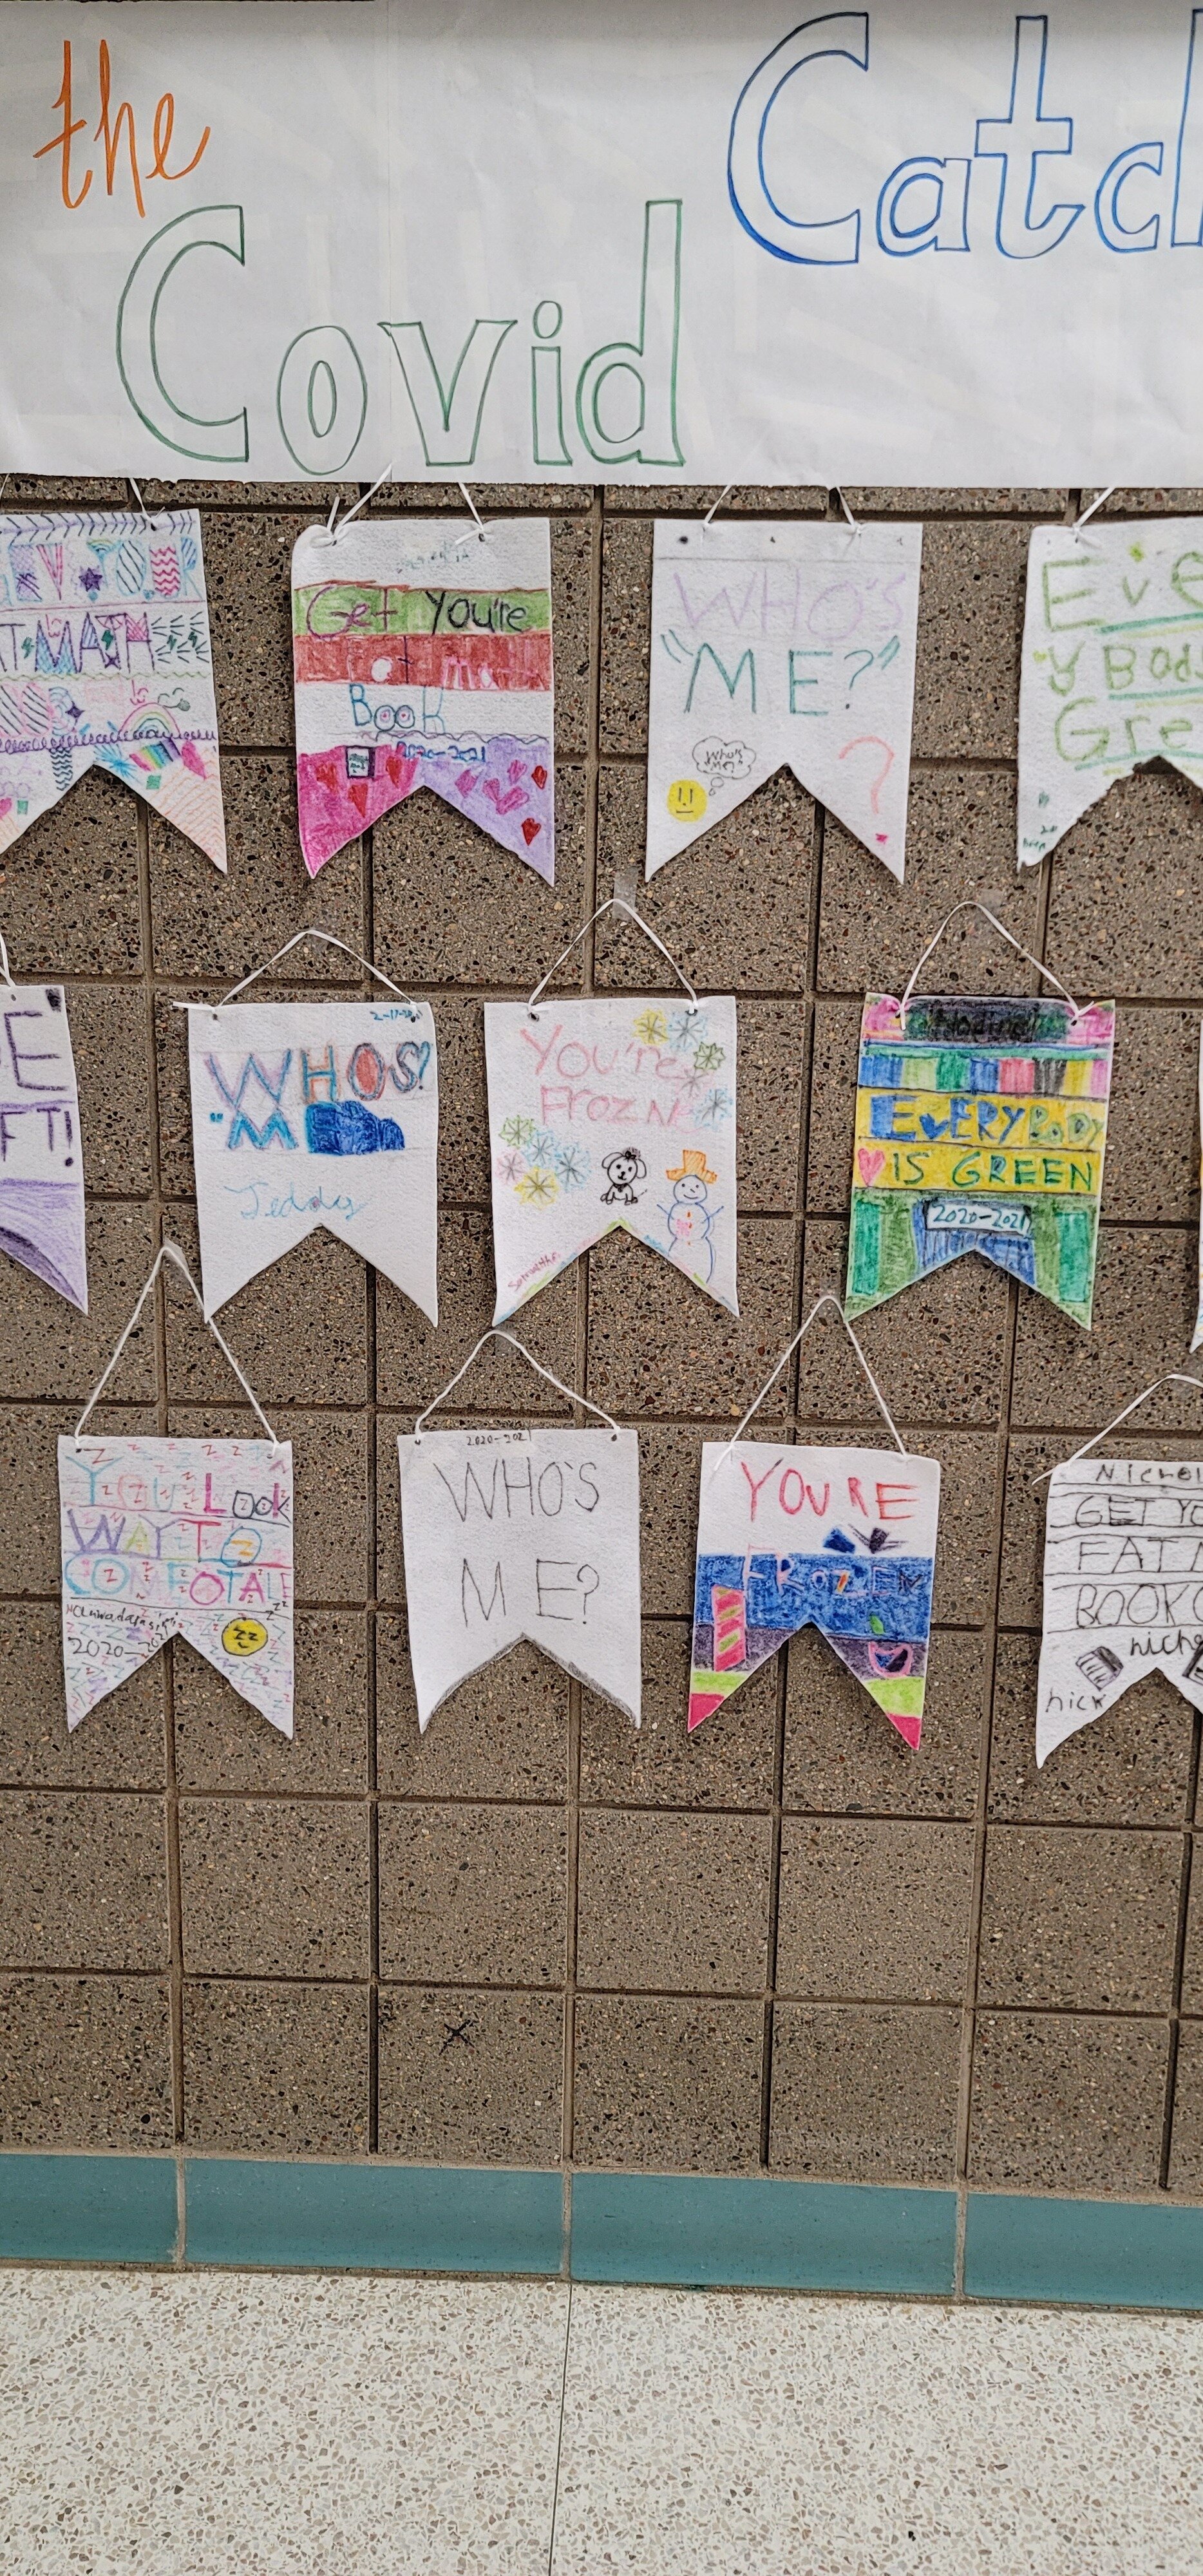
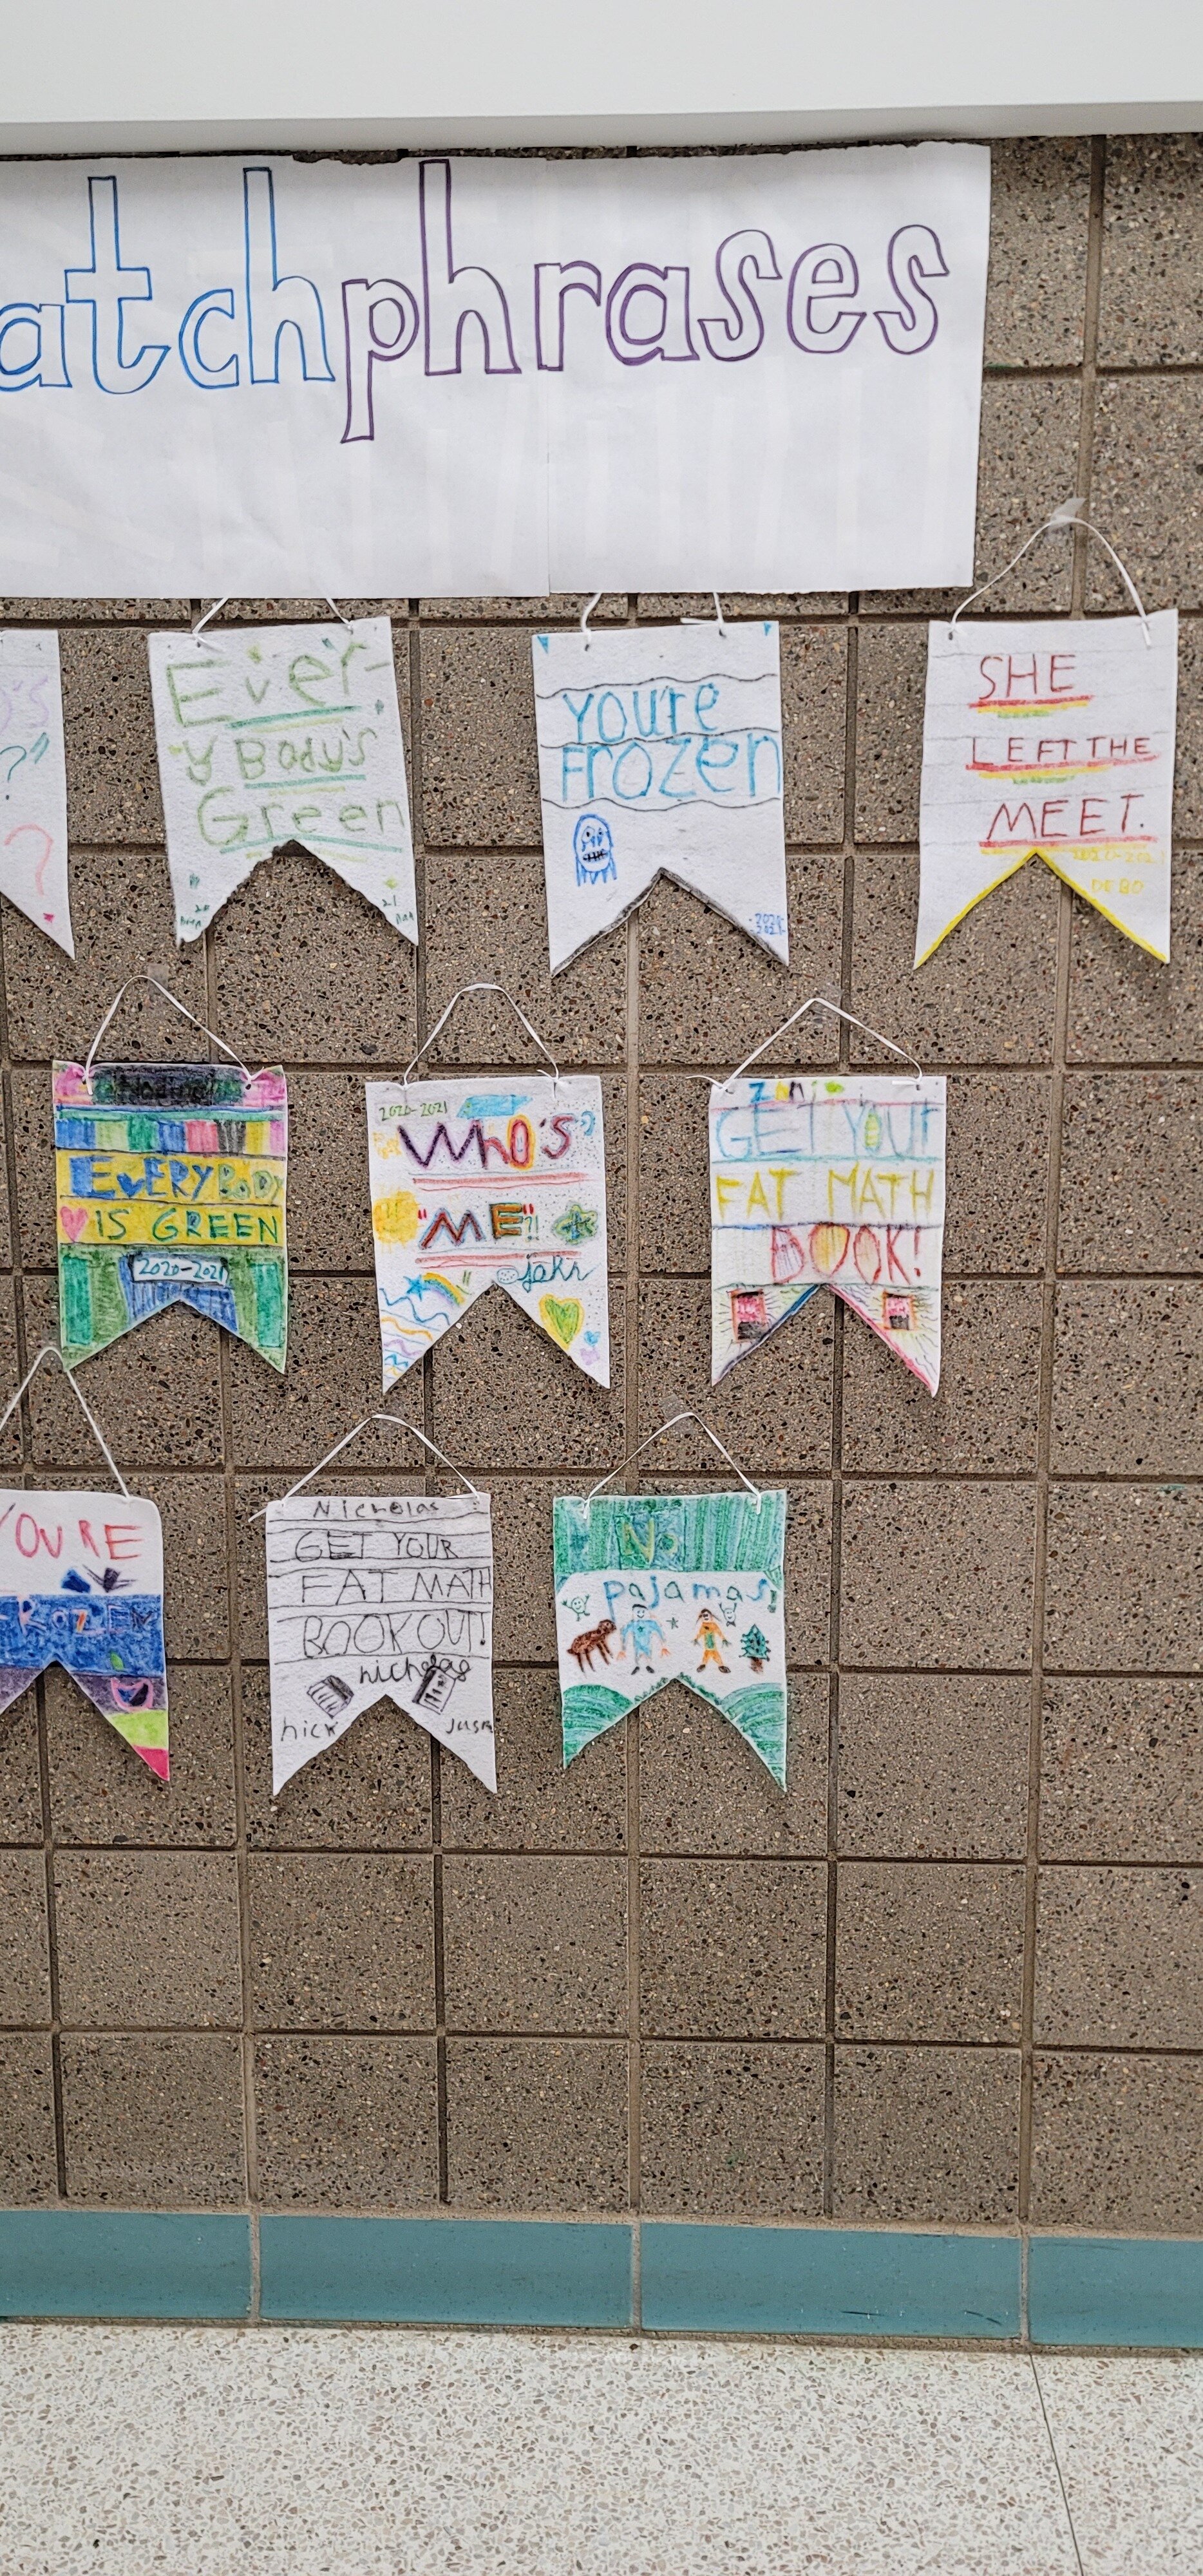
Create a catchphrase banner with a catchphrase from 2020-2021 DL.  With the banner, they will write a short narrative about a time they remember using/hearing that catchphrase.  


“BIG IDEAS”/ ESSENTIAL QUESTION(S)

  The big idea for this lesson is to show how we change with the time and develop new catchphrases for the different experiences we have such as the pandemic and virtual learning. They are making a banner so they can hang it up in their home and have something new they created that is different than just paper.  Through quarantine a lot of us learned new things and activities so this will be a new creation they haven't made before.  To represent learning new things in quarantine/a pandemic. 

STUDENT OUTCOME OBJECTIVES

Students will:

  1. Write a grammatically correct narrative.

  2. Learn how to make a banner by folding and cutting.

  3. Draw, cut and glue.  

  4. Present their work to a public by uploading images of their art and writing to their websites.   


PRIOR KNOWLEDGE

  The students should have prior knowledge on how to write grammatically correct and how to write a narrative.  They also should already know how to cut and write letters. 

TEAM LESSON PREPARATION TIMELINE

  • Gather supplies

  • Figure out the standards for this lesson

  • Draft due to Aki by Saturday at 11:59pm. 

  • Final Draft due to Aki by Monday at 11:59pm.

  • Teach lesson on Wednesday Feb 17th. 

EXAMPLES OF ARTWORK

 I have created an example of the banner for the students to see and will make one with them as I teach.  Show examples of textiles works. 

ASSESSMENT

See http://artsedge.kennedy-center.org/educators/how-to/supporting-individual-needs/do-tell-giving-feedback.aspx for a varied list of assessment techniques in the arts.

 I will grade these based on if they wrote grammatically correct and their narrative makes sense.  I will also grade on their creativity, following directions, and if they did it correctly. 


MATERIALS

  • Scissors

  • Glue sticks

  • Ribbon

  • Hole Puncher

  • Felt Sheets (36)

  • Fabric Markers 

  • 2 boxes for dirty and clean markers

  • Pencil

  • Catchphrase prep page

LEARNING ACTIVITIES AND TIMING

  1. Have the students gather all their supplies, pass out the felt sheets, have markers prepped in the clean box and have the dirty box set up with disinfectant nearby. (2 min)

  2. Start by cutting the felt into a banner shape, have them fold in half, and make ⅓ up from bottom, open draw lines down to corners and then cut the triangle out. Punch holes into the top of the banner before they start drawing to give them a guide. (5 min)

  3. Have the kids write out their catchphrase in pencil, make sure to have them measure out to have equal spacing.  Check spelling and grammar. Talk to them about choosing colors and text style for their piece in order to express feelings. (20 min)

  4. The students can now write their catchphrase in fabric markers.  WARNING: they are permanent! Have them come up and grab a marker, if they want to switch colors they have to put the marker they were using in the dirty box, only grab from the clean box.  (20 min)

  5. The kids now can add the string to their banners, tie the string through each hole.  May need to assist with this part.  (10 min)

  6. For the final part the kids will write a short narrative about a time they used or heard the catchphrase be using during online schooling. (CAN BE DONE ANOTHER DAY)  (15 min)

  7. Then cut the narrative out and glue to the back of their catchphrase banner.  Make sure they write their names on the banner somewhere.  (5 min)

  8. The students will be uploading their work to their websites after the lesson (mostly likely the next day).  They will take photos of both their writing and banner to put on their website.  

It Just Takes Heart - Marc Chagall and the Bezhold Effect

It Just Takes Heart - Marc Chagall and the Bezhold Effect

Click here to access the Teaching Pptx created by Sydney Hollingshead

Click here to access the Teaching Pptx created by Sydney Hollingshead

Marc Chagall and the Bezhold Effect 

Teaching Artist: Sydney Hollingshead 

Grade Level: Elementary: 3rd Grade 

VISUAL ARTS CONTENT / STANDARDS 

  • Creating: Generate and conceptualize artistic ideas and work.

  • Organize and develop artistic ideas and work.

  • Synthesize and relate knowledge and personal experiences to make art.

  • Relate artistic ideas and works with societal, cultural, and historical context to deepen understanding.

OVERVIEW OF PROJECT 

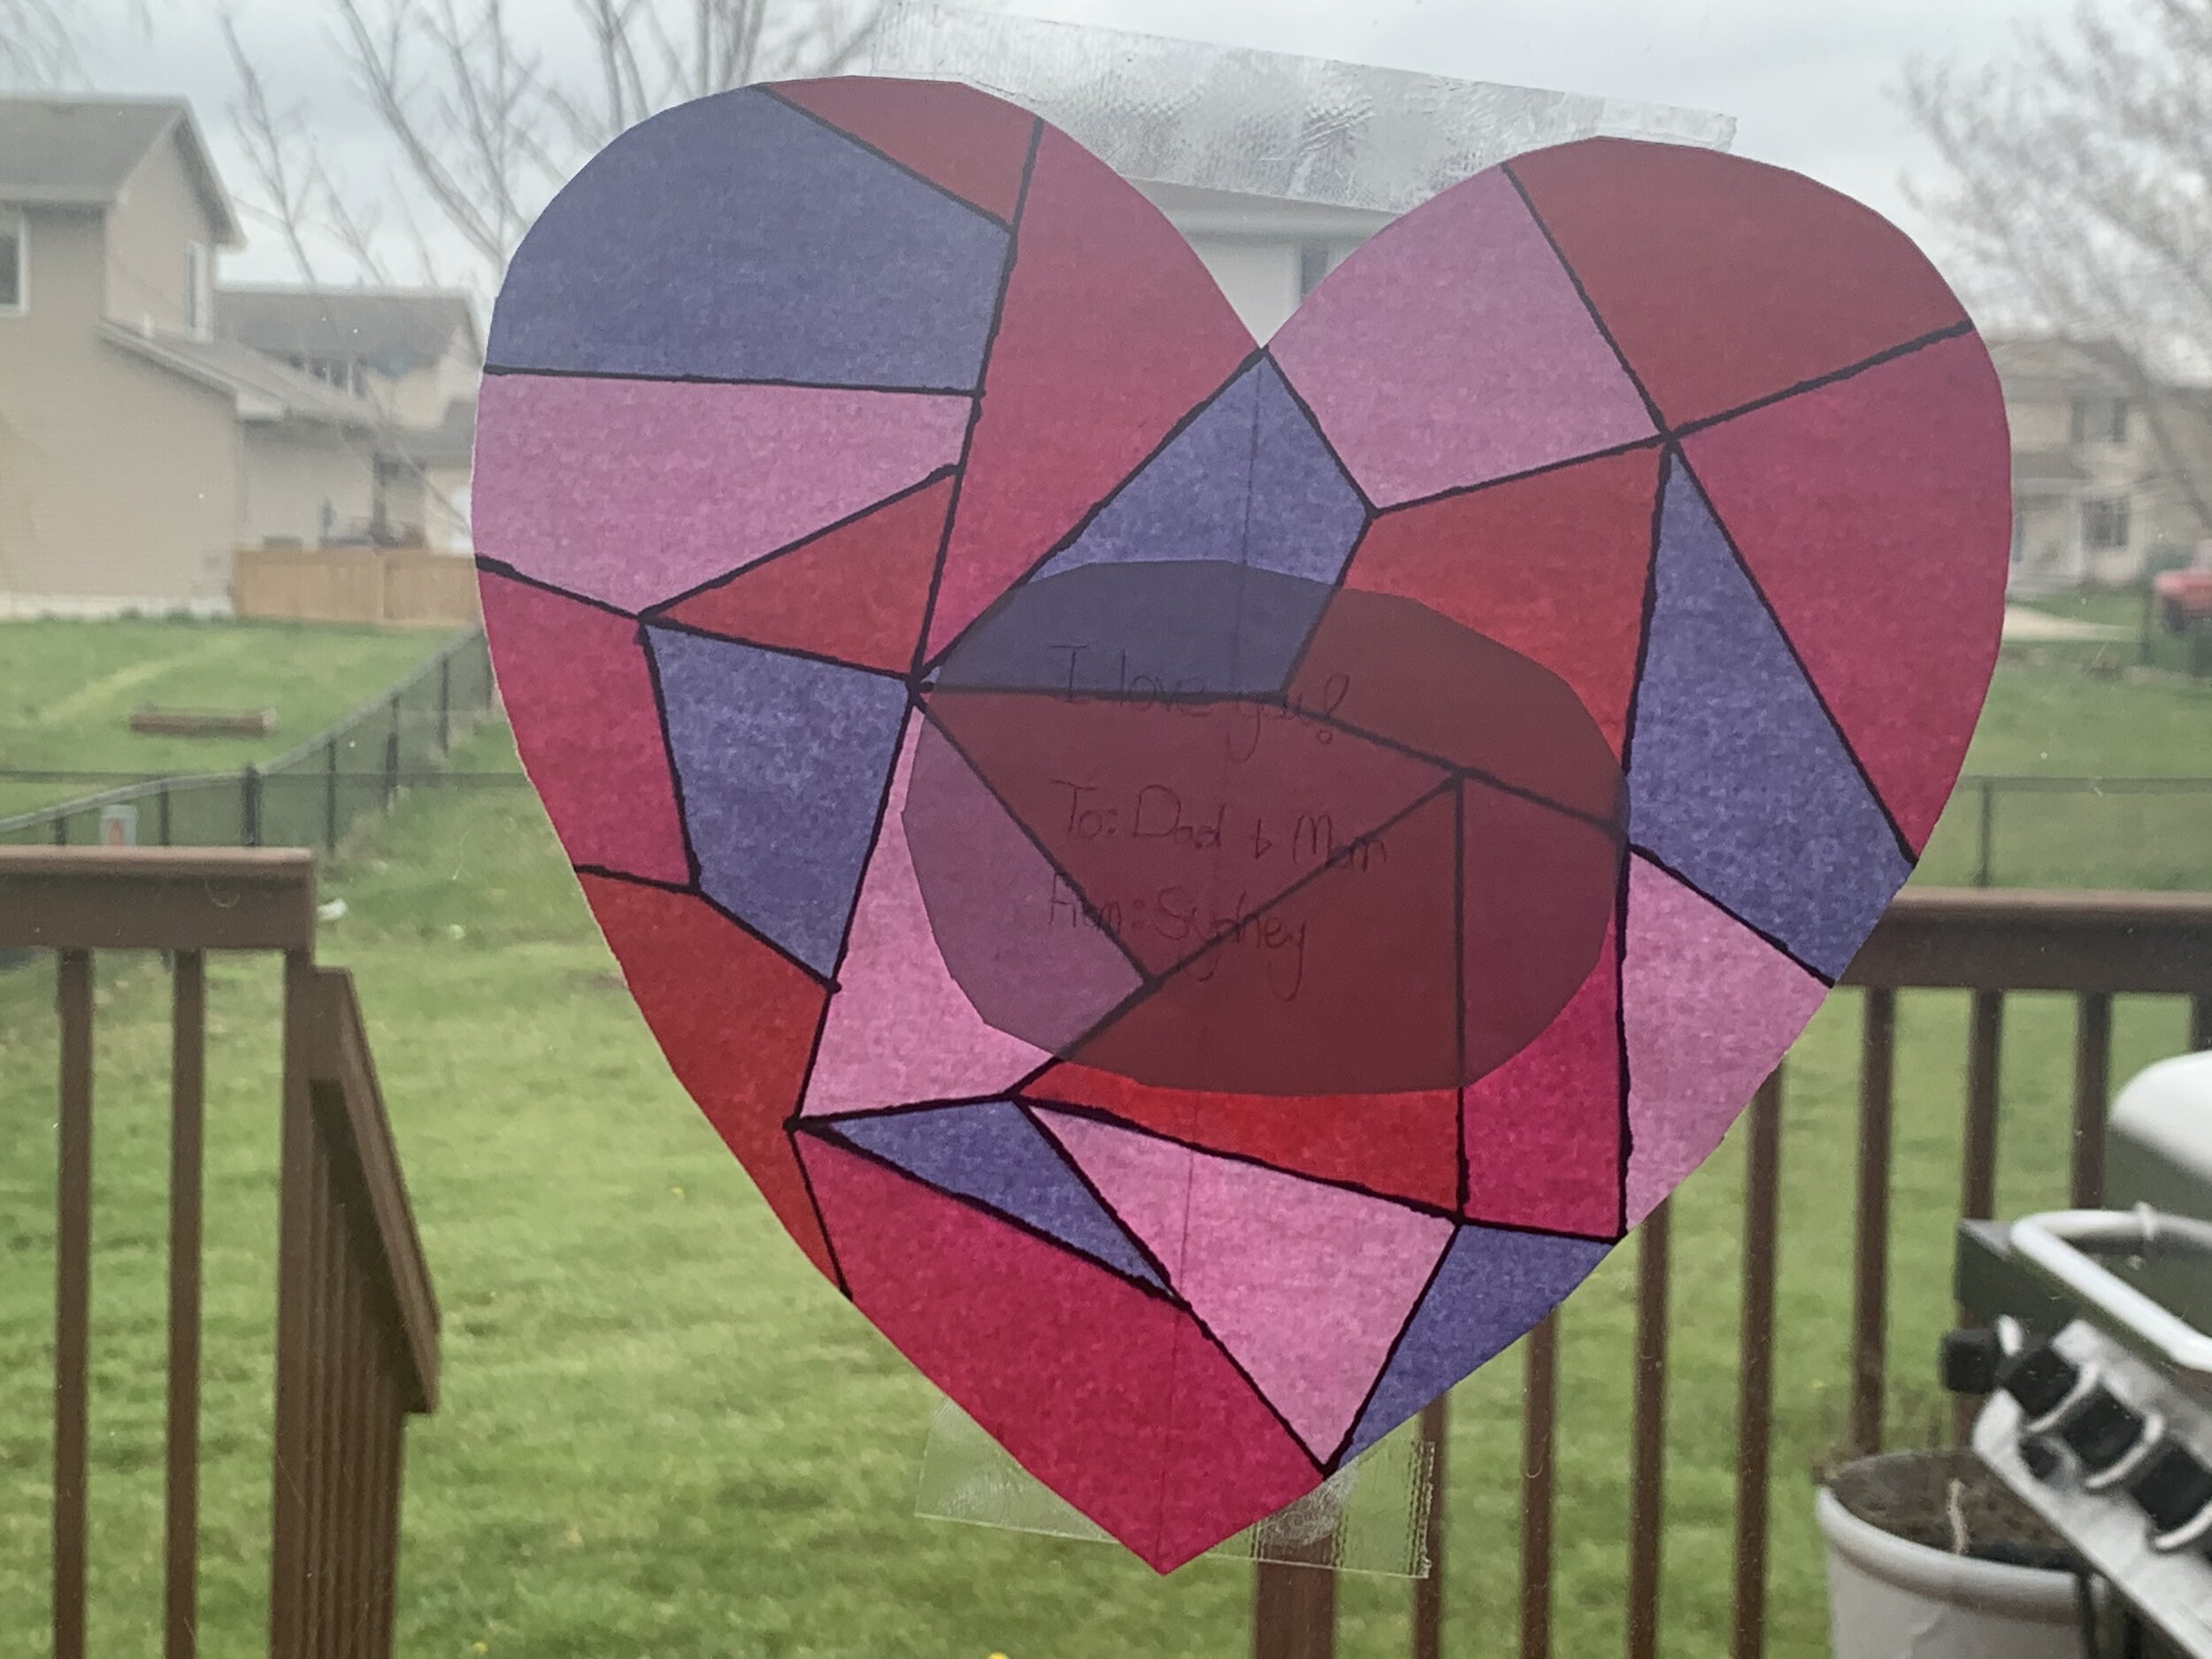
Students will discover a new form of art making while also trying to mimic the works of the late artist, Marc Chagall (1887-1985). Students create their own artworks investigating the color used by Chagall in his work on heart shaped paper. In addition, students will attach the hearts to another sheet of paper to write about what they love to further mimic Chagall’s love for his work.

ESSENTIAL QUESTION(S) 

  • How does color choice effect the feeling of a piece of artwork? 

  • Why does a heart mean love?

  • Why do colors appear bright?

STUDENT OUTCOME OBJECTIVES

 Students will: 

   1. Apply color choice from a limited palette to create a design

   2. Adapt to a new technique of steps of artmaking. 

3. Use a variety of tools and materials to create a piece of art that is meaningful to them.


PRIOR KNOWLEDGE Before participating in this project, it is important for students to have a growth mindset. They need to understand that perfection isn’t everything. 

   EXAMPLES OF ARTWORK 

ADDITIONAL RESOURCES 

ASSESSMENT

The questions below are addressed in the Google Form for the lesson:

  • What can a heart mean besides love?

  • Can certain colors evoke a specific mood?

MATERIALS 

1. ) 3 pieces of  Printer Paper  (8 ½ x 11 inch) 

    2.) Scissors

    3.) Washable Markers 

    4.) Black Marker or Sharpie

    5.) Erasers 

    6.) Pencils

    7.) Glue stick

    8.) Ruler (optional)

LEARNING ACTIVITIES AND TIMING 

1.) Introduction to Marc Chagall: View Marc Chagall’s presentation that shows his past stained glass. 

  • Review vocabulary words discussed in the classroom and how it could tie into the activity (collage, composition/ space, contour, line, color, shape, geometric shape)

  • Introduce the project that the students will be working on and how it is similar into the presentation. 

  •  Present Own Example: An example drawn will show students the type of angle they should go when creating their hearts.

2.) Fold the Paper: After the presentation, students should take their computer sheet of paper and fold it the wider way or “hamburger style.” 

  • Make sure to line up the each side of the paper in a straight line to make sure that both sides are the same. 

3.) Draw a Half Heart: After folding their piece of paper, students should draw one half of their heart with a pencil on their folded paper. 

  • This may seem confusing to some students, so be sure to provide a reference image of a heart for students to look at when trying to draw.

4.) Cut Out the Heart: Cut out the half heart by guiding the scissors on the pencil line. 

  • Some students may be familiar with this part of the activity if they have made their own snowflakes in the past.

5.) Unfold the Heart : Once the students finished cutting out the hearts, have them unfold the paper and look at their hearts.

6.) Draw the Stained Glass: Have the students lightly draw the straight lines that are a part of Chagall’s stained glass work onto their paper hearts.

  • If available to them, students can also draw the straight lines on their papers with a ruler.

   7.) Inking: With a black marker, carefully go over the pencil lines. 

  • Before starting this step, be sure to lay another sheet of paper down on the table first just in case if the ink bleeds through the paper heart.

   8.) Erase the Pencil Lines: Erase the pencil lines that are still showing on the paper.

   9.) Coloring: Color the spaces that are left by the black marker with colored markers.

  • Have the students think about color choice while coloring.

  10.) Write a Message: On the back, write a message on the back about something or someone that you    love or appreciate.

11.) Glue the Paper: Glue the written message on the back of the heart with a glue stick.

12.) Take a picture of the heart and message with a cell phone. Put your heart in your window to share with your neighbors.

 TEACHING ARTIST REFLECTION 

 What problems do you anticipate with this lesson? 

  •  Students might feel frustrated when trying to cut out their hearts.

  •  Students may not grasp the importance of sticking to basic shapes with their designs 

and create complex ones instead. 

How does this project fit into overall curriculum planning for the subject areas and the arts? 

  •  Allows students to experiment and incorporate different types of art materials 

into one project. 

  • Shows students that there are multiple ways to make art and to express the meaning behind it.

How will your students’ work be shared with the community? 

  • Students will be able to give their hearts to others or their families to express what they love or as an act of it and be asked to upload them to their teachers art folder. In addition they may put them in the windows of their home.

 How will you receive feedback on your teaching methodology and quality of student work? 

  • Ask if they have learned anything. What did they like and dislike about working with different materials.

  • Through conversation with lead teacher after the project is complete

  • Through a self and video reflection

  • Through assessment by my instructor of the video of the lesson

Comic of our Fears  hosted by Mia

Comic of our Fears hosted by Mia

Comic of our Fears

Grade Level or Age of Participant: First grade and above

School, Teacher and Classroom: Minneapolis Institute of Art, Angela Olsen

MCAD Teaching Artist: Anavi Mullick

OVERVIEW OF PROJECT

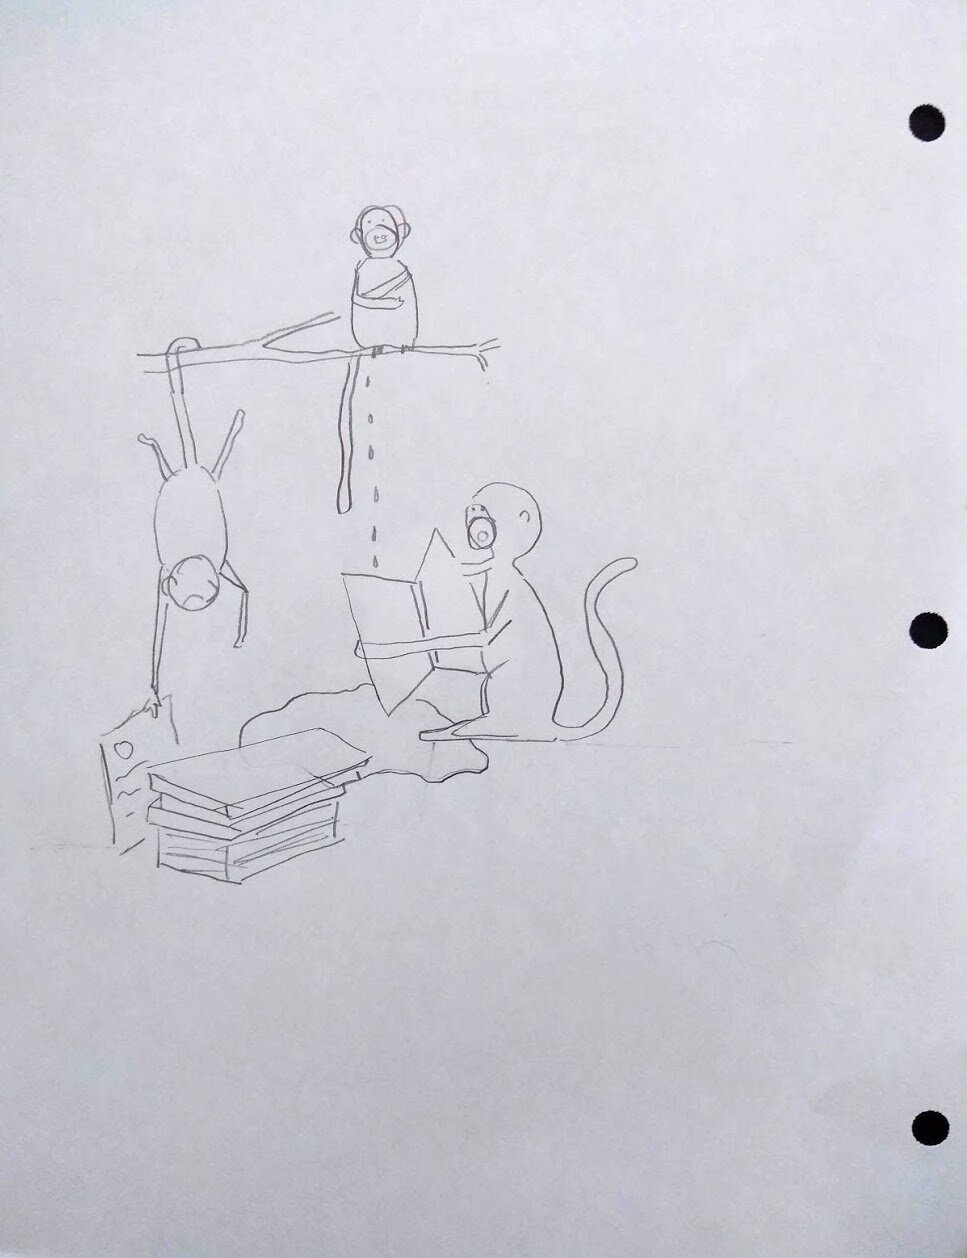
This simple drawing project addresses fears and how to approach them with humor. Participants think about their own fears, choose one that is most alive for them, and then pick an animal which they feel best represents their fears. Then keeping in mind the fear and the animal they will draw the animal in a silly situation. For example; the fear of loved ones falling ill, embodied as a porcupine, and then imagining the porcupine juggling balls, and drawing this.

The lesson was designed focusing on the challenges that we are all facing as we live through a pandemic. Participants will be able to share their work through online social media platforms, as well as with members of their families.

A step-by-step document is featured on the Minneapolis Institute of Art (Mia) Website. Link Here.

“BIG IDEAS”/ ESSENTIAL QUESTION(S)

What are we afraid of? How can we learn to visualize something? How can art be reflective and expressive? How to draw from imagination? How can art be accessible to all?


STUDENT OUTCOME OBJECTIVES

Participants will:

1. Explore their own fears with guidance through a process to visualize a fear.

2. Draw from imagination.

3. Experience art as a form of expression.

4. Reflect on the power of the creative process.

PRIOR KNOWLEDGE

Ability to read/follow step-by-step instructions, or have a partner to help guide the participant.

LESSON PREPARATION TIMELINE

-       Brainstorming lesson

-       Step-by-Step planning

-       Reflect on outcomes and next steps

This lesson was conceived by Anavi Mullick from the MCAD Teaching Artist Practicum course and reviewed and workshopped by the Education Department of the Minneapolis Institute of Art prior to being included in their web lessons during the Covid 19 Pandemic


EXAMPLES OF ARTWORK

Samples chosen from the Collection at the Minneapolis Institute of Art.

-       Graham Sutherland, Bird and Mouse, 1968, 24.75 x 19.5 in.

https://collections.artsmia.org/art/54851/bird-and-mouse-graham-sutherland

-       Getsuju, Frog and Mouse, late 18th - early 19th century, 65 × 35 in.

https://collections.artsmia.org/art/117177/frog-and-mouse-getsuju

-       Gerhard Marcks, Cats, 1921, 15 x 20 in.

https://collections.artsmia.org/art/72892/cats-gerhard-marcks

-       Unknown artist, Seated Dog, 386-535.

https://collections.artsmia.org/art/872/seated-dog-china

-       John Randolph Carter, Grinning Dog with Raggedy Ann Doll, Clouds with Ears in Sky, 1979, 13.5 x 17 in.

https://collections.artsmia.org/art/8873/grinning-dog-with-raggedy-ann-doll-clouds-with-ears-in-sky-john-randolph-carter

-       Dudley Huppler, The Bug of Marianne Moore, 1945, 11 x 9 in.

https://collections.artsmia.org/art/128355/the-bug-of-marianne-moore-dudley-huppler

-       Unknown artist, Finial with Animal, late 12th-11th century BCE, 7 x 6 x 2 in.

https://collections.artsmia.org/art/1155/finial-with-animal-china

-       Clement Hurd, Animals, second half 20th century, 10.5 x 27 in.

https://collections.artsmia.org/art/117681/animals-clement-hurd


ADDITIONAL RESOURCES

-       Henri Rousseau’s (Artist) paintings of animals. (https://www.google.com/search?q=henri+rousseau+animal+paintings&hl=en&sxsrf=ALeKk00R9An6fyTyrO9S3pOqd82ipG4TPQ:1586804902830&source=lnms&tbm=isch&sa=X&ved=2ahUKEwjJ7r30jOboAhWRuJ4KHck5CUUQ_AUoAXoECBMQAw&biw=1172&bih=539)


SUPPORT MATERIALS

ASSESSMENT 

-How did you feel at the start of the lesson when you were thinking about what you were afraid of? How did you feel after the lesson?


MATERIALS

1.     A drawing tool

a.     Any one of the following; pencil. Pen, marker, crayon, color-pencil, paint and brush, chalk.

b.     Optional – if you think you would like to color your drawing after, you are welcome to. (crayons, paint, color pencil)

2.     A writing tool - a pencil or pen

3.     Paper/drawing surface - (2)

a.     Anything you have around you. (blank white paper, one sided paper, ruled sheets, an old paper bag, cut open a cereal box and use the inner surface, colored paper, newspaper, your driveway or sidewalk if you are using chalk)

4.     A comfy spot to sit, with a flat surface in reach. Not limited to, but a few options are; a dining table, or on the floor, or with a drawing board/a clipboard, or against a wall.


LEARNING ACTIVITIES AND PROJECT OVERVIEW

PROVIDE AN OVERVIEW OF THE PROJECT, PROCESS AND PURPOSE. See description above.

PREPARE. Gather drawing tool and decide on a drawing surface. Have everything at hand prior to starting. Then get comfortable.

Step 1. Brainstorming. Take a few seconds to observe your body, your breath, your heartbeat. You can close your eyes if you would like. 

Think about where you are, how you have been feeling, what you are afraid of.

 Step 2. Making a list and choosing. If your eyes were closed, you can open them. Pick up your writing tool, and your chosen drawing surface. Make a list of the fears that came to mind.

 When you are done with your list, take a moment to look at your list and identify which fear feels the most alive to you? Choose one that stands out to you.

Is it big and overwhelming? Is it small but sharp? Can you imagine this fear as an animal? What animal represents this fear?

Step 3. Imagining. Once you have chosen an animal that represents your fear, think of the animal doing something silly. Is it juggling balls? Eating fourteen bananas at the same time? Jumping on a trampoline? Be as silly as you can!

Step 4.  Draw it! Draw the animal doing this silly thing! Color it if you would like to. Do not worry about the animal or the activity looking ‘correct’. Just draw and enjoy! No judgement.

Step 5. Think about it….How do you feel now? Is your fear as great? Do you feel differently?

Step 5. Upload image, hashtag and respond. Tag @artsmia if you choose to post it, or #InspiredbyMia #MiaFromHome #MuseumFromHome. We’d love to hear what animal you chose, why you chose it and how you feel now.

Do as many as you like!

TEACHING ARTIST REFLECTION

-       Some participants will need assistance depending on their age in participating.

-       Participants might feel intimidated to think about the fears or drawing.

-       Challenging to consider consider sharing their artwork online

 Assessment from staff, general assessment through social media.

Hidden Message Valentines Cards

Hidden Message Valentines Cards

Grade Level or Age of Participant: 2nd Grade

School, Teacher, and Classroom: Expo Elementary, Ulla Tervo-Desnick,

 MCAD Teaching Artist:  Shaelynn Waseka

 Number of Students: 24

 VISUAL ARTS CONTENT OR STANDARDS

Grade 2

1.     Artistic Foundations

2.     Demonstrate knowledge of the foundations of the arts area

3.     Visual Arts

4.     0.1.1.5.1

5.     Identify the elements of visual arts including color, line, shape, texture, and space.

OVERVIEW OF PROJECT

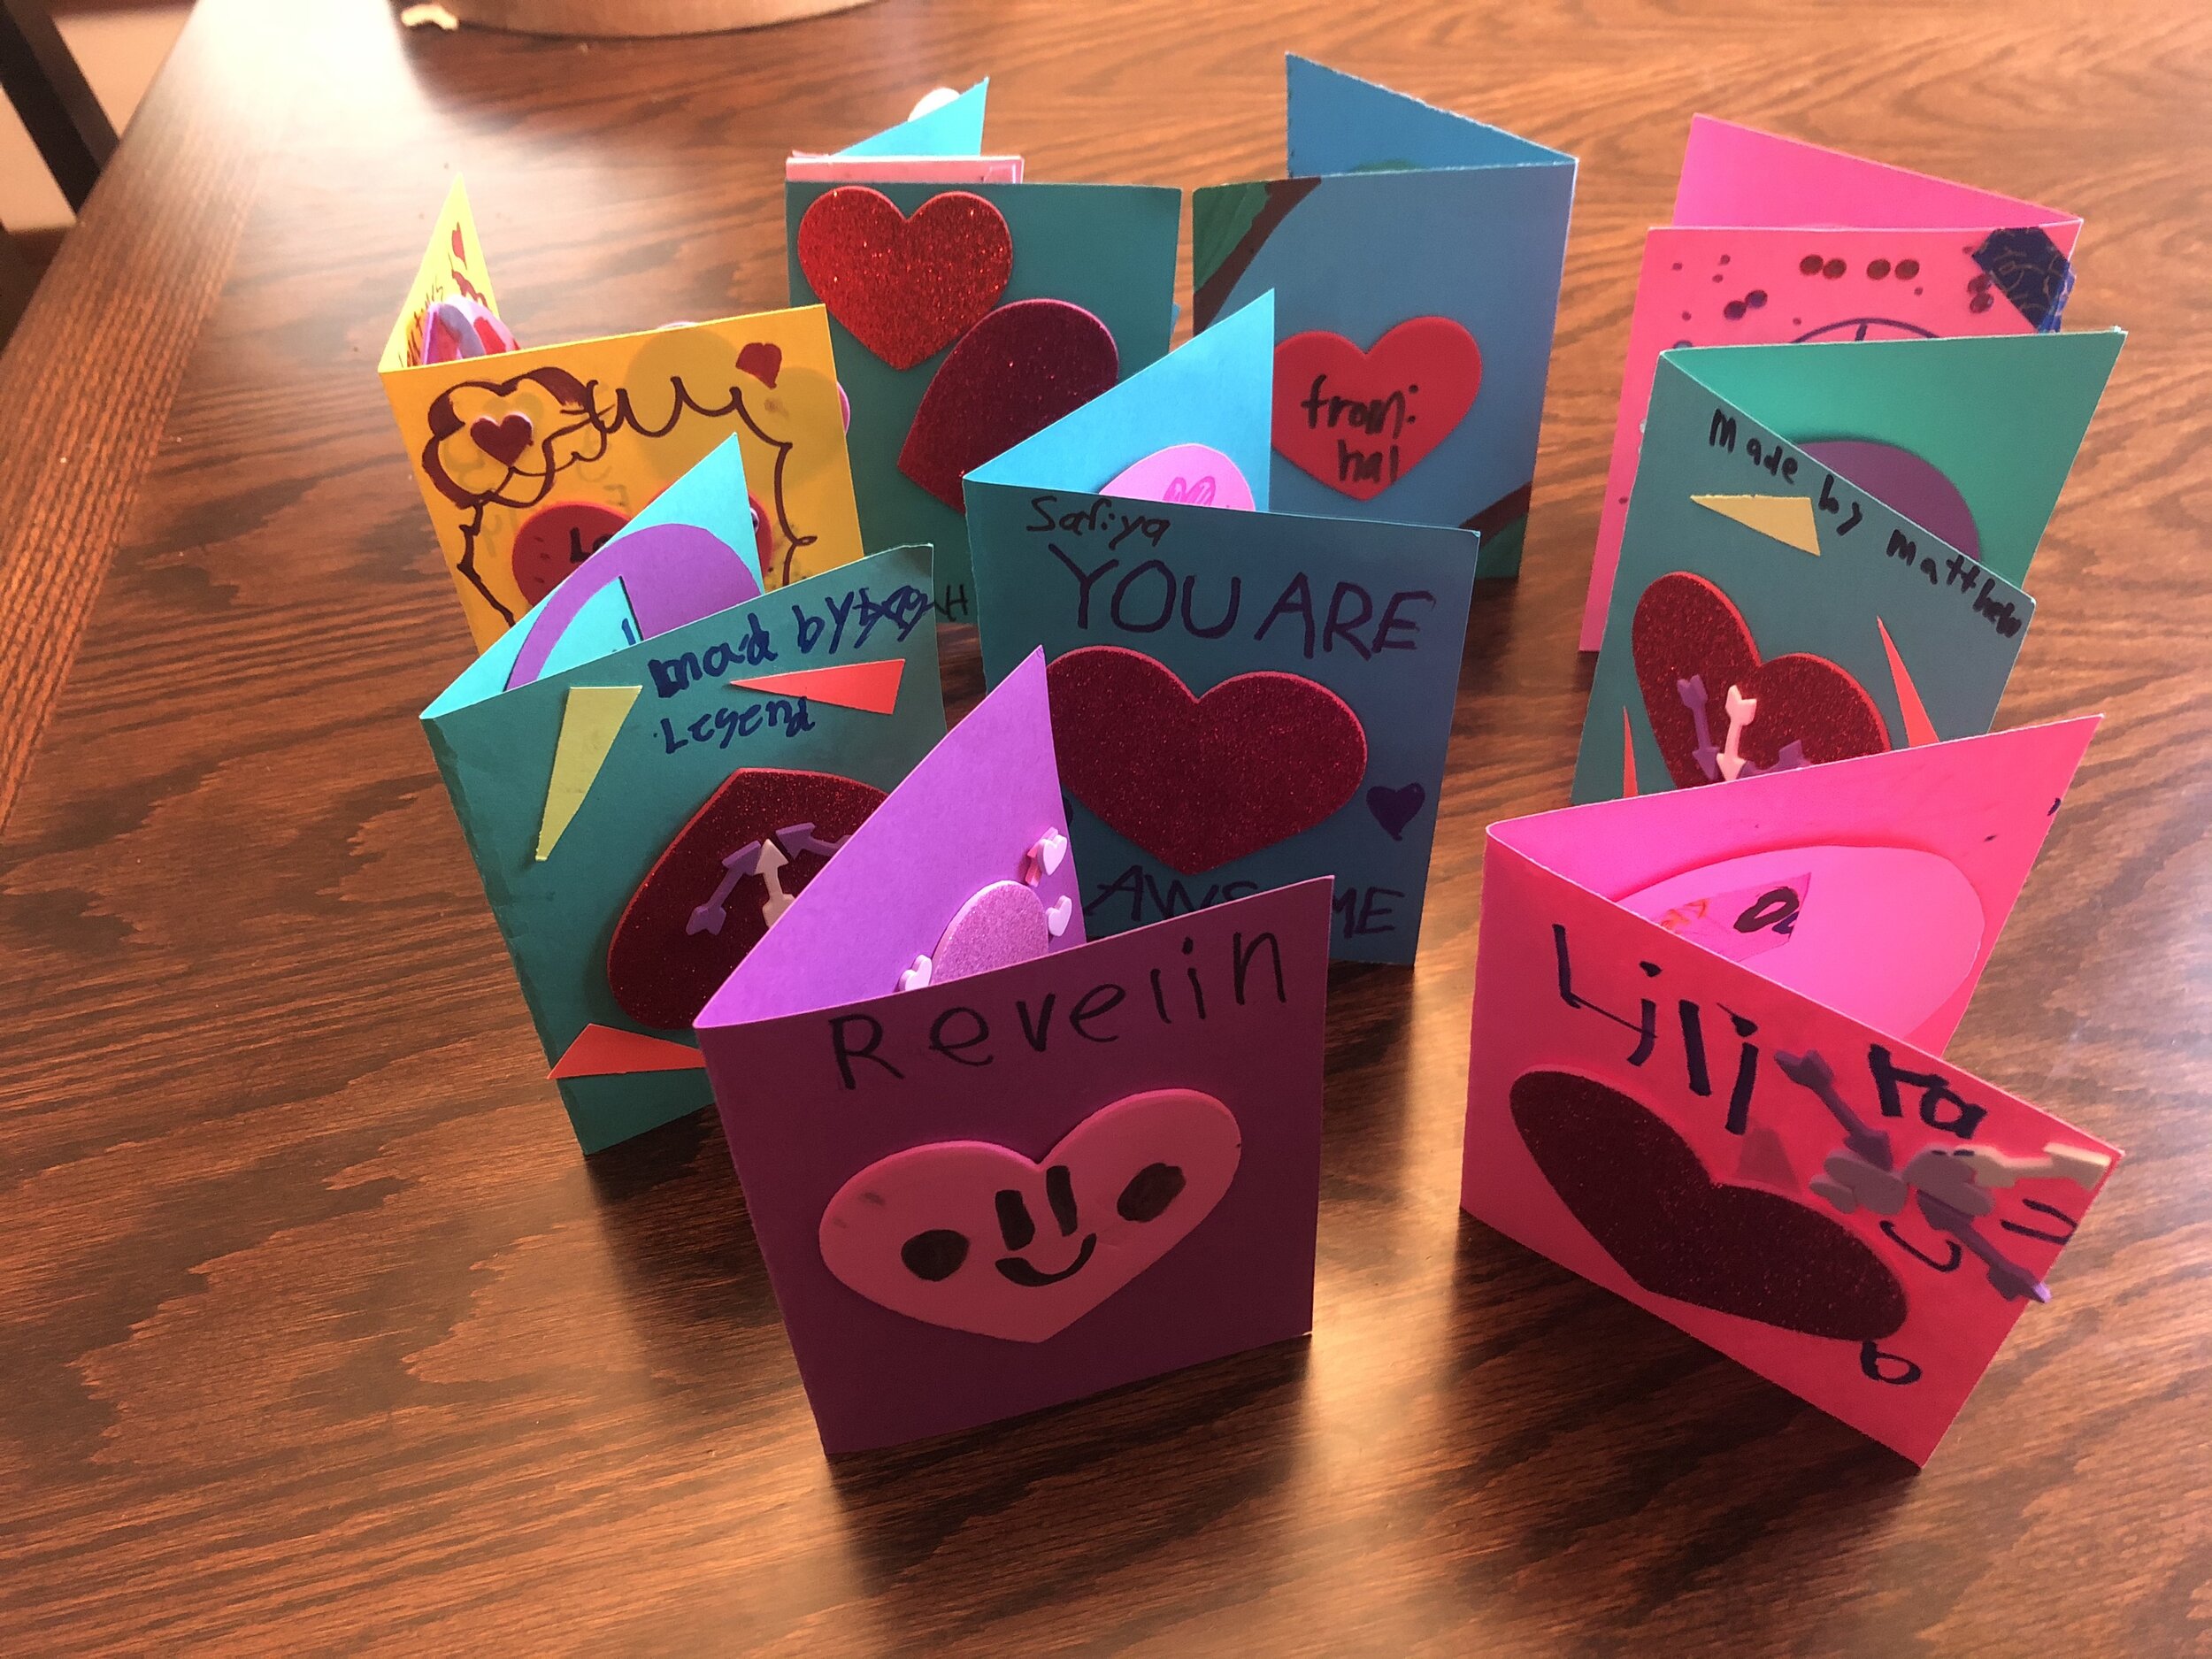
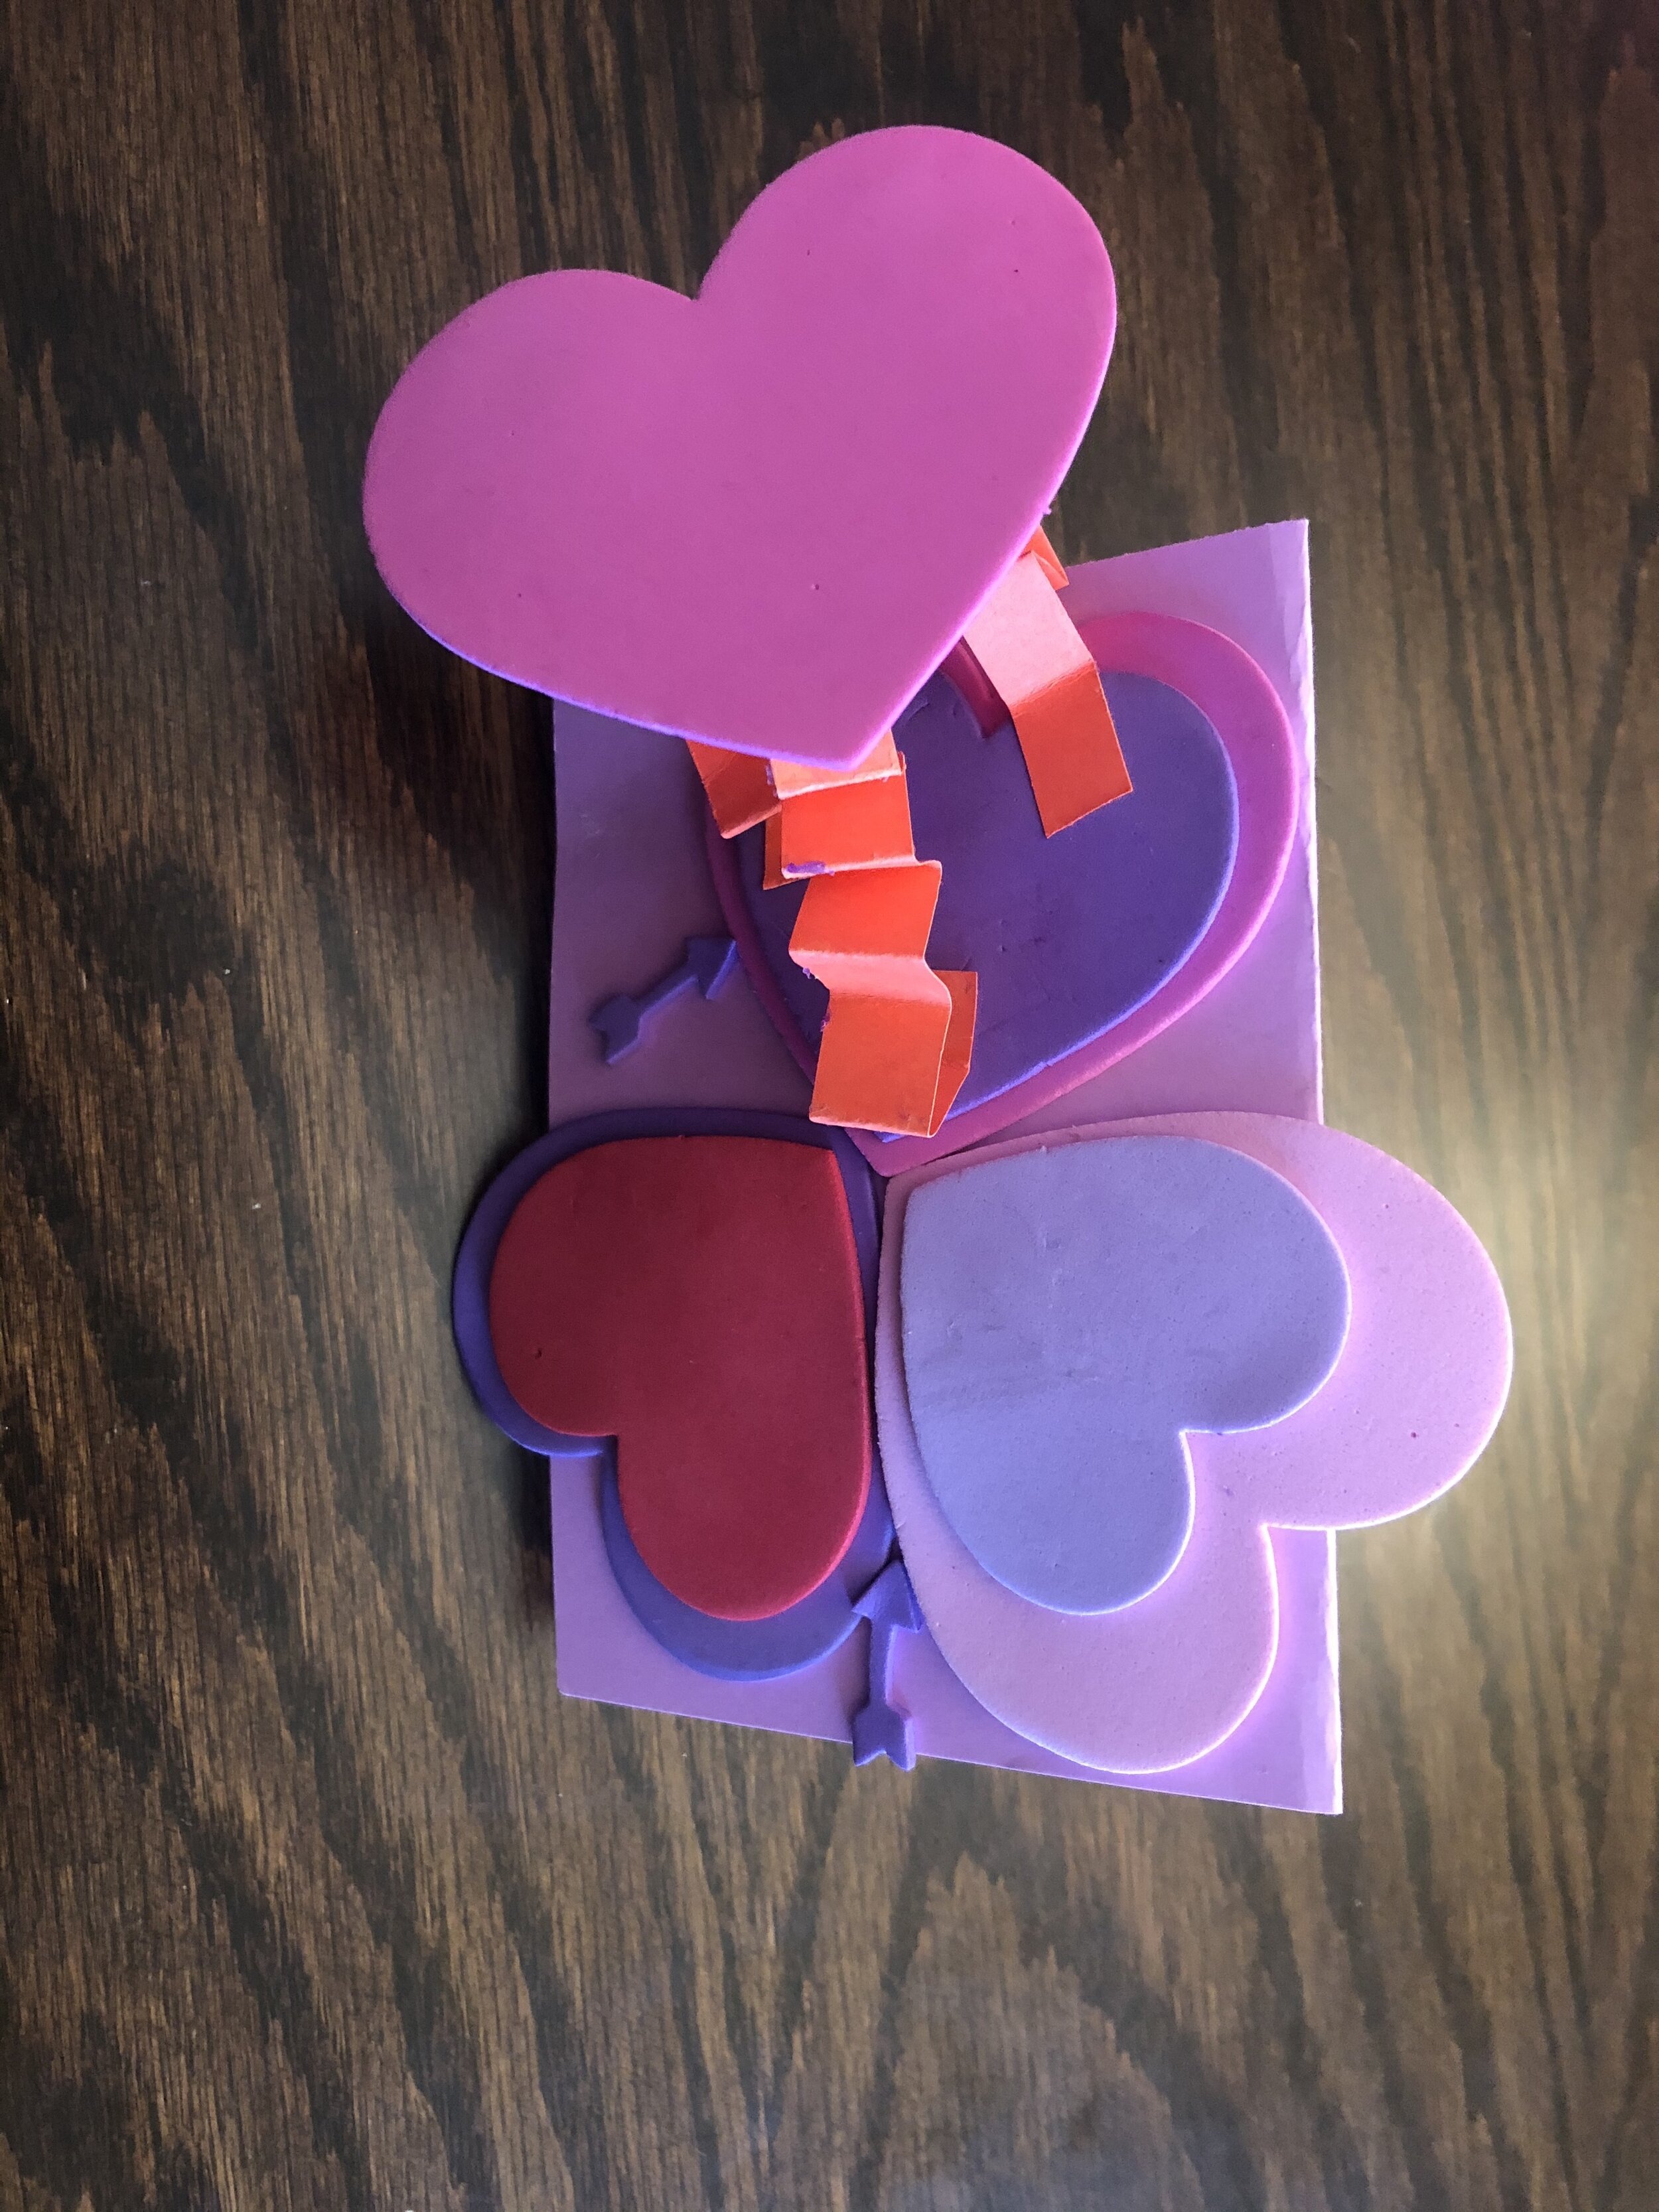
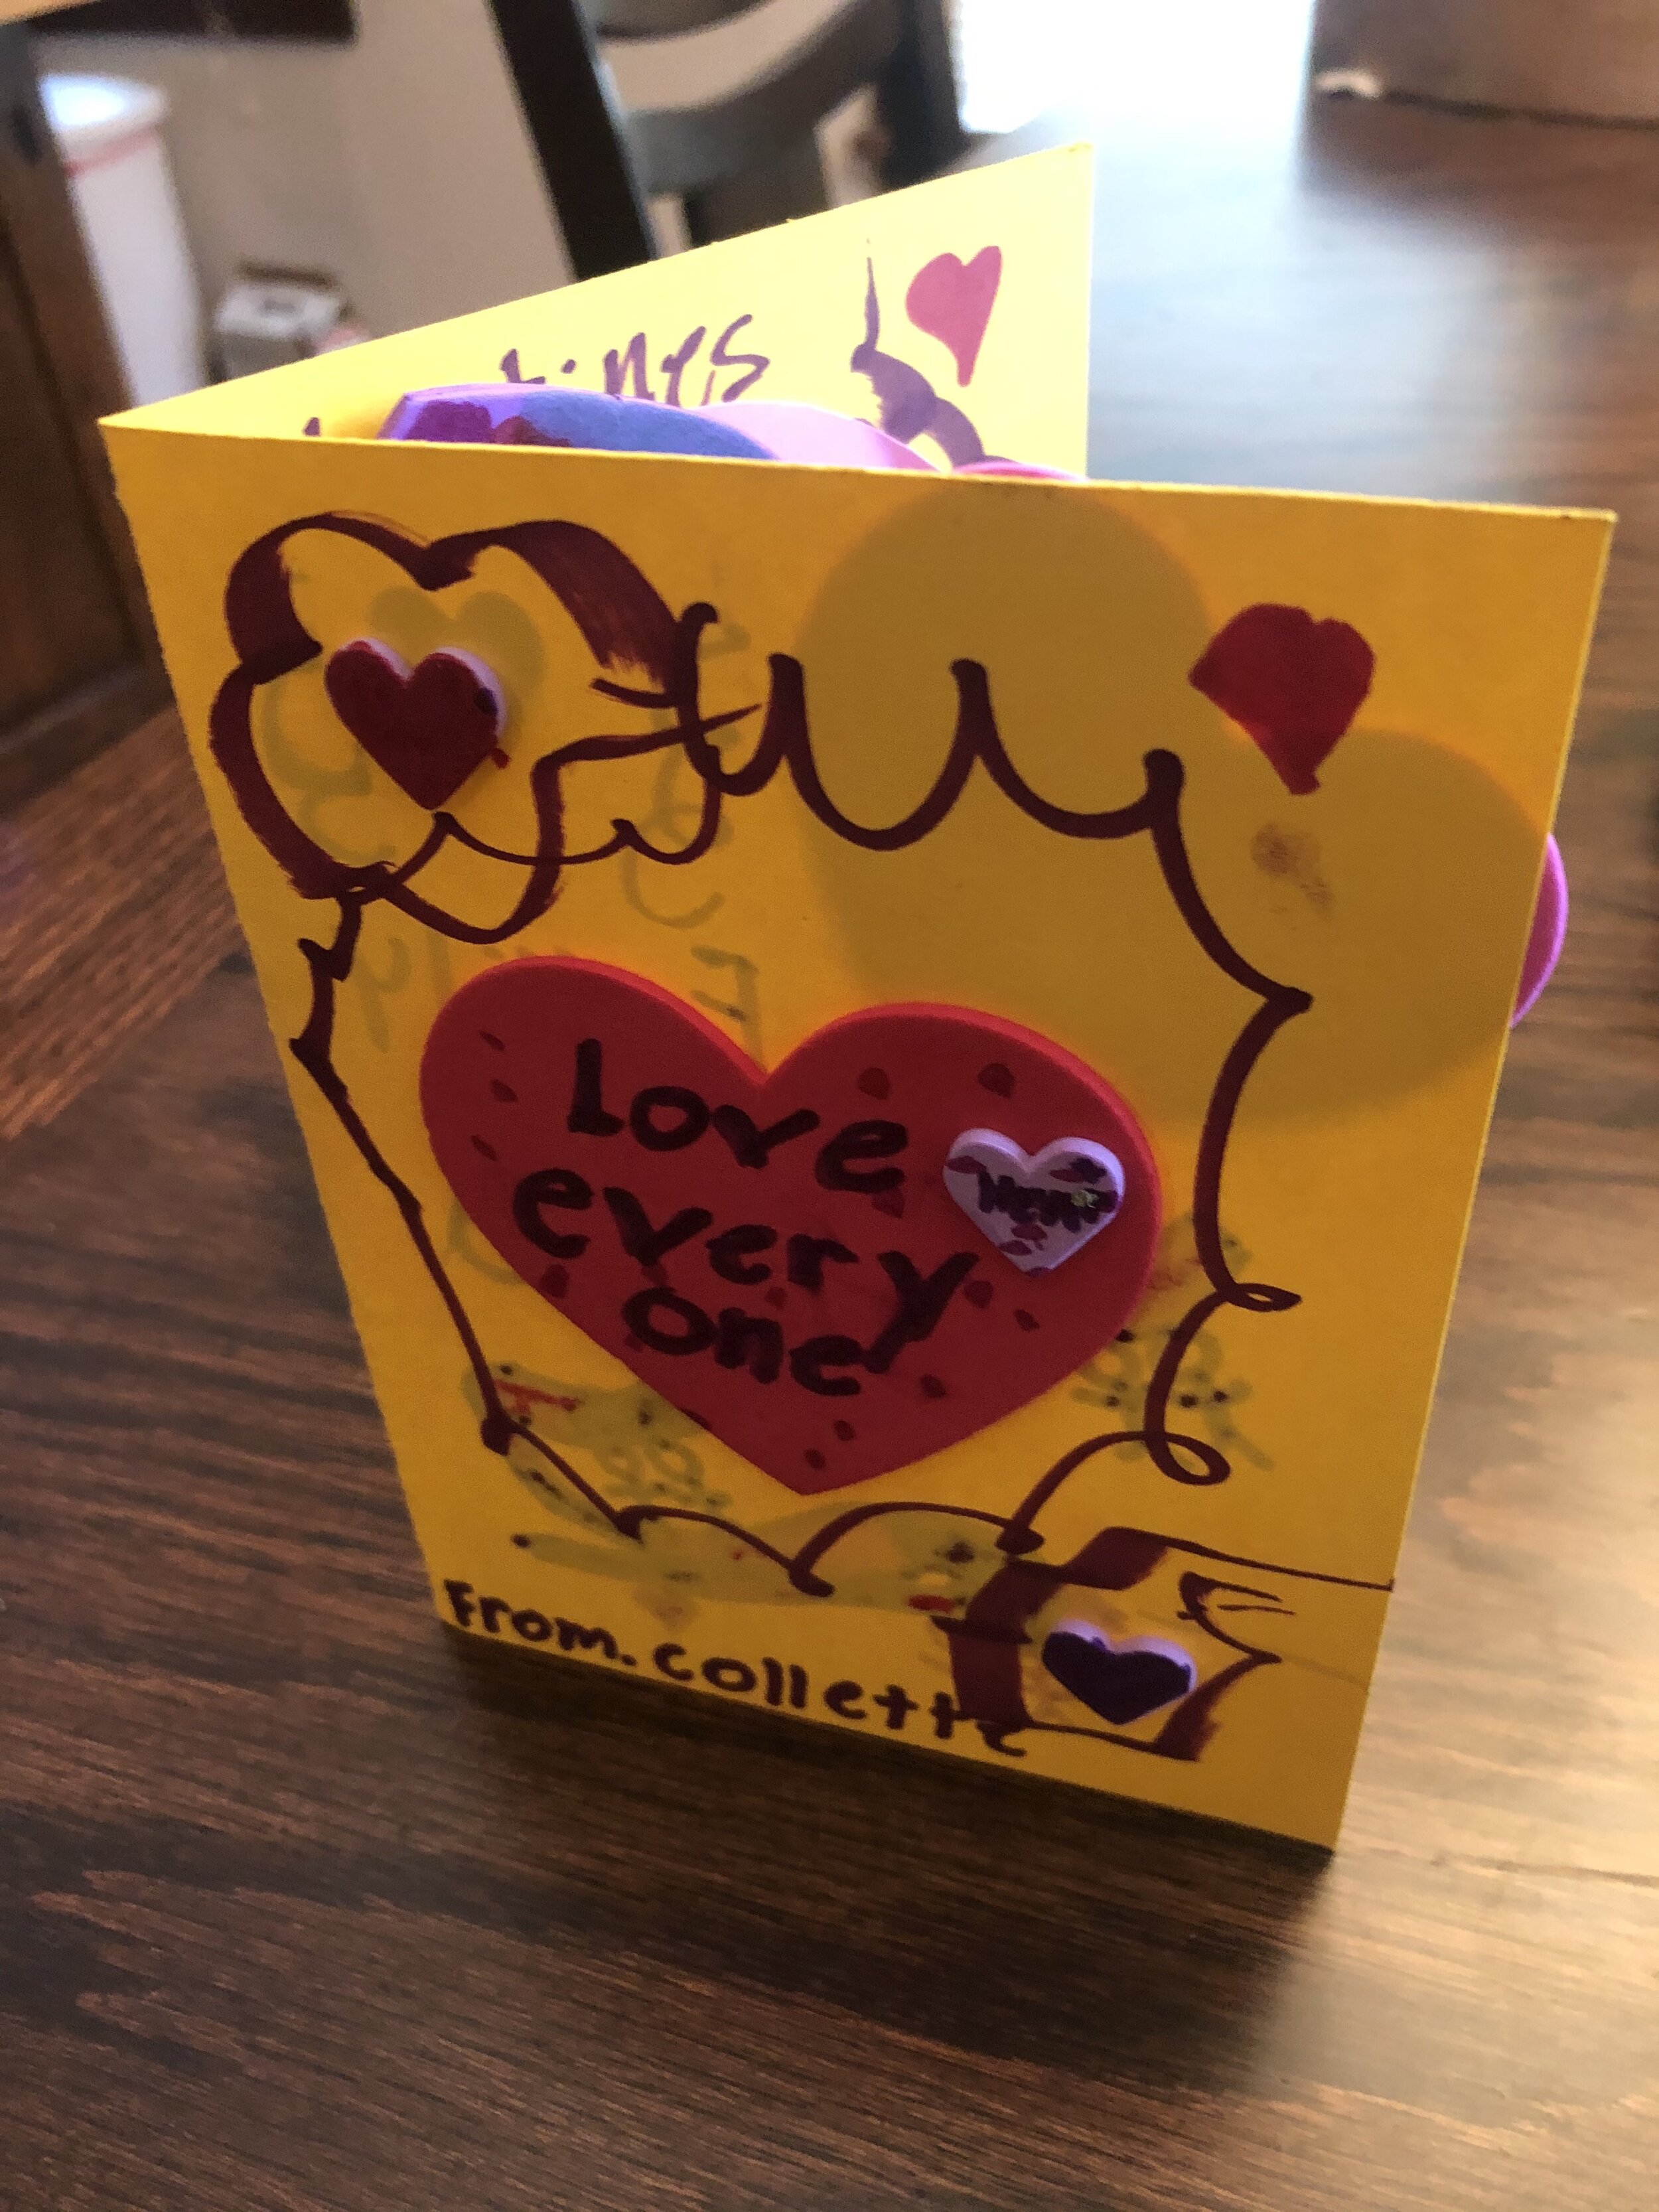
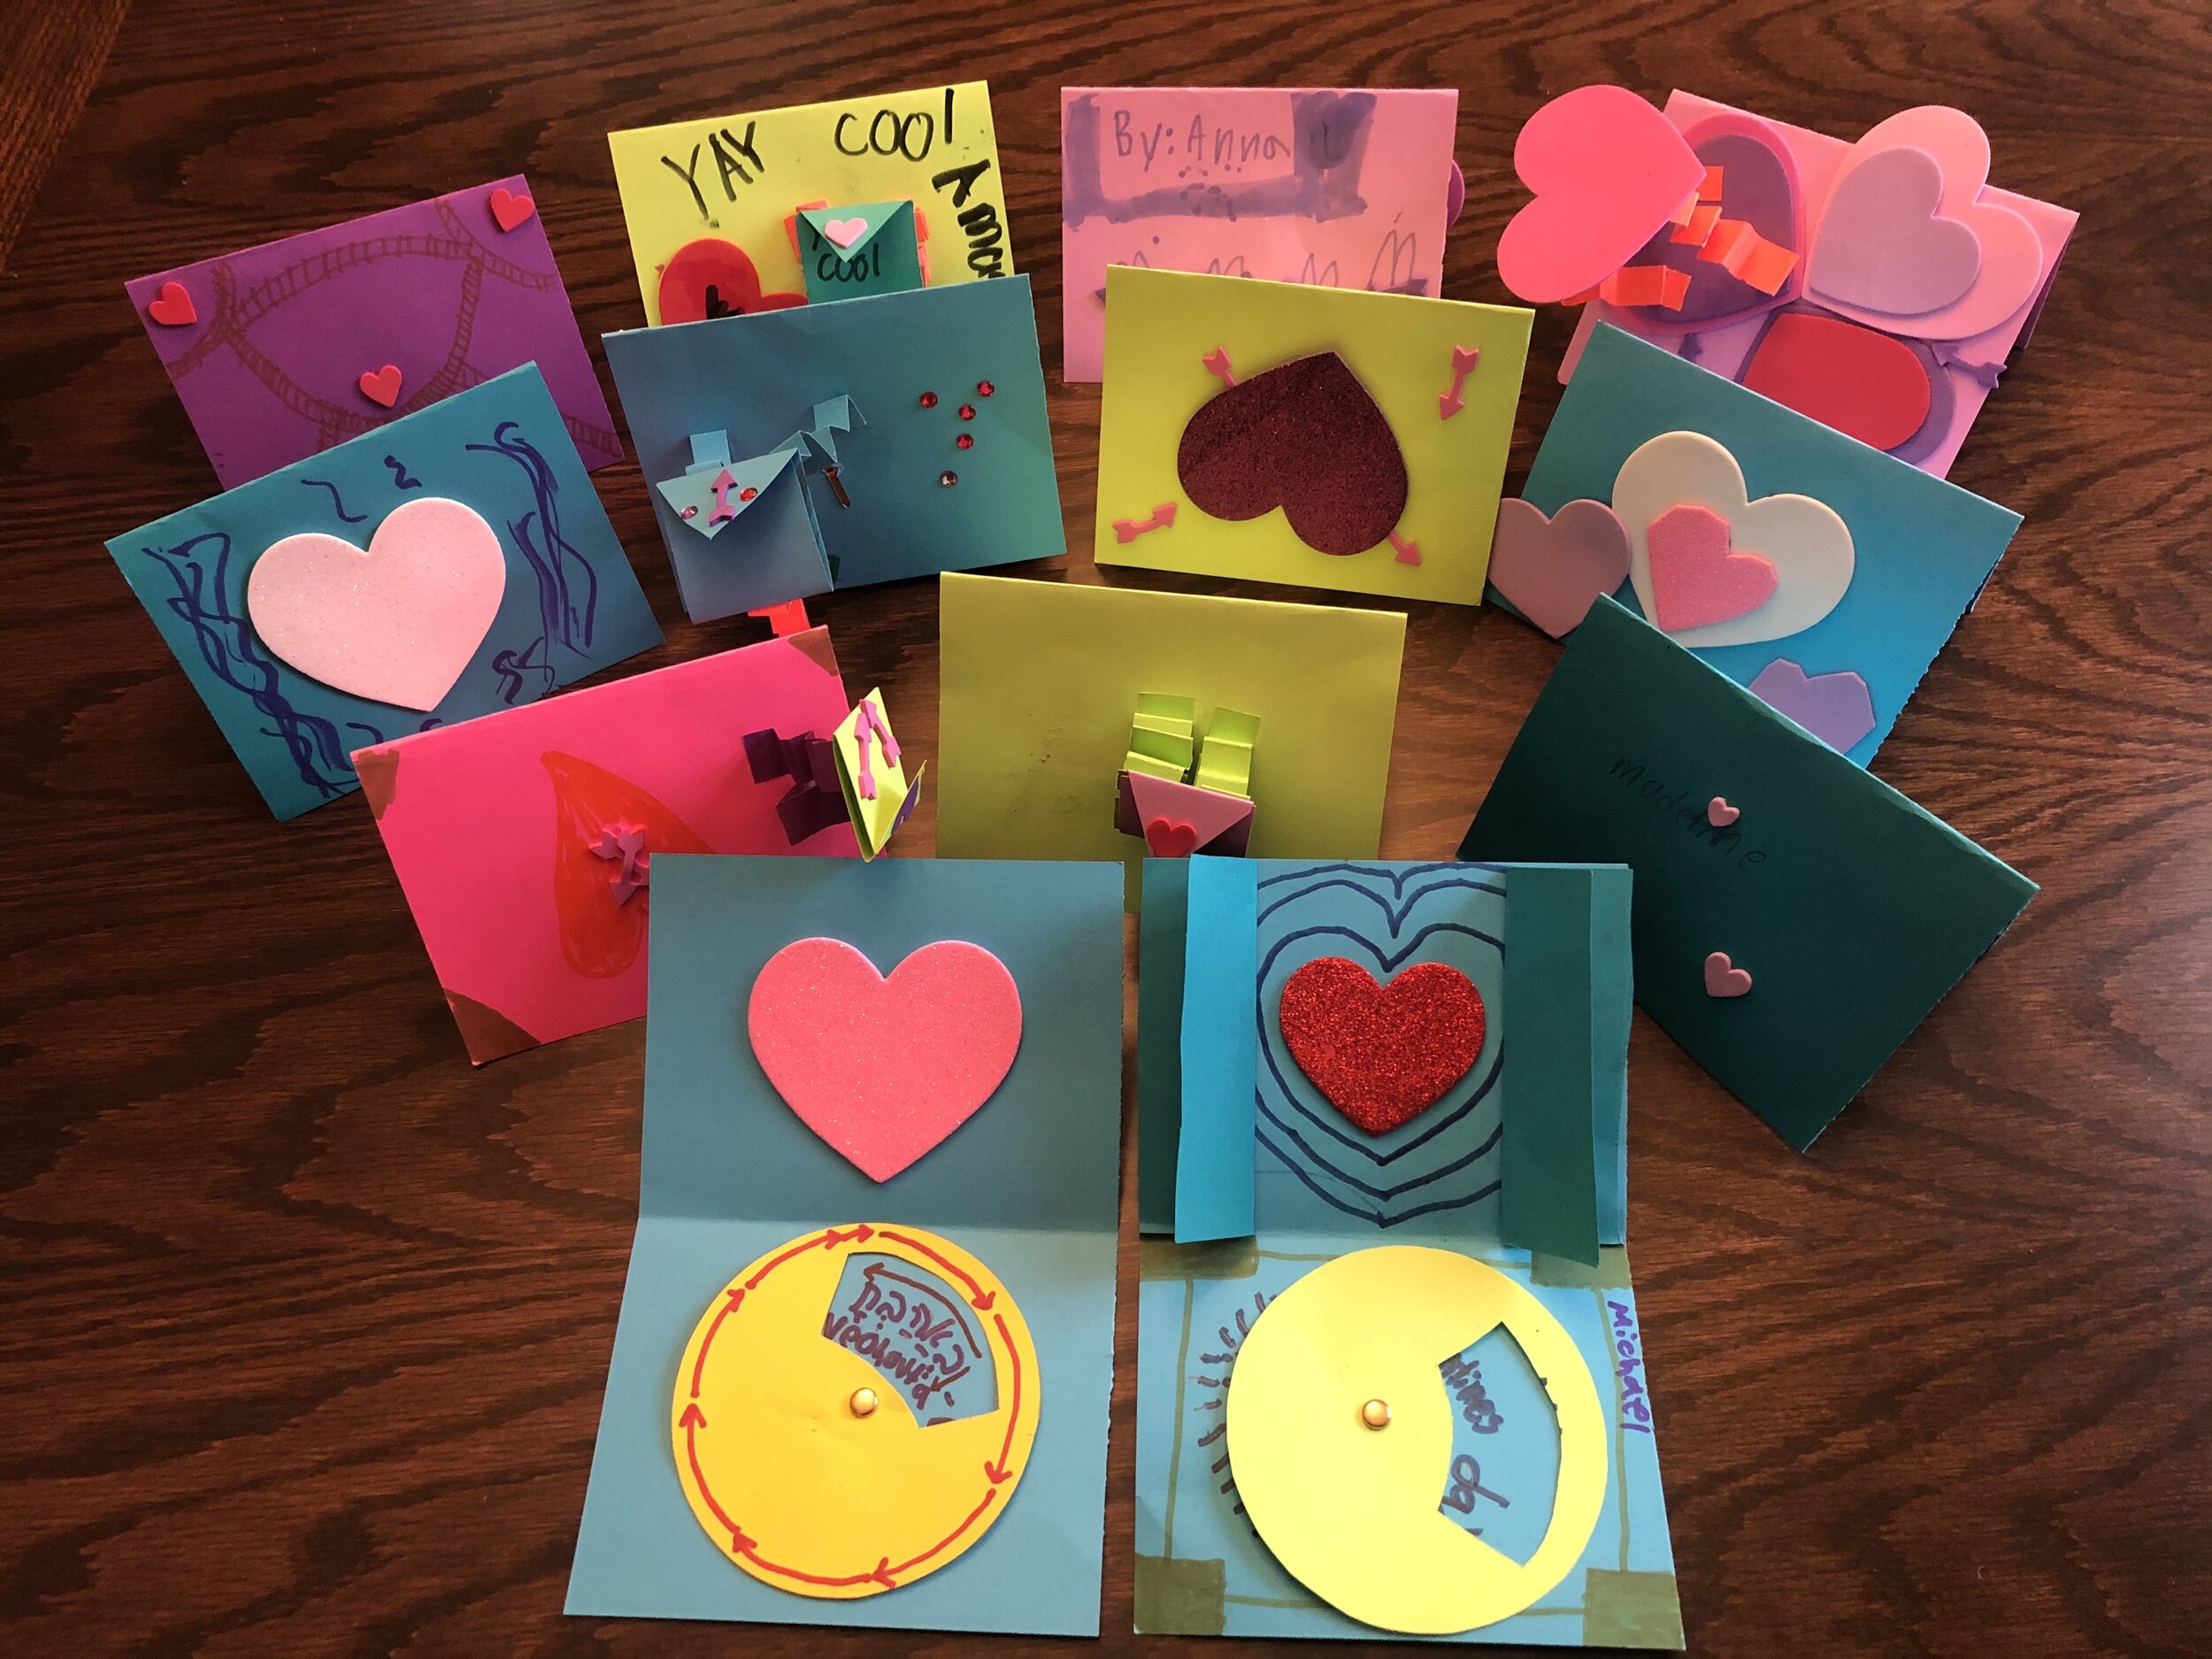
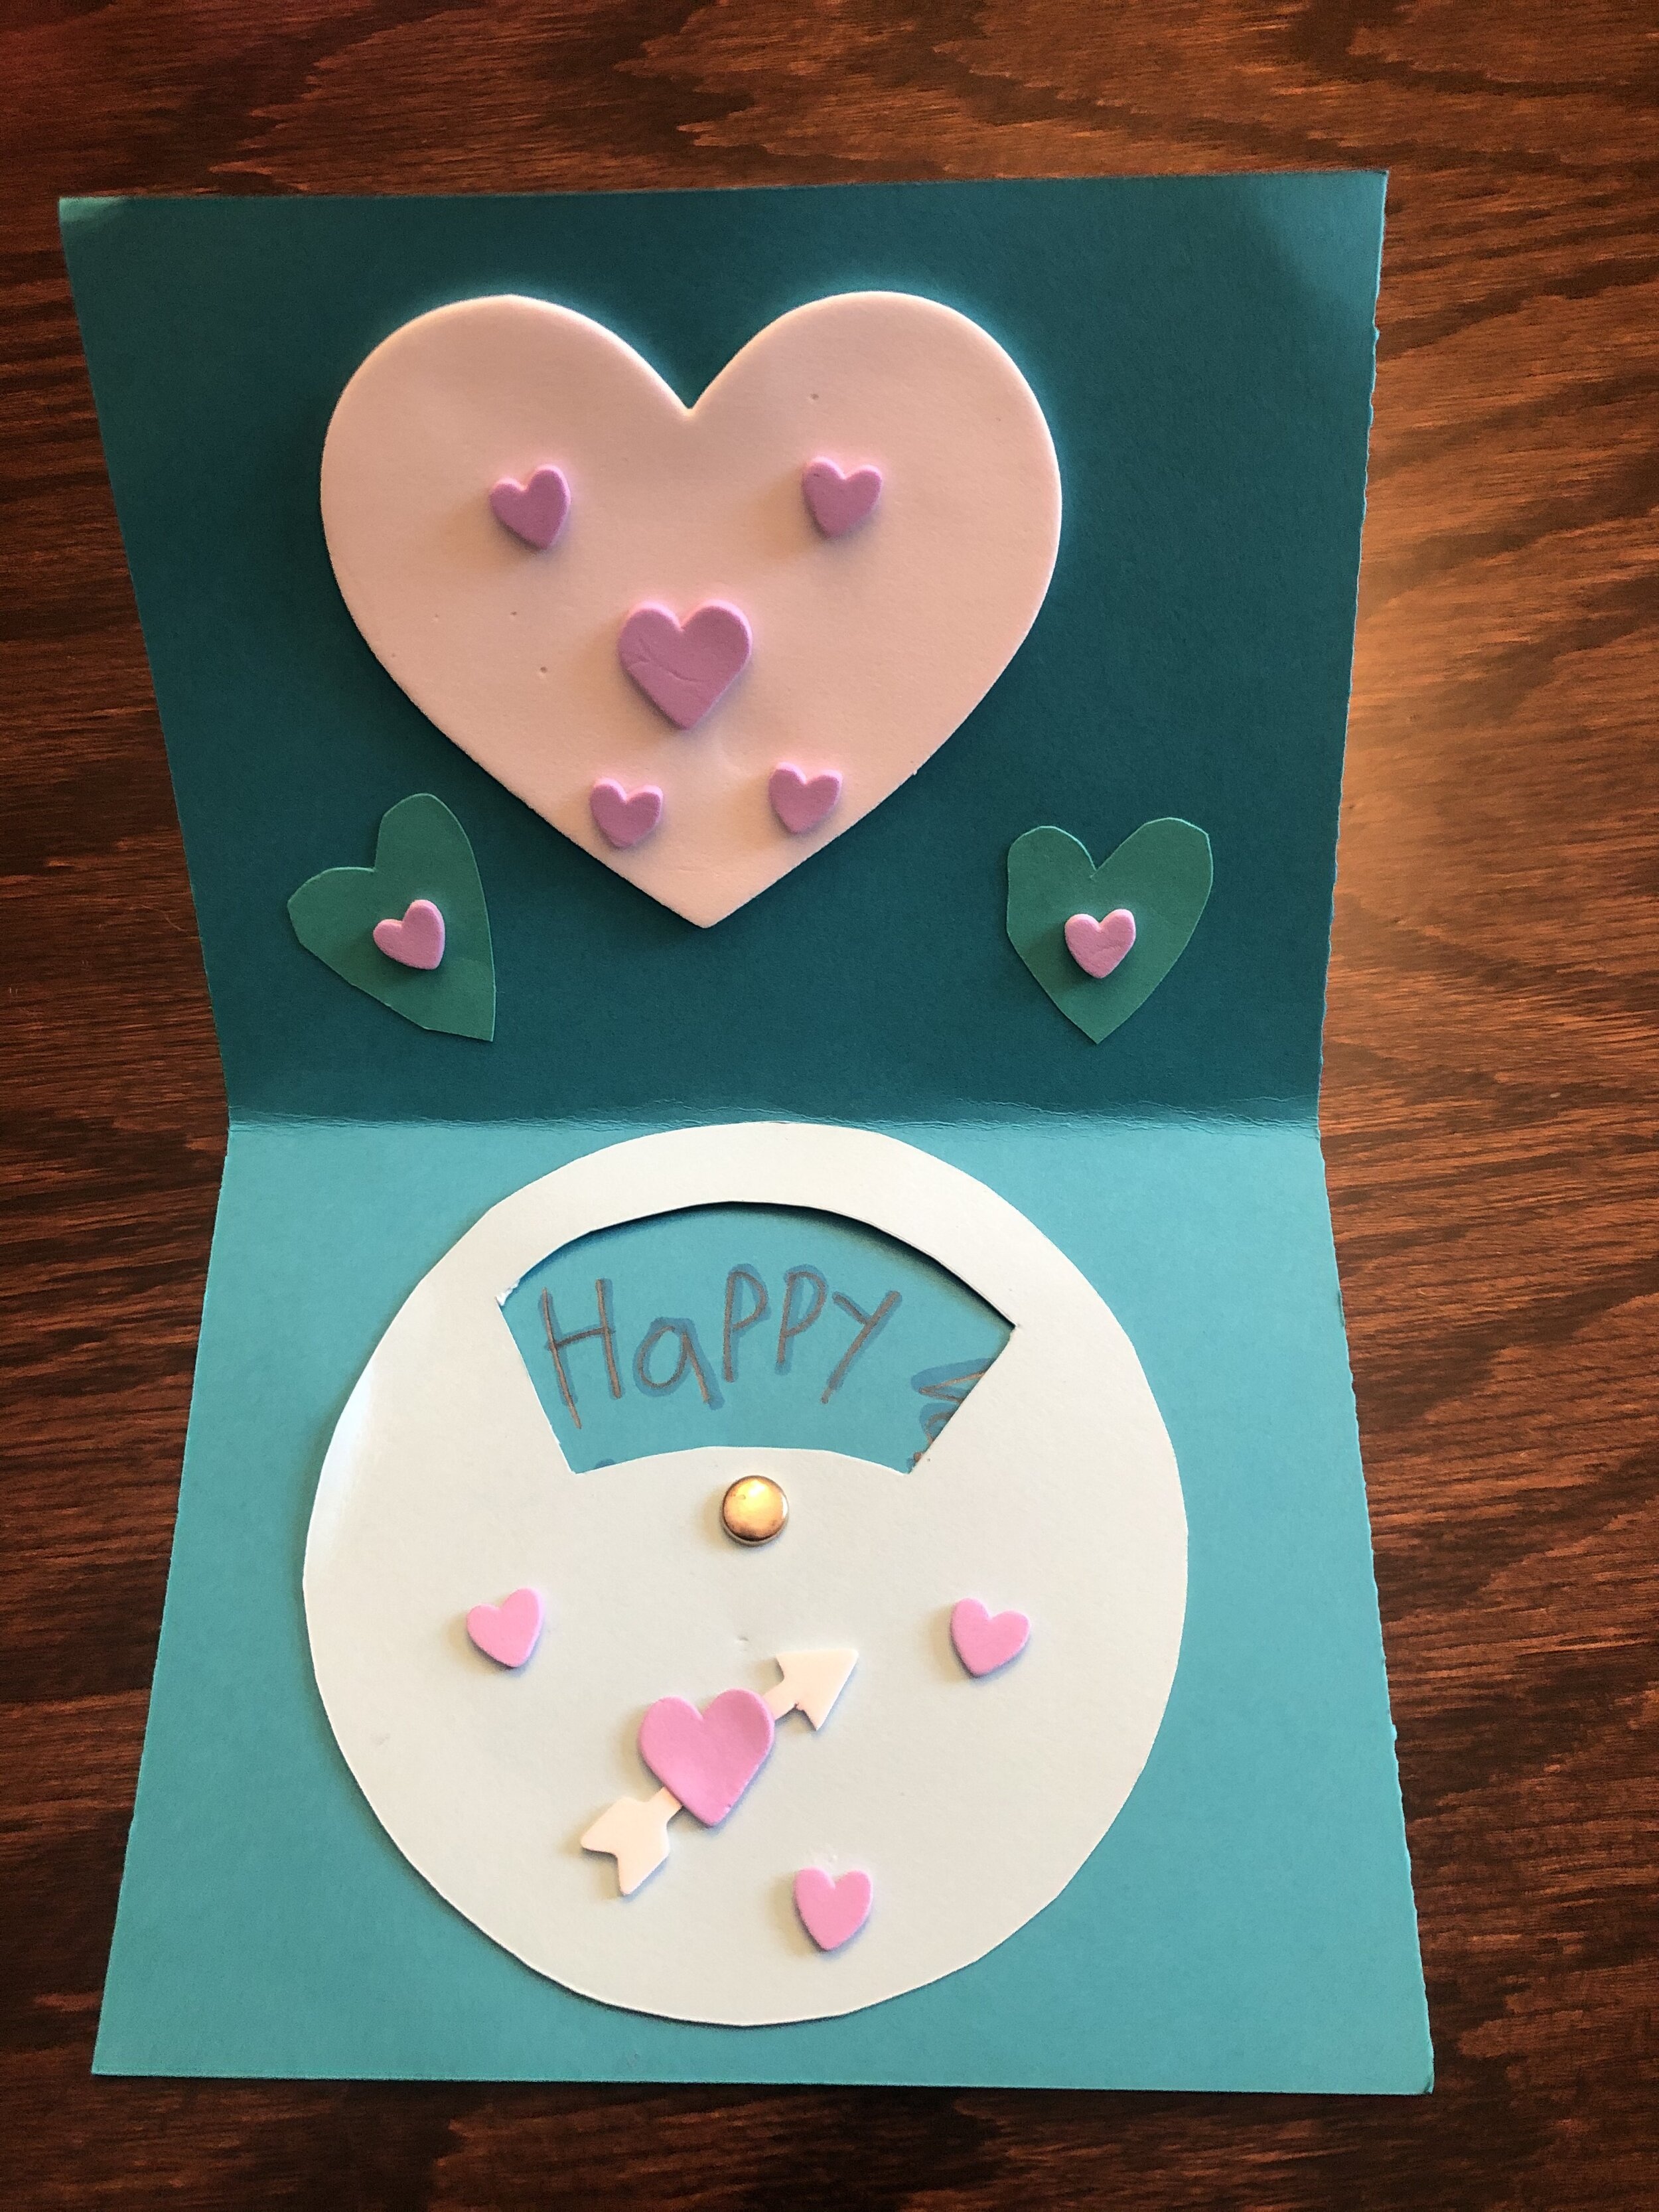
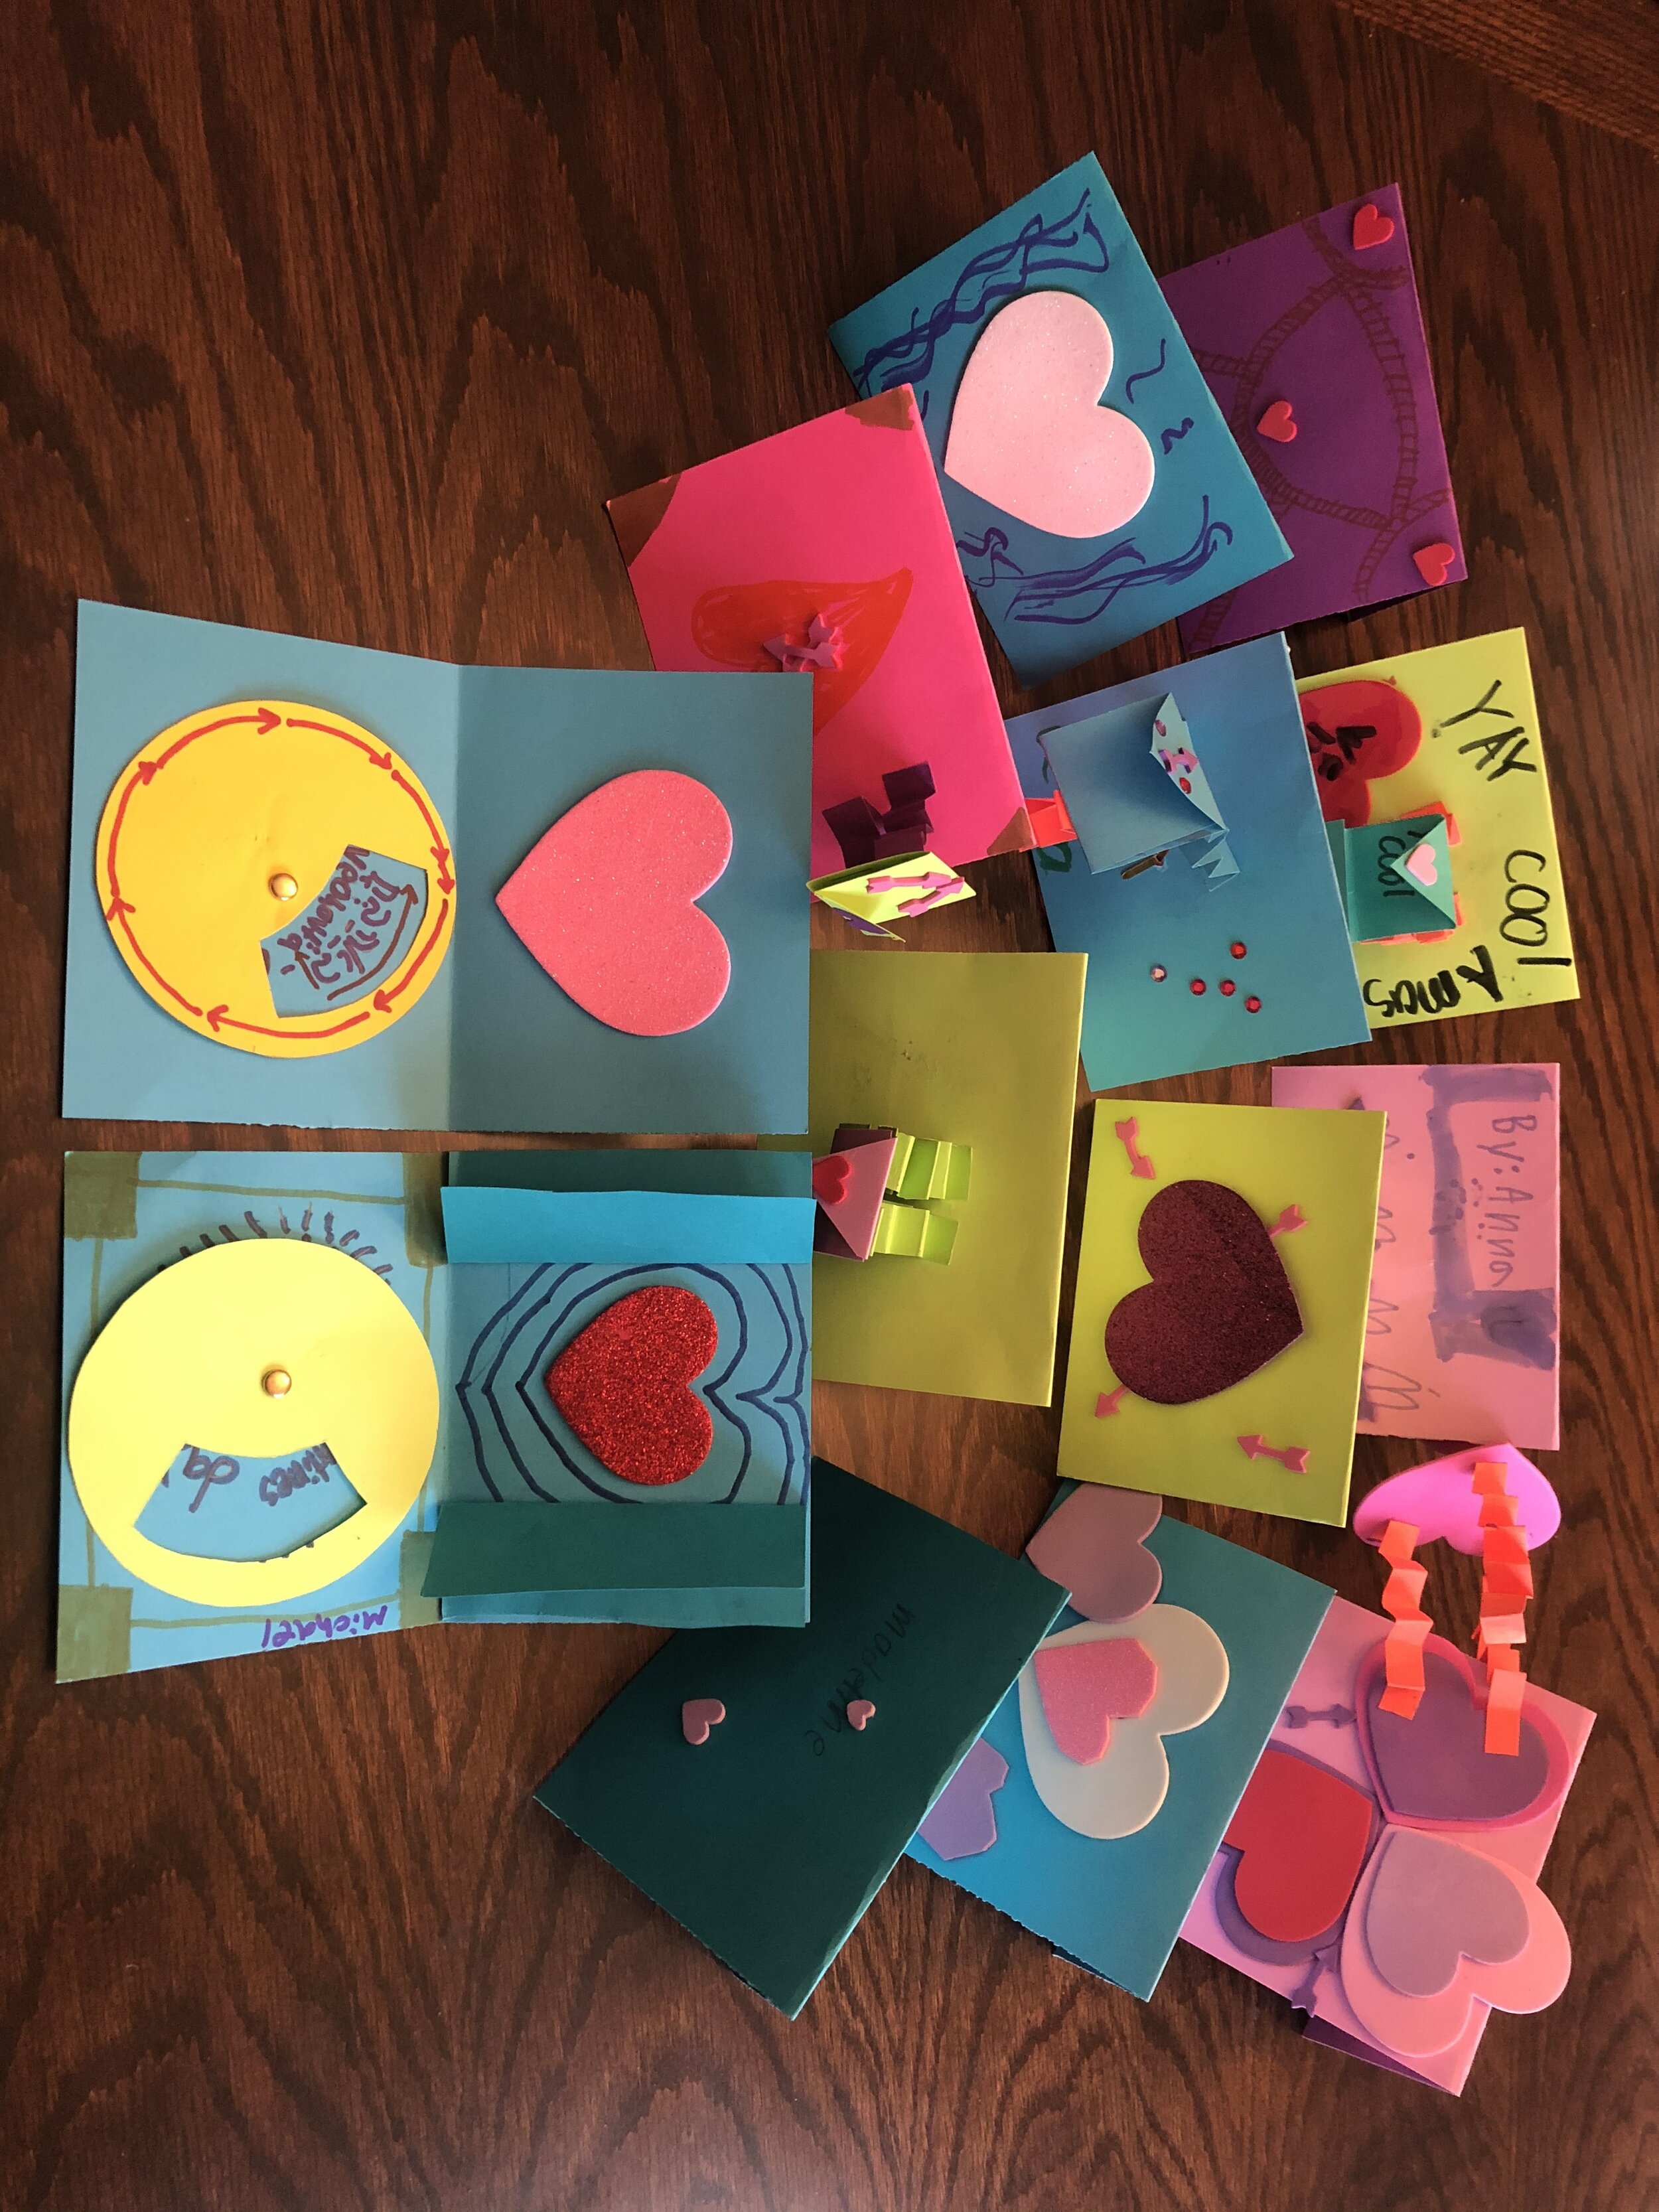
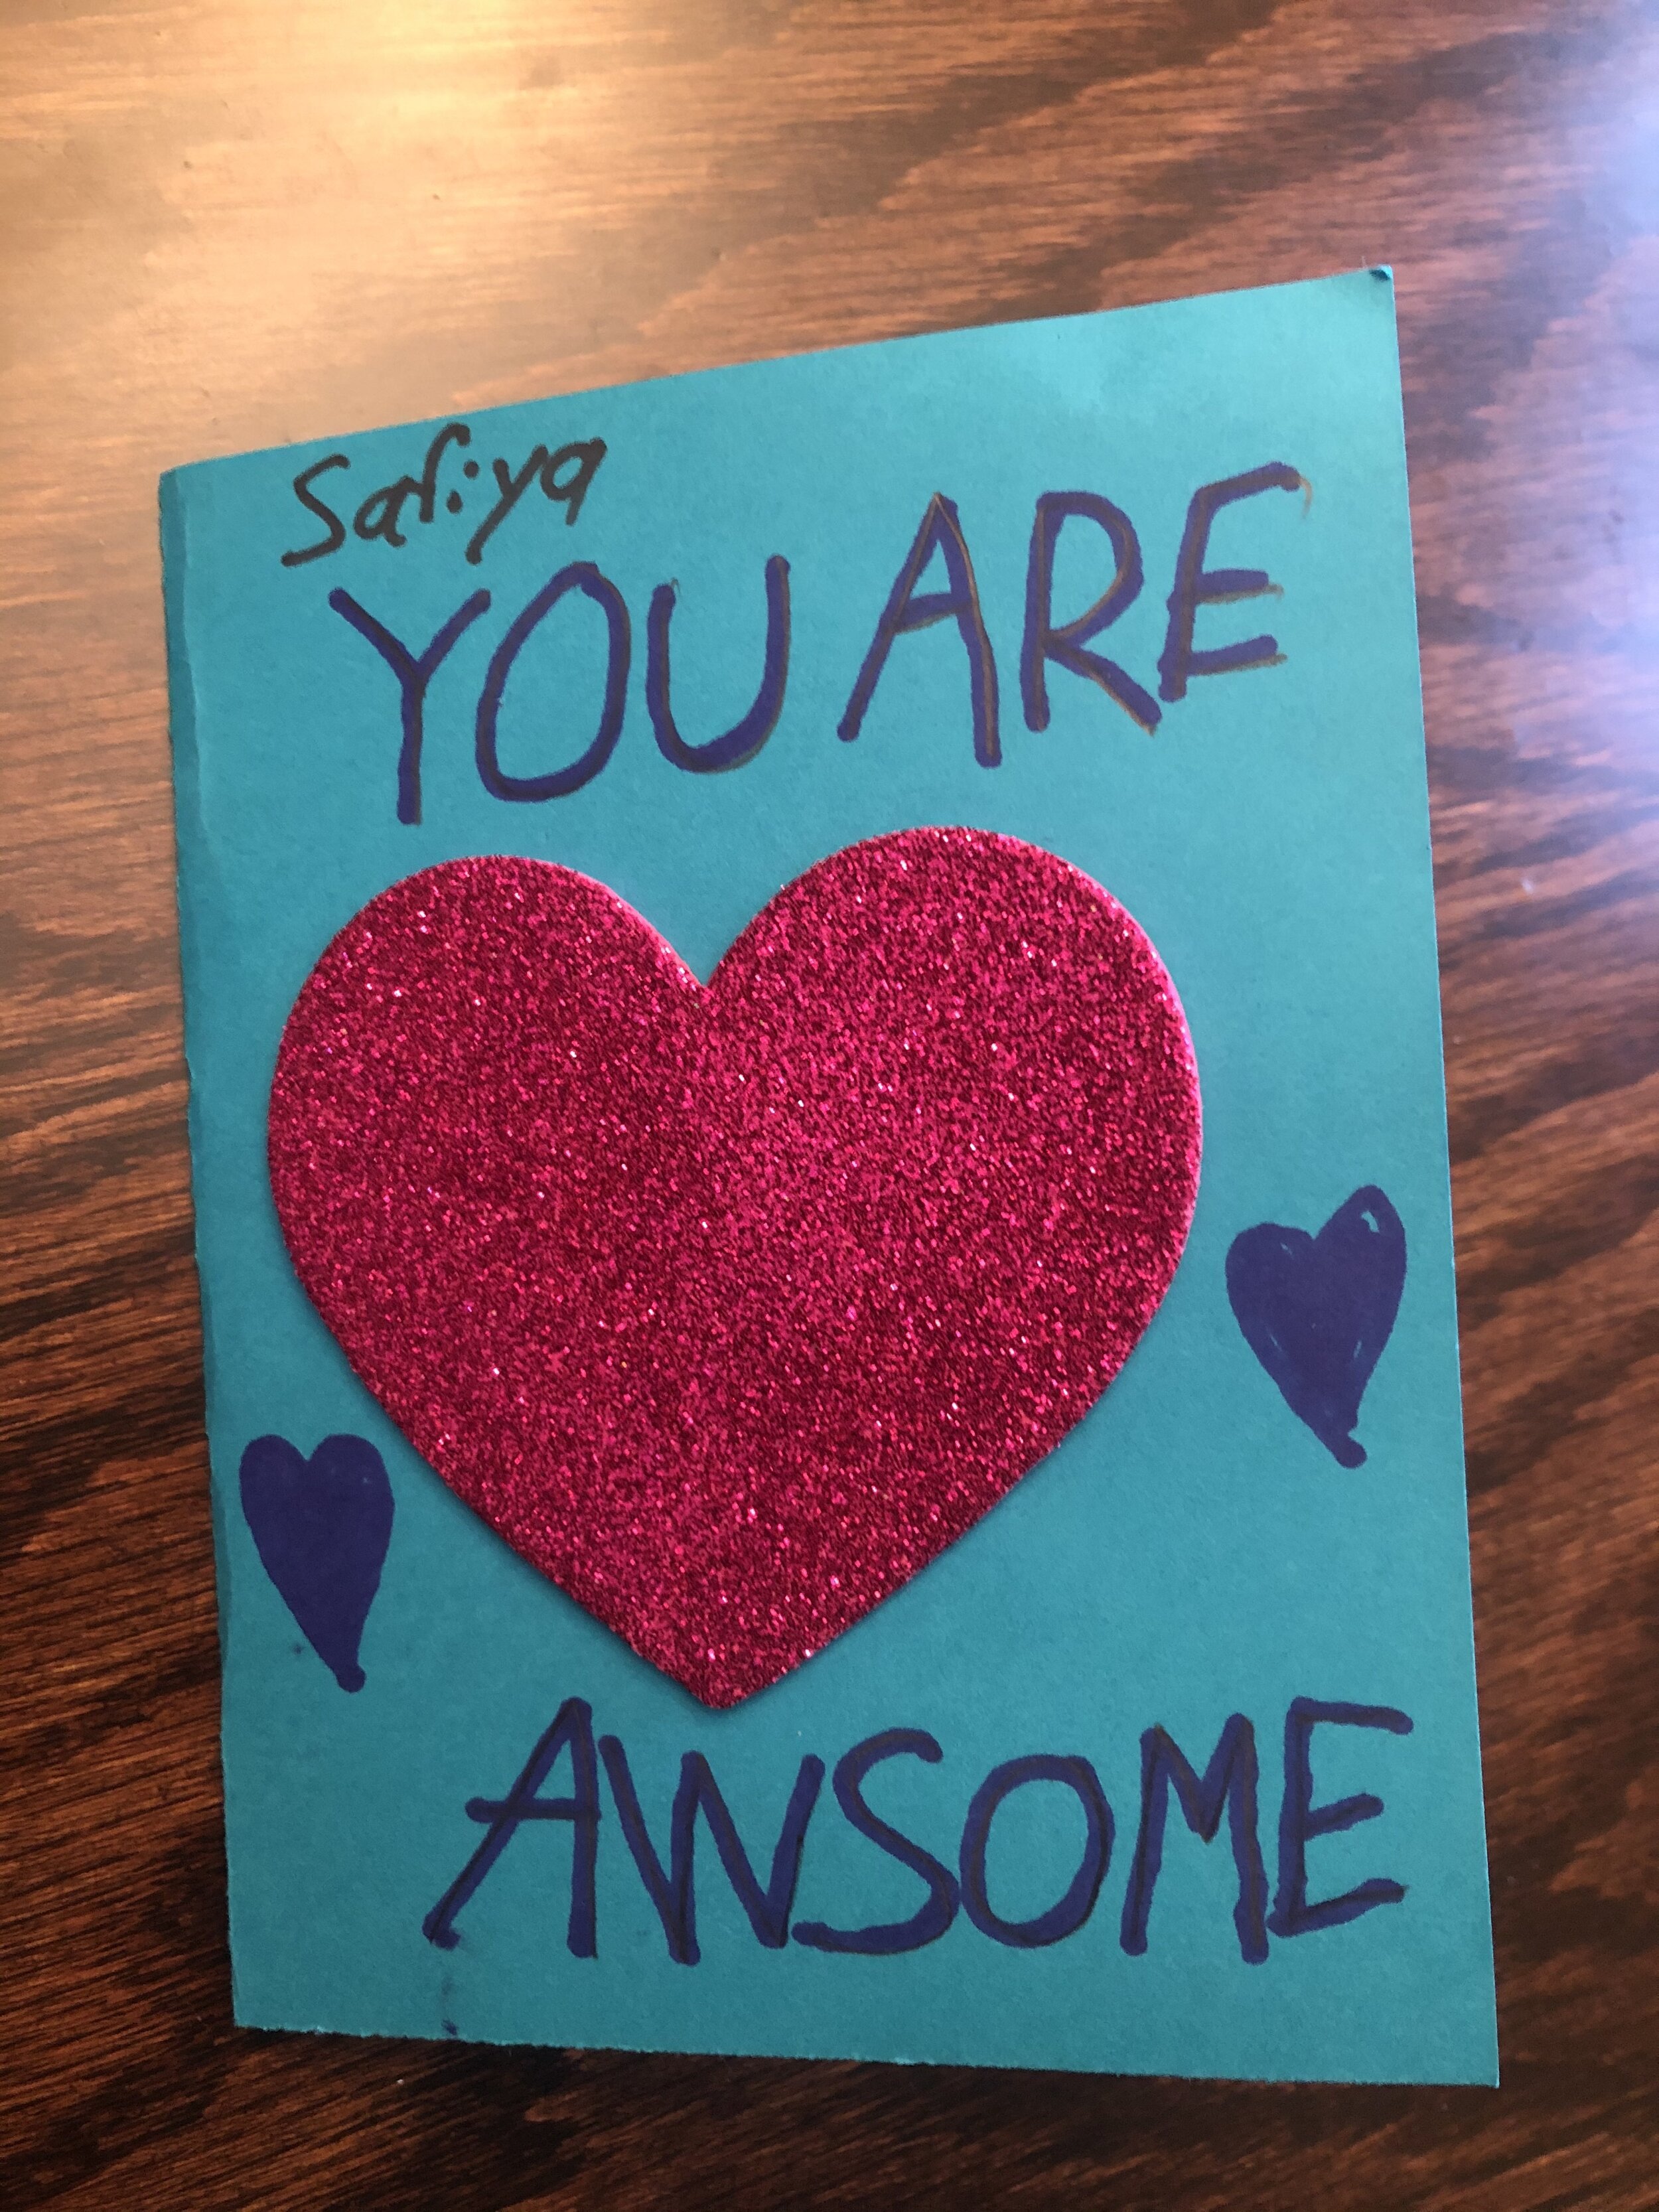
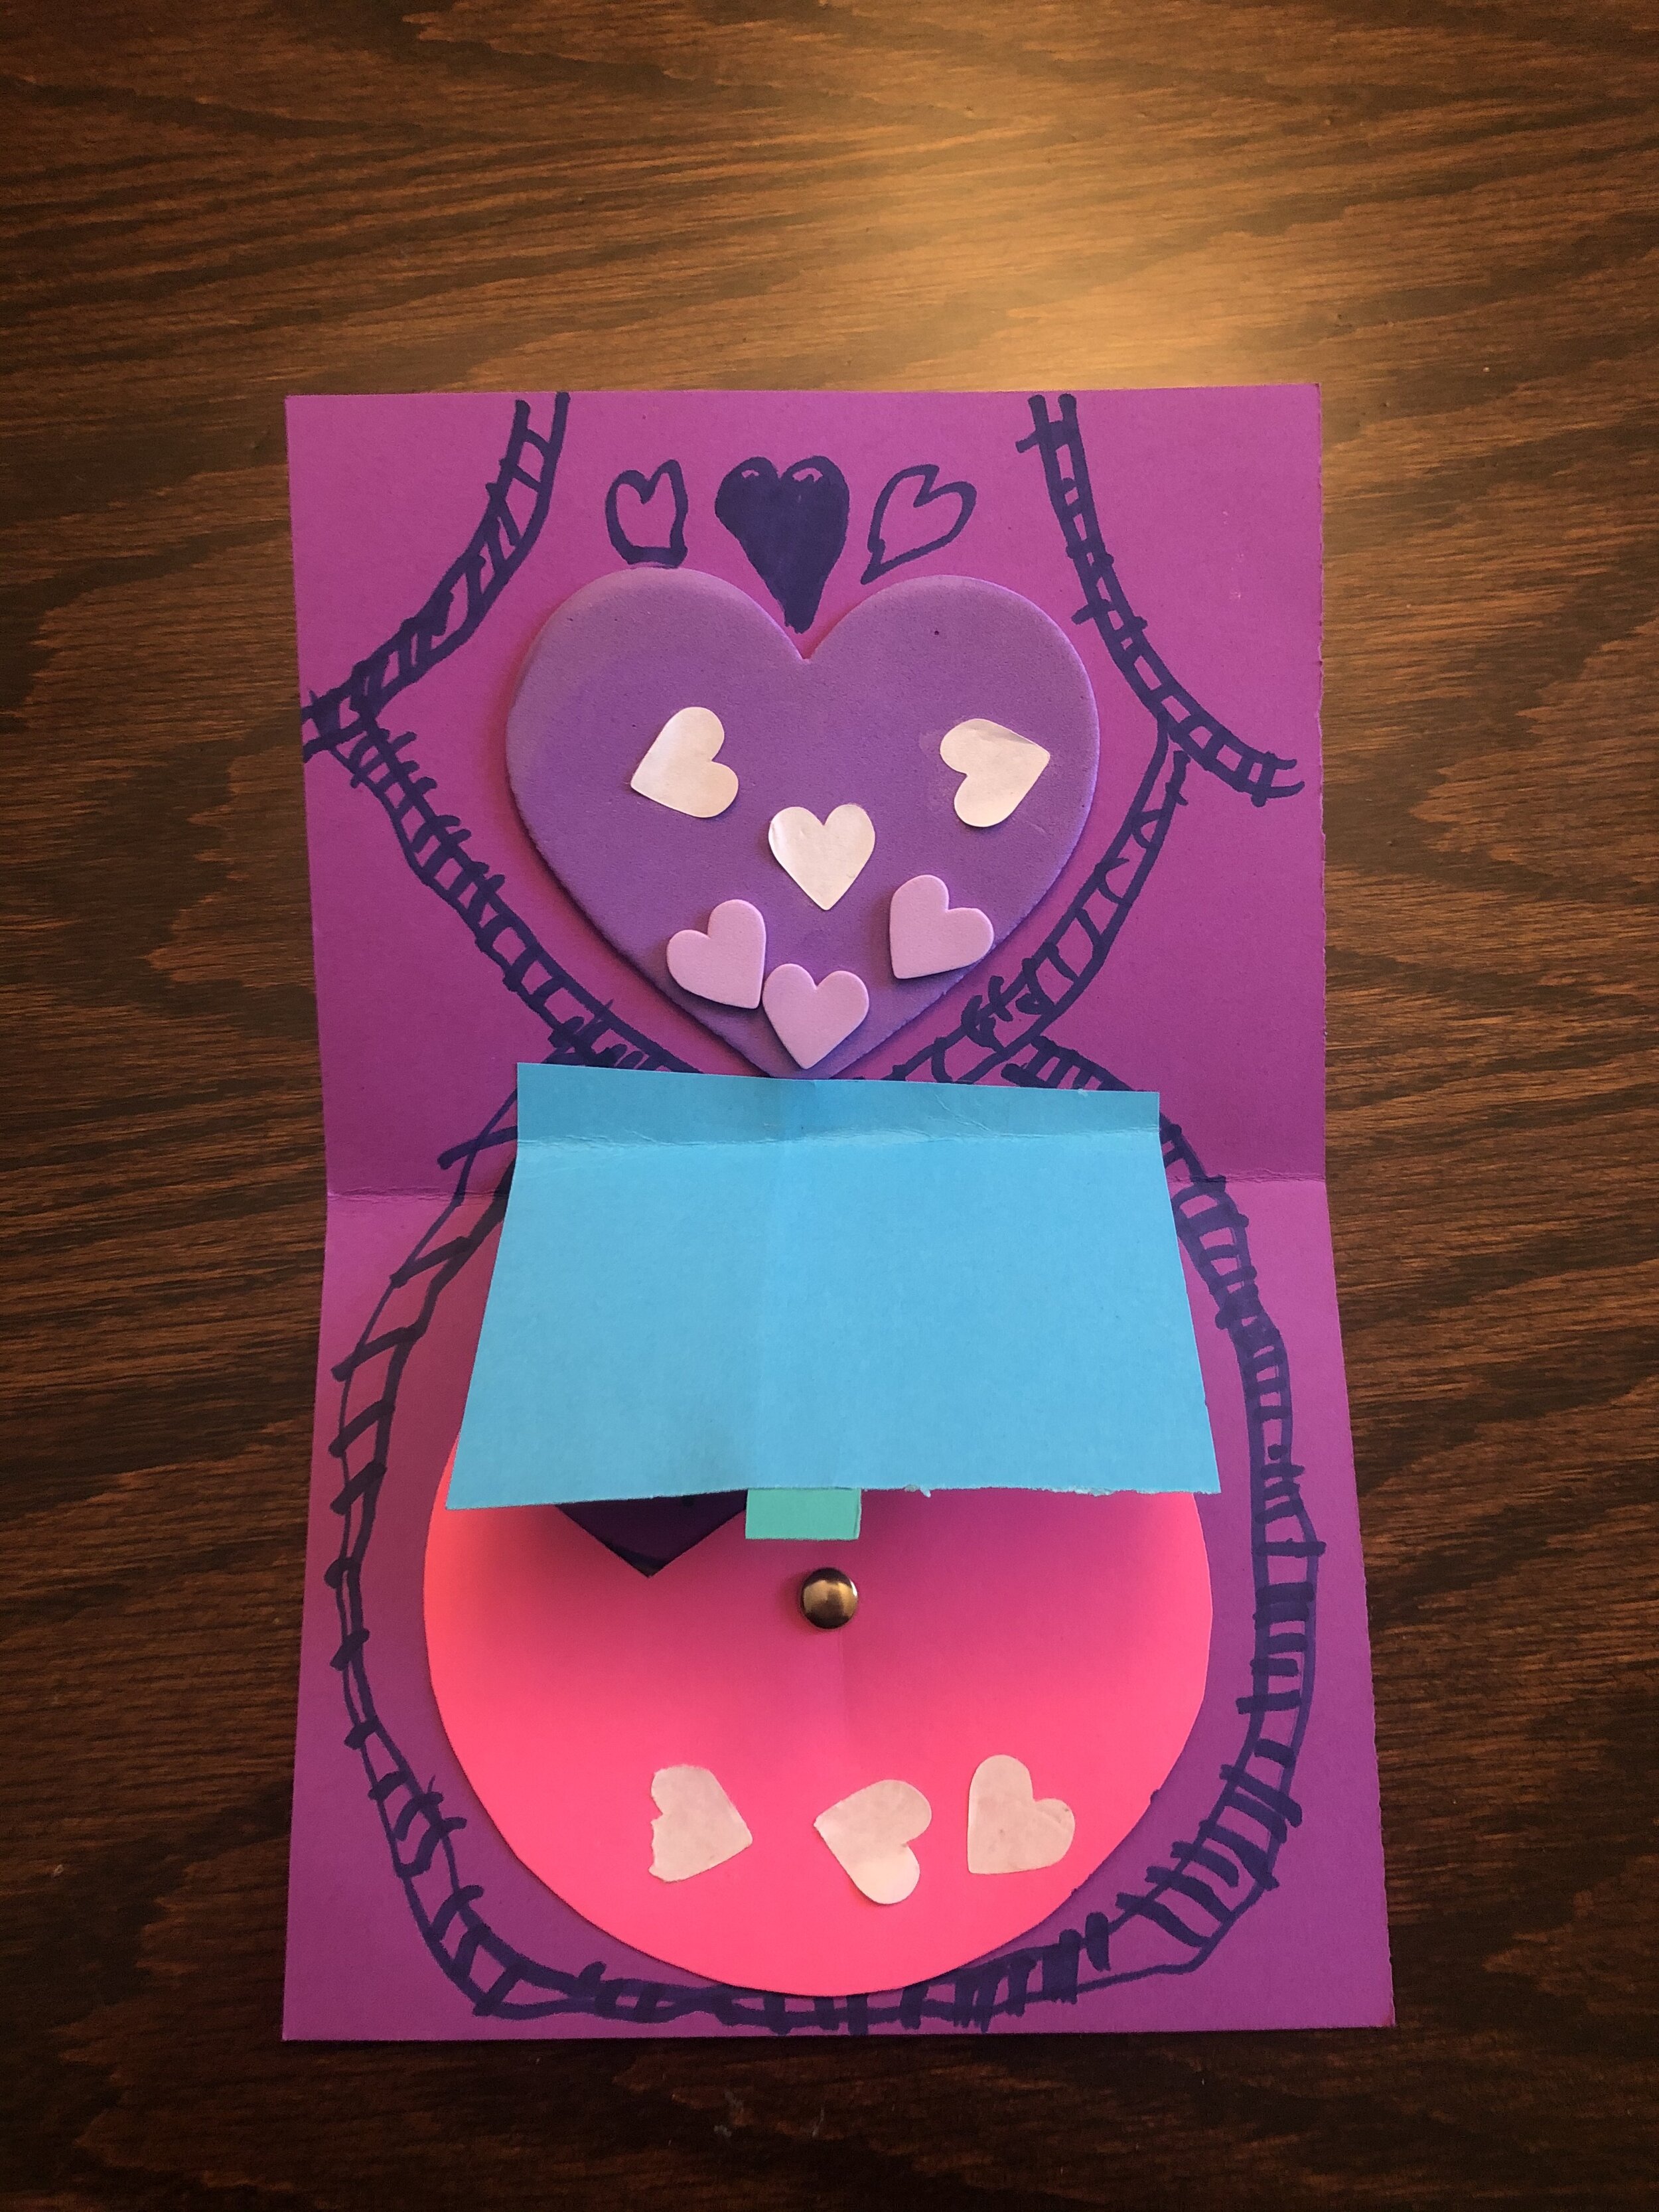
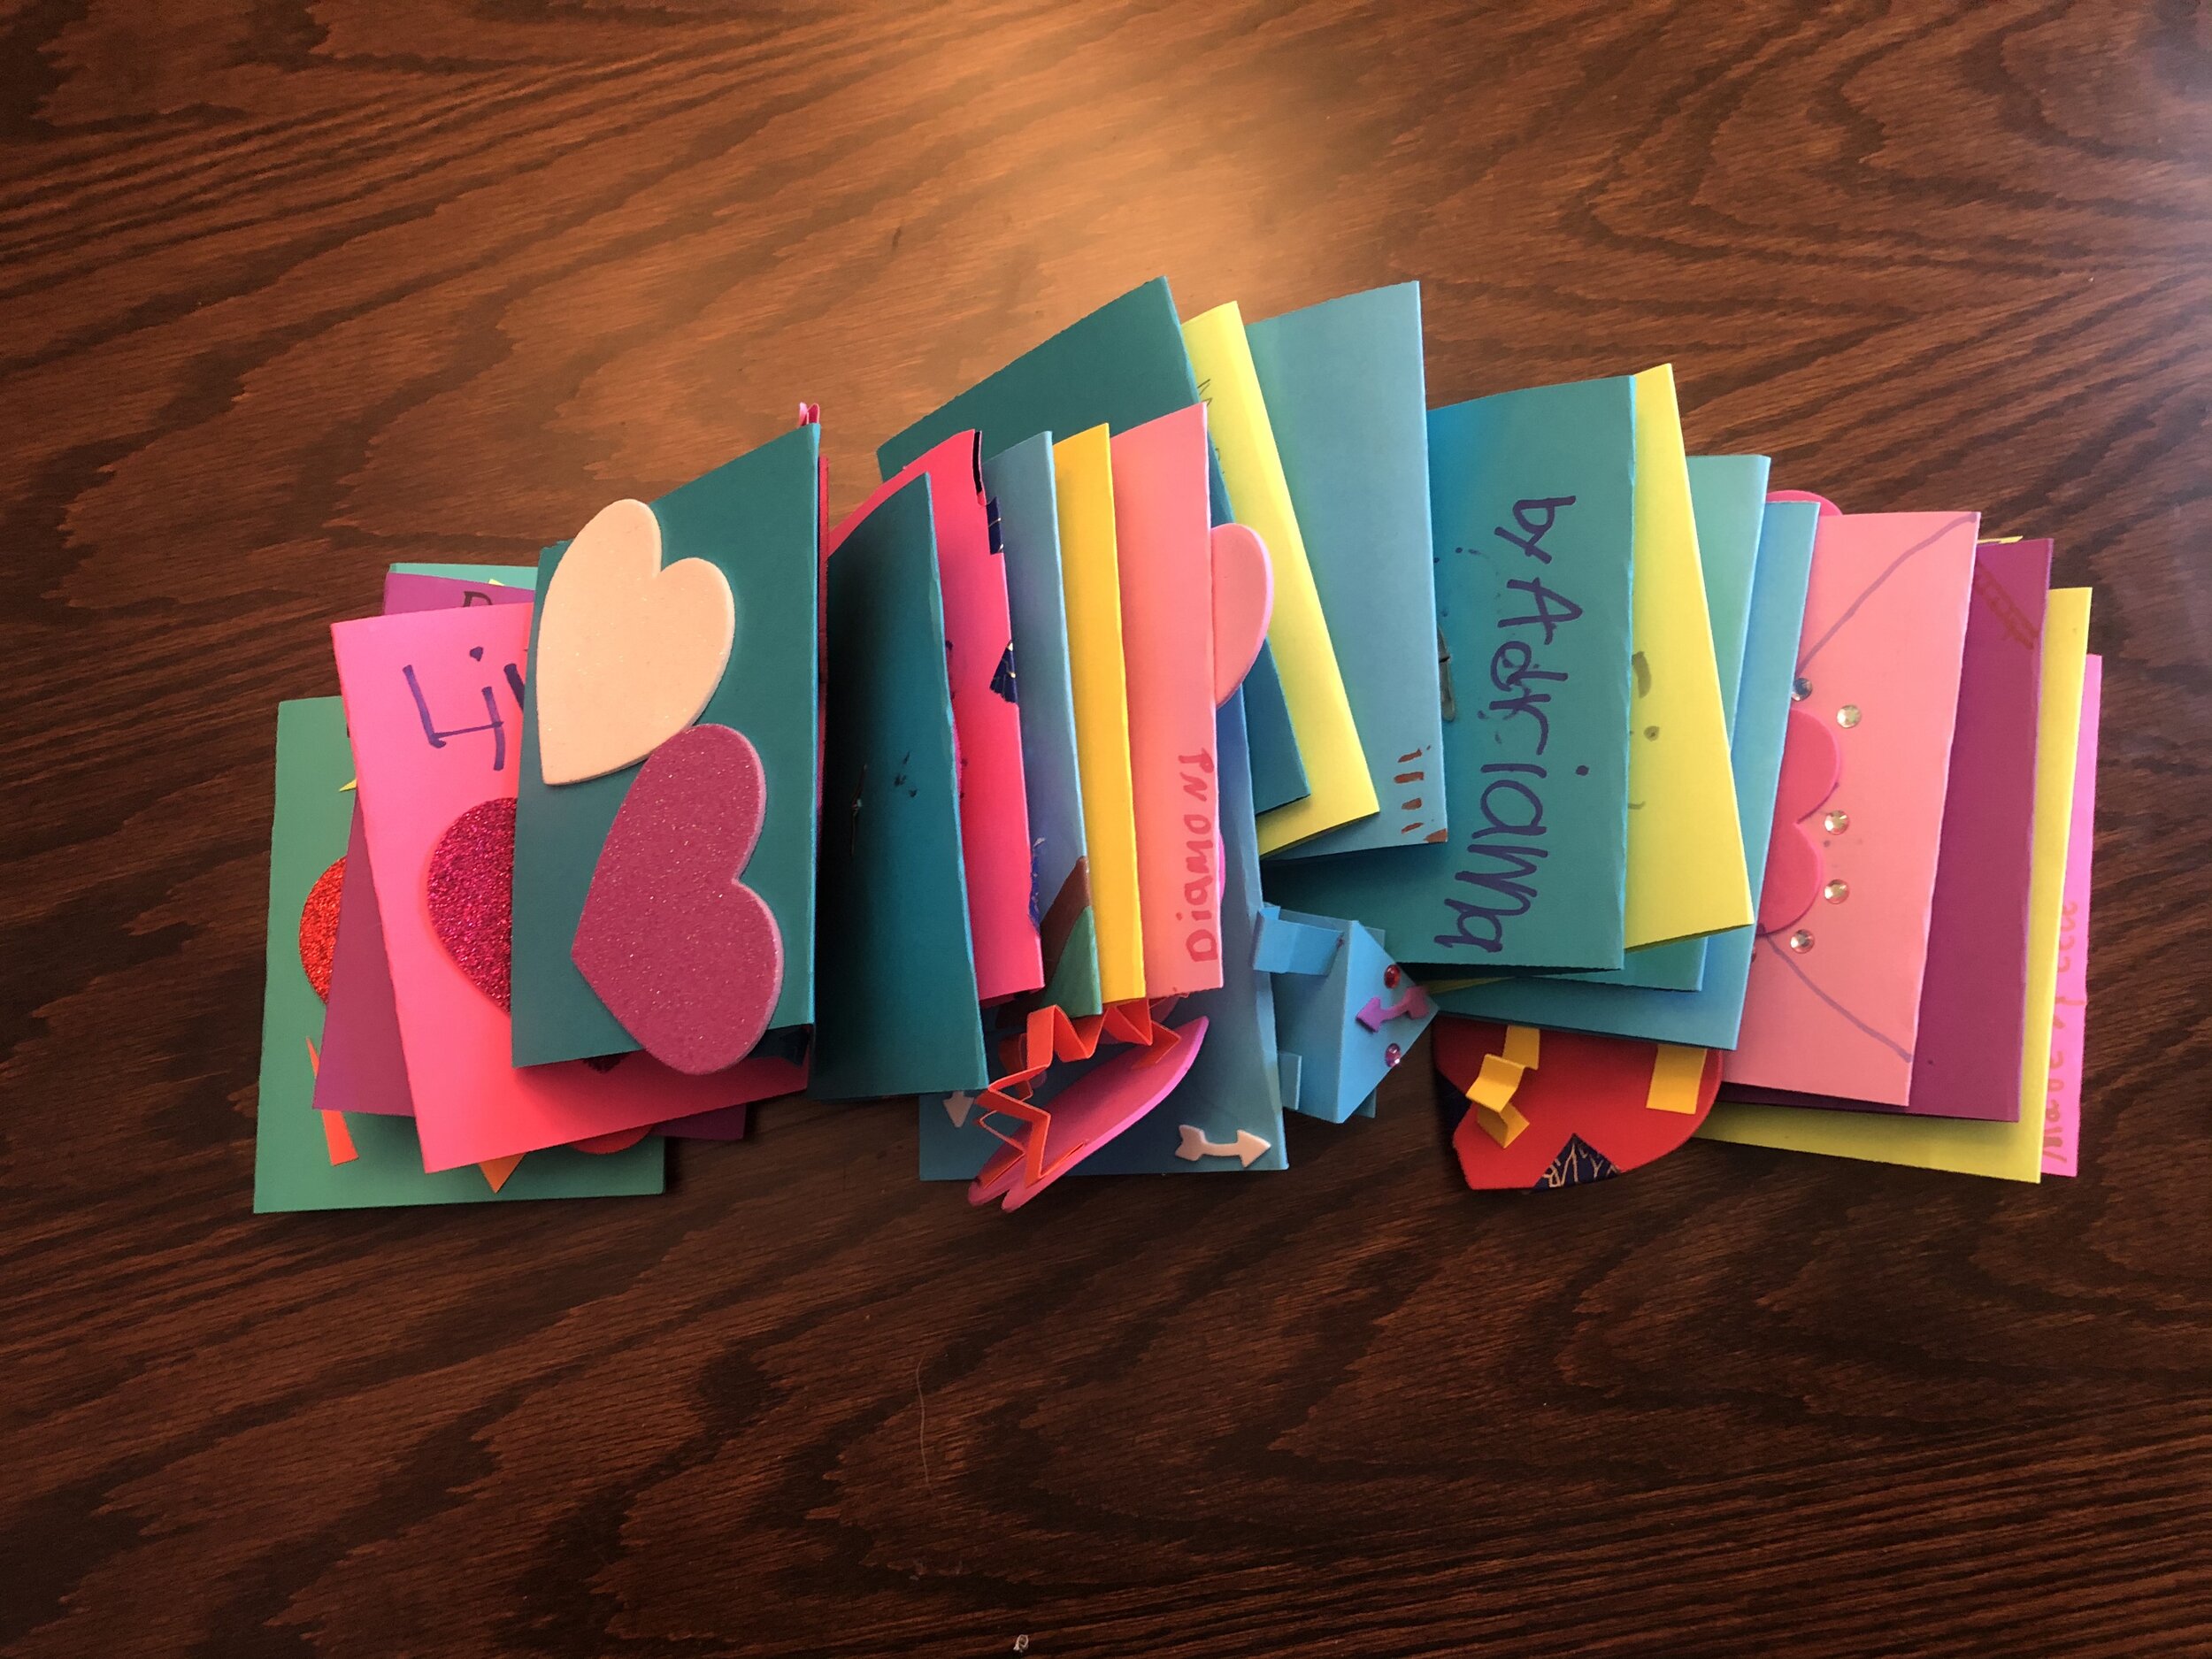
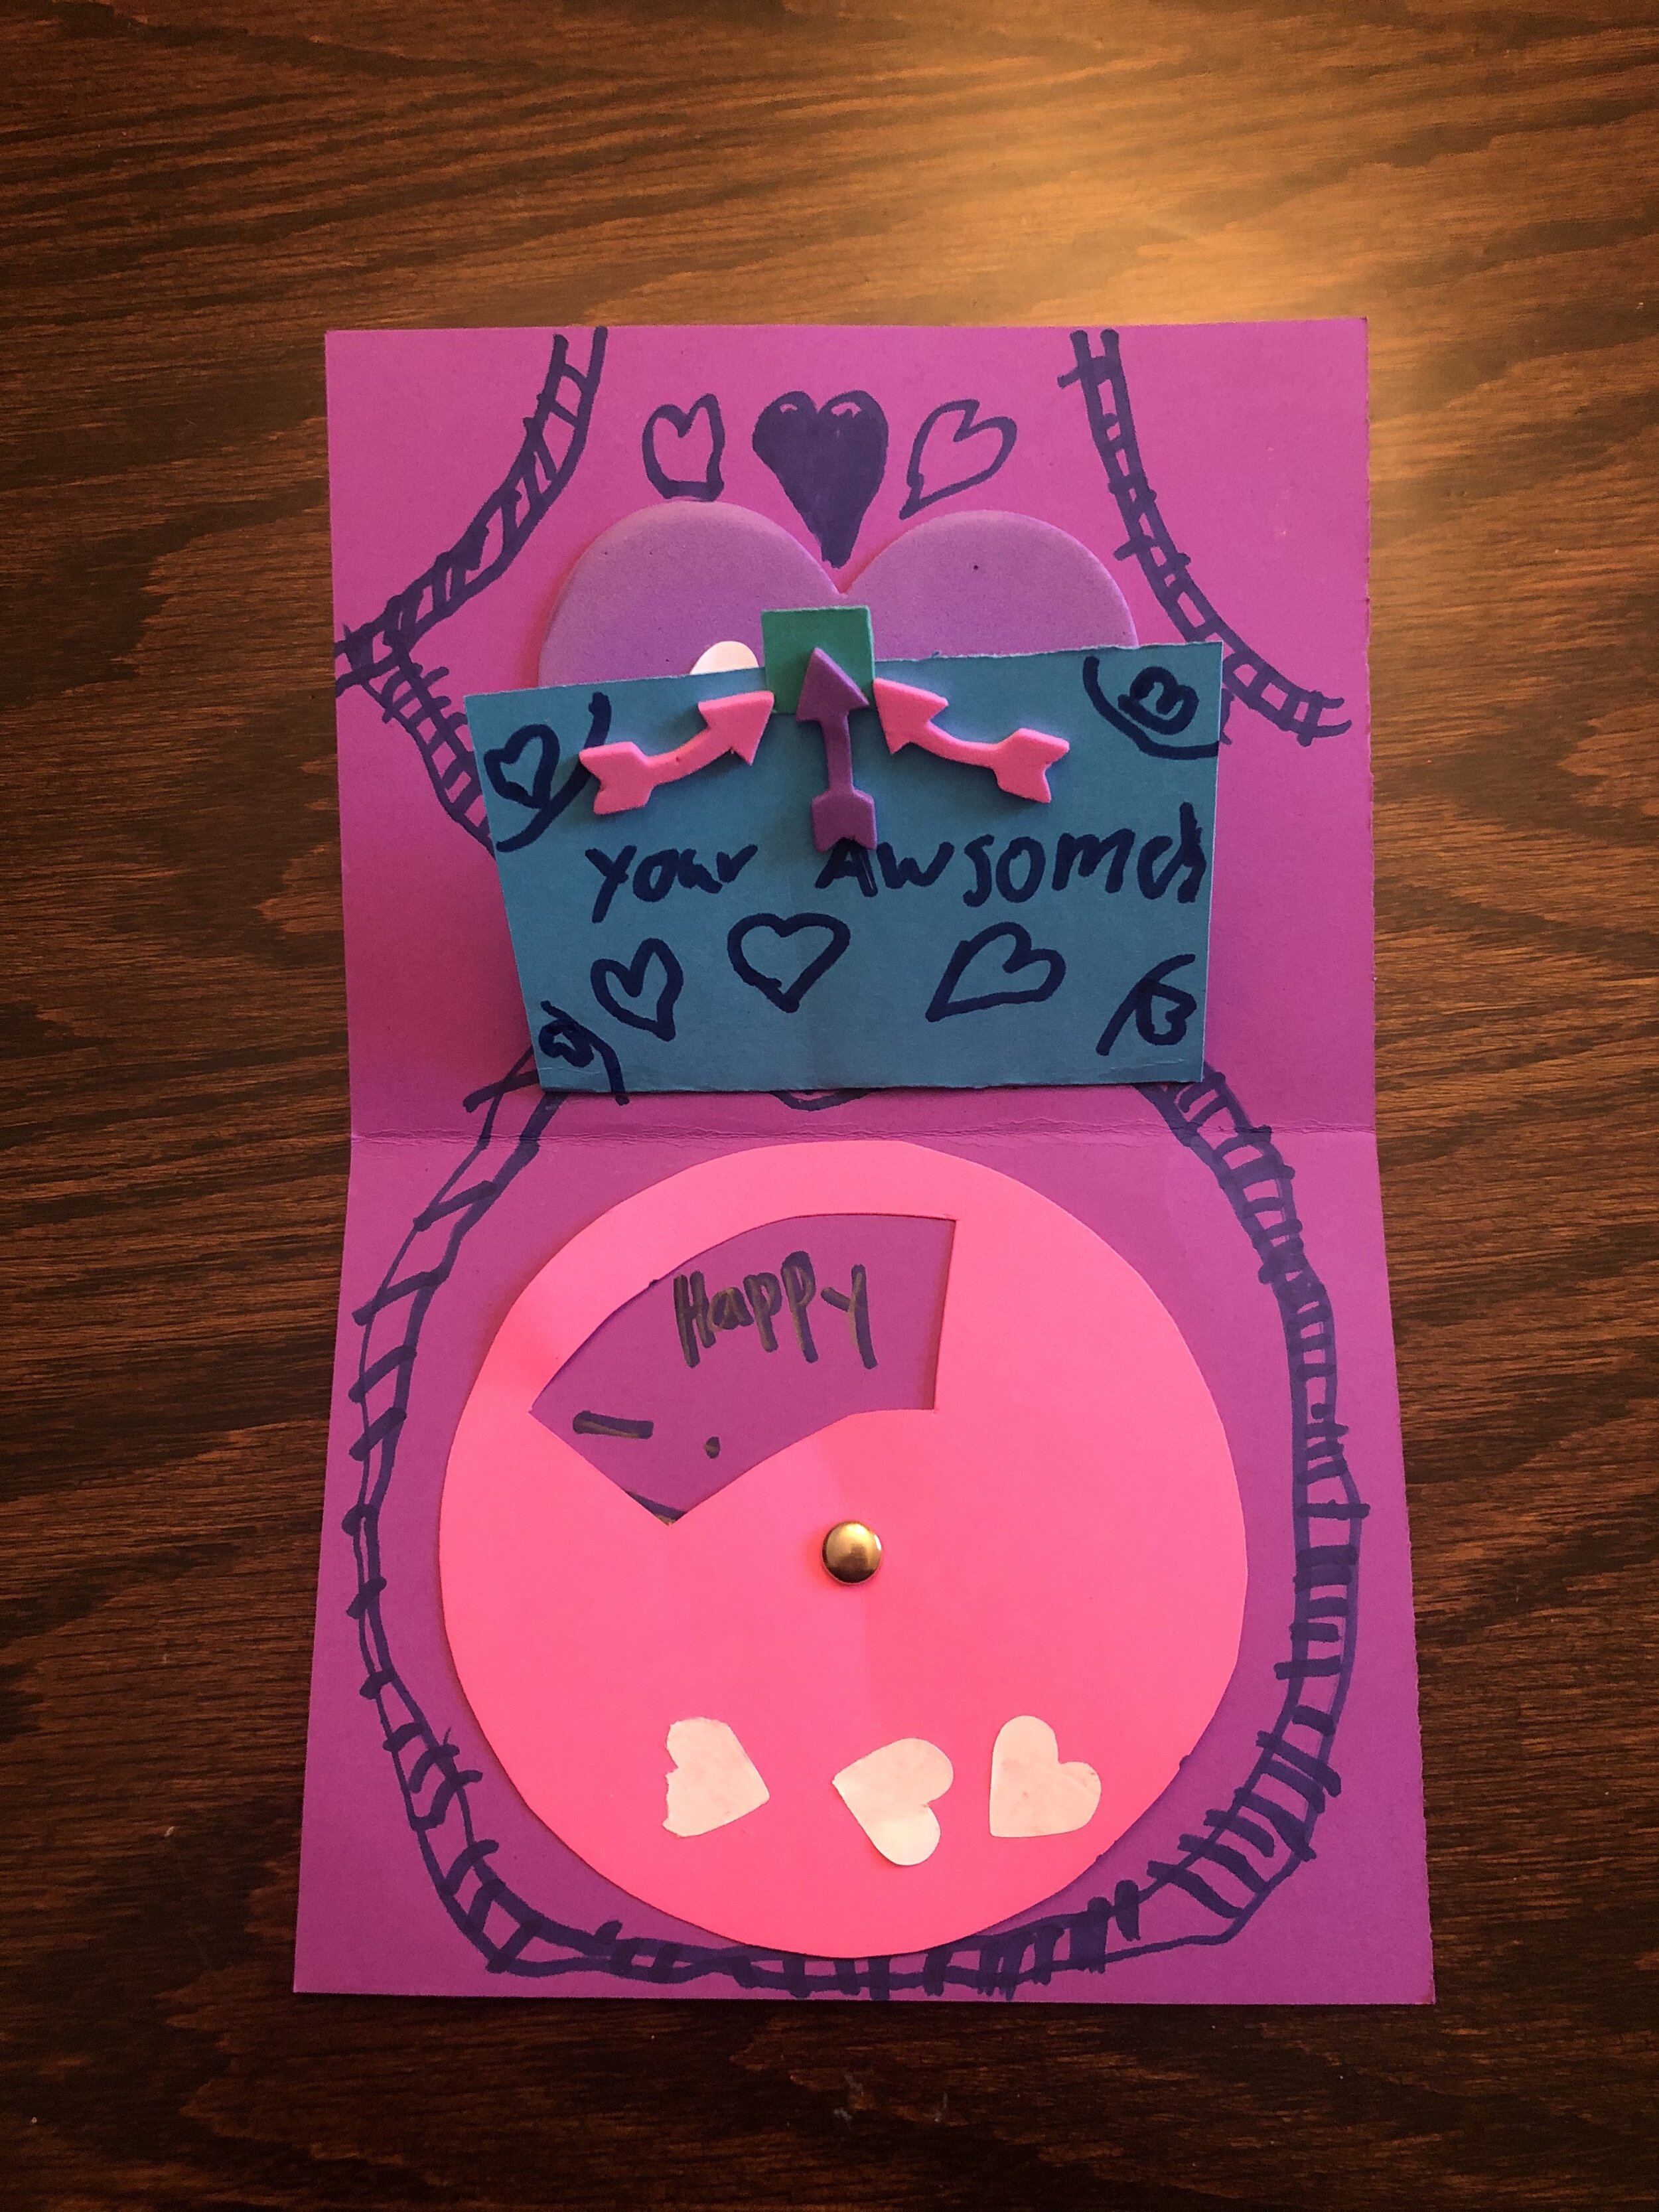
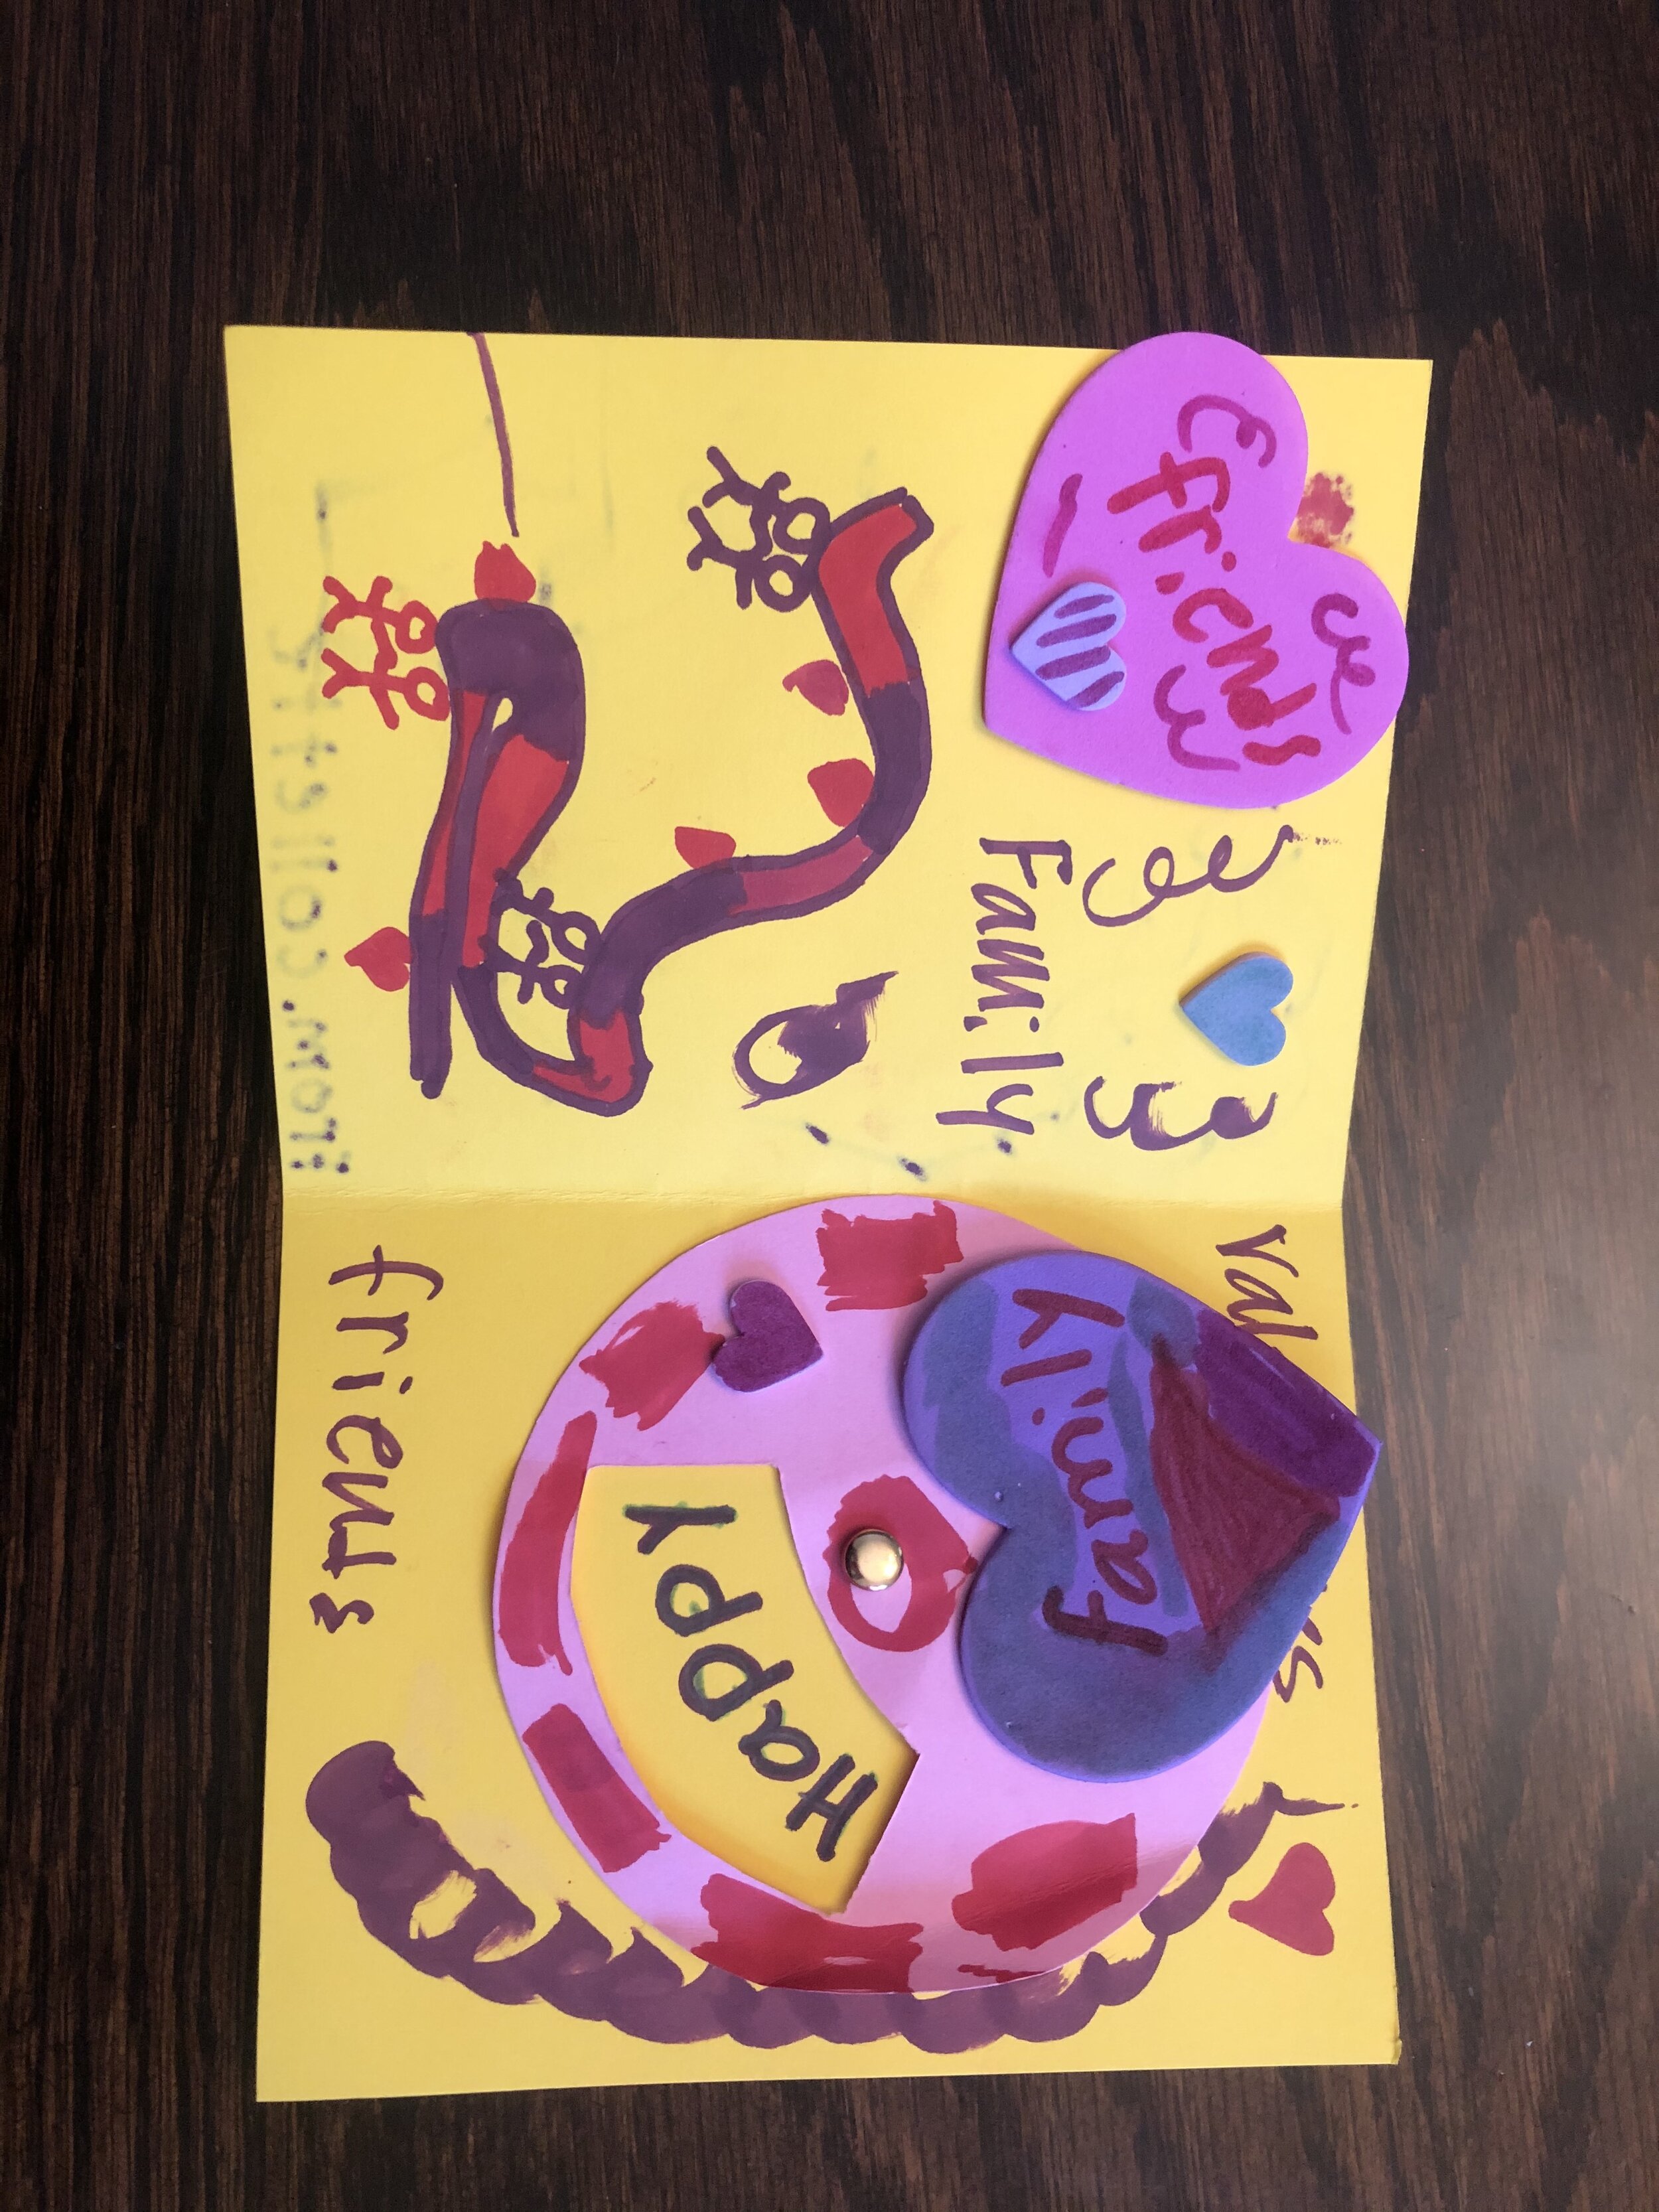
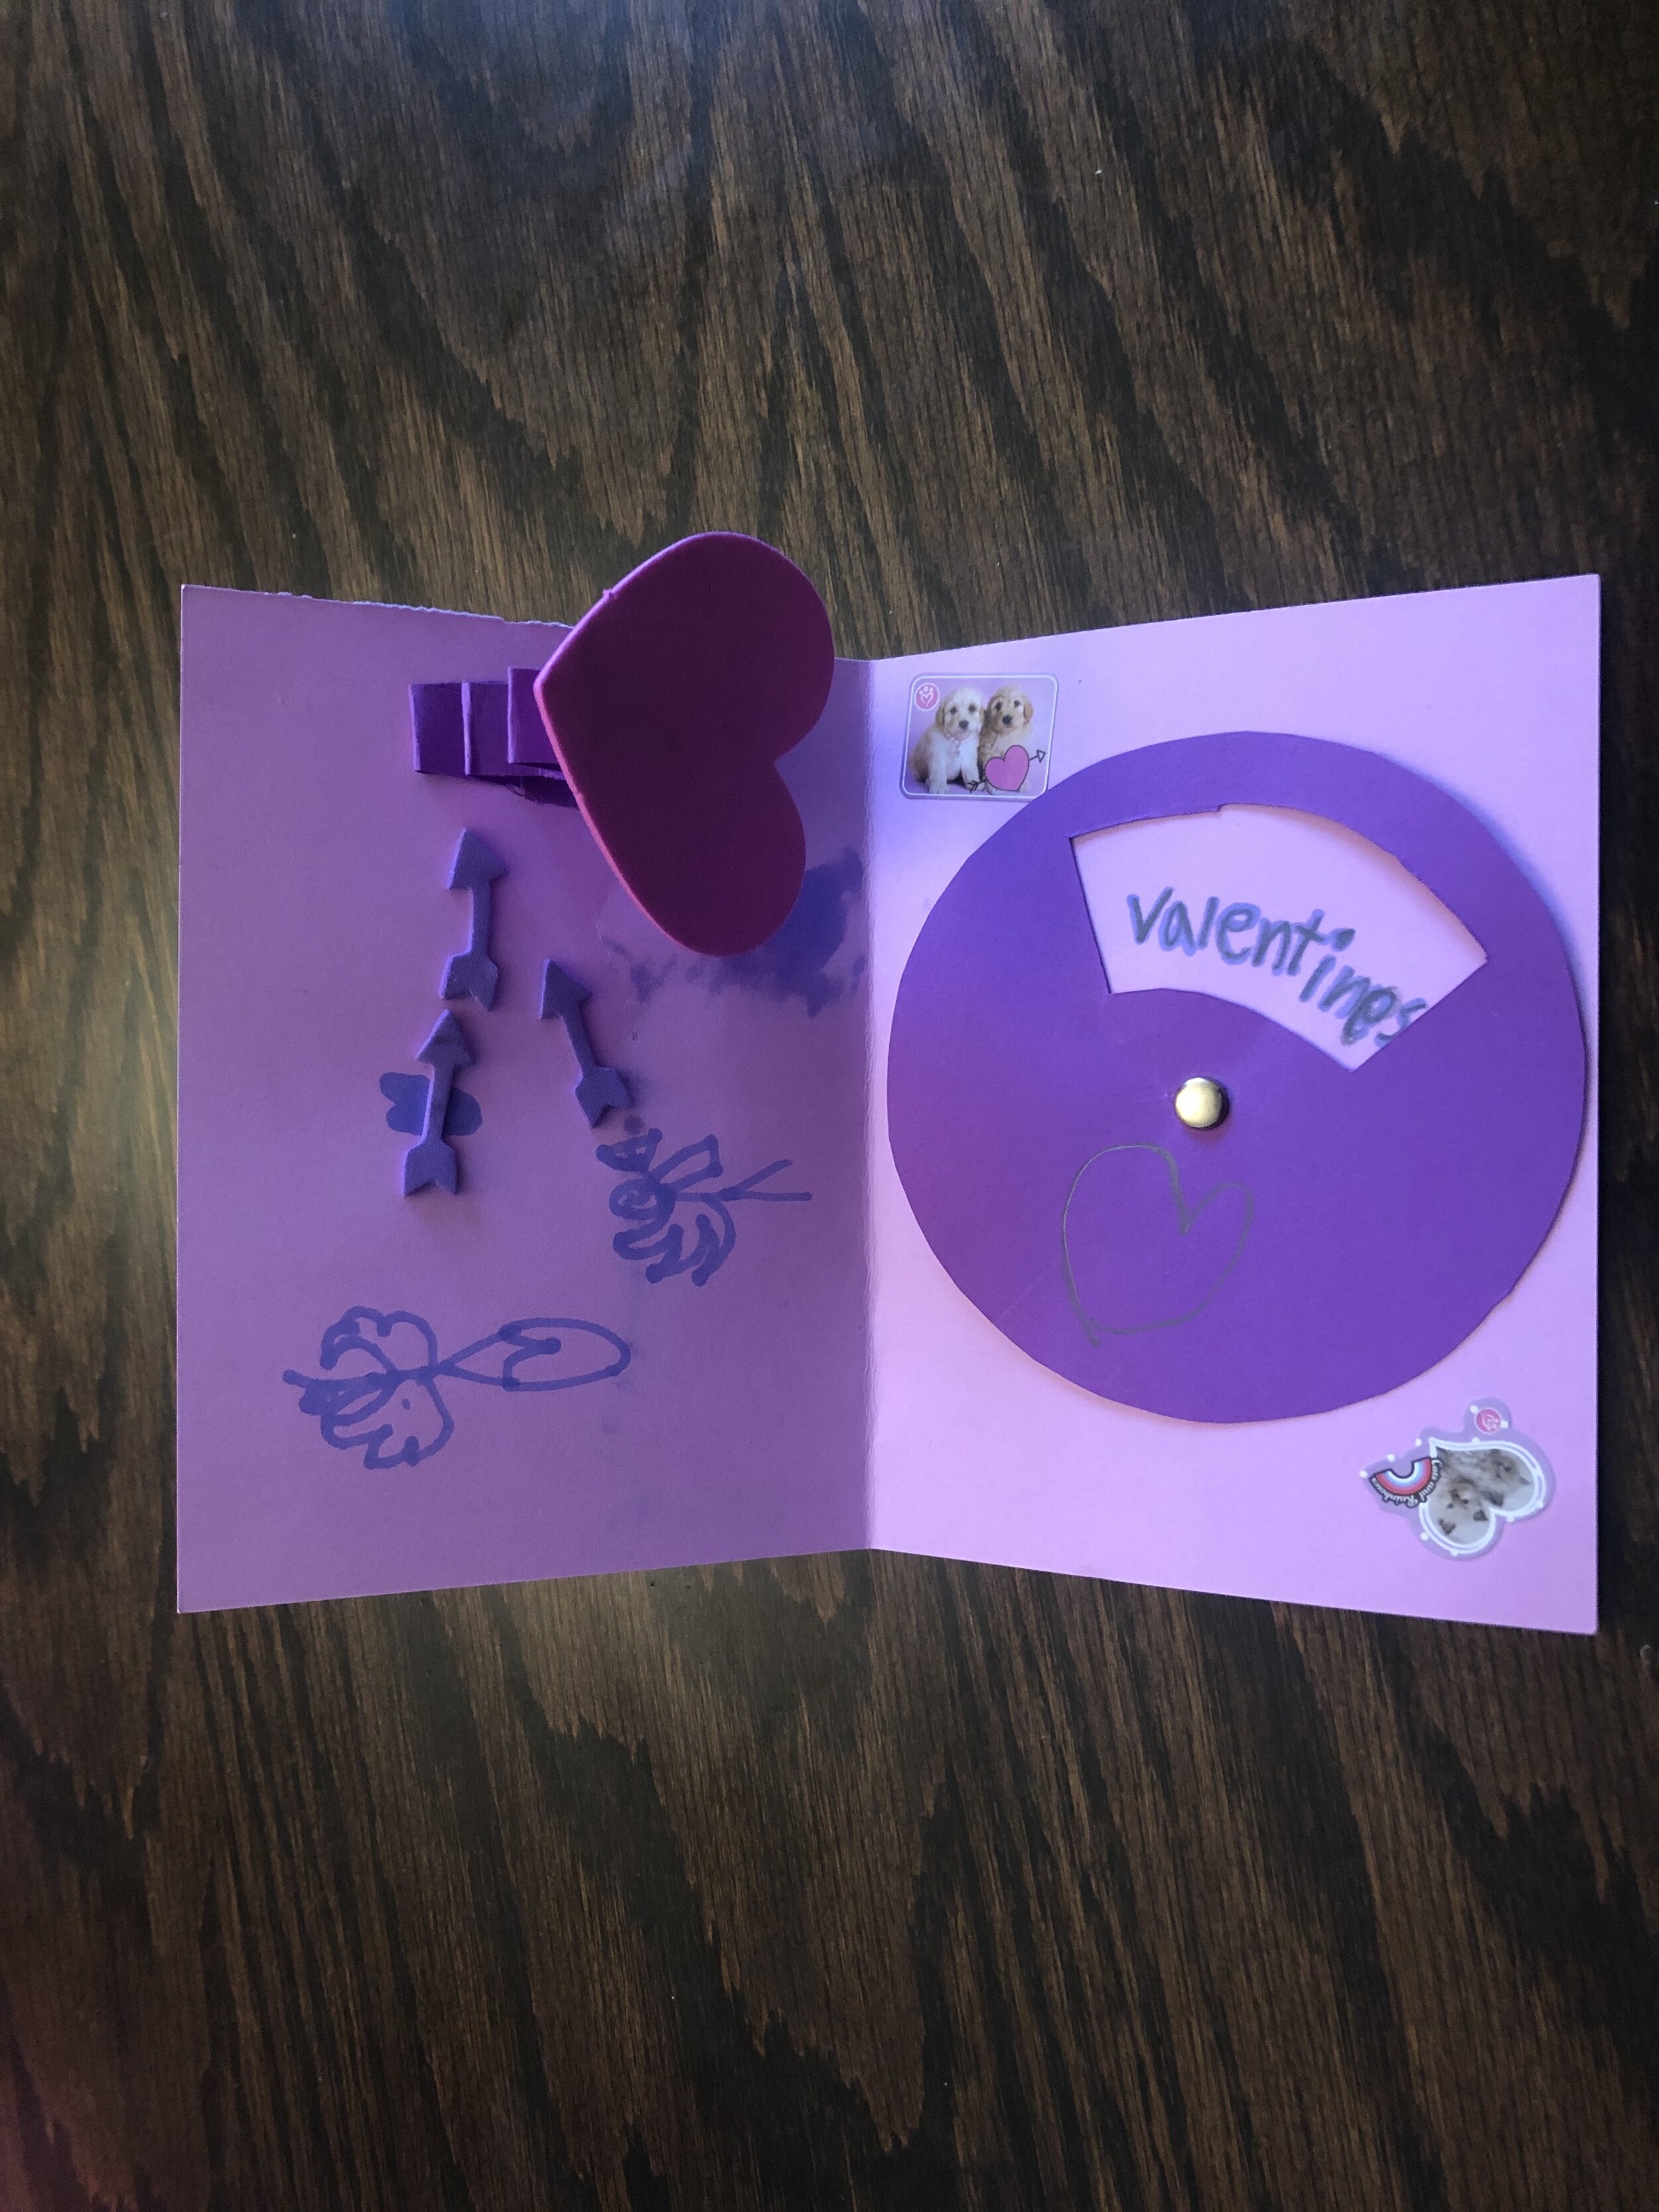
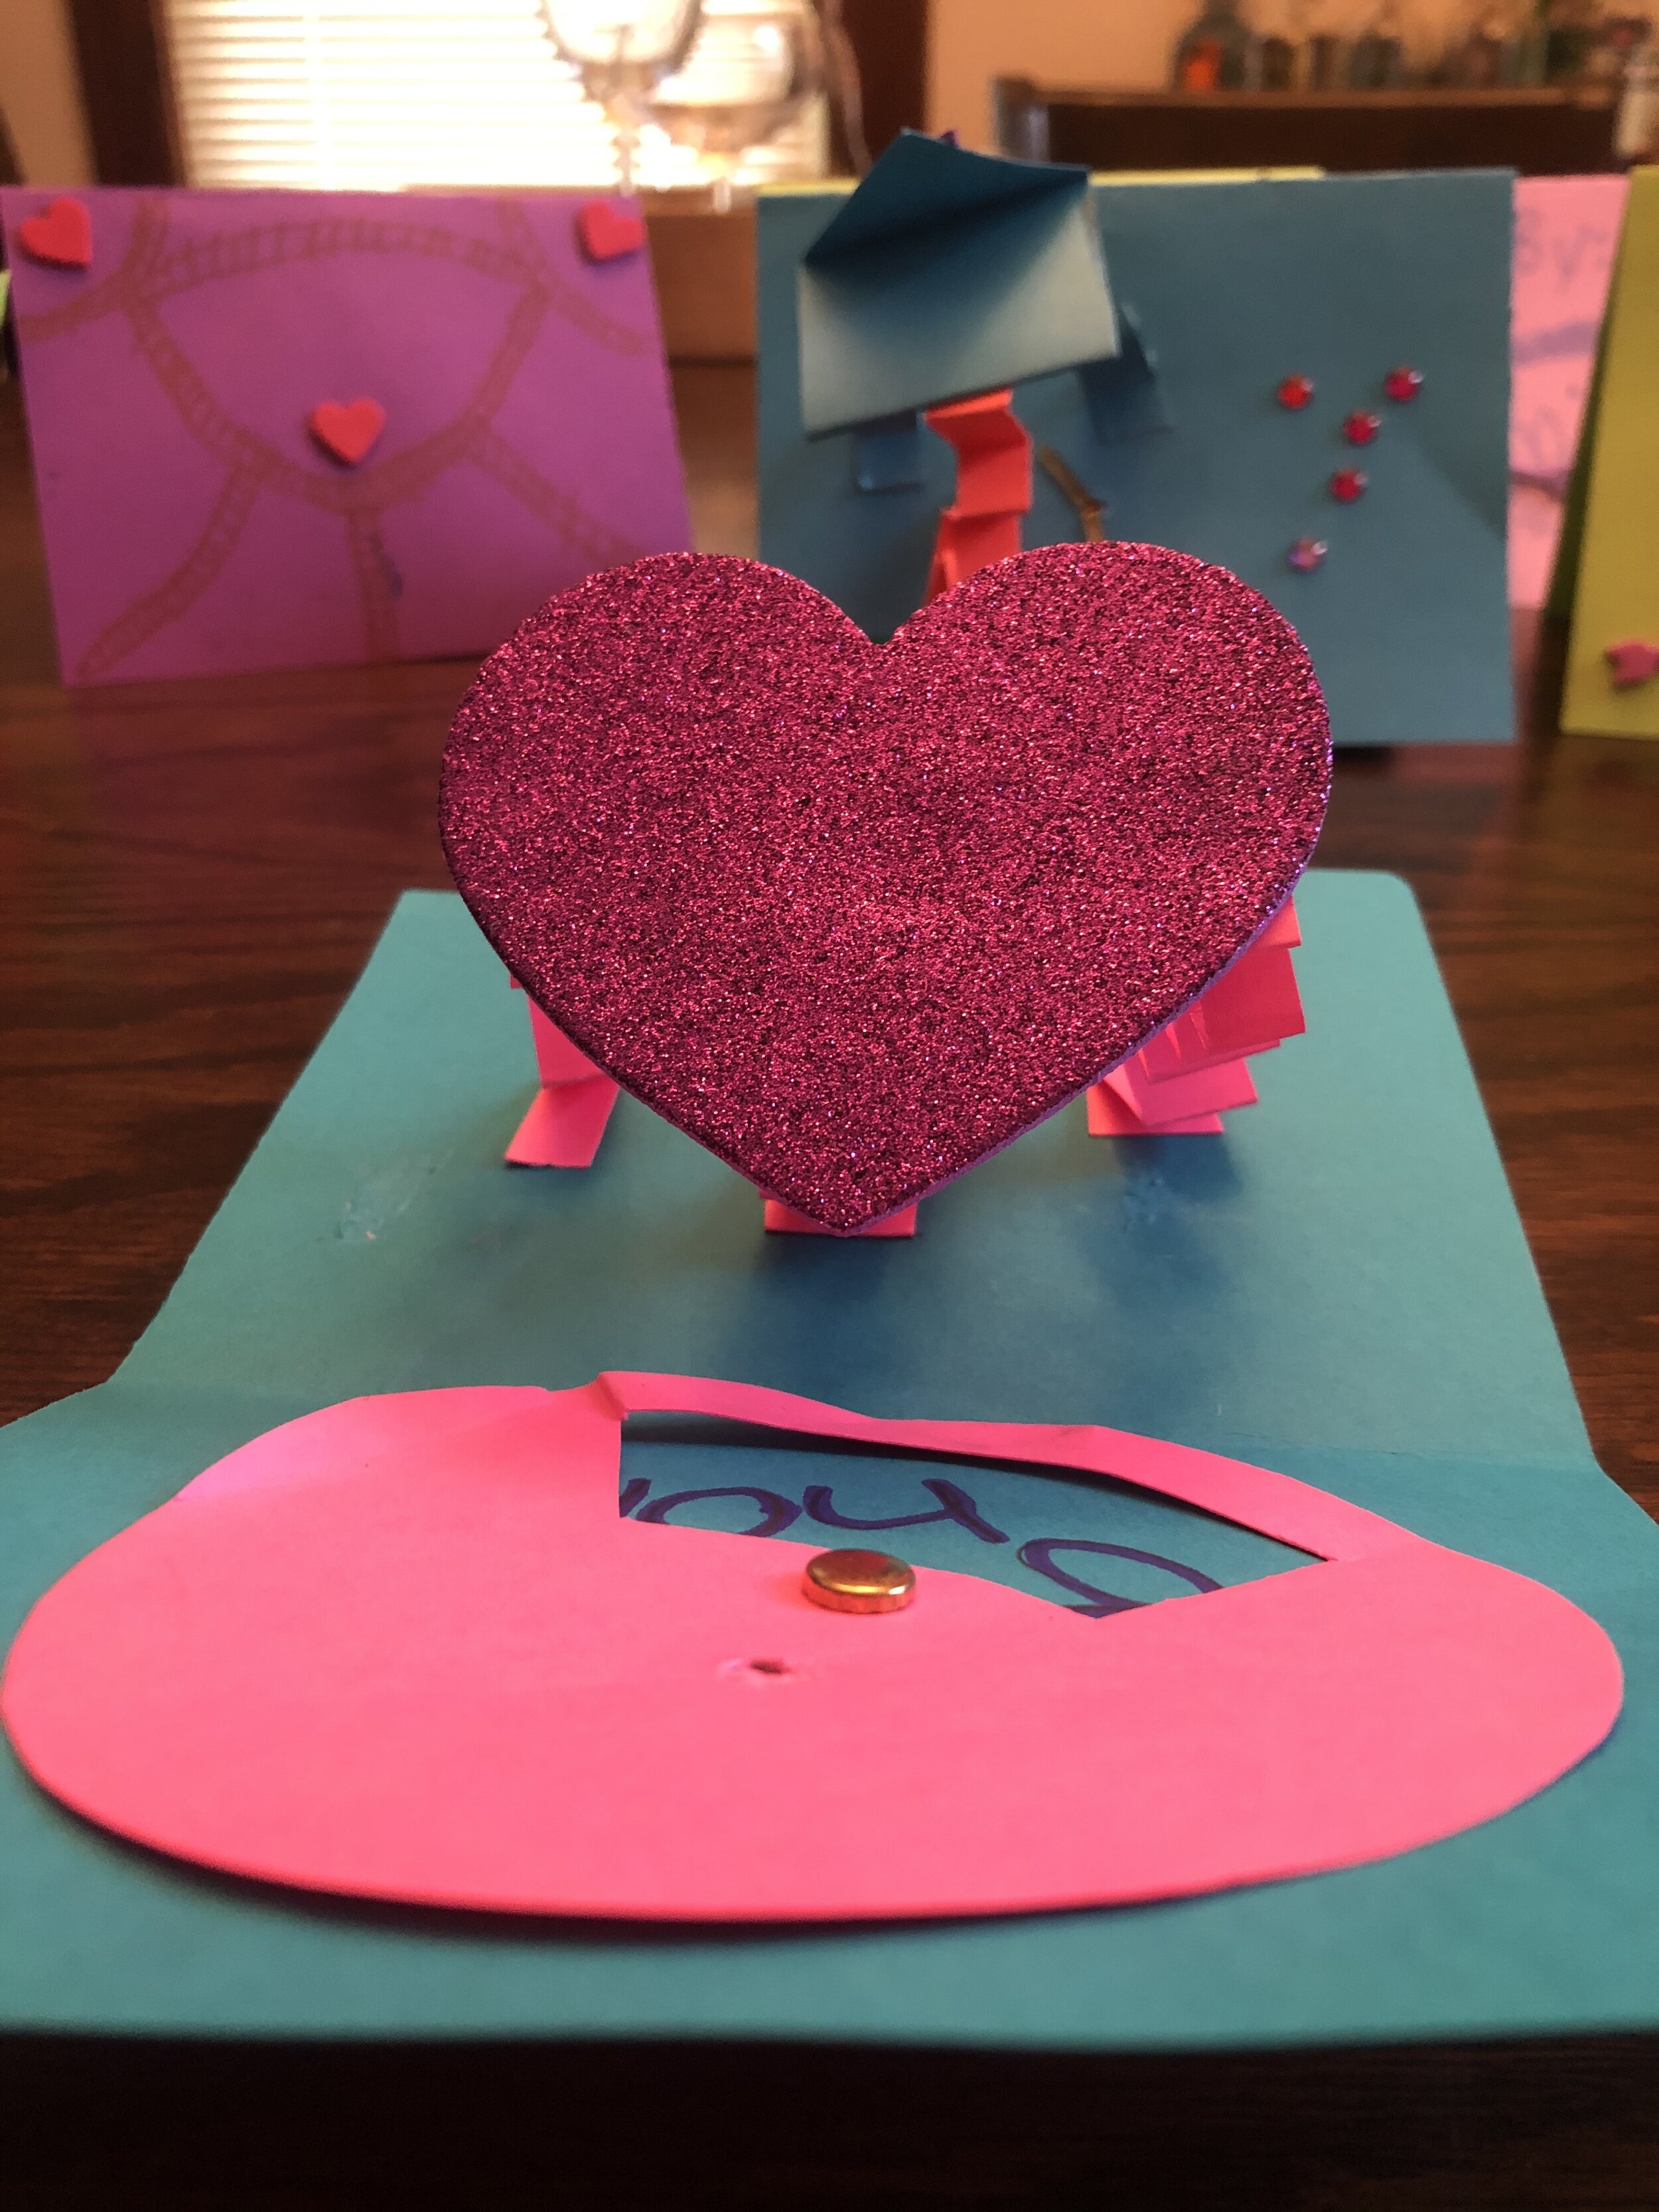
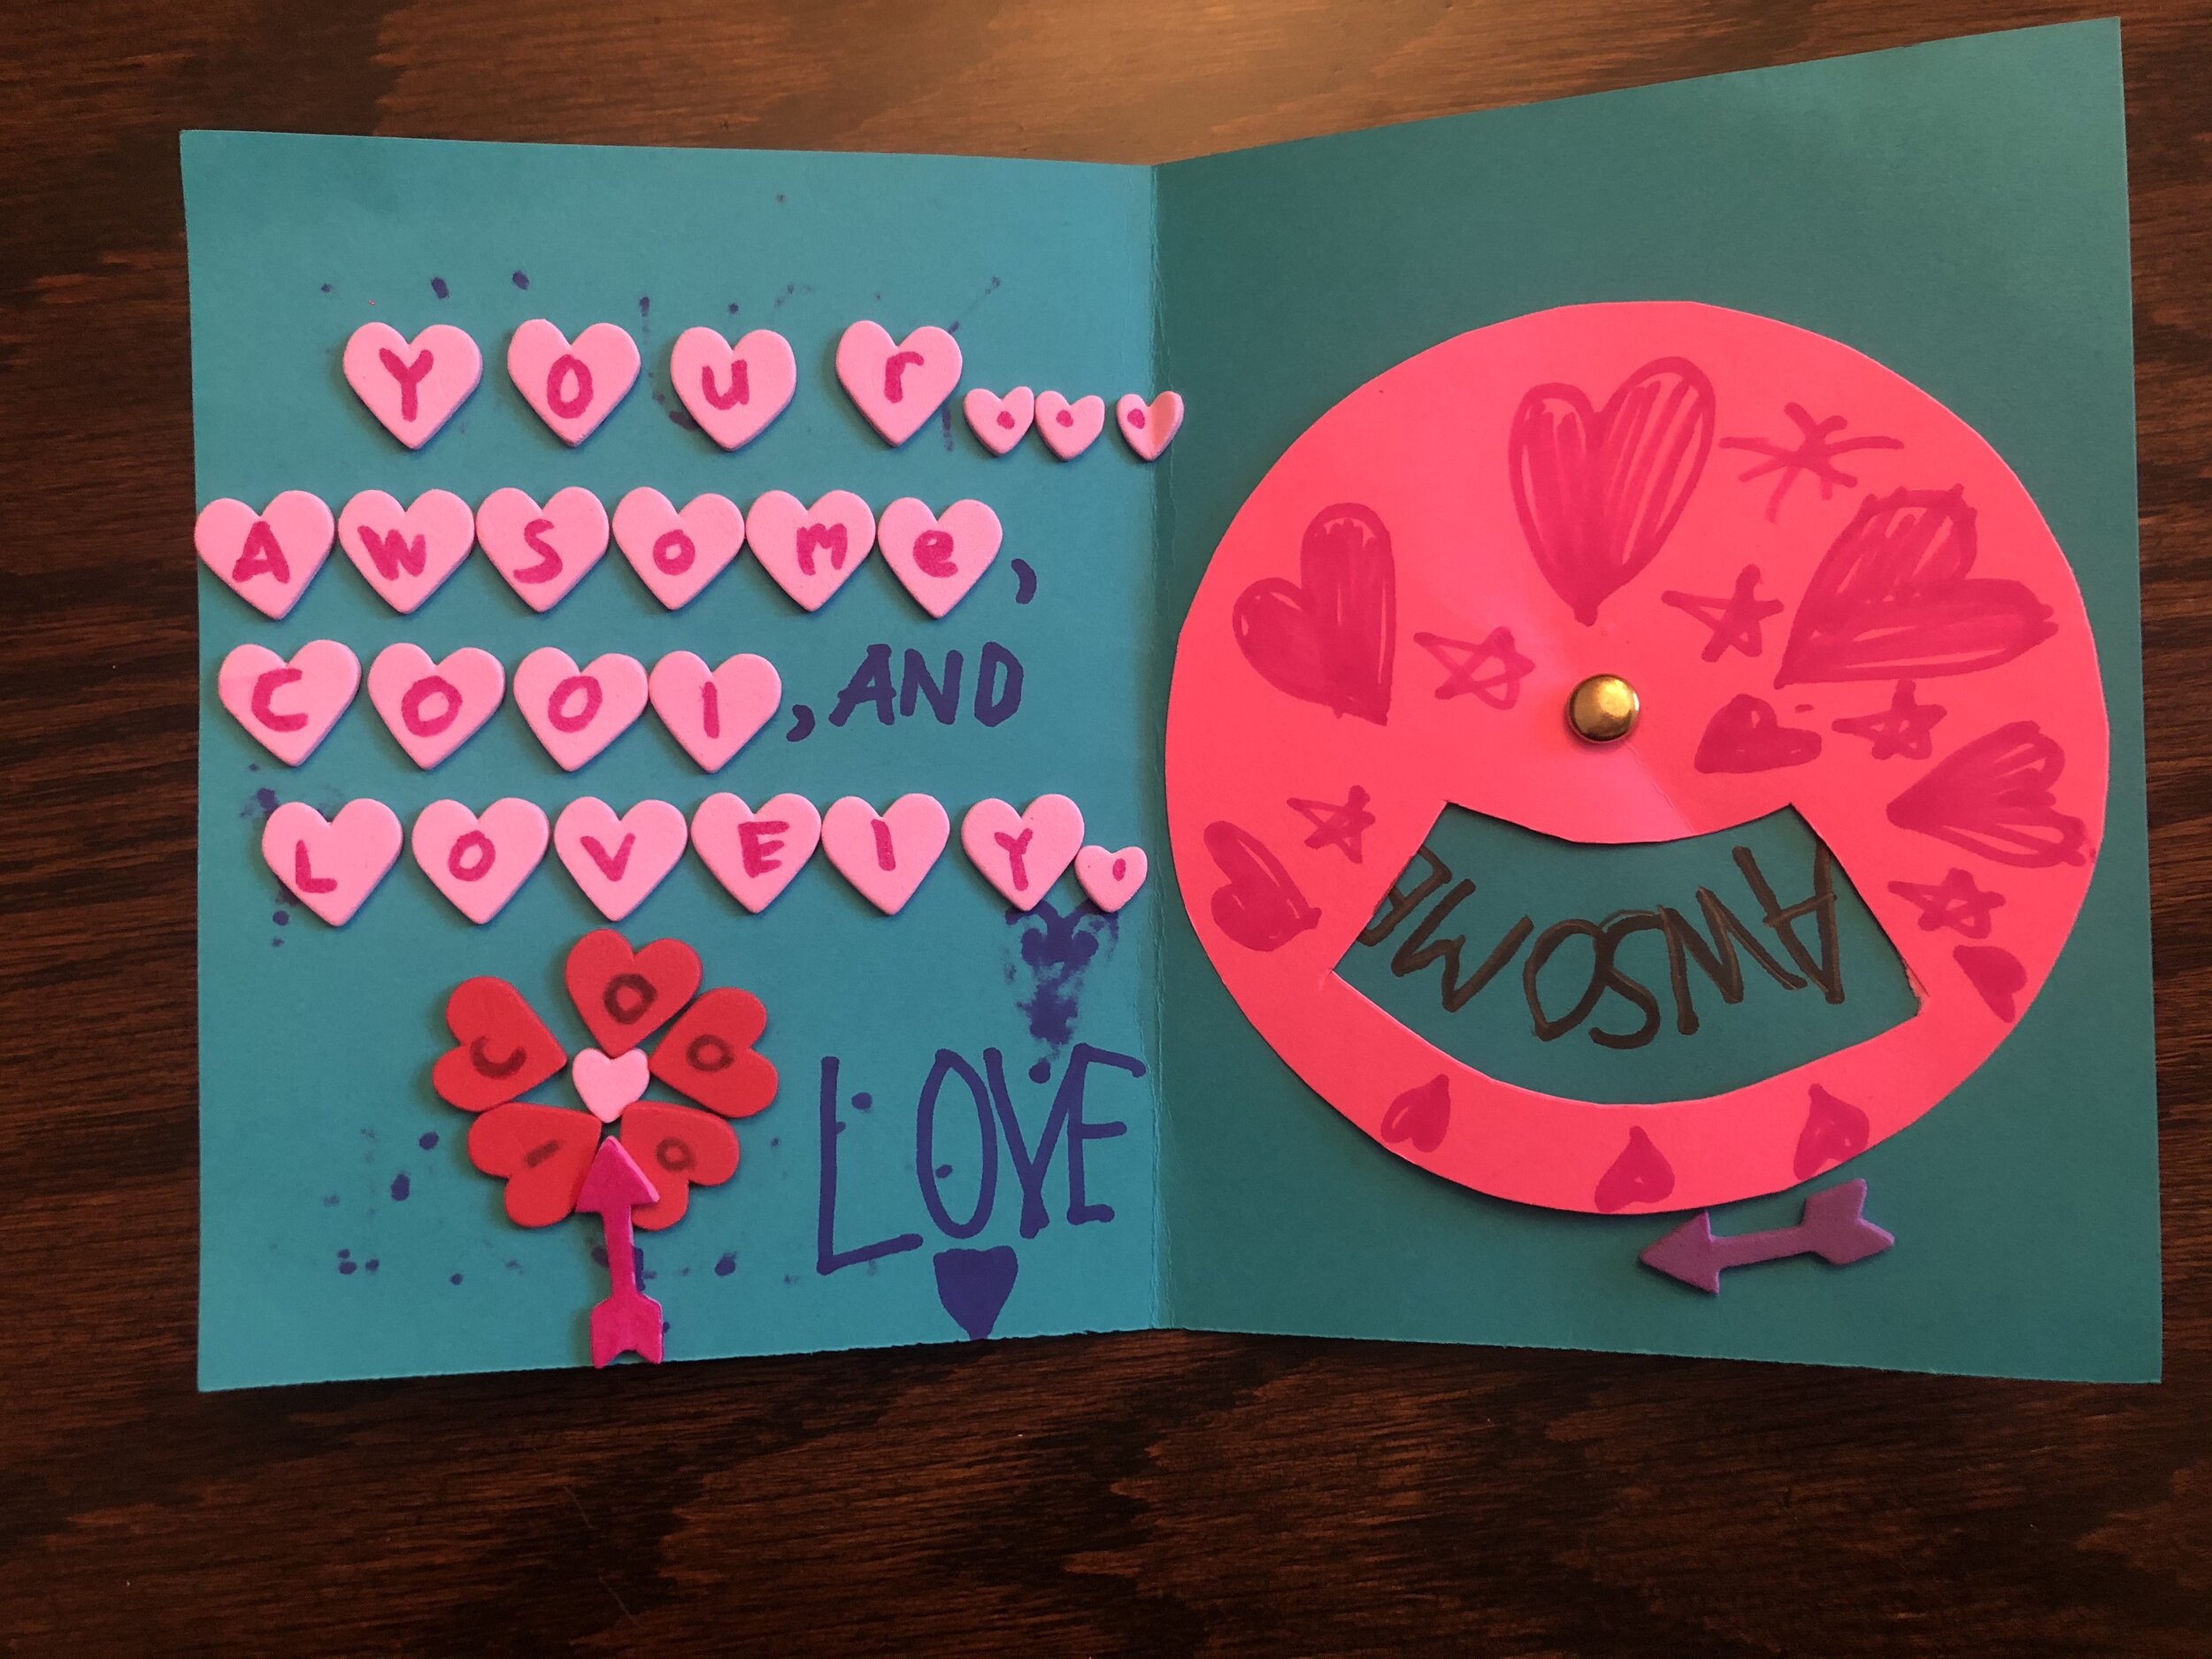
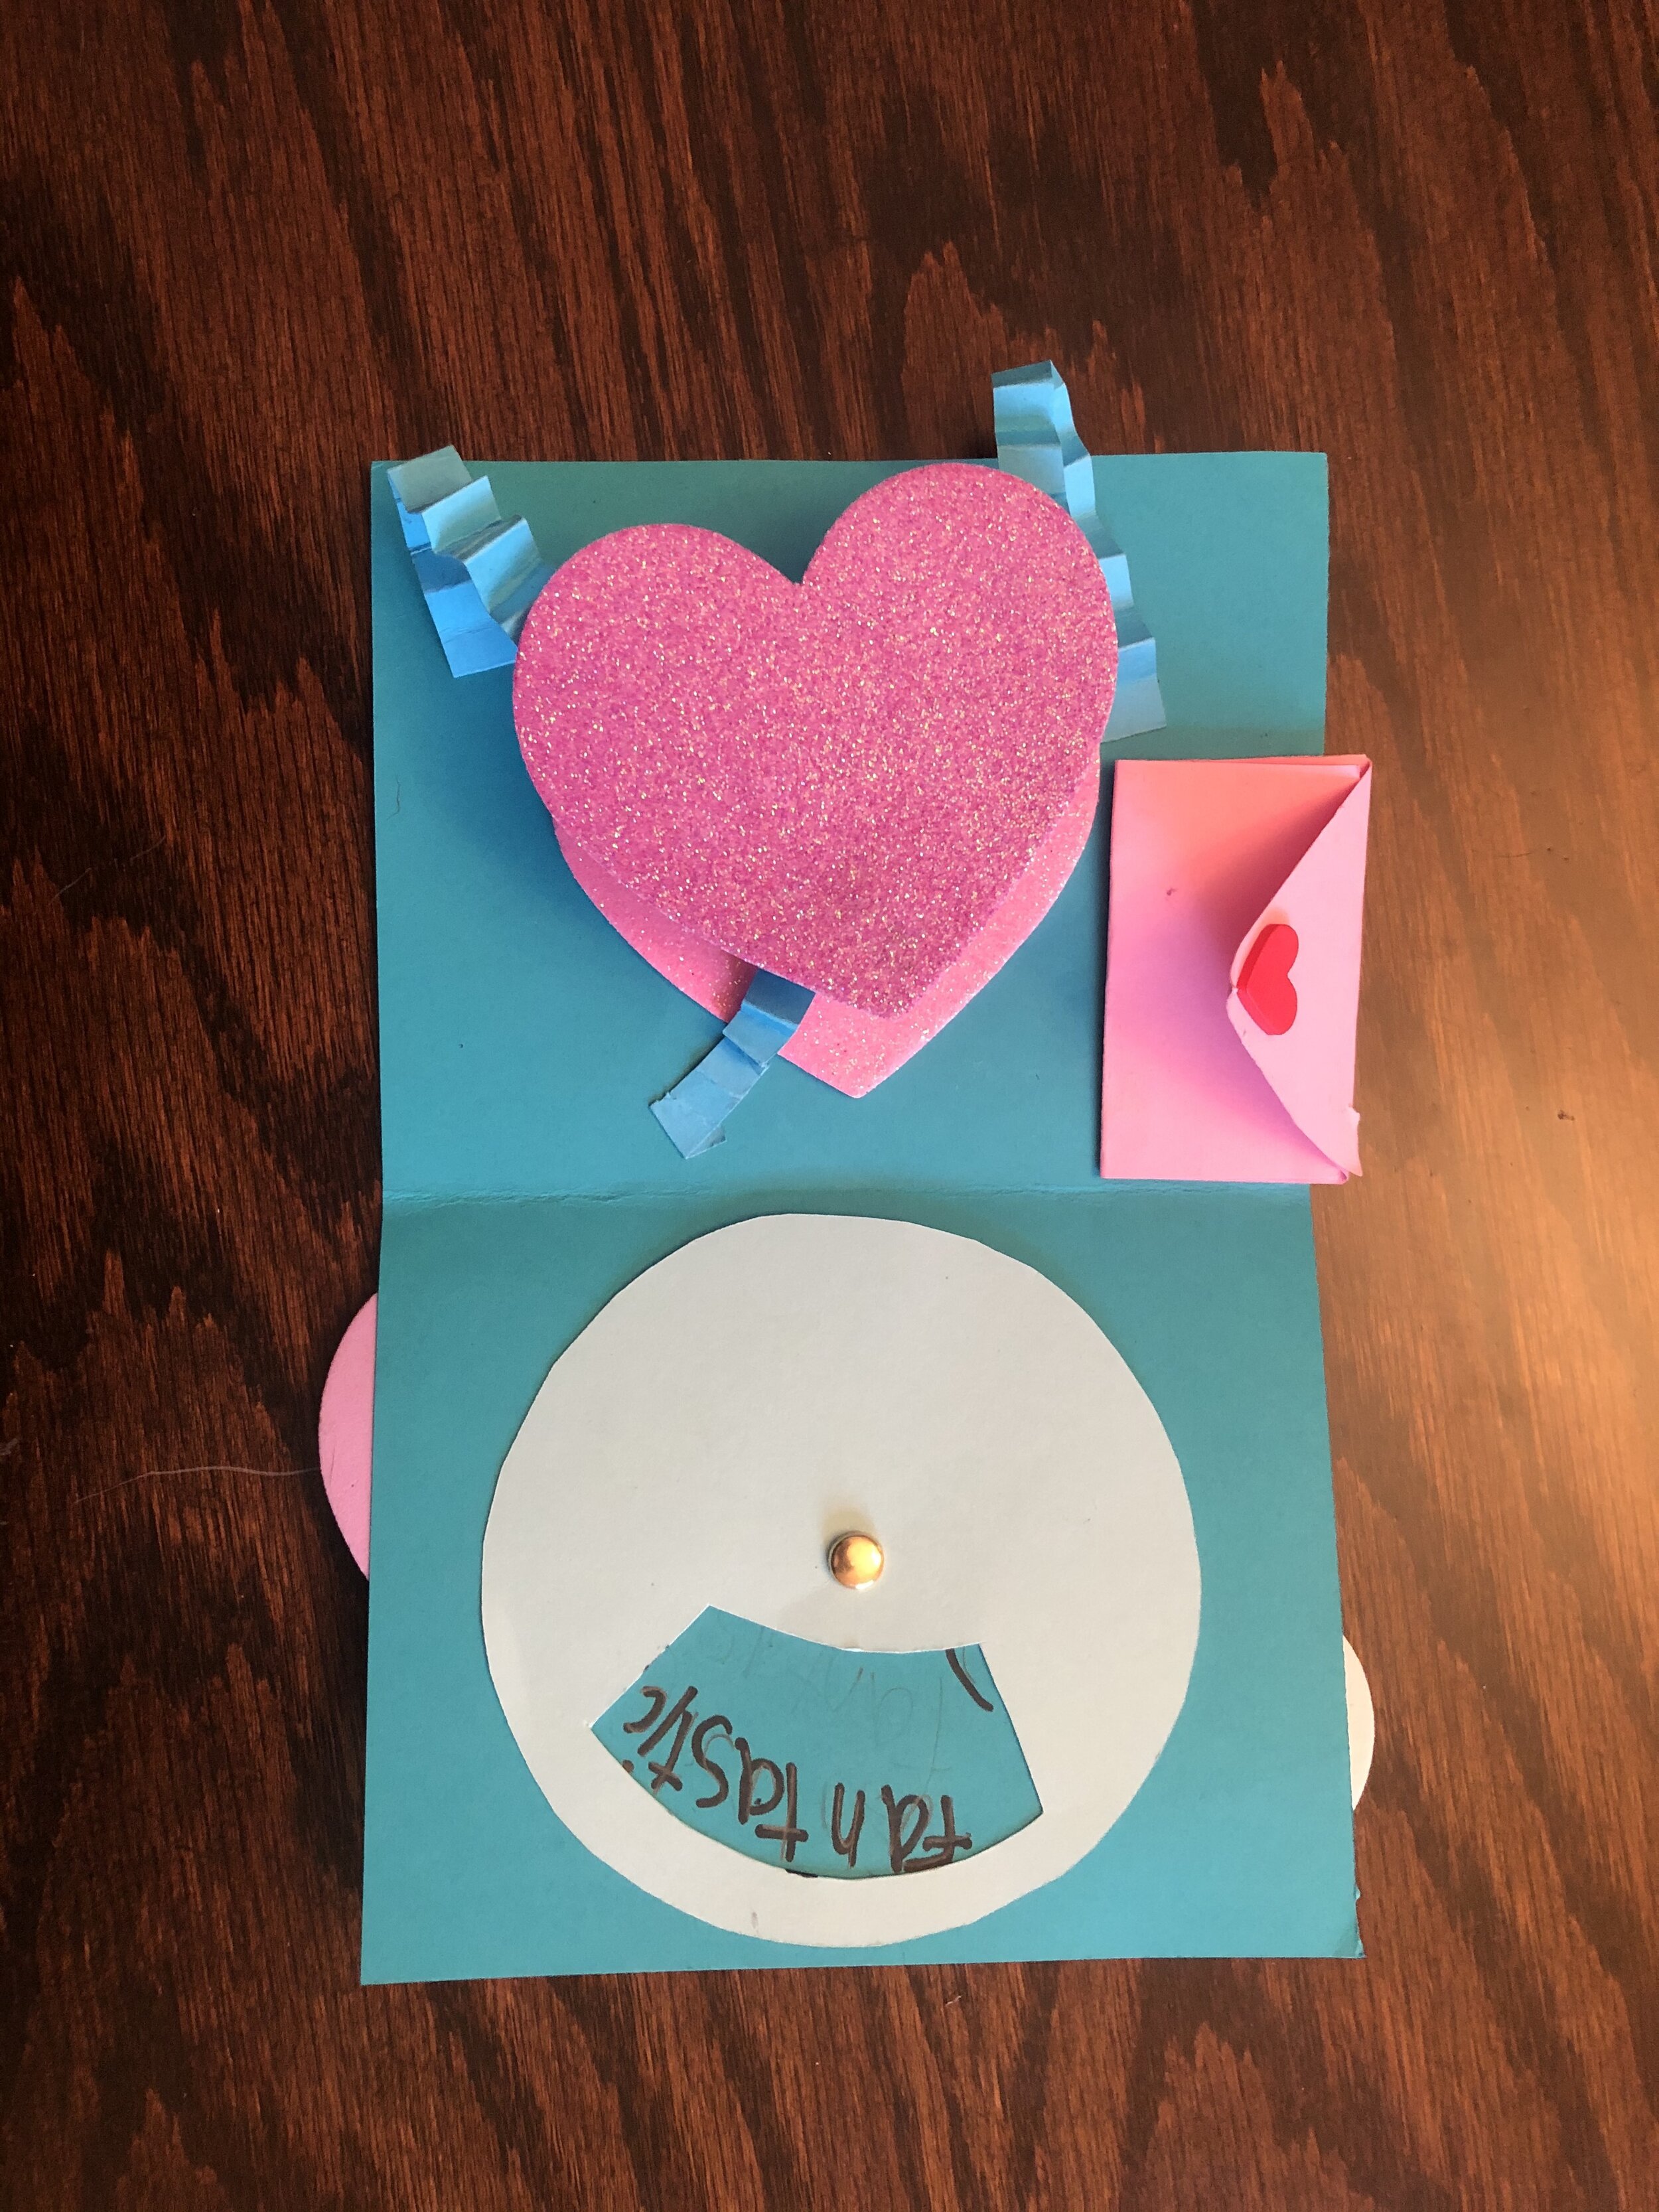
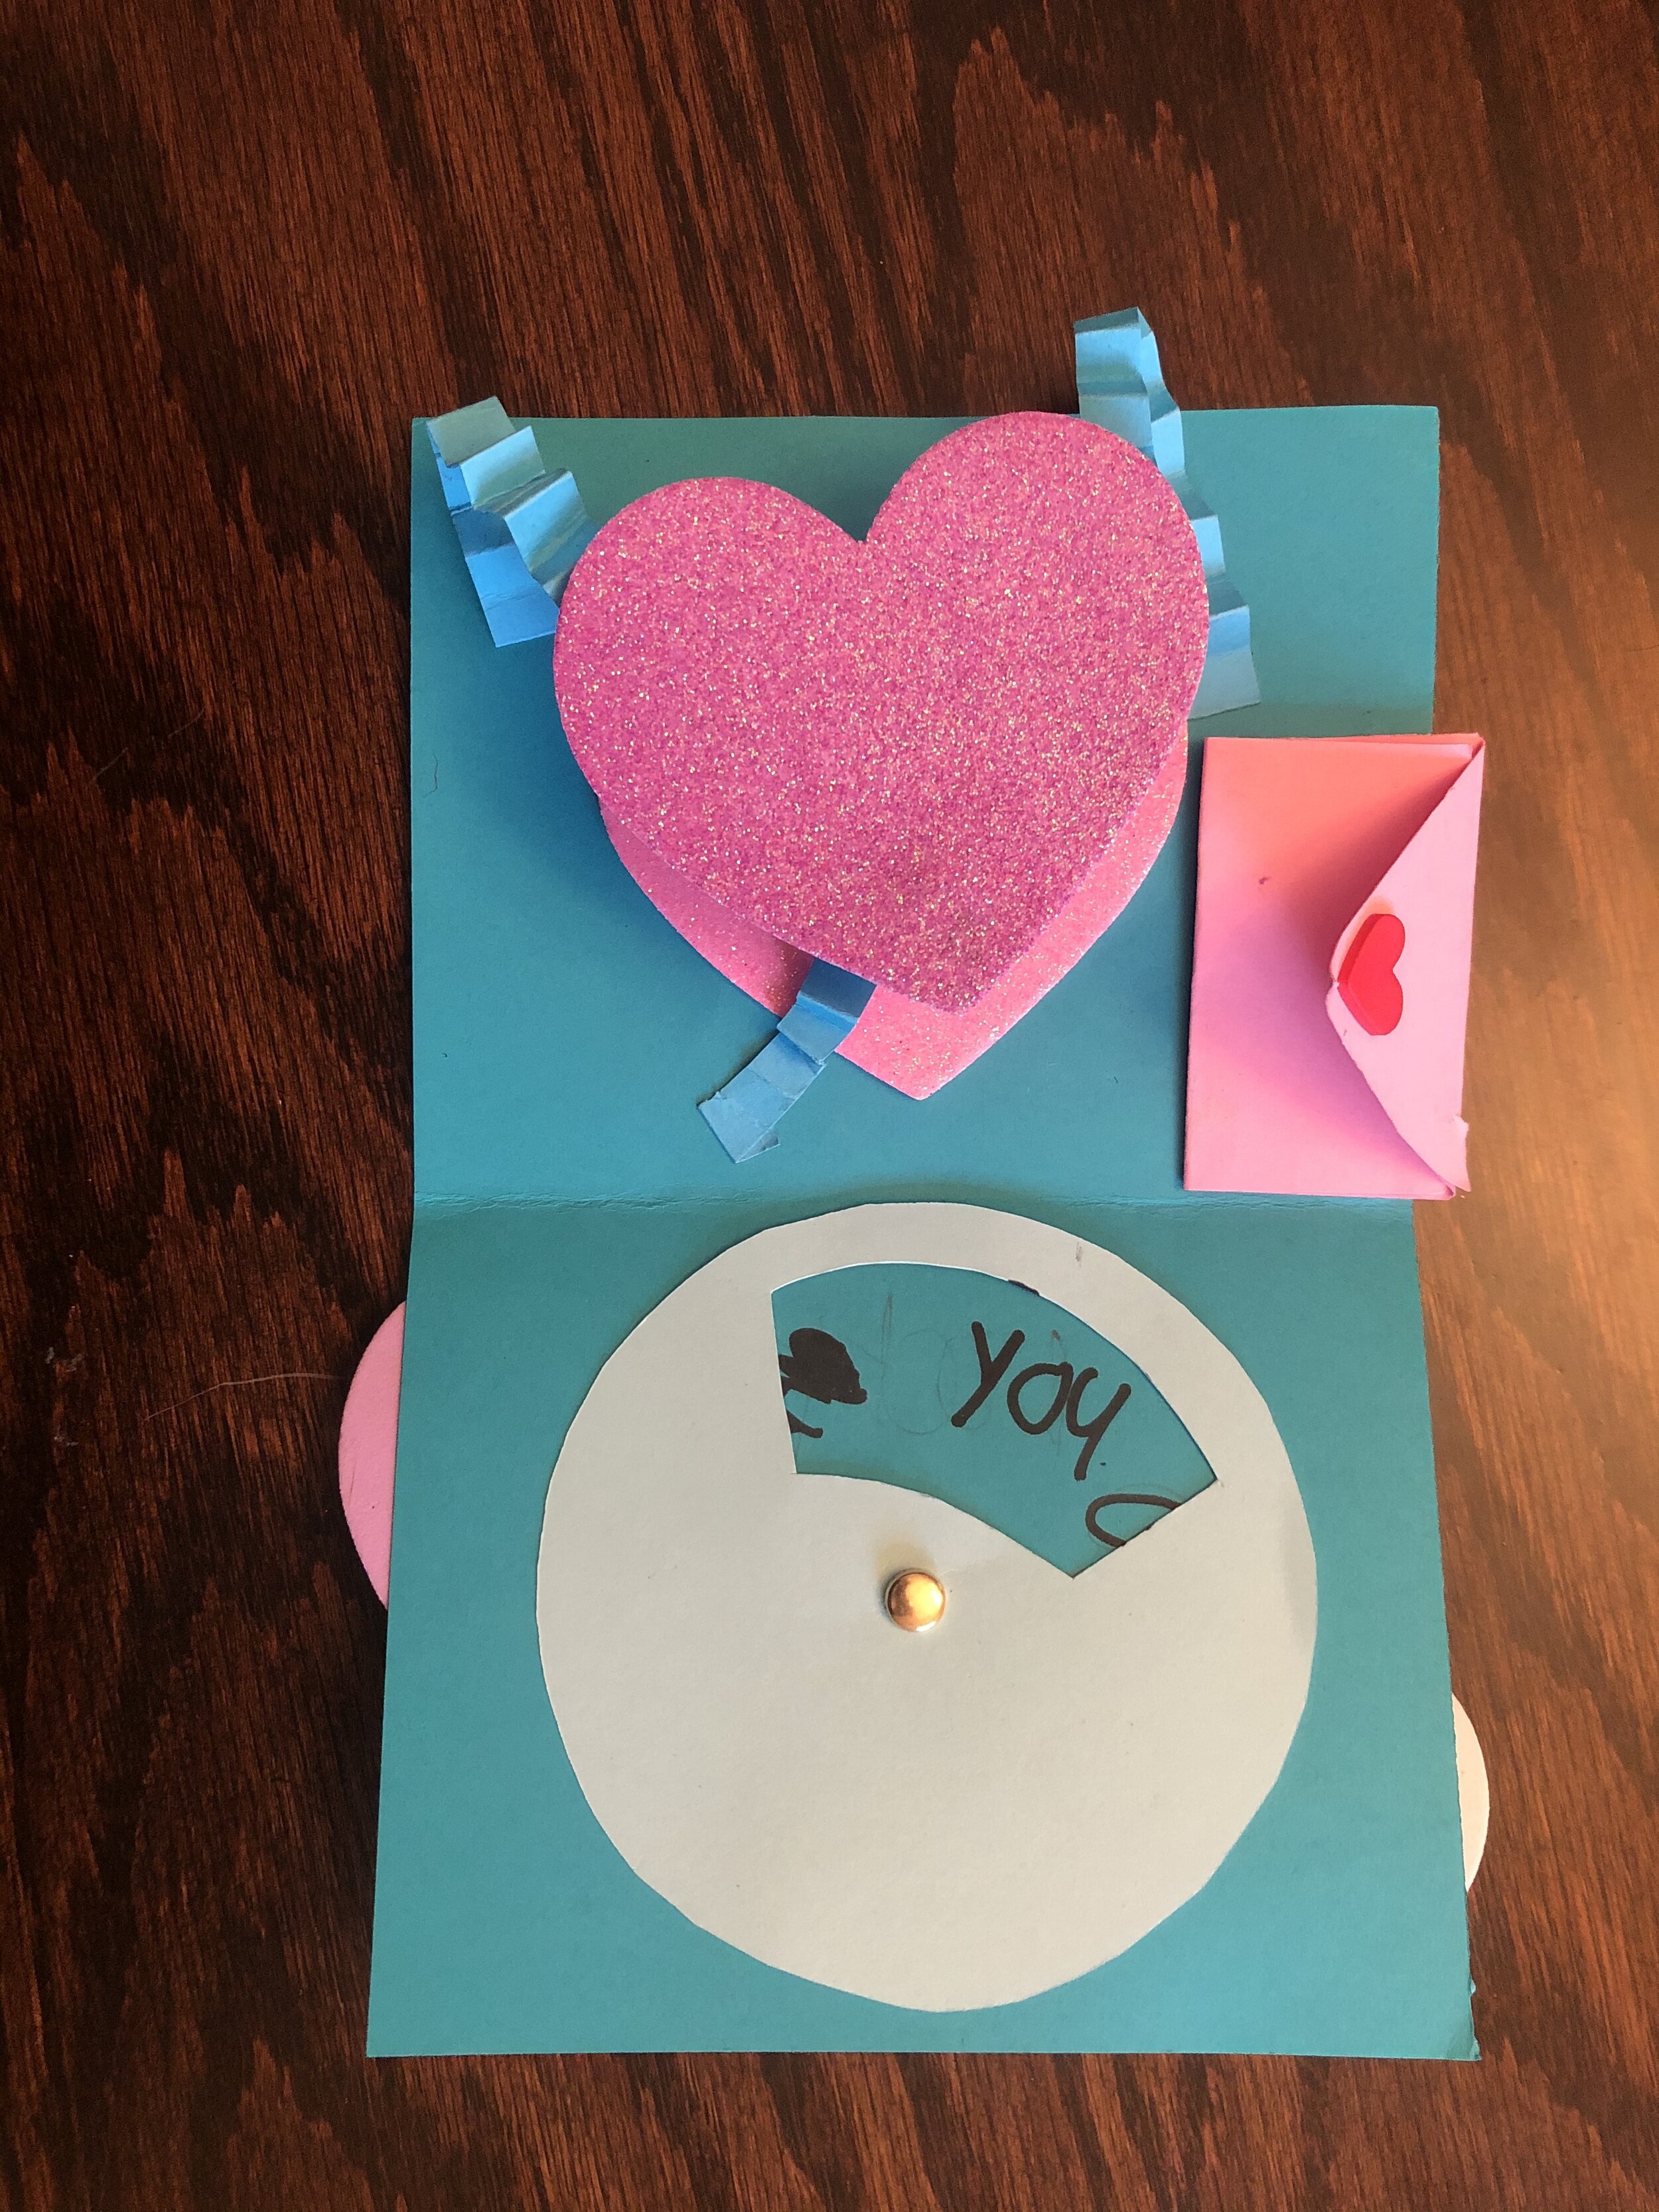
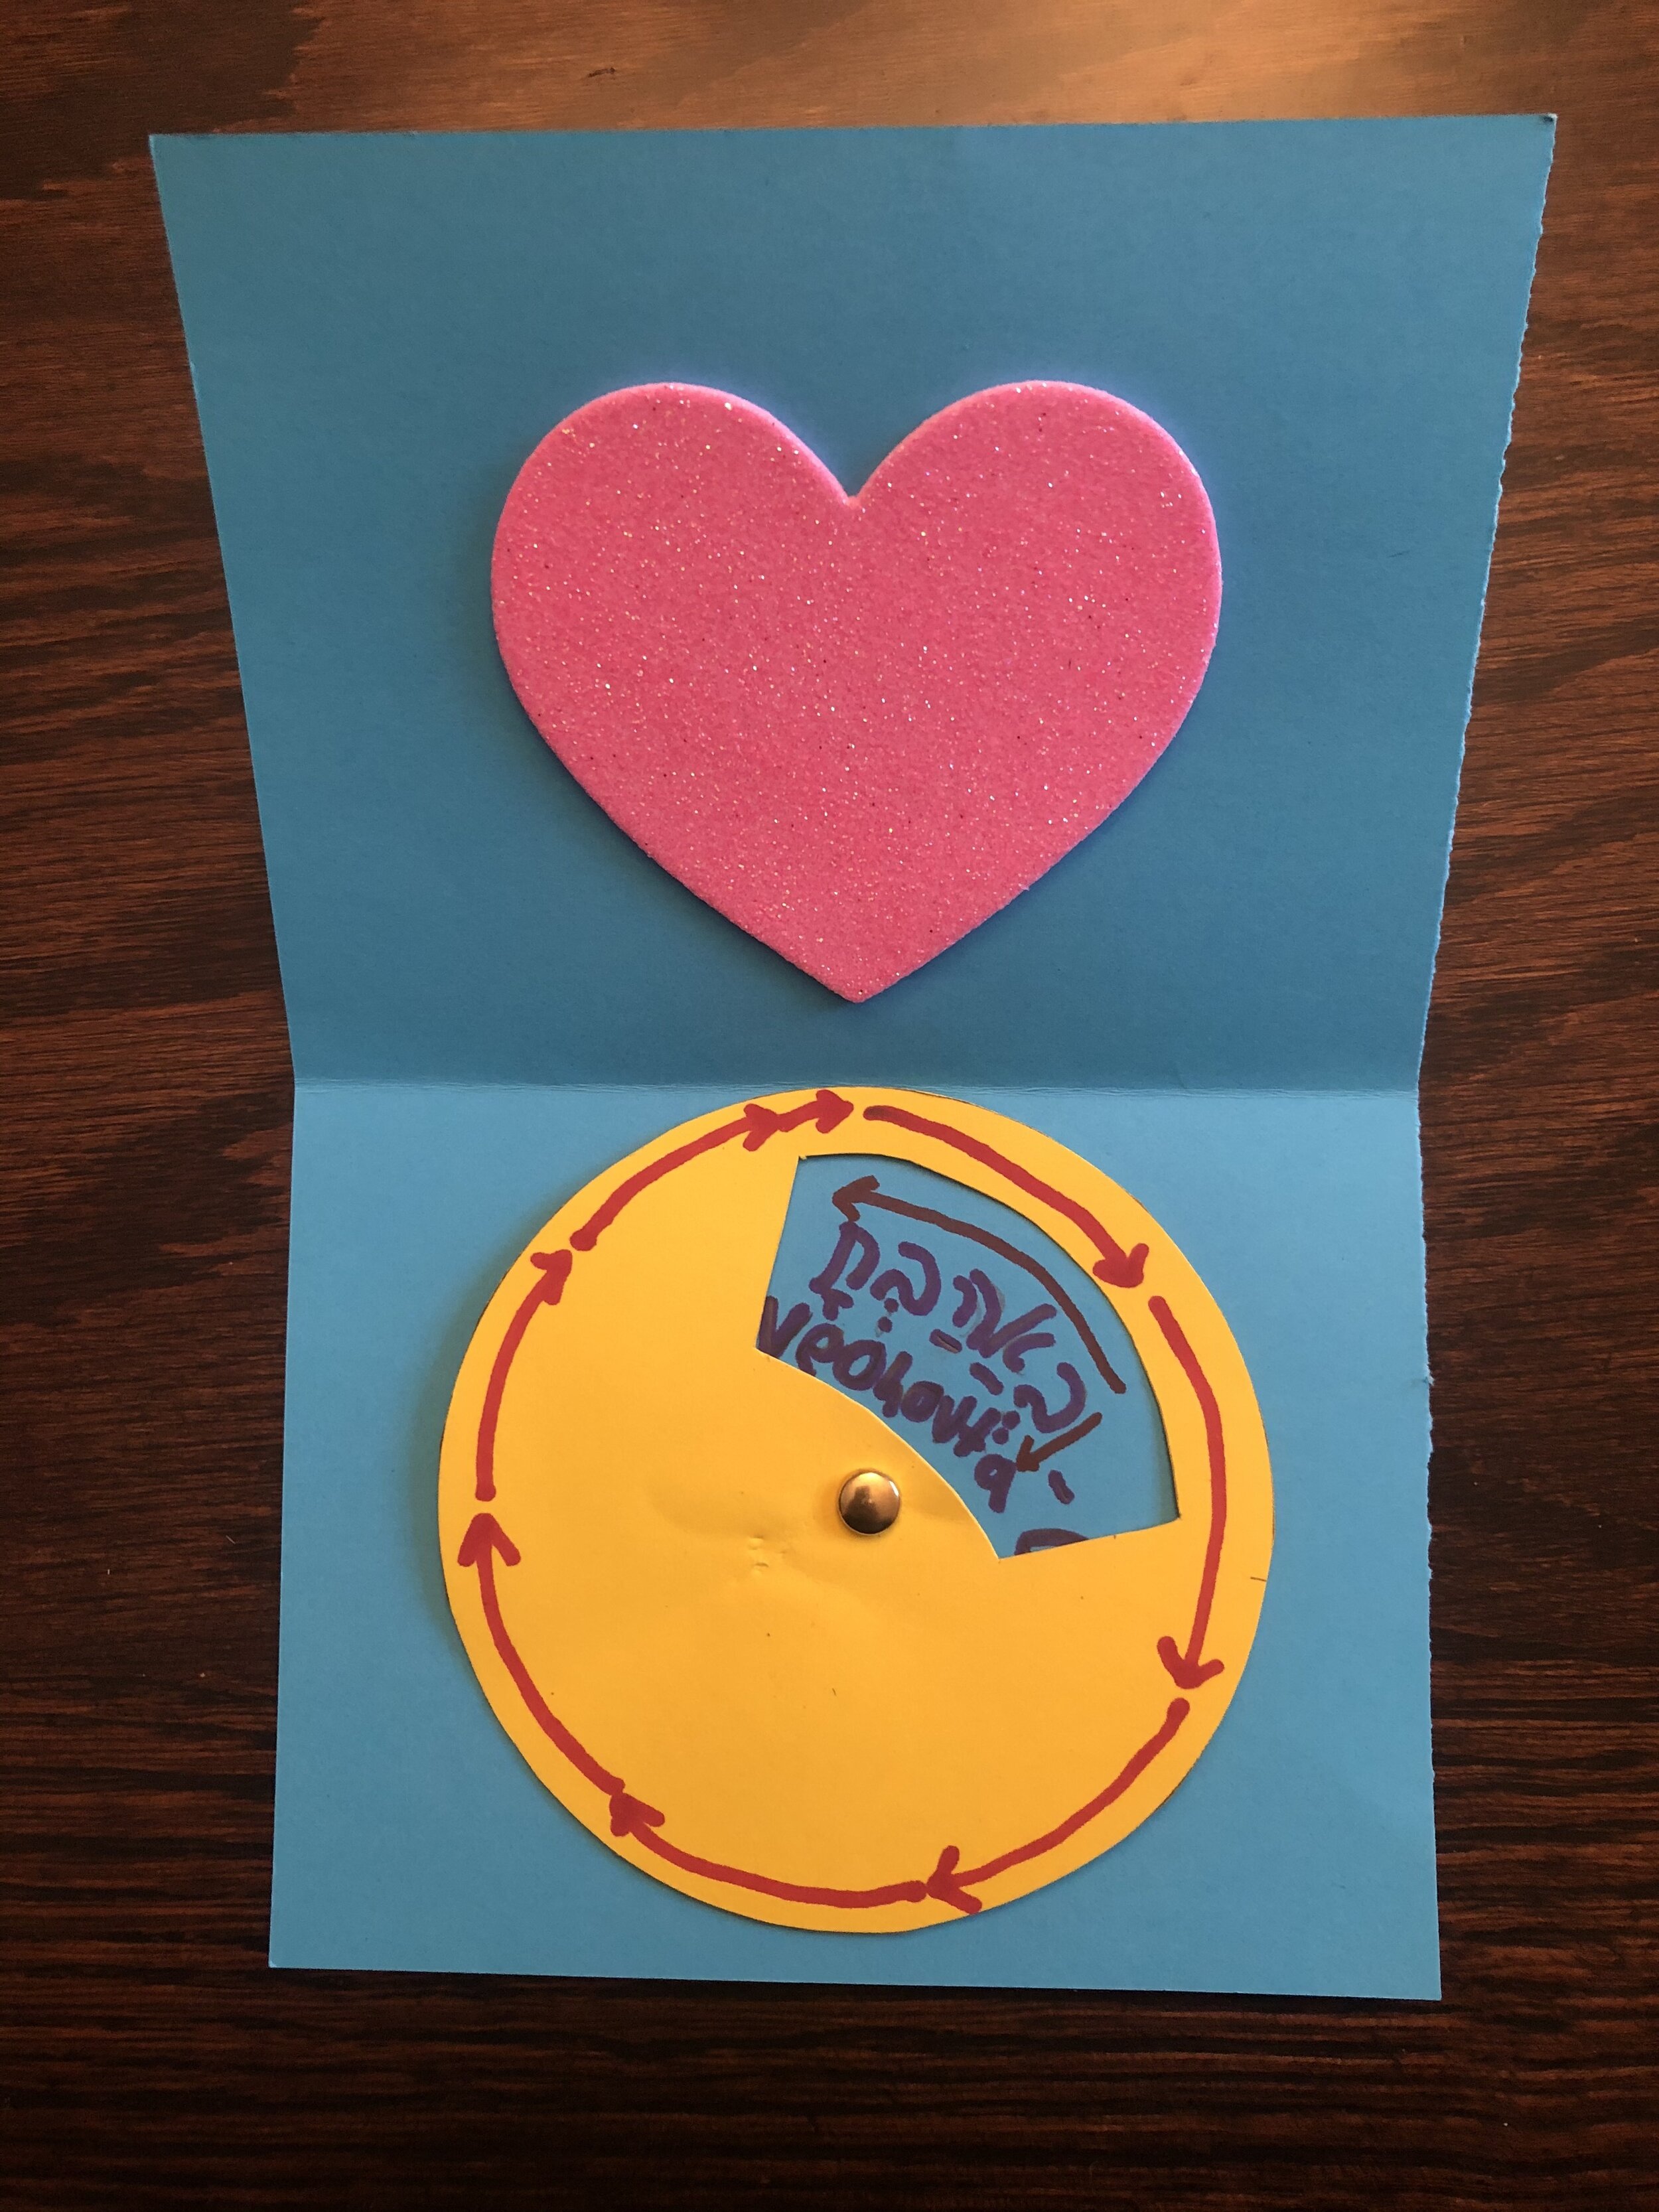
This project is based on the classroom theme of giving/caring. The project will be a Valentine’s Day card that will be sent to older adults in independent housing. The card will have a hidden message inside that will be revealed by a wheel that spins. This project is designed to be reciprocal. The adults receiving the cards will return a card.

“BIG IDEAS”/ ESSENTIAL QUESTION(S)

Why is giving to others important?

How does it make someone feel when they receive kindness?

How do we feel when we give?


STUDENT OUTCOME OBJECTIVES  

Students will:

1. Participate in the act of giving by creating a card for older adults.

2. Construct a handmade hidden message card with brass spinners and paper.

3. Produce handmade Valentine Day Cards with high-quality paper.

4. Understand the benefit of giving

5. Work together and collaborated on different creative decisions


PRIOR KNOWLEDGE

How to use scissors, glue sticks, markers, etc.

How to write words

Come up with a nice/caring message

 LESSON PREPARATION TIMELINE

Meeting with Lynda week of February 3rd. Collect supplies from Lynda

Create pre-cutouts of wheel and a couple of examples

February 10th teaching date

Deliver letters to the older artists

 EXAMPLES OF ARTWORK

Create a couple of different examples that will be shown in class and passed around

 ASSESSMENT

They allow their cards to be sent to the older artist. The goal of the project is to create something for someone else to receive. It is based on the theme of giving/caring.

MATERIALS

Cardstock/Construction Paper (All different colors)

Paint markers

Colored Pencils

Brass Spinners

Stickers

Glue Sticks

Scissors

Extra paper for prewriting

Pencils

Erasers

Envelopes

 LEARNING ACTIVITIES AND TIMING.

 1.     Introduction (Ask what Valentine’s day means to each student) 5 minutes 

2.     What does giving mean to them?

3.     Introduce who we will be creating the cards for (3 minutes)

4.     Have them sit in seats. Pass out scratch paper to come up with a message (10 minutes)

5.     Bring them back to the carpet

6.     Demonstration of how to assemble card (10 minutes)

7.     Have them go back to seats

8.     Pass out materials  

9.     Assemble cards

10.  Collect all the cards (5 minutes)

11.  Deliver cards to adults.


TEACHING ARTIST REFLECTION

Students unwilling to participate

Students who find it too challenging

Students will use their skills of handwriting and spelling for the hidden message inside. They will also reflect on the class theme of giving/caring when creating the card. 

 The completed letters will then be passed onto the older artists within the community. The cards will have a message specialized for the older artists.

I will receive feedback from both the students in the classroom and Lynda from her review. I also will receive feedback from Ulla in the end.


Questions for Ulla

 How she would you like the students to write and think about their messages?

How do you celebrate Valentine’s day in your classroom?

Springtime Growth Flipbook

Springtime Growth Flipbook

Springtime Growth Animation

School: Lake Country Montessori

Teaching Artist: Sydney Hollingshead

Grade Level(s): 1-3

Number of Students: 14

Visual Arts Content/Standards

  • Creating: Generate and conceptualize artistic ideas and work.

  • Organize and develop artistic ideas and work.

Overview of Project: 

Students will discover a new form of art making by creating their own flipbook animations that tie in with Spring. Because spring is the season of growth, students can grow their own shapes to mimic this aspect. For a more advanced option, students can also try to grow their own flower or tree.

Essential Questions:

  • How will students be able to successfully convey a growing object?

  • Will acting out the process of animation help them understand the medium more?

  • Why is it important to keep track of each frame/drawing in animation?

Student Outcome Objectives:

Students will:

  1. Combine multiple drawings to show an object growing in size.

  2. Learn how to be mindful of every step during the process phase of artmaking.

  3. Discover the importance of double-checking their work before moving on to the next step.

Prior Knowledge: Similar to the Spring season, it is important for students to have a growth mindset. At first, it may be frustrating for some students since it’s a new complex form of art to them. However, it is important to keep moving forward, especially because of the limited time.

Preparation Timeline: 

1.) Gather the materials for the flipbook

2.) Create flipbooks for the students 

3.) Practice the presentation until the teaching date (3/11/20)

Examples of Artwork:

  • Sydney Hollingshead, Bouncing Ball Transformation, 2019

  • Sydney Hollingshead, Growing Shape, 2020

Additional Resources:

  • Animation Presentation

  • Richard Williams, Animator’s Survival Kit

 Assessment:

  • With this project, students are challenged to always be mindful about every frame and drawing in an animation. One misplaced frame can break the illusion of animation.

  • The patience of students are also challenged with this project as well. Animation is a long and tricky process, so some may feel frustrated by the extensive amount of time it takes to illustrate growth.

  • Students are also challenged to know when they are officially done with their animations. They should ask themselves if their flipbook is complete and successfully conveys a consistent story and movement.

Materials:

For each student

  1. 25, 4 x 6 inch Index Cards

  2. 1 Binder Clips (Medium)

  3. Pencils

  4. Erasers

  5. Pencil sharpener

  6. Colored pencils

  7. Sharpies (thin)

Procedures: Timing= in minutes  

1.  Introduction to Animation (0:00-0:10): Show the animation presentation to the students. The presentation consists of the history of animation, as well as how drawings are turned into TV shows and movies.  

  • Ask them where they have seen animation before. What’s their favorite cartoon or movie?

  • Ask students if they are familiar with the process of animation. Allow them to come up with their own definitions of animation.

  • Introduce the project that the students will be working on and how it ties into the presentation.

  • Present Own Example: To further cement the idea of what is being asked for in the project, some example animations, drawn by the teaching artist will show students how they should approach their own flipbooks. 

2.  Pass out Flipbooks (0:10-0:15): After the presentation, students will be given their own flipbooks (previously assembled before the lesson) to draw their animation.

  • It is important to remind students to write down the number of each frame in the lower right corner. This will make the assembling process much easier.

3. Begin Drawing (0:15-0:55): After deciding whether they want to animate a shape or greenery, students will begin drawing each frame.

  • Have students draw the first, middle, and last frames of their animations first. By doing this, students will have an easier time coming up with drawings for their in between frames.

  • Remind students to be aware of the size and shape of their drawings as they animate. Remind them to try to be consistent with the shape of their subject especially. Students can make sure that their drawings are consistent by flipping and re-flipping their books during the process of drawing their frames. They can also align their frames on their desks and see if their shapes are slightly growing in each drawing. 

4. Inking/Coloring (Optional): After feeling satisfied with their flipbooks, students have the option to trace over their drawings with a sharpie and color them in with colored pencils.This is of course optional and shouldn’t be the main focus of the lesson.Also remind students to draw light at first, so it will be easier to fix mistakes.

5. Design a Cover (0:55-1:00): 

Once they feel confident in all of their frames, students can design a cover for their flipbooks that includes a title, image and signature.

6. Assembling (1:00-1:05): After drawing all of their frames and cover, students will combine them with a couple of binding clips to form their completed flipbook.

  • Have students flip through them a couple of times. If they don’t like the results they will always have the options to go back and adjust some frames.

7. Share work with a partner or table (1:05- 1:15): With their completed flipbooks, students can share their flipbooks with each other. They can do this with either a partner or with their own table group if they have one. 

  • While sharing, bring up assessment questions for students to think about. These questions can include:

    • What did they notice that they really liked about their partner’s book?

    • What makes their flipbook successful?

Teacher Reflection:

What problems do you anticipate with this lesson?

  • Students might feel frustrated by the long process of drawing and redrawing frames.

  • They might also be annoyed by always checking that all of their frames are consistent and tell a clear story.

How does this project fit into overall curriculum planning for the subject areas and the arts? 

  • Shows students the process of making an art medium that they are already very familiar with.

  • Exposes students to a new form of artmaking that they may have never thought about trying.

How will your students’ work be shared with the community? 

  • Students will be able to show their flipbooks to others or their families. By showing others what they've created, students may feel a sense of pride and may want to create another project similar to this one in the future.

How will you receive feedback on your teaching methodology and quality of student work? 

  • Ask if they have learned anything, and if so what?  What did they like and dislike about working with a variety of different materials or techniques. 

  • Through conversation with lead teacher after the project is complete

  • Through a self and video reflection

  • Through assessment by my instructor of the video of the lesson

Marbling Rainbows on Wooden Eggs

Marbling Rainbows on Wooden Eggs

Marbled Rainbows

School/Teacher/Classroom or Arts Organization/Mentor: Samantha Longley and Cora Williams

Grade Level or Age of Participants: 1-4 year olds

MCAD Teaching Artist:  Eleni Leventopoulos

Number of Students: 12 children, accompanied by 1 adult per child


OVERVIEW OF PROJECT

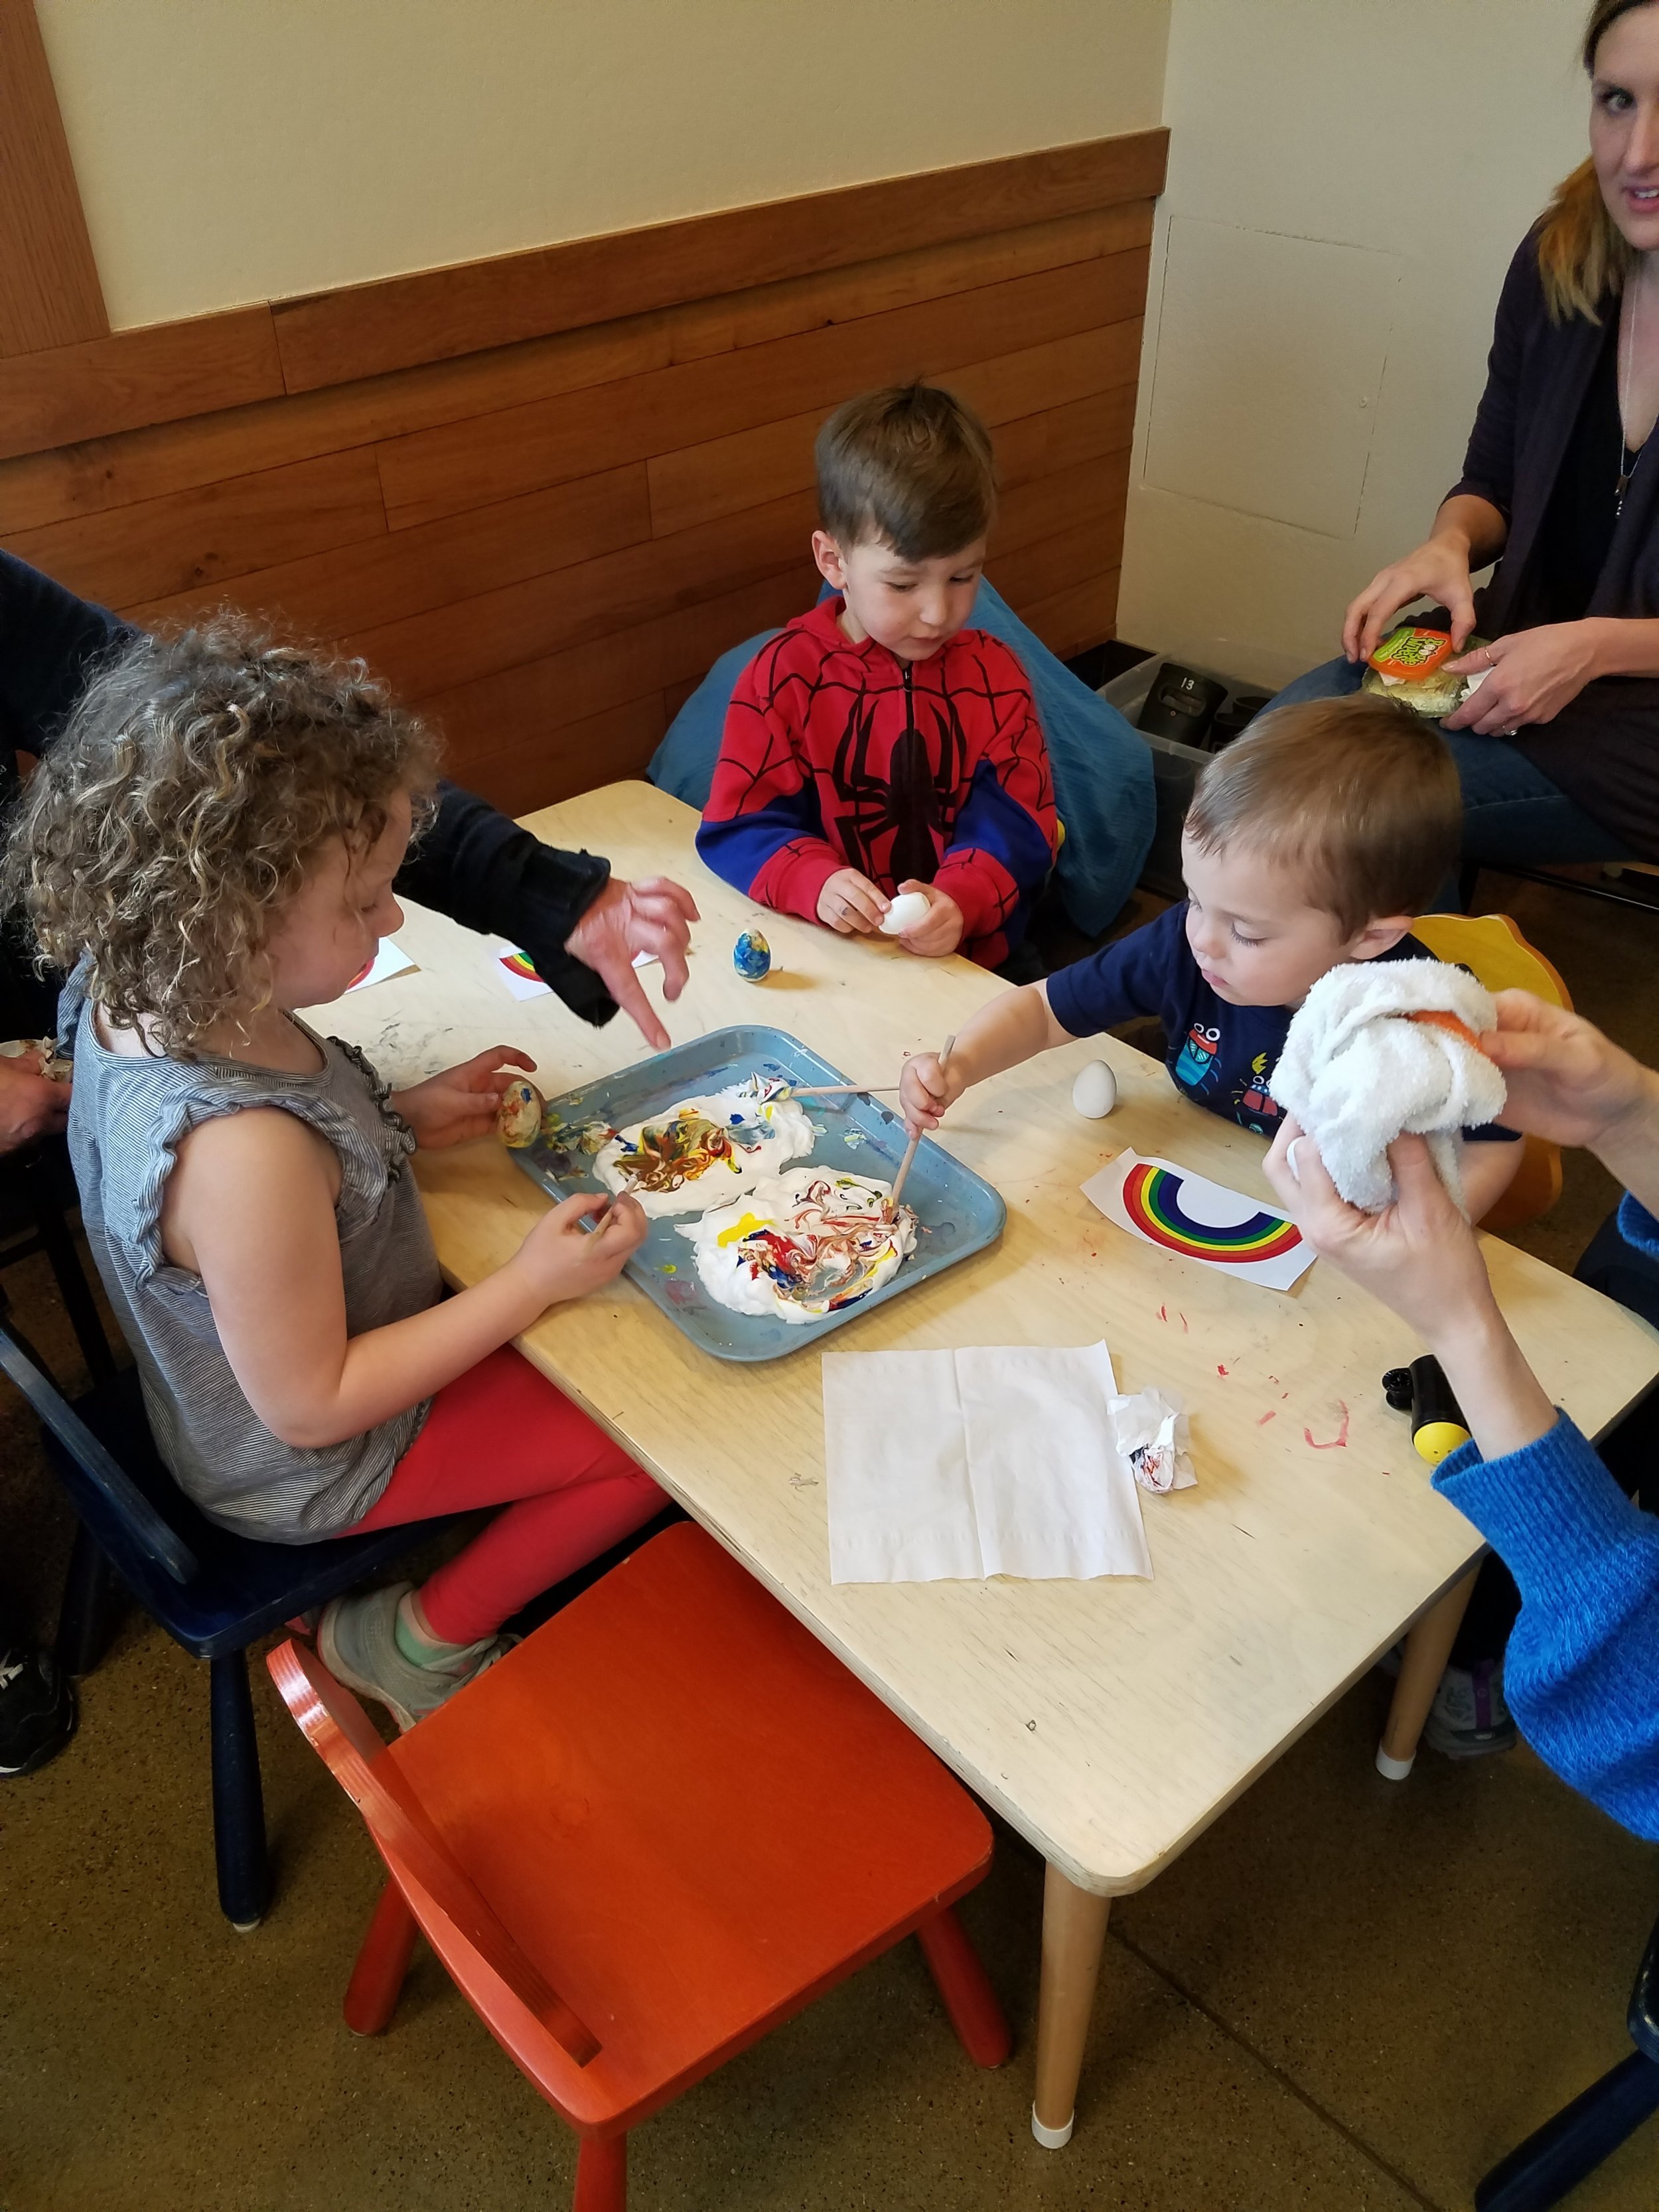
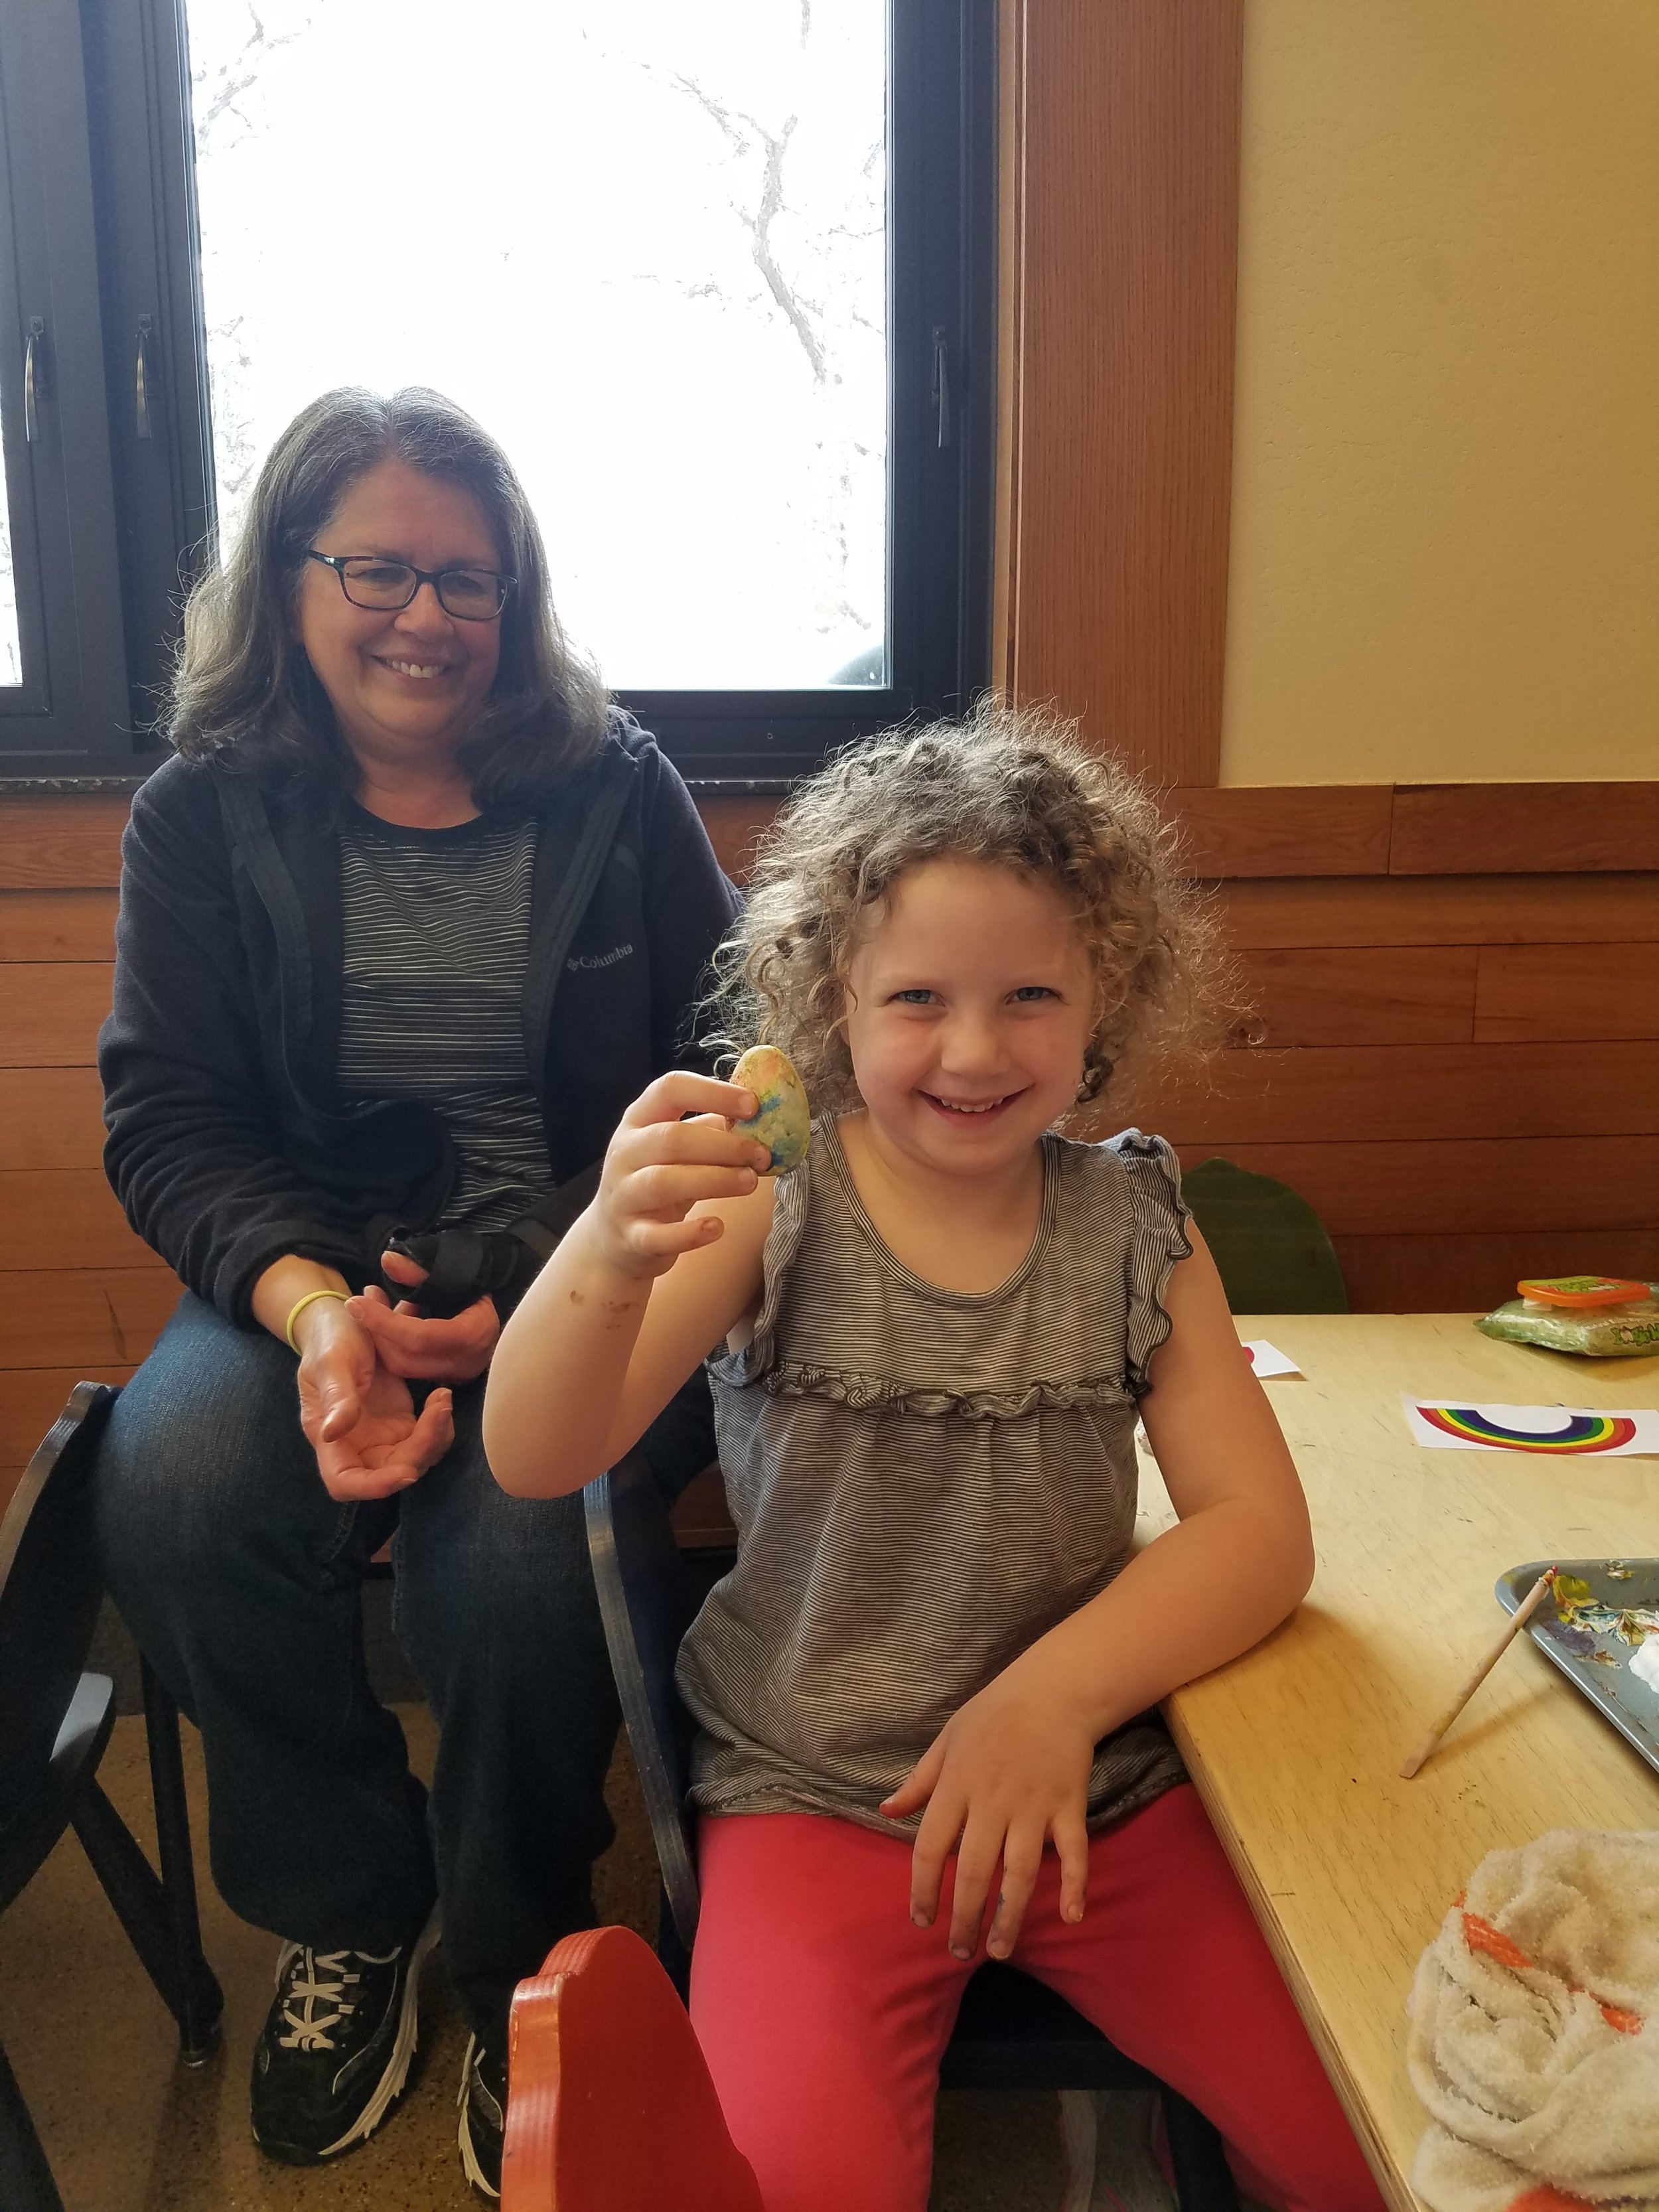
Student will learn a basic marbling technique to make their own rainbow dyed eggs as they learn learn about colour and light.

“BIG IDEAS”/ ESSENTIAL QUESTION(S)

When and why do we see rainbows? What colours are rainbows?

STUDENT OUTCOME OBJECTIVES

Students will:

  1. Learn about nature and the world around them through observation

  2. Use color to create a  rainbow marbled egg

  3. Express creativity through art making


PRIOR KNOWLEDGE

Students will need no prior art making knowledge. Any prior rainbow information will be addressed in the nature lesson previous to the art making portion of the day.


LESSON PREPARATION TIMELINE

Before April 2019 - Silverwood instructors outline lesson topics for Green Beans

April 2019 - MCAD TA picks which lesson to shadow and which to teach

April 16 - choose art project

April 23 - outline structure, decide on associated book, choose colouring page, finalize material plan and prep

April 29 - Silverwood preps materials

April 30 - before class: prep shaving cream trays

April 30 - Teaching


EXAMPLES OF ARTWORK

Students are shown an example of a completed project. During the lesson they will watch a live demo of the project.


ADDITIONAL RESOURCES

Story Time book: chosen by Sam, borrowed from library: Peppa Pig and the Easter Rainbow by Candlewick Press

Naturalist lesson about rainbows led by Cora


ASSESSMENT

There is constant feedback of asking students question about what they were taught as well as invitation to share their own experiences. Teachers ask students if they enjoyed the art making that day, why if not, and ask about their favourite part. At the end of the day we ask students what they enjoyed most about the day. After all students have left, teachers meet briefly to discuss how the day went and note adjustments for next week.


MATERIALS

Wood eggs (painted white)

Markers

Shaving cream

Washable paint (red, yellow, blue)

towels (for wiping hands)


LEARNING ACTIVITIES AND TIMING

  1. Explore time - participants will play with various puzzles, toys, games, and can do colouring sheets

  2. Clean up - participants help put away explore time materials

  3. Circle time - topic of the day is introduced

  4. Circle time - question of the day: led natualist, question about colour or light, the ‘magic finger’ will point at a participant that then introduces themselves and then answers question

  5. Nature lesson - participants will stay on the rug as Cora leads the nature talk about rainbows

  6. Story time - Teaching Artist reads a story of a related topic

  7. Movement - Classroom instructors lead a movement activity related to the topic

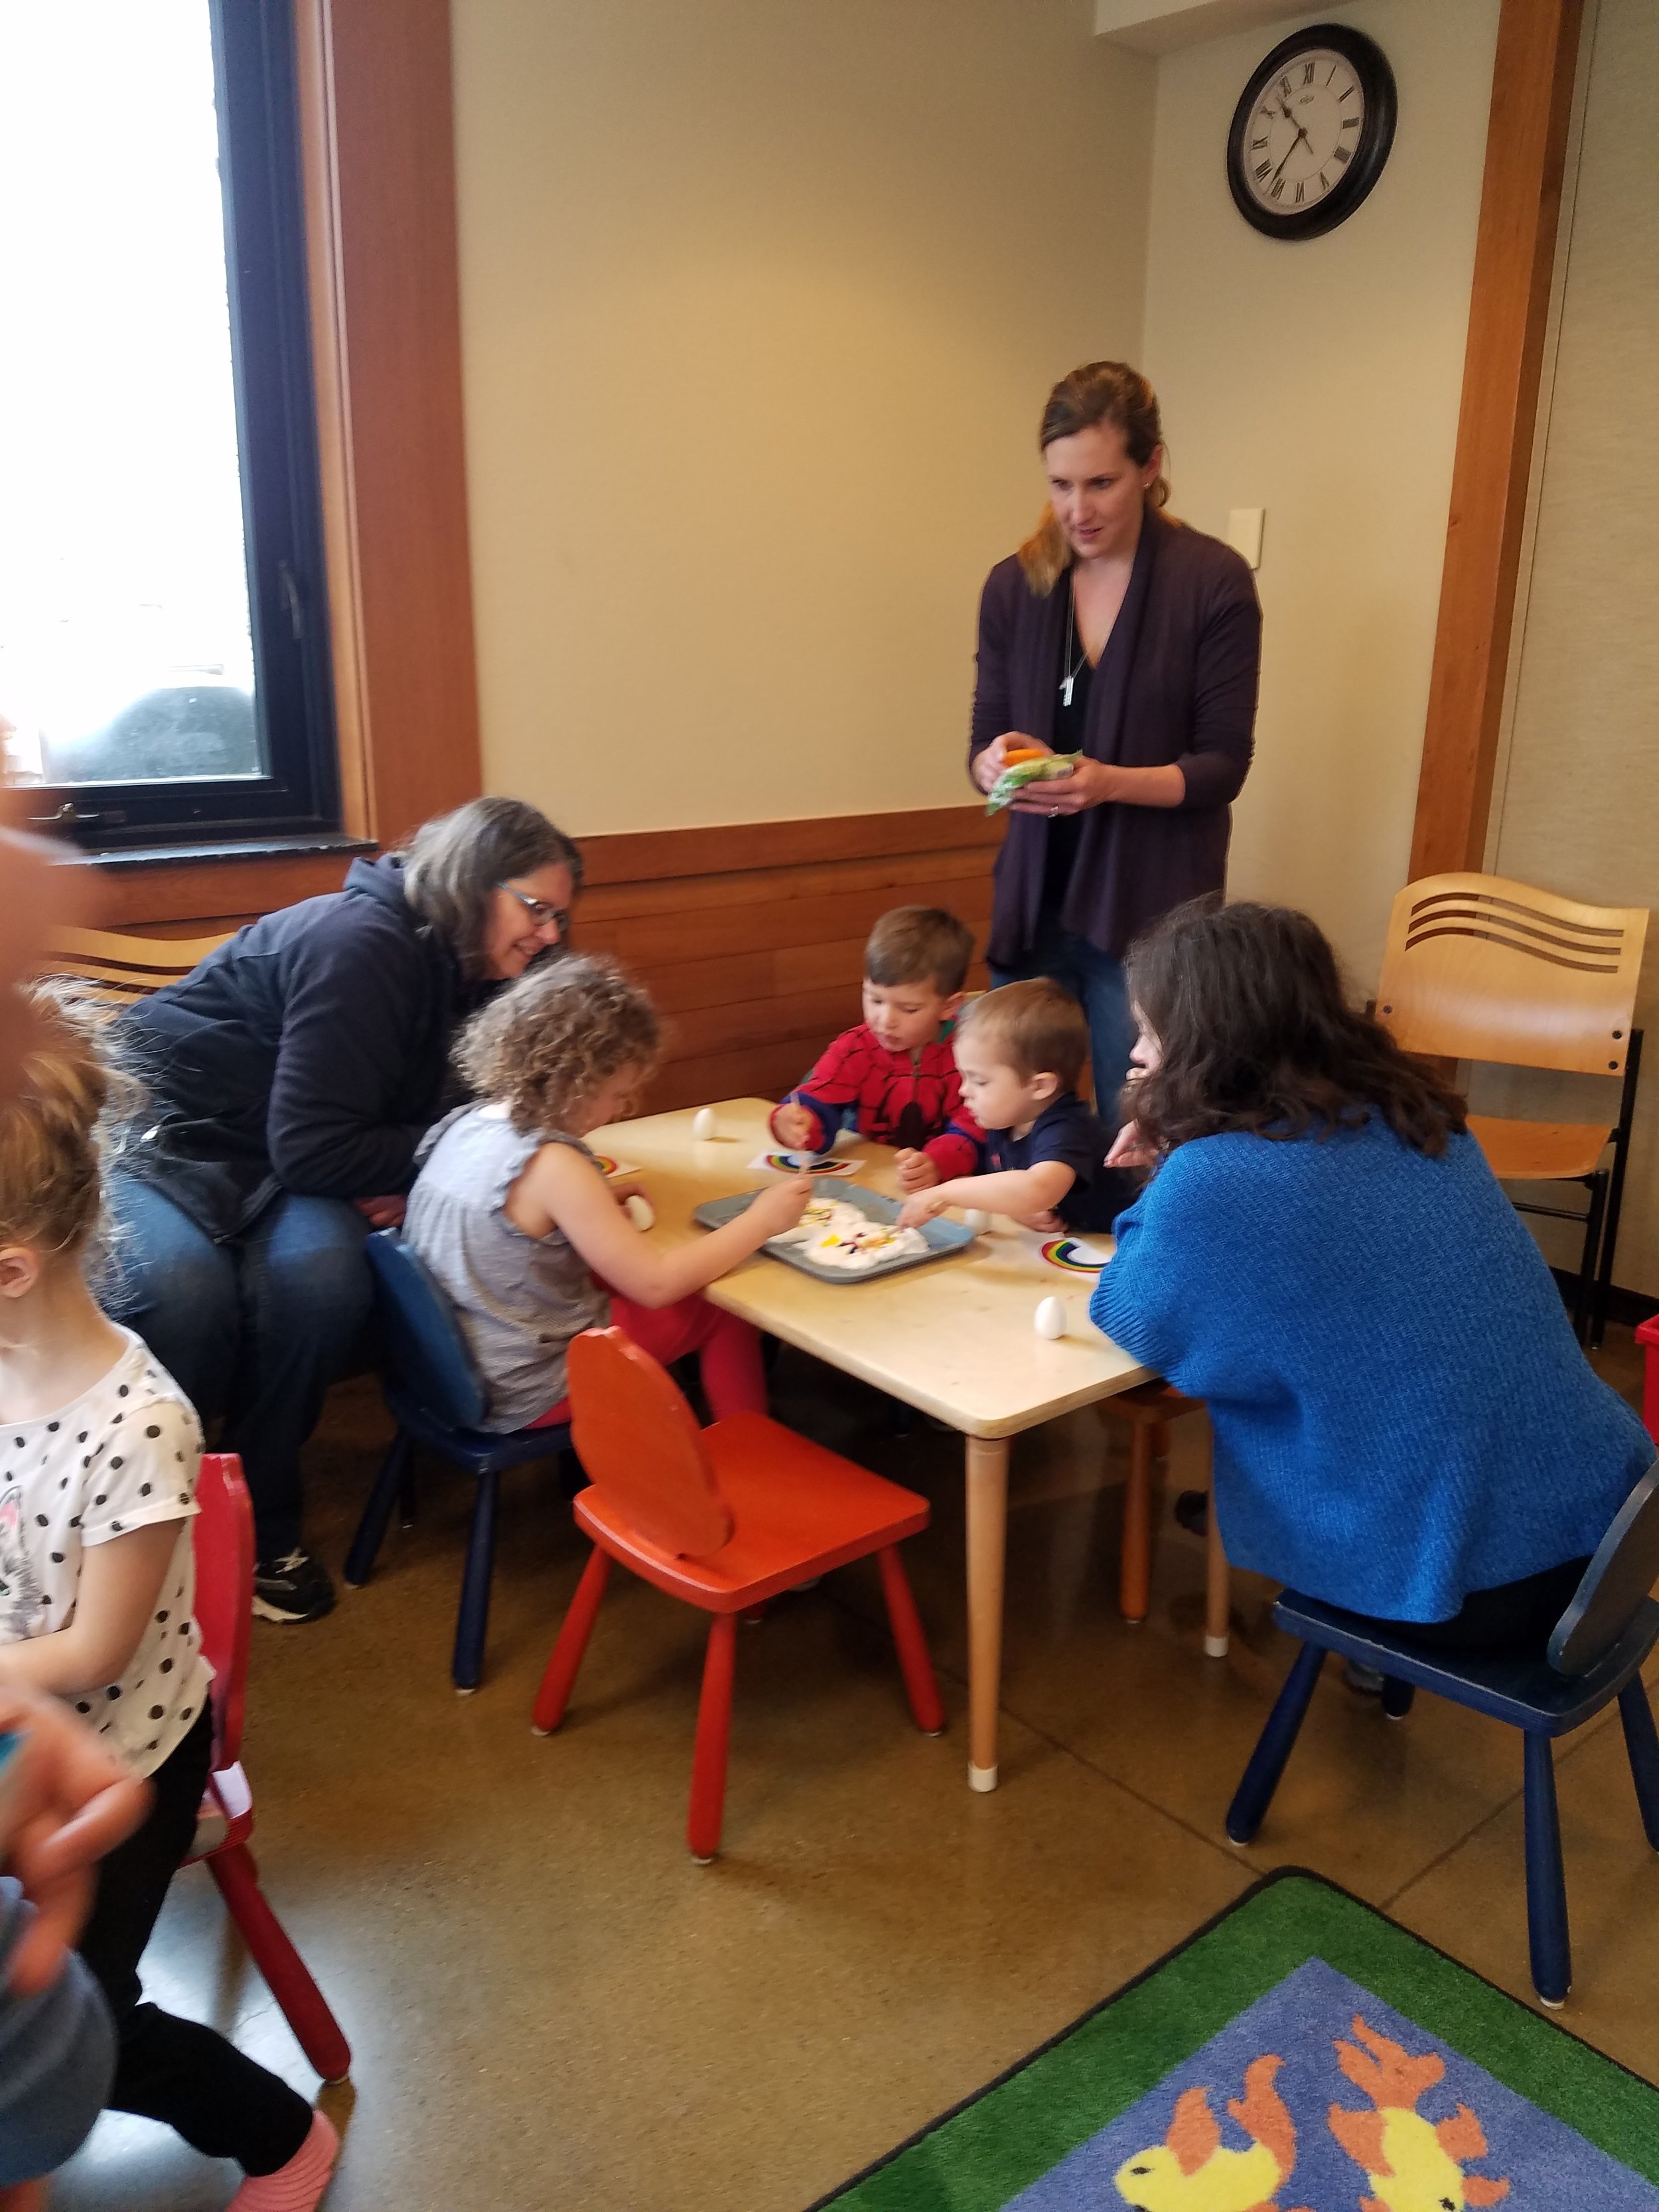
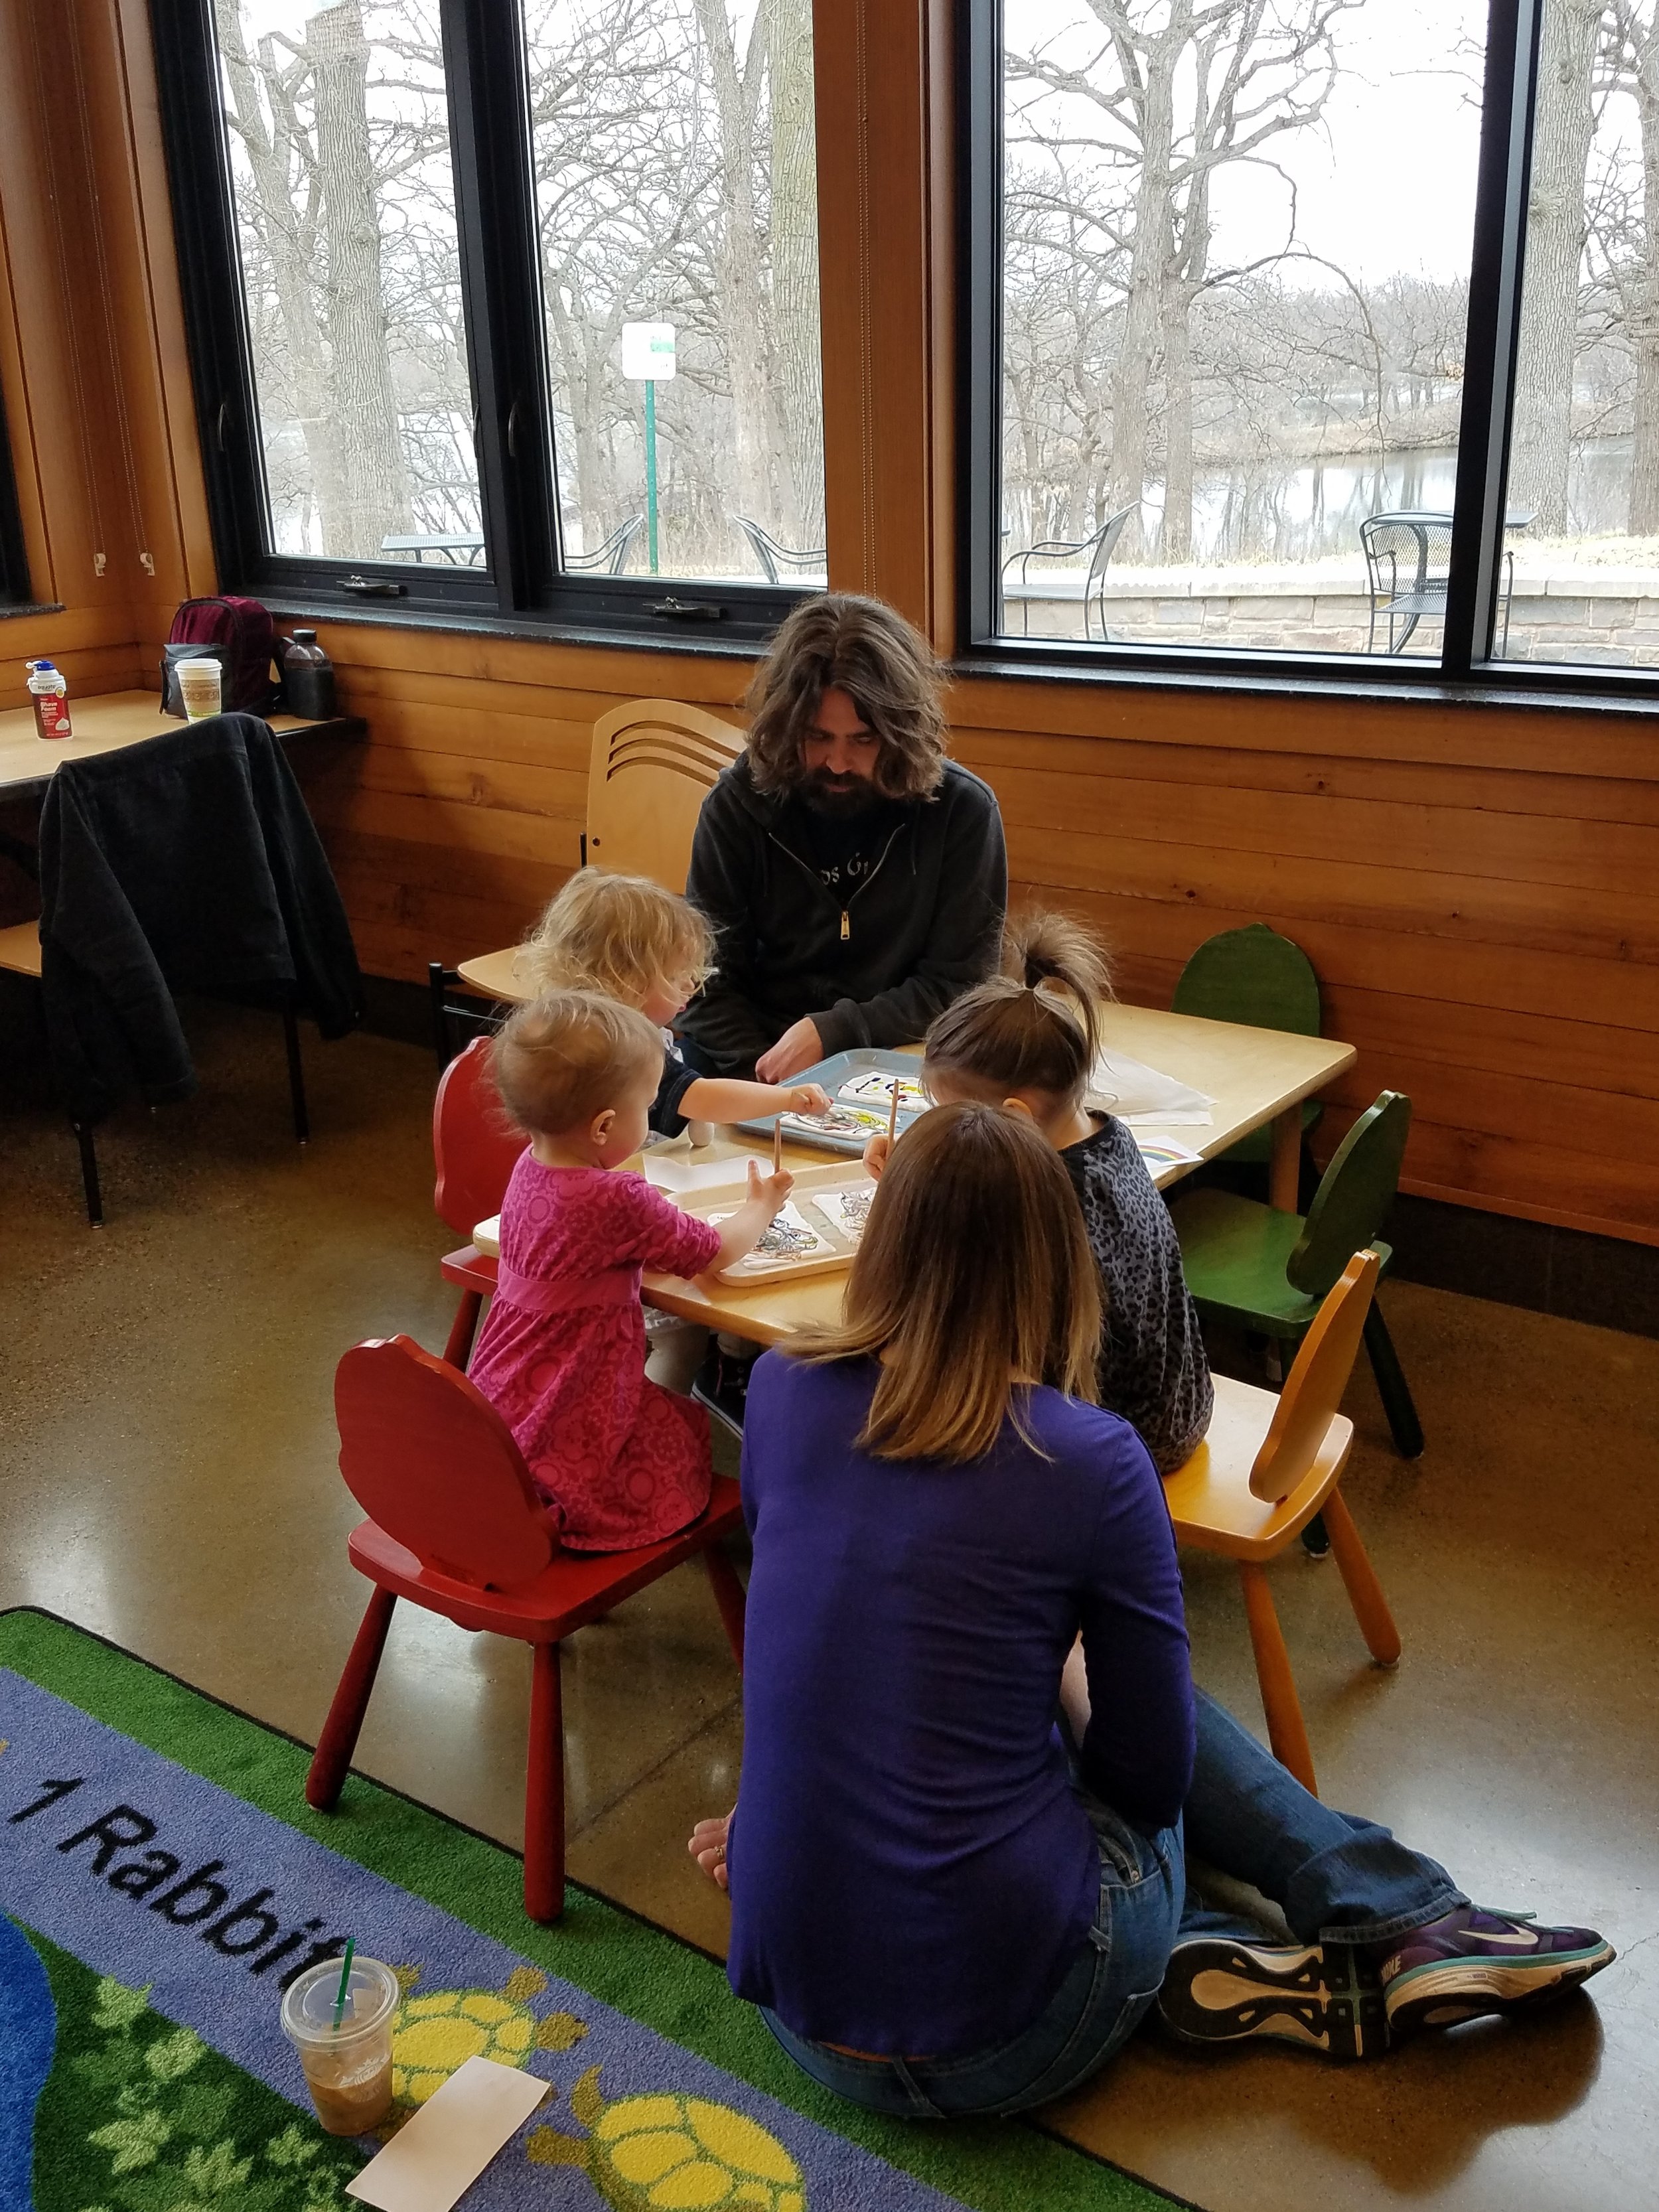
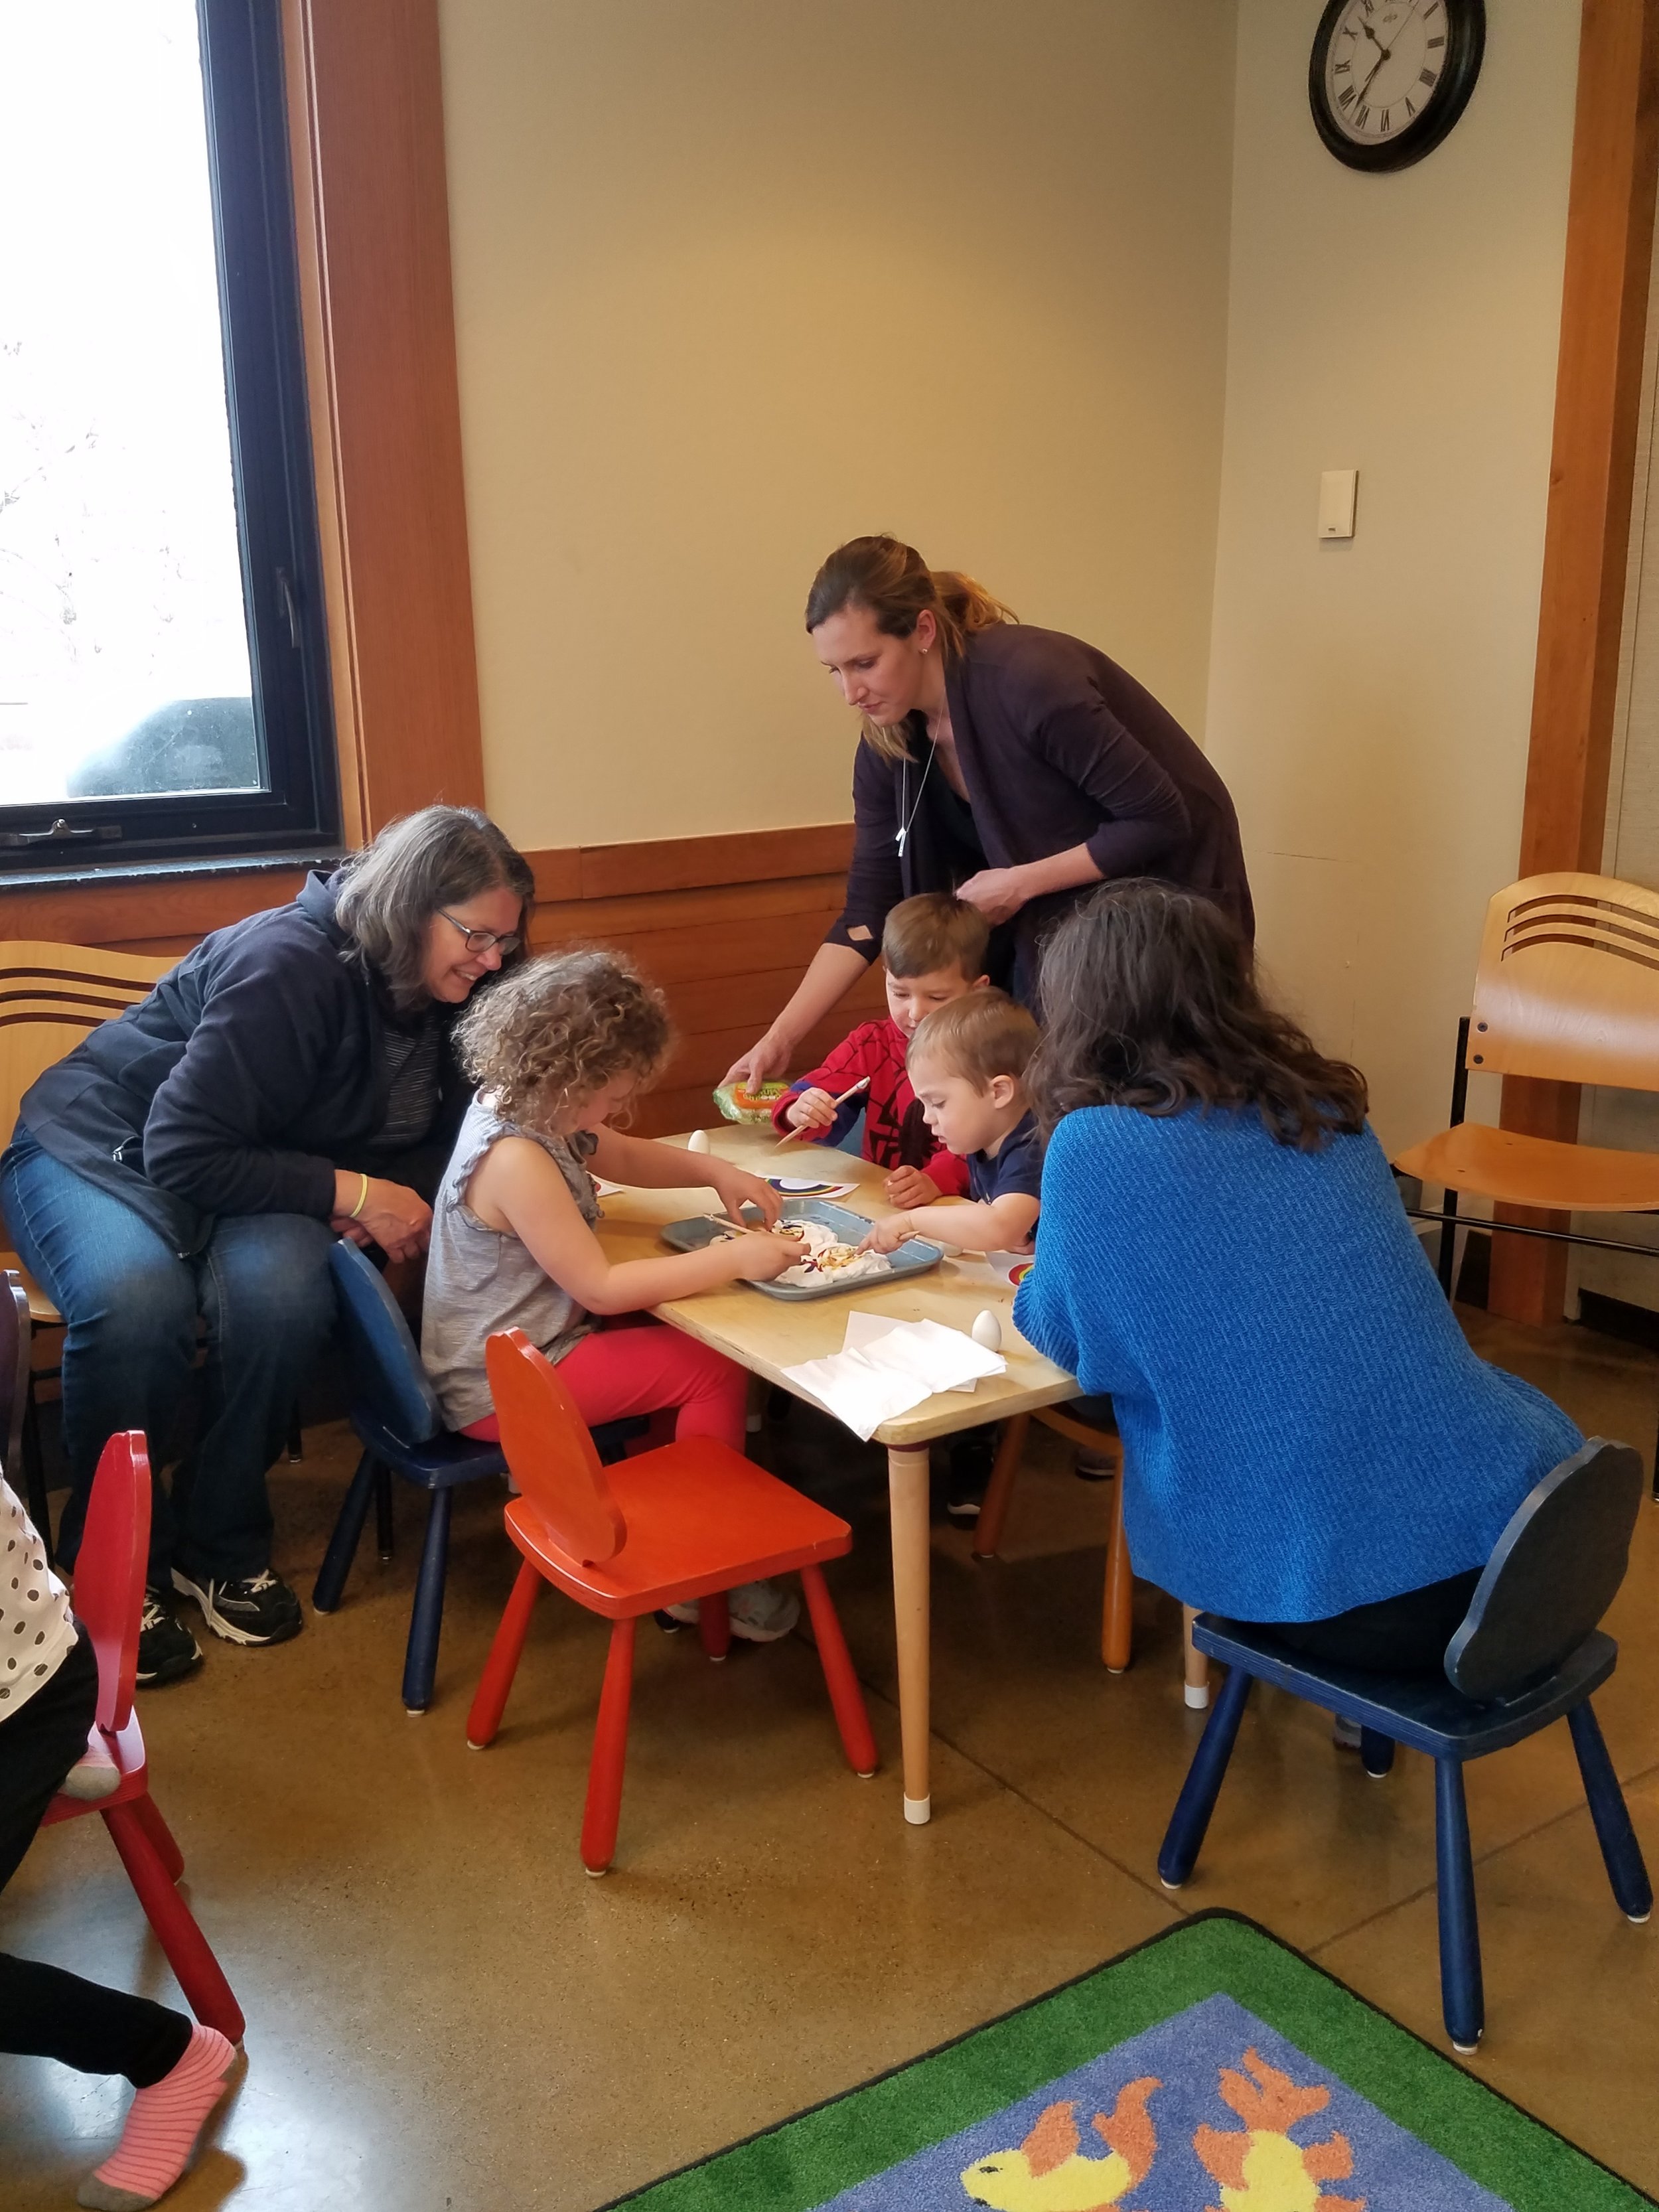
  8. Art time - participants gather on the rug and be shown a finished example of the project. Teaching artist demonstrates step by step

    1. tell students what the project is - paper marbled rainbows!

    2. show finished example

    3. show materials (paper, shaving cream, dye)

    4. first, write name on paper

    5. add some colour to the shaving cream and swirl gently

    6. lay paper on top of shaving cream

    7. peel up and wipe off excess foam

Children take their seats and materials will be passed out

  1. Clean up - hands will be cleaned, papers left to dry

  2. Prep to go outside - put on jackets and boots as needed

  3. Outside time - walk, observe, play a game

  4. Return - head back inside, gather all belongings

TEACHING ARTIST REFLECTION

It will be very helpful, mess wise, to have an accompanying adult ensure that no little one makes too big of a mess. I’ve been in the classroom enough and playing alongside participants and helping out as needed so I don’t think it will be disruptive or jarring to have me lead a lesson.

Stamped Ladybugs

Stamped Ladybugs

Stamped Ladybugs

School/Teacher/Classroom or Arts Organization/Mentor: Seth Erlab and Chelsea Novotny

Grade Level or Age of Participants: 4-5 years old

MCAD Teaching Artist:  Eleni Leventopoulos

Number of Students: 12

OVERVIEW OF PROJECT

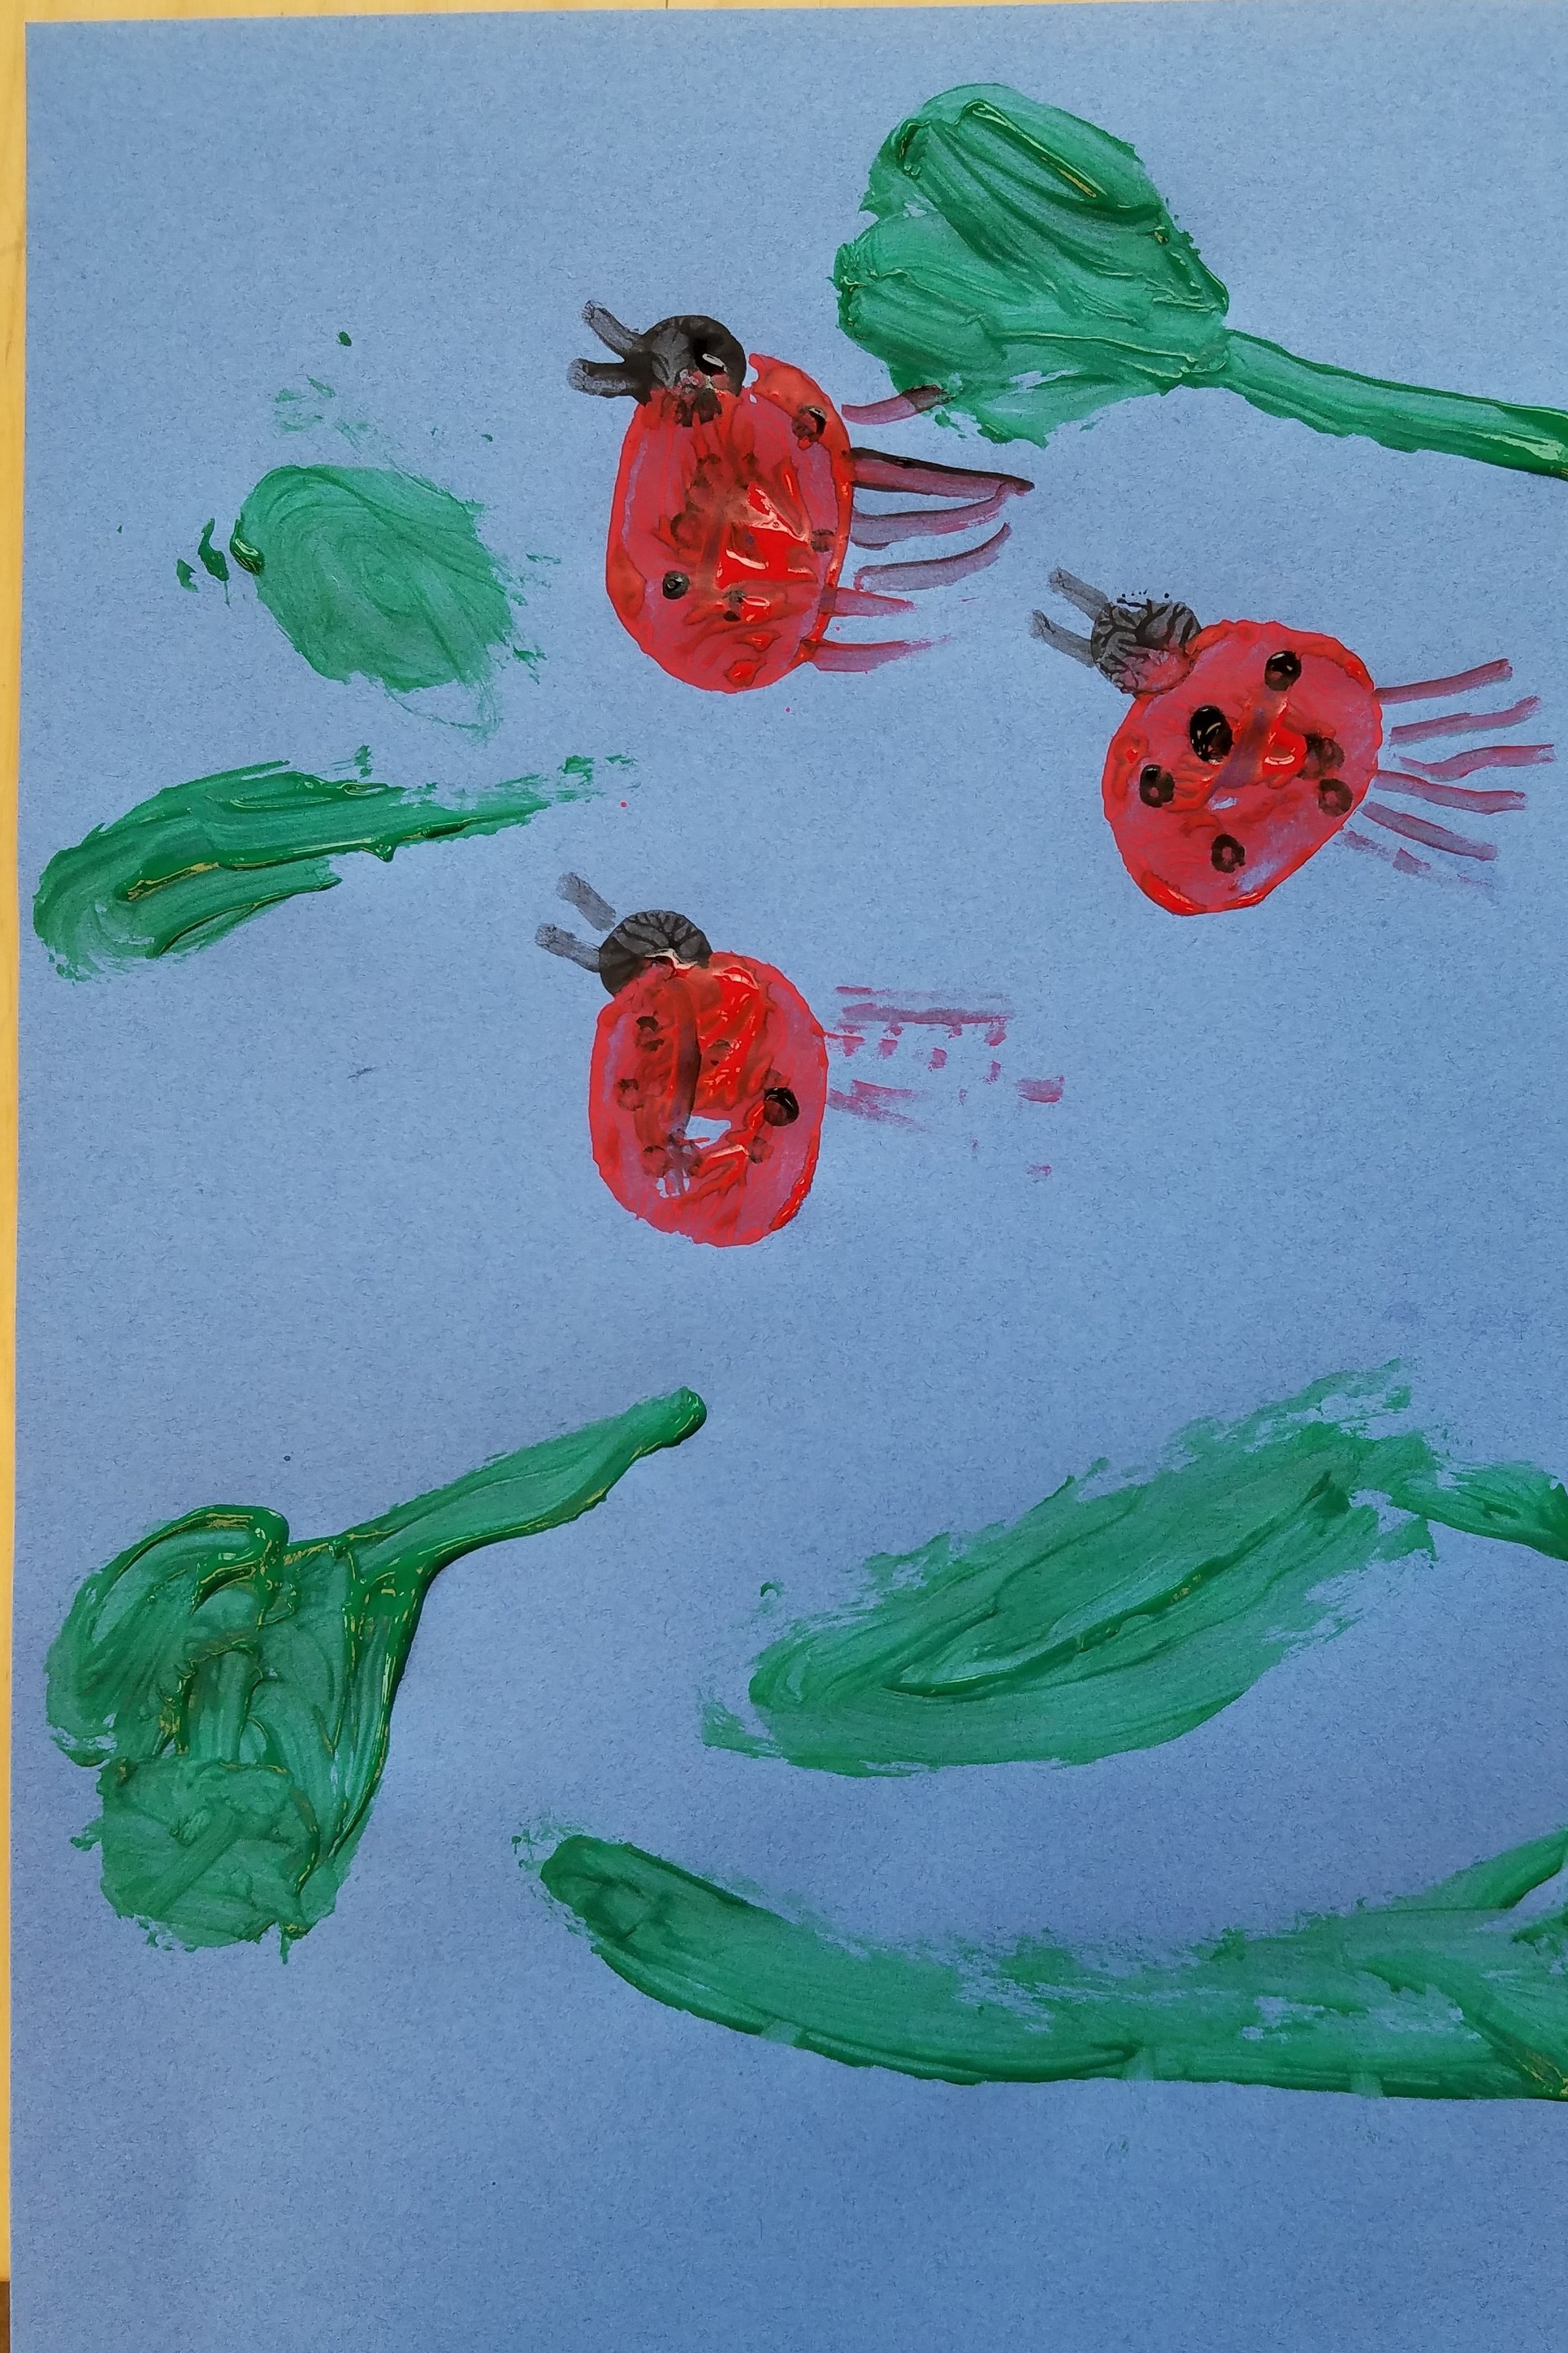
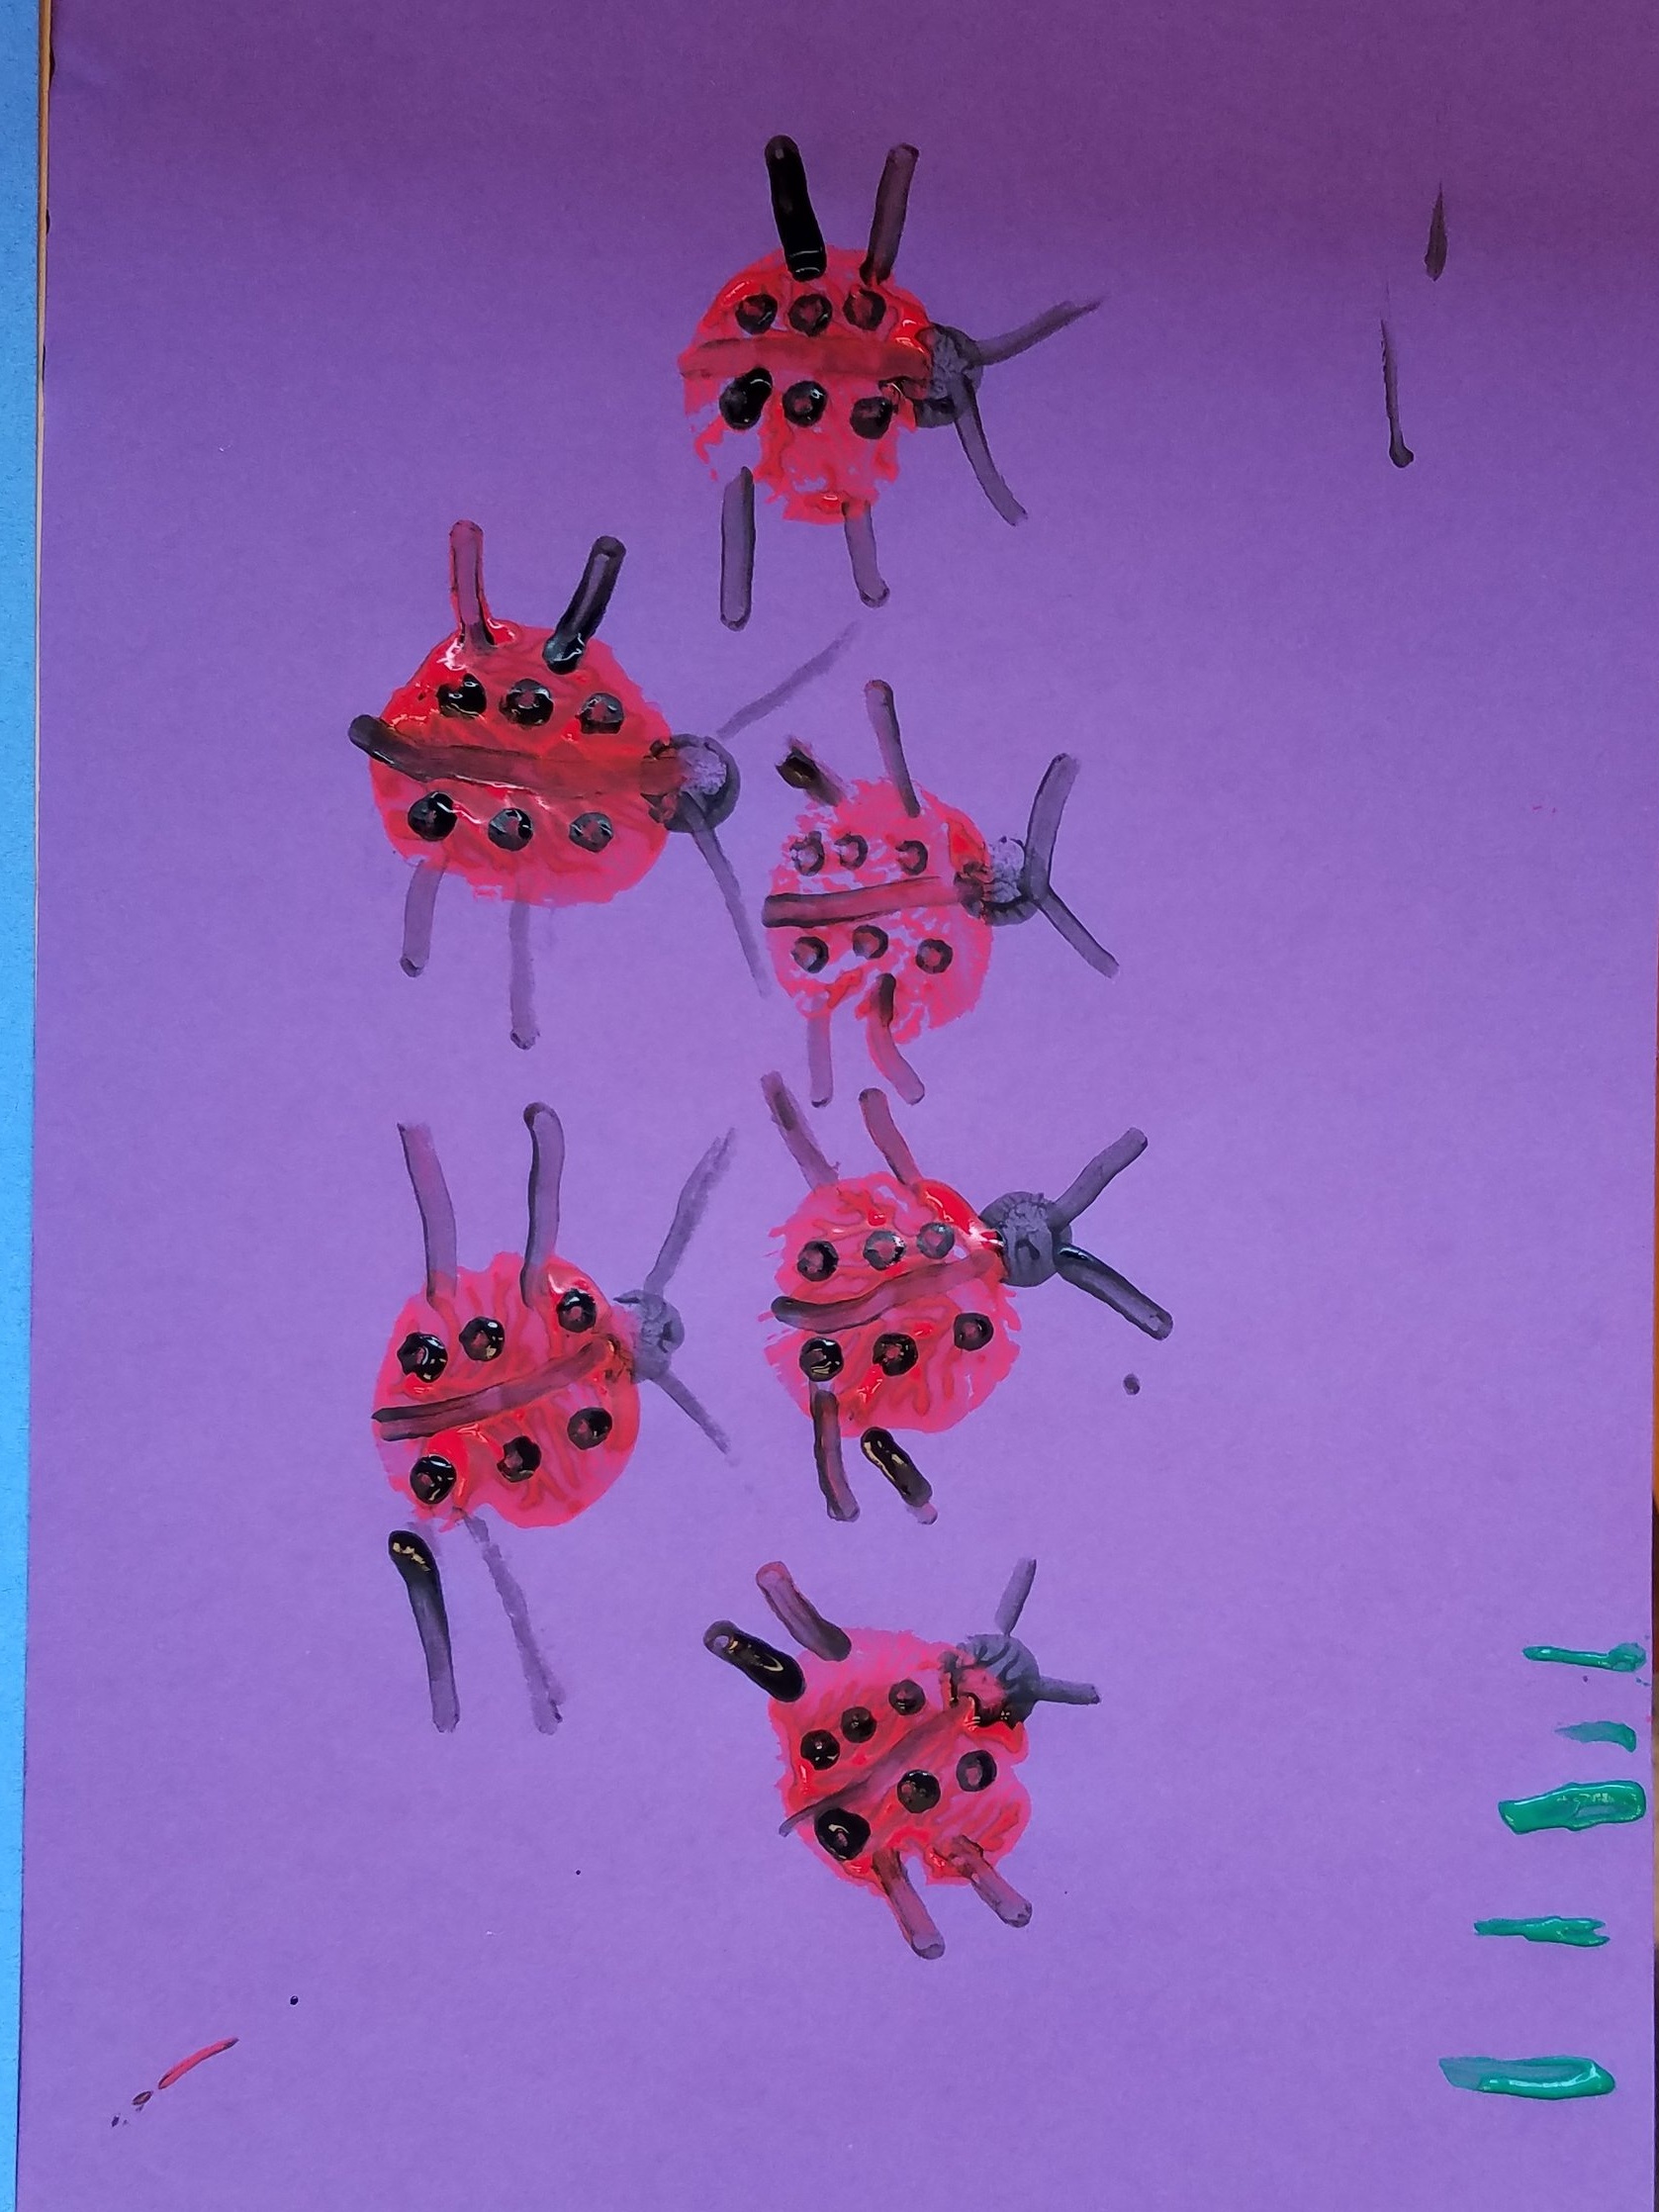
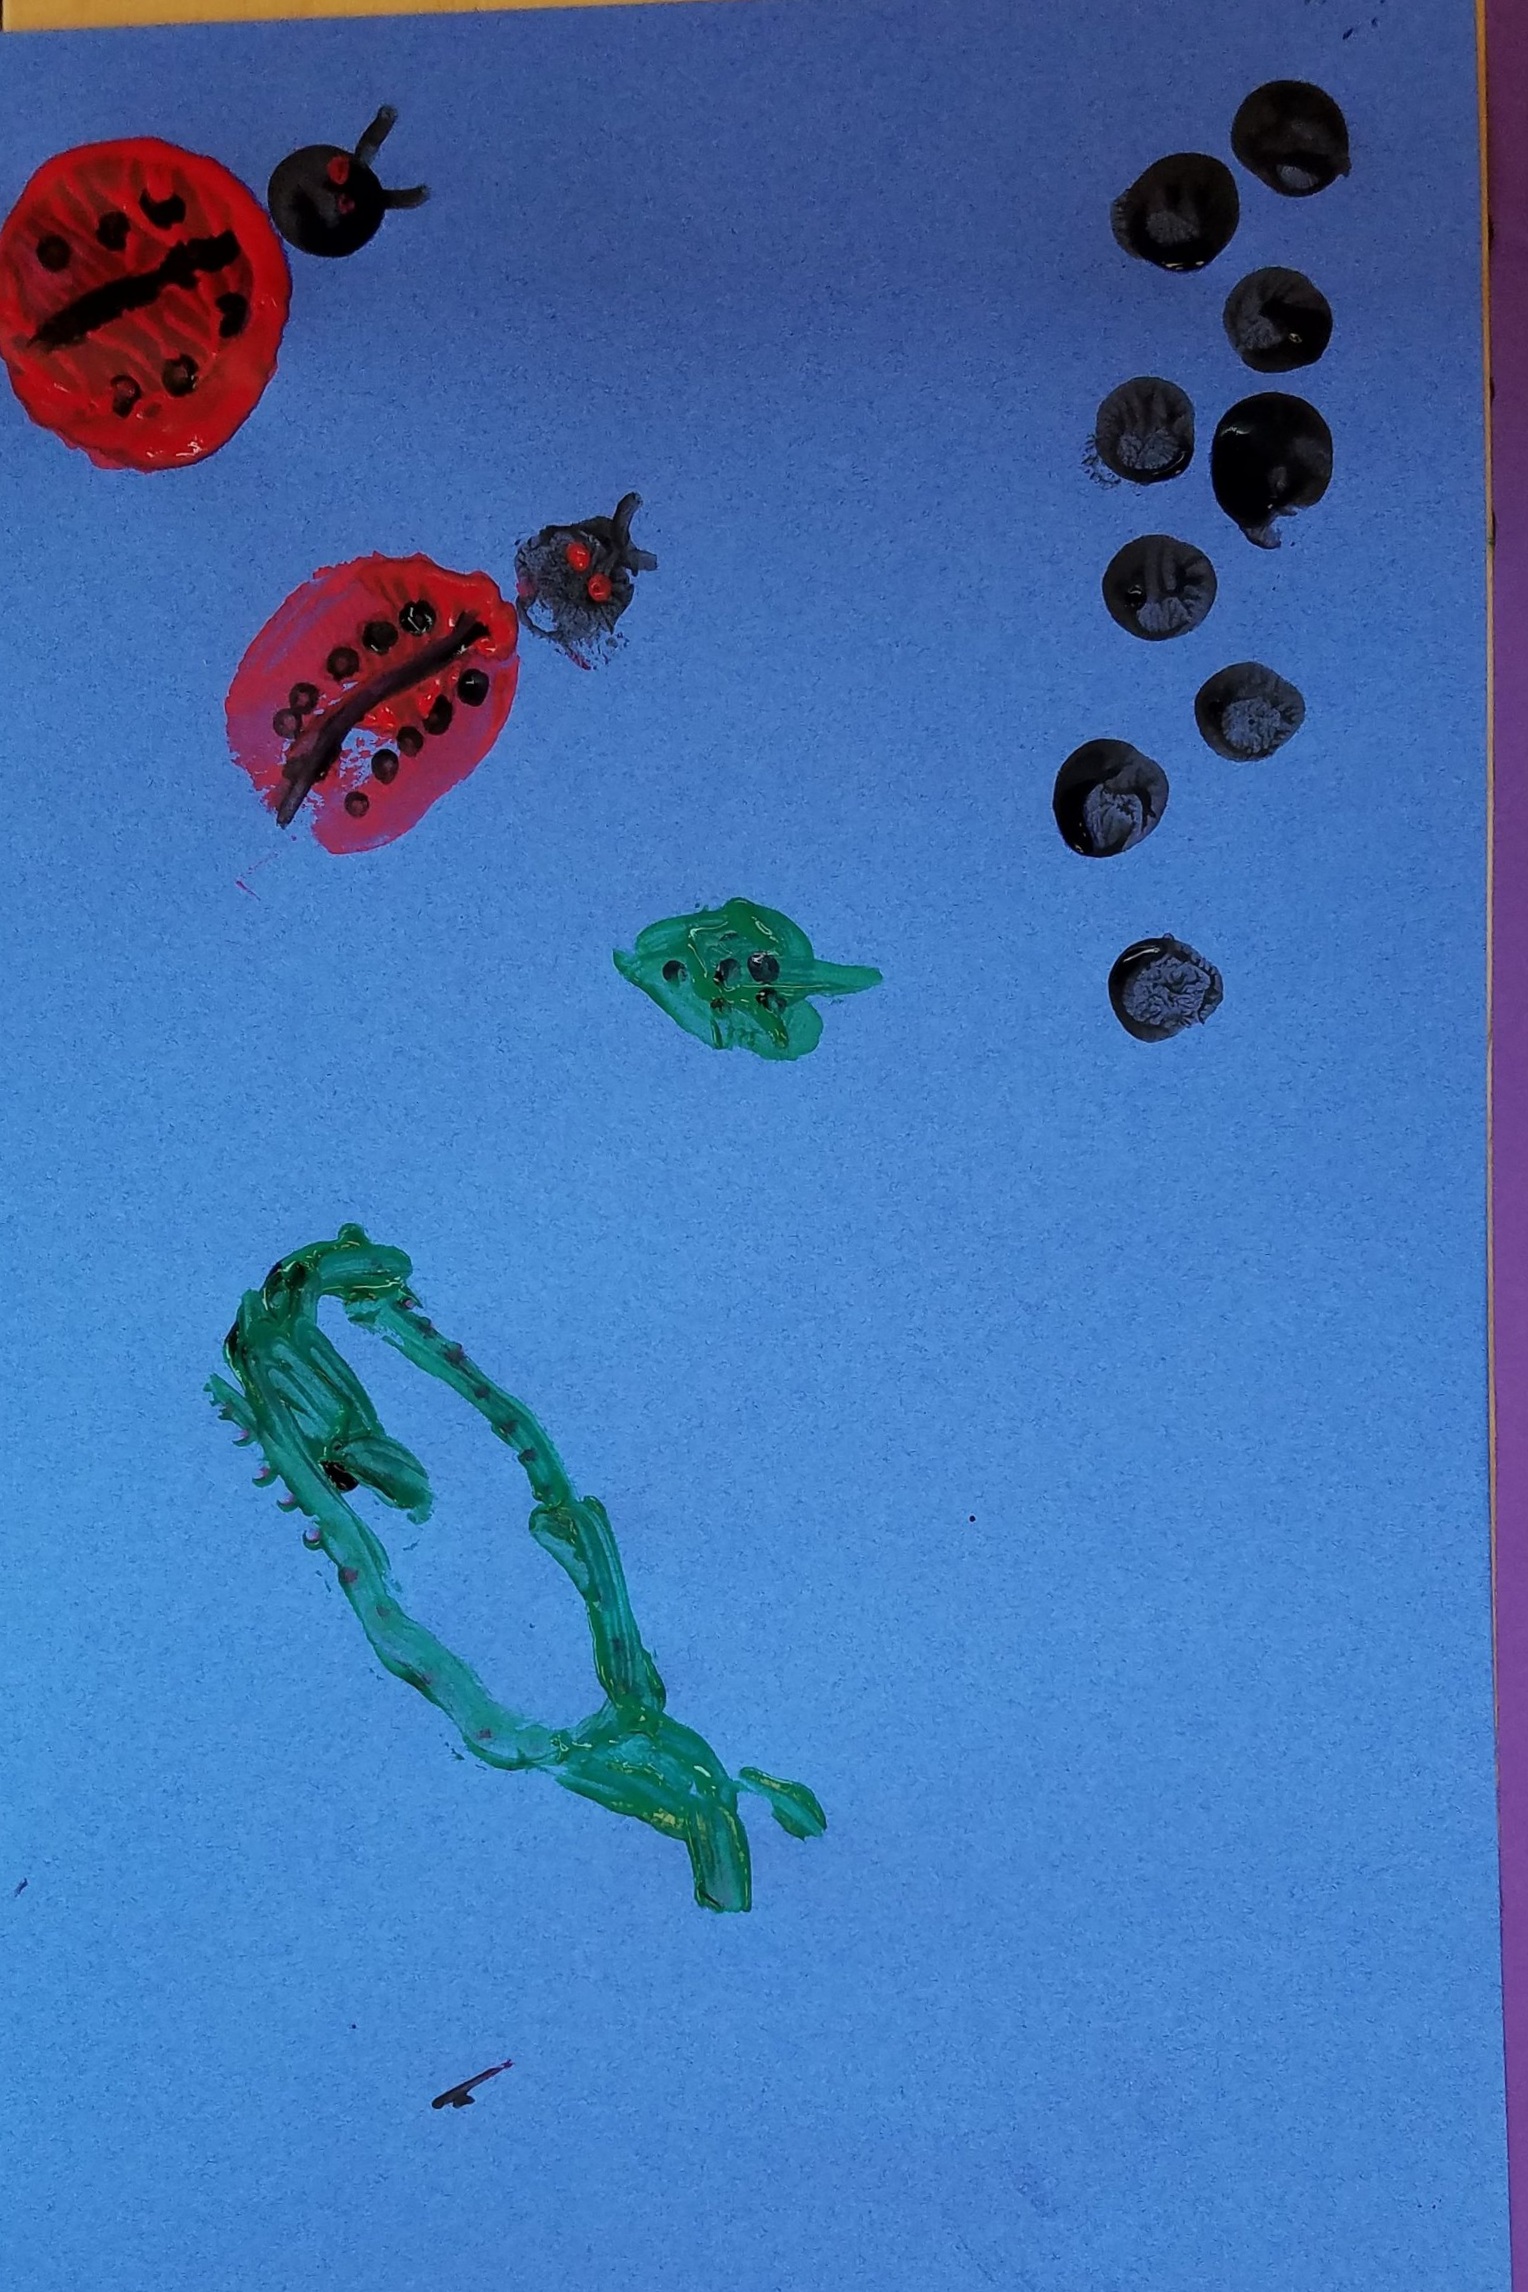
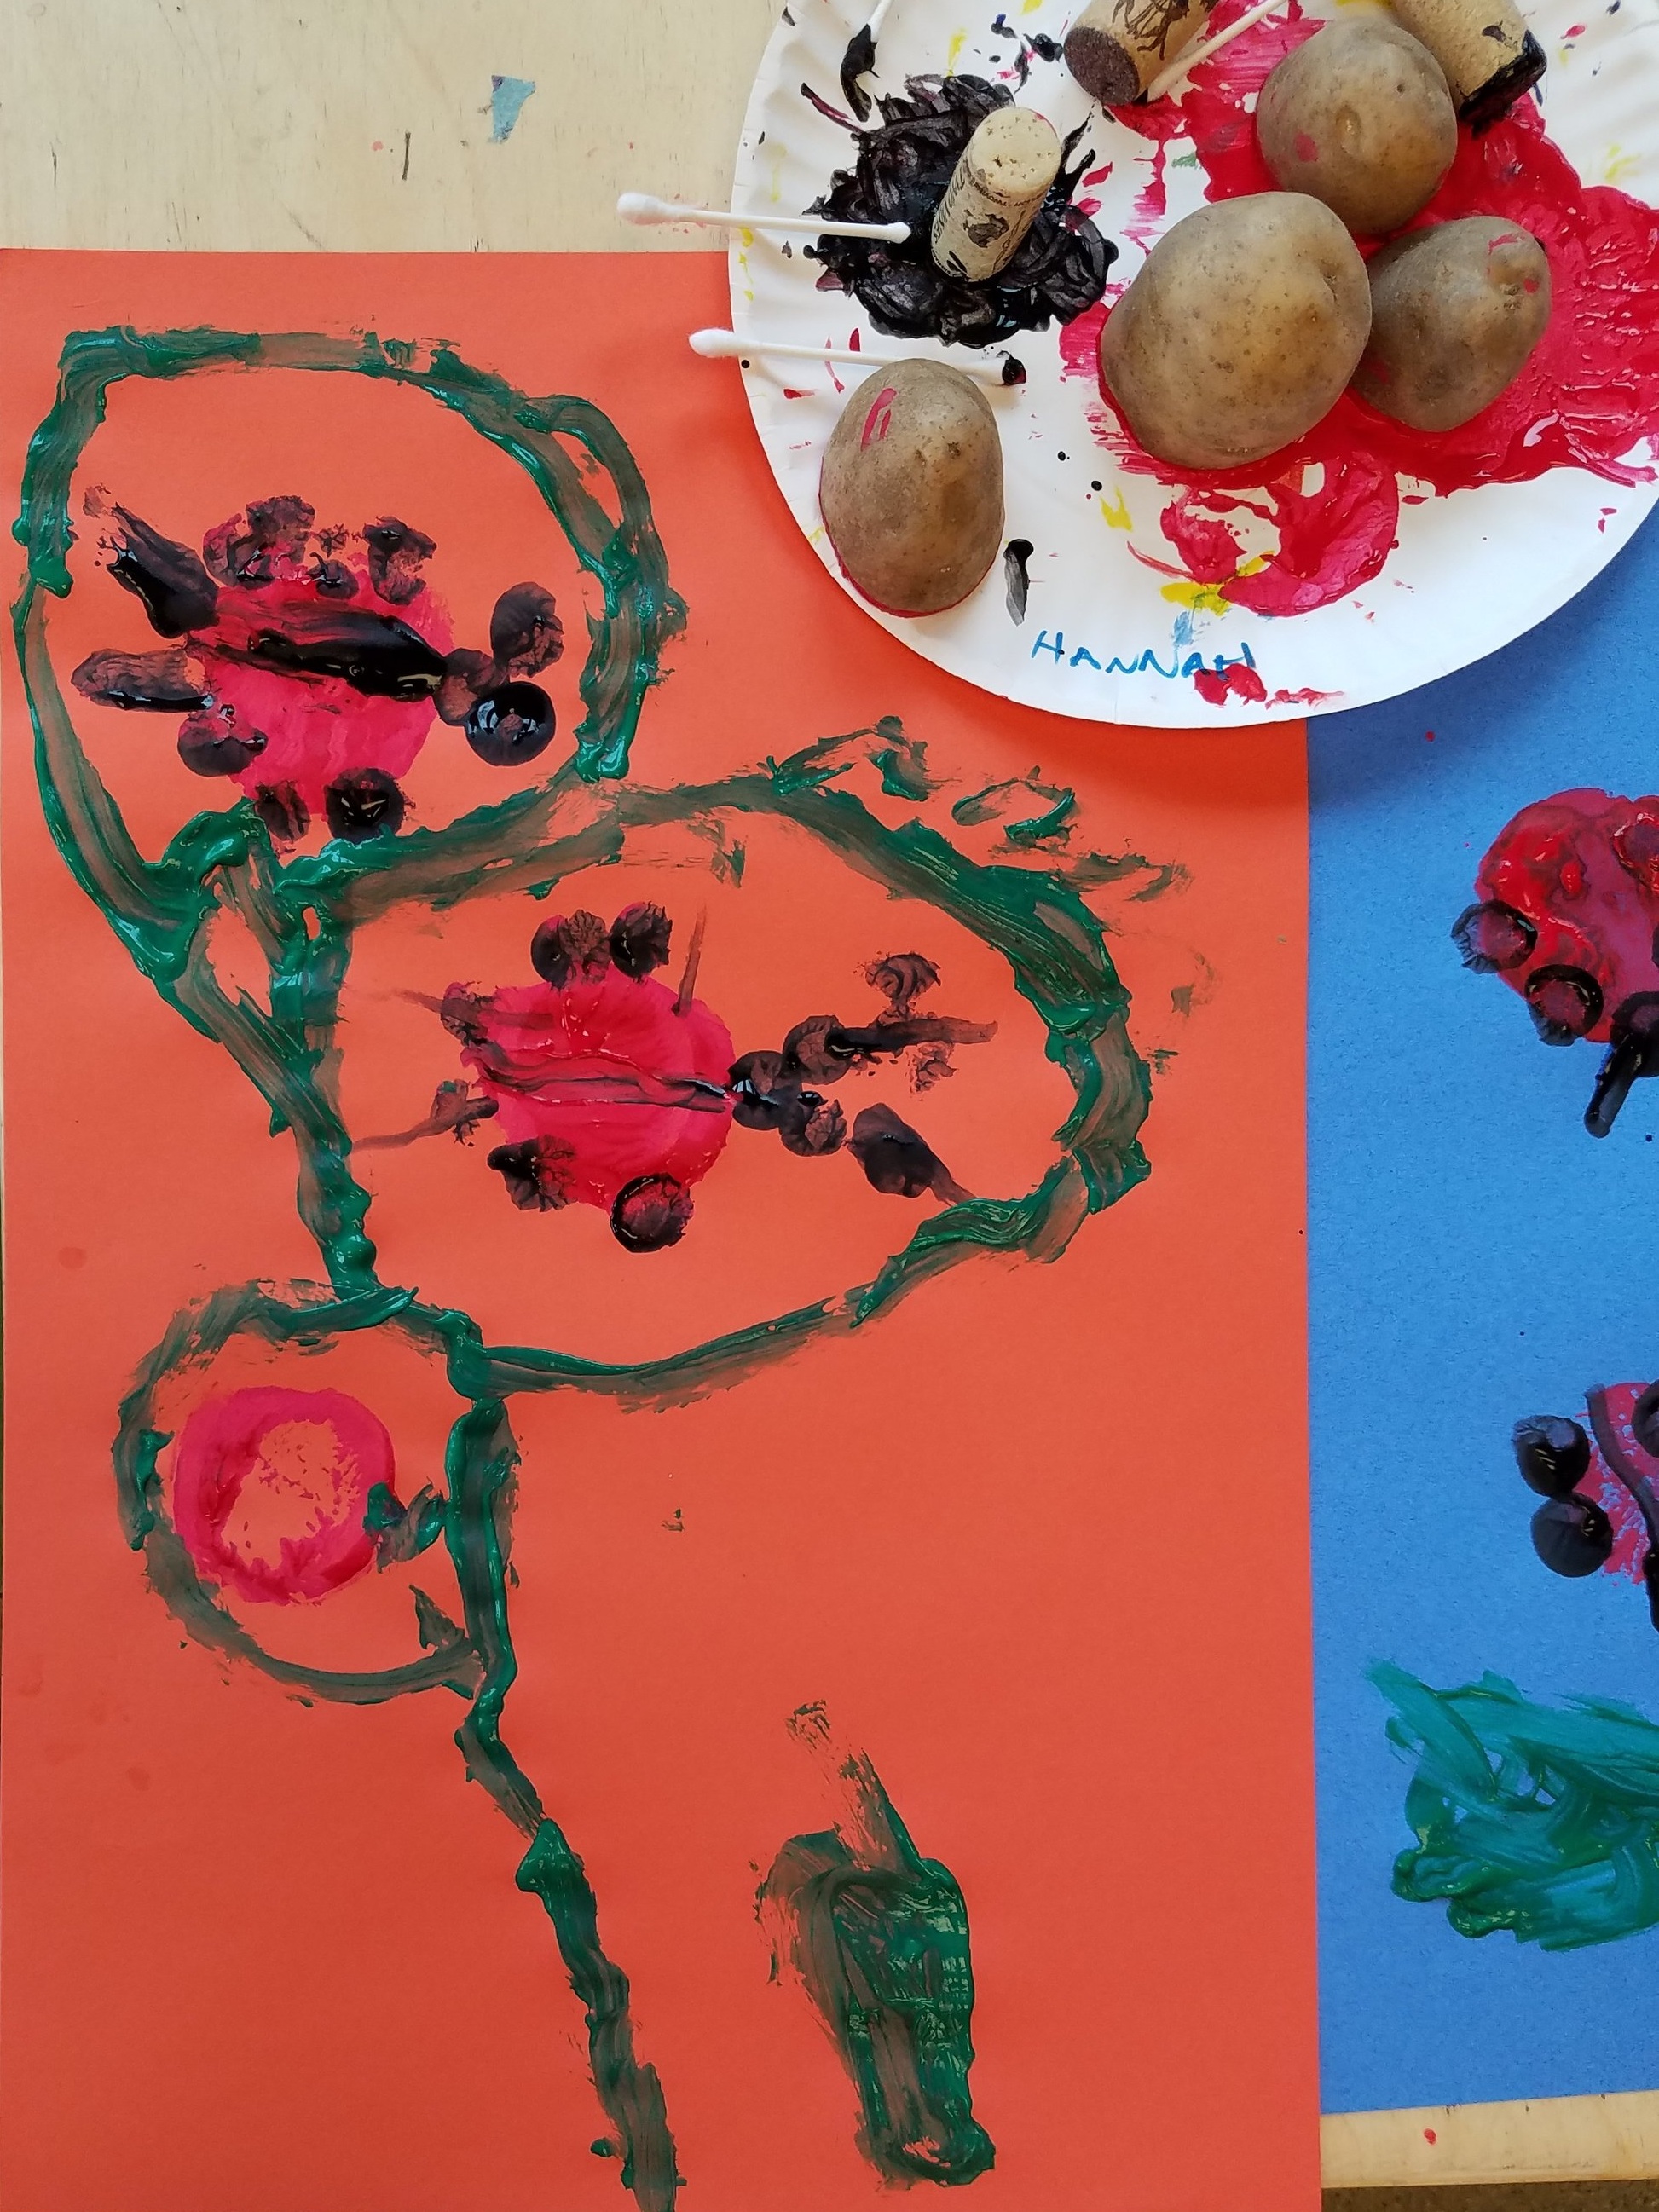
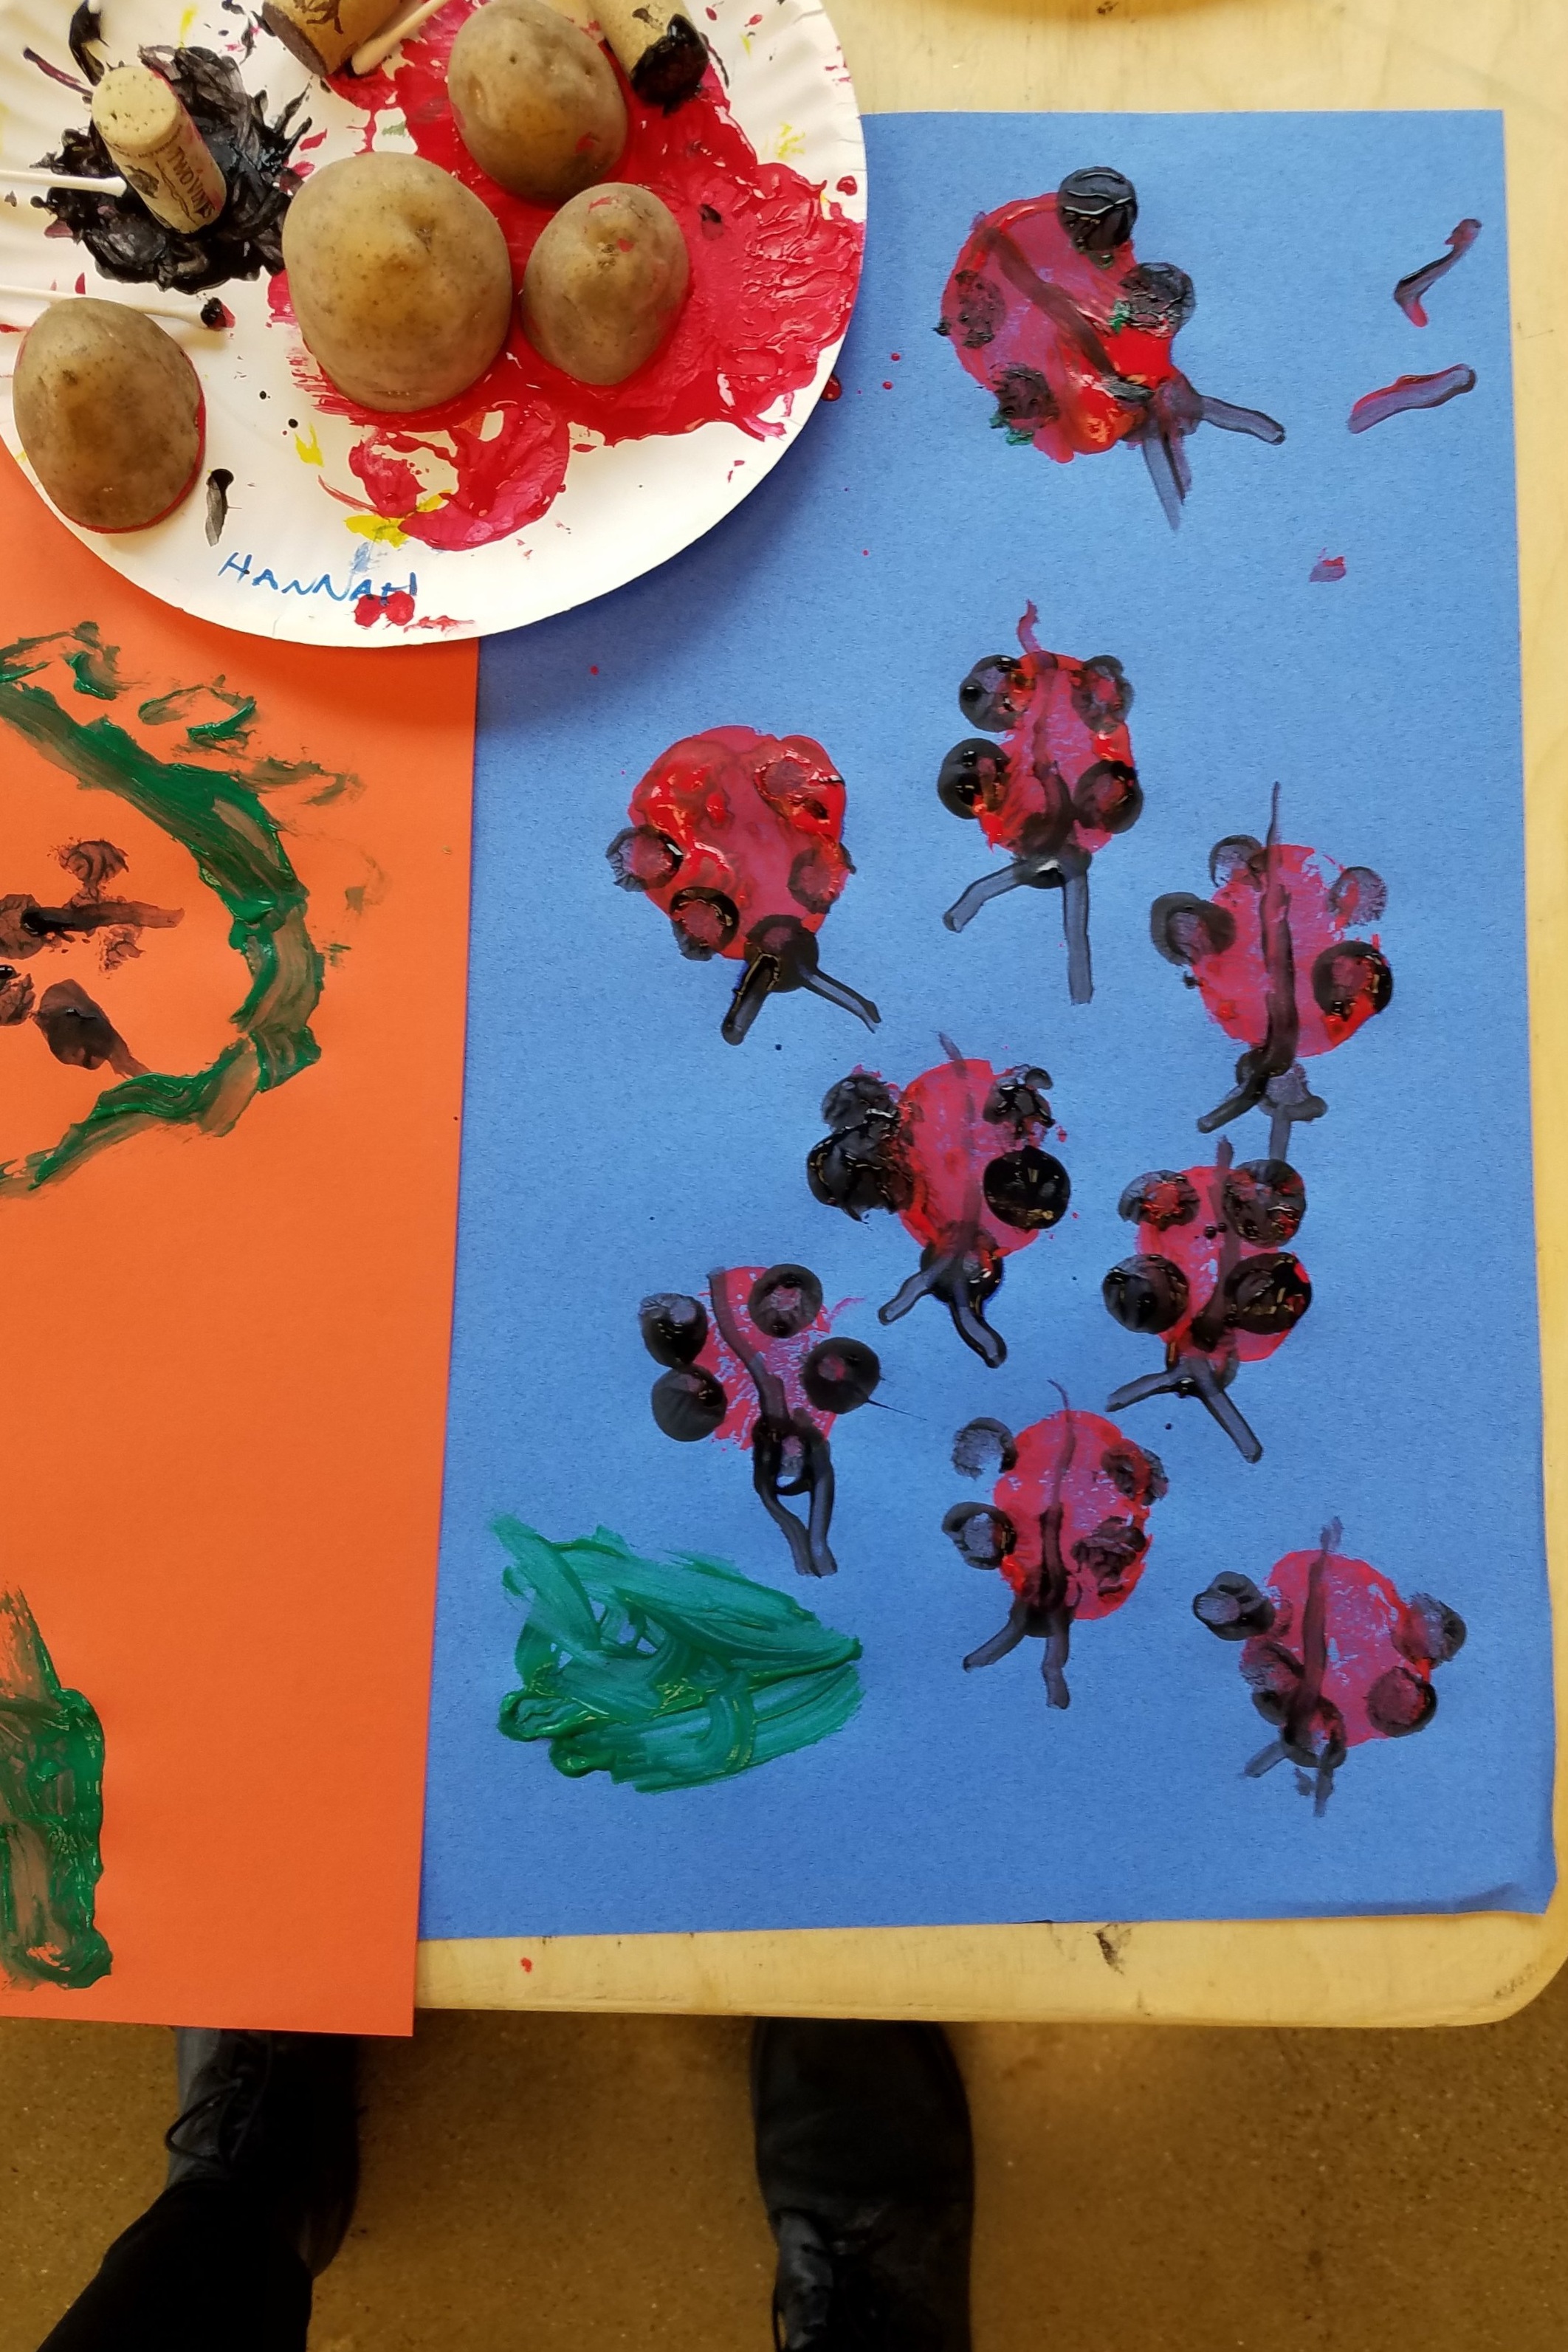
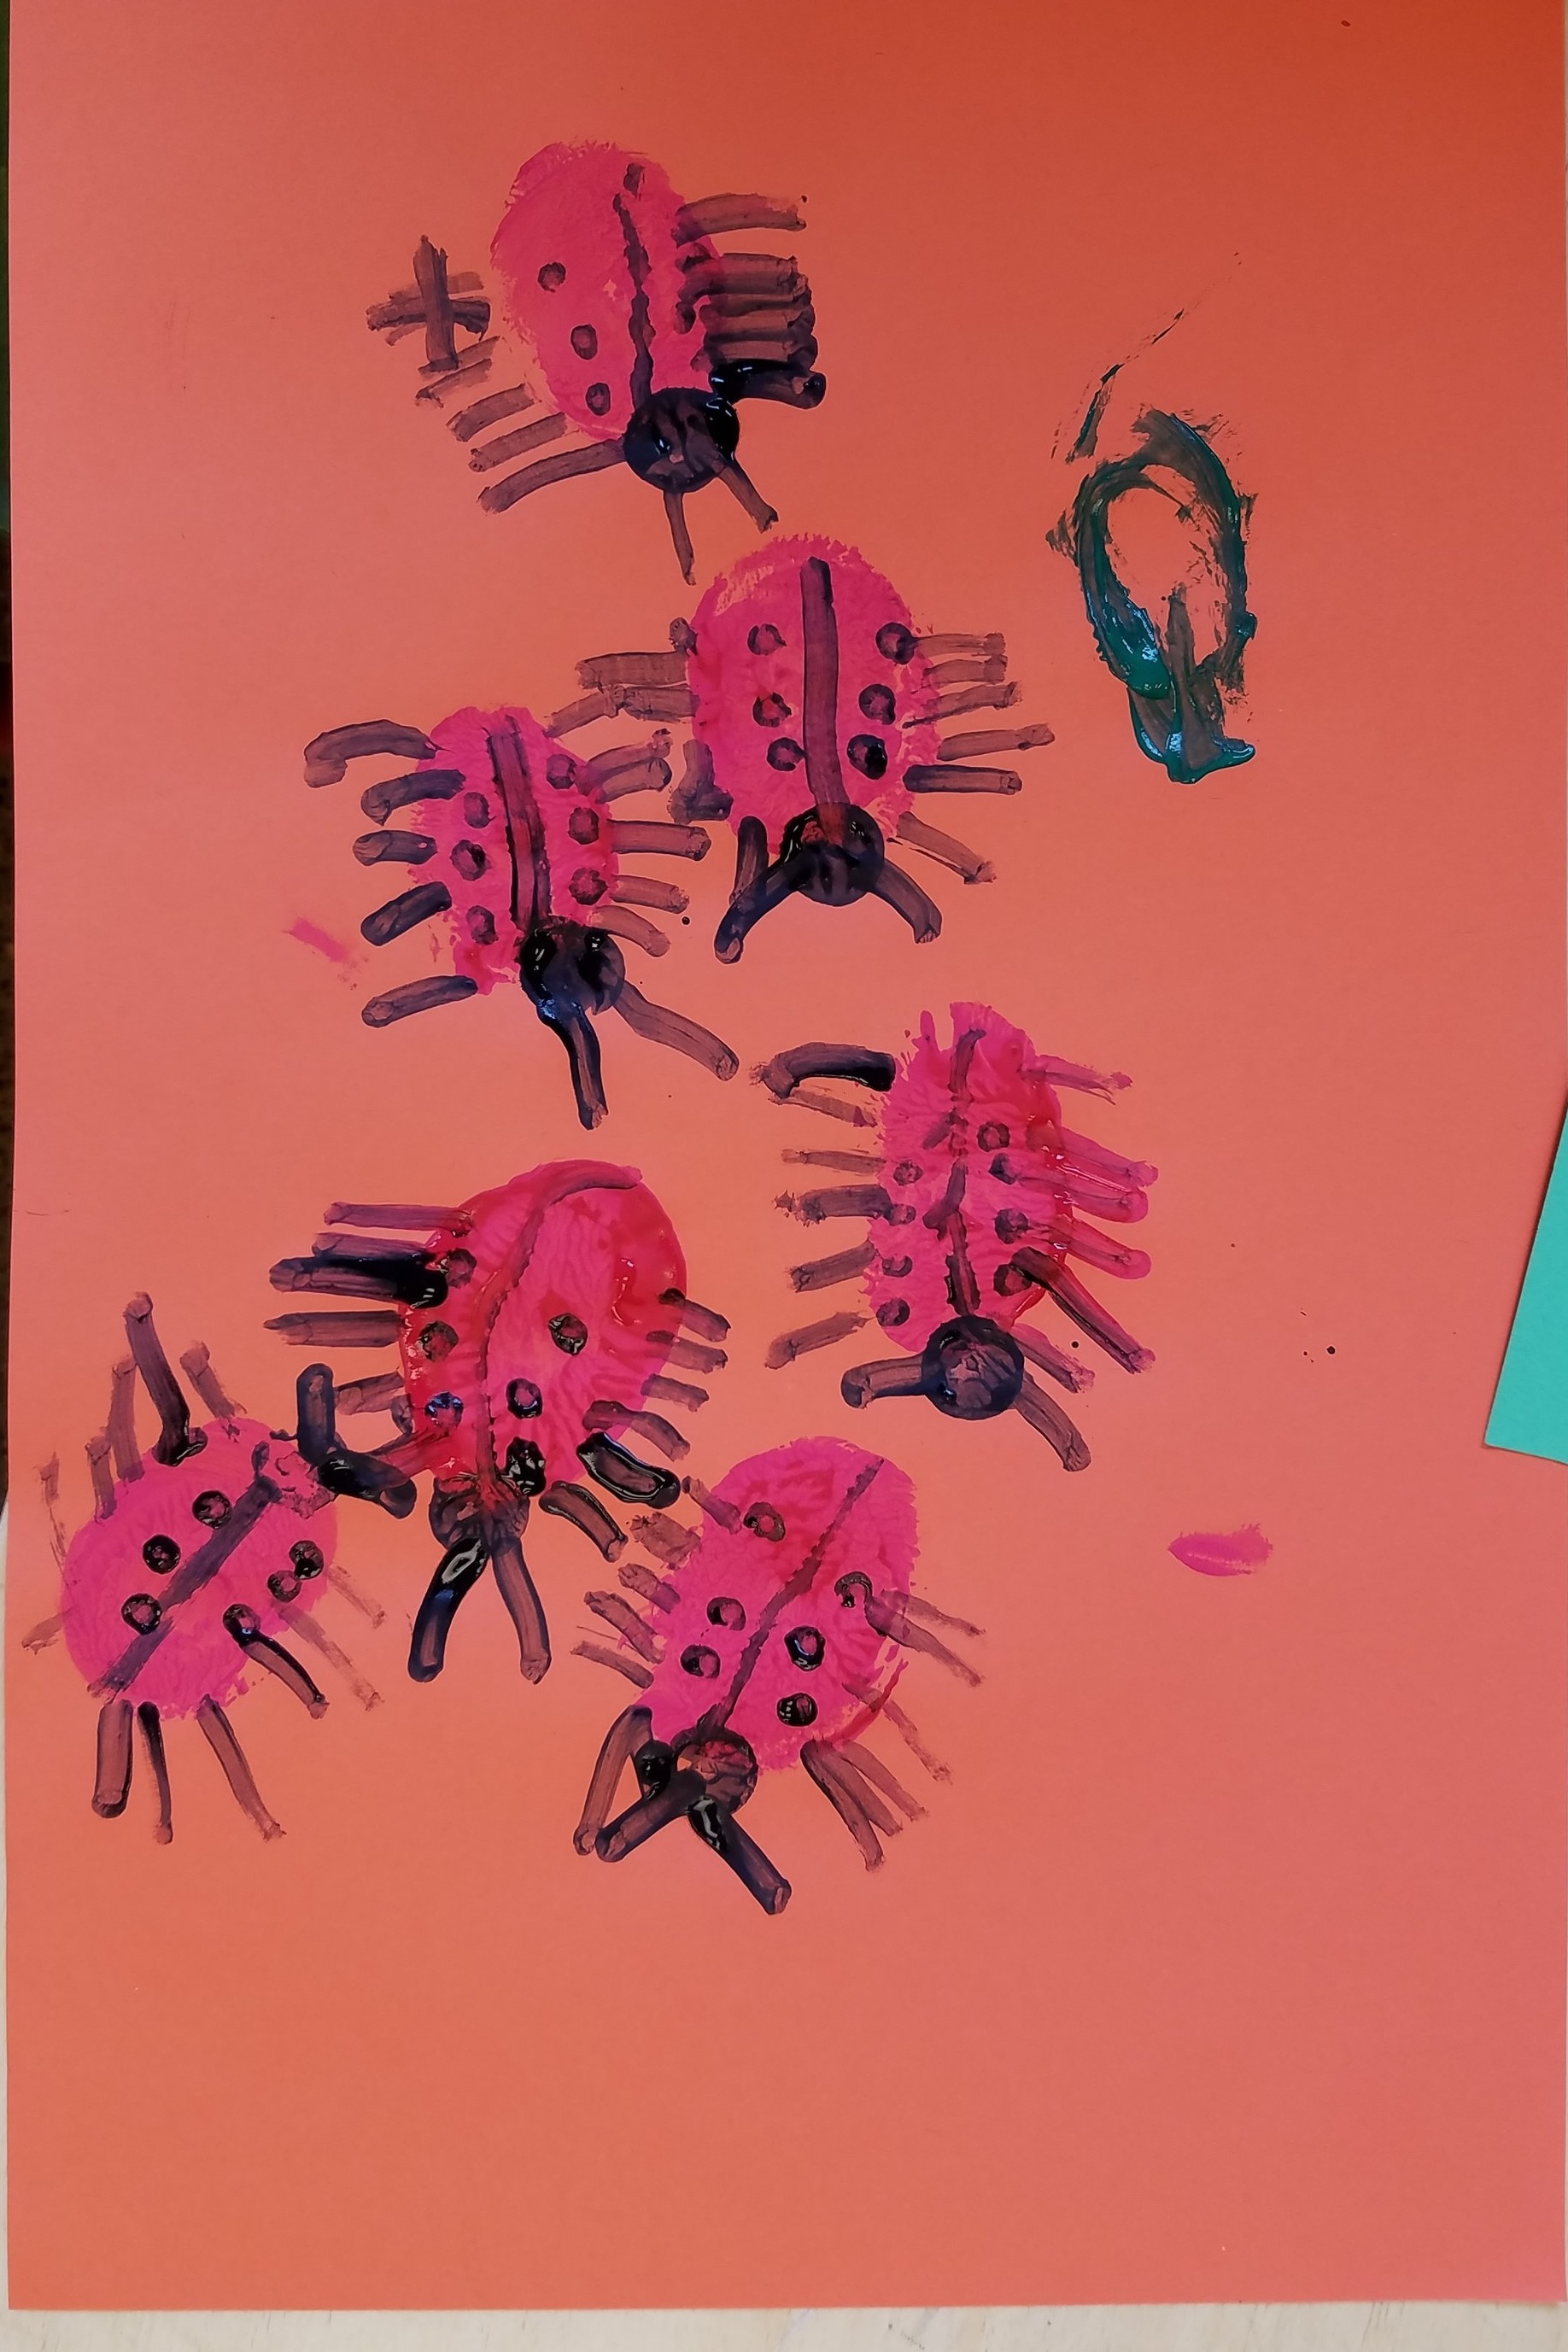
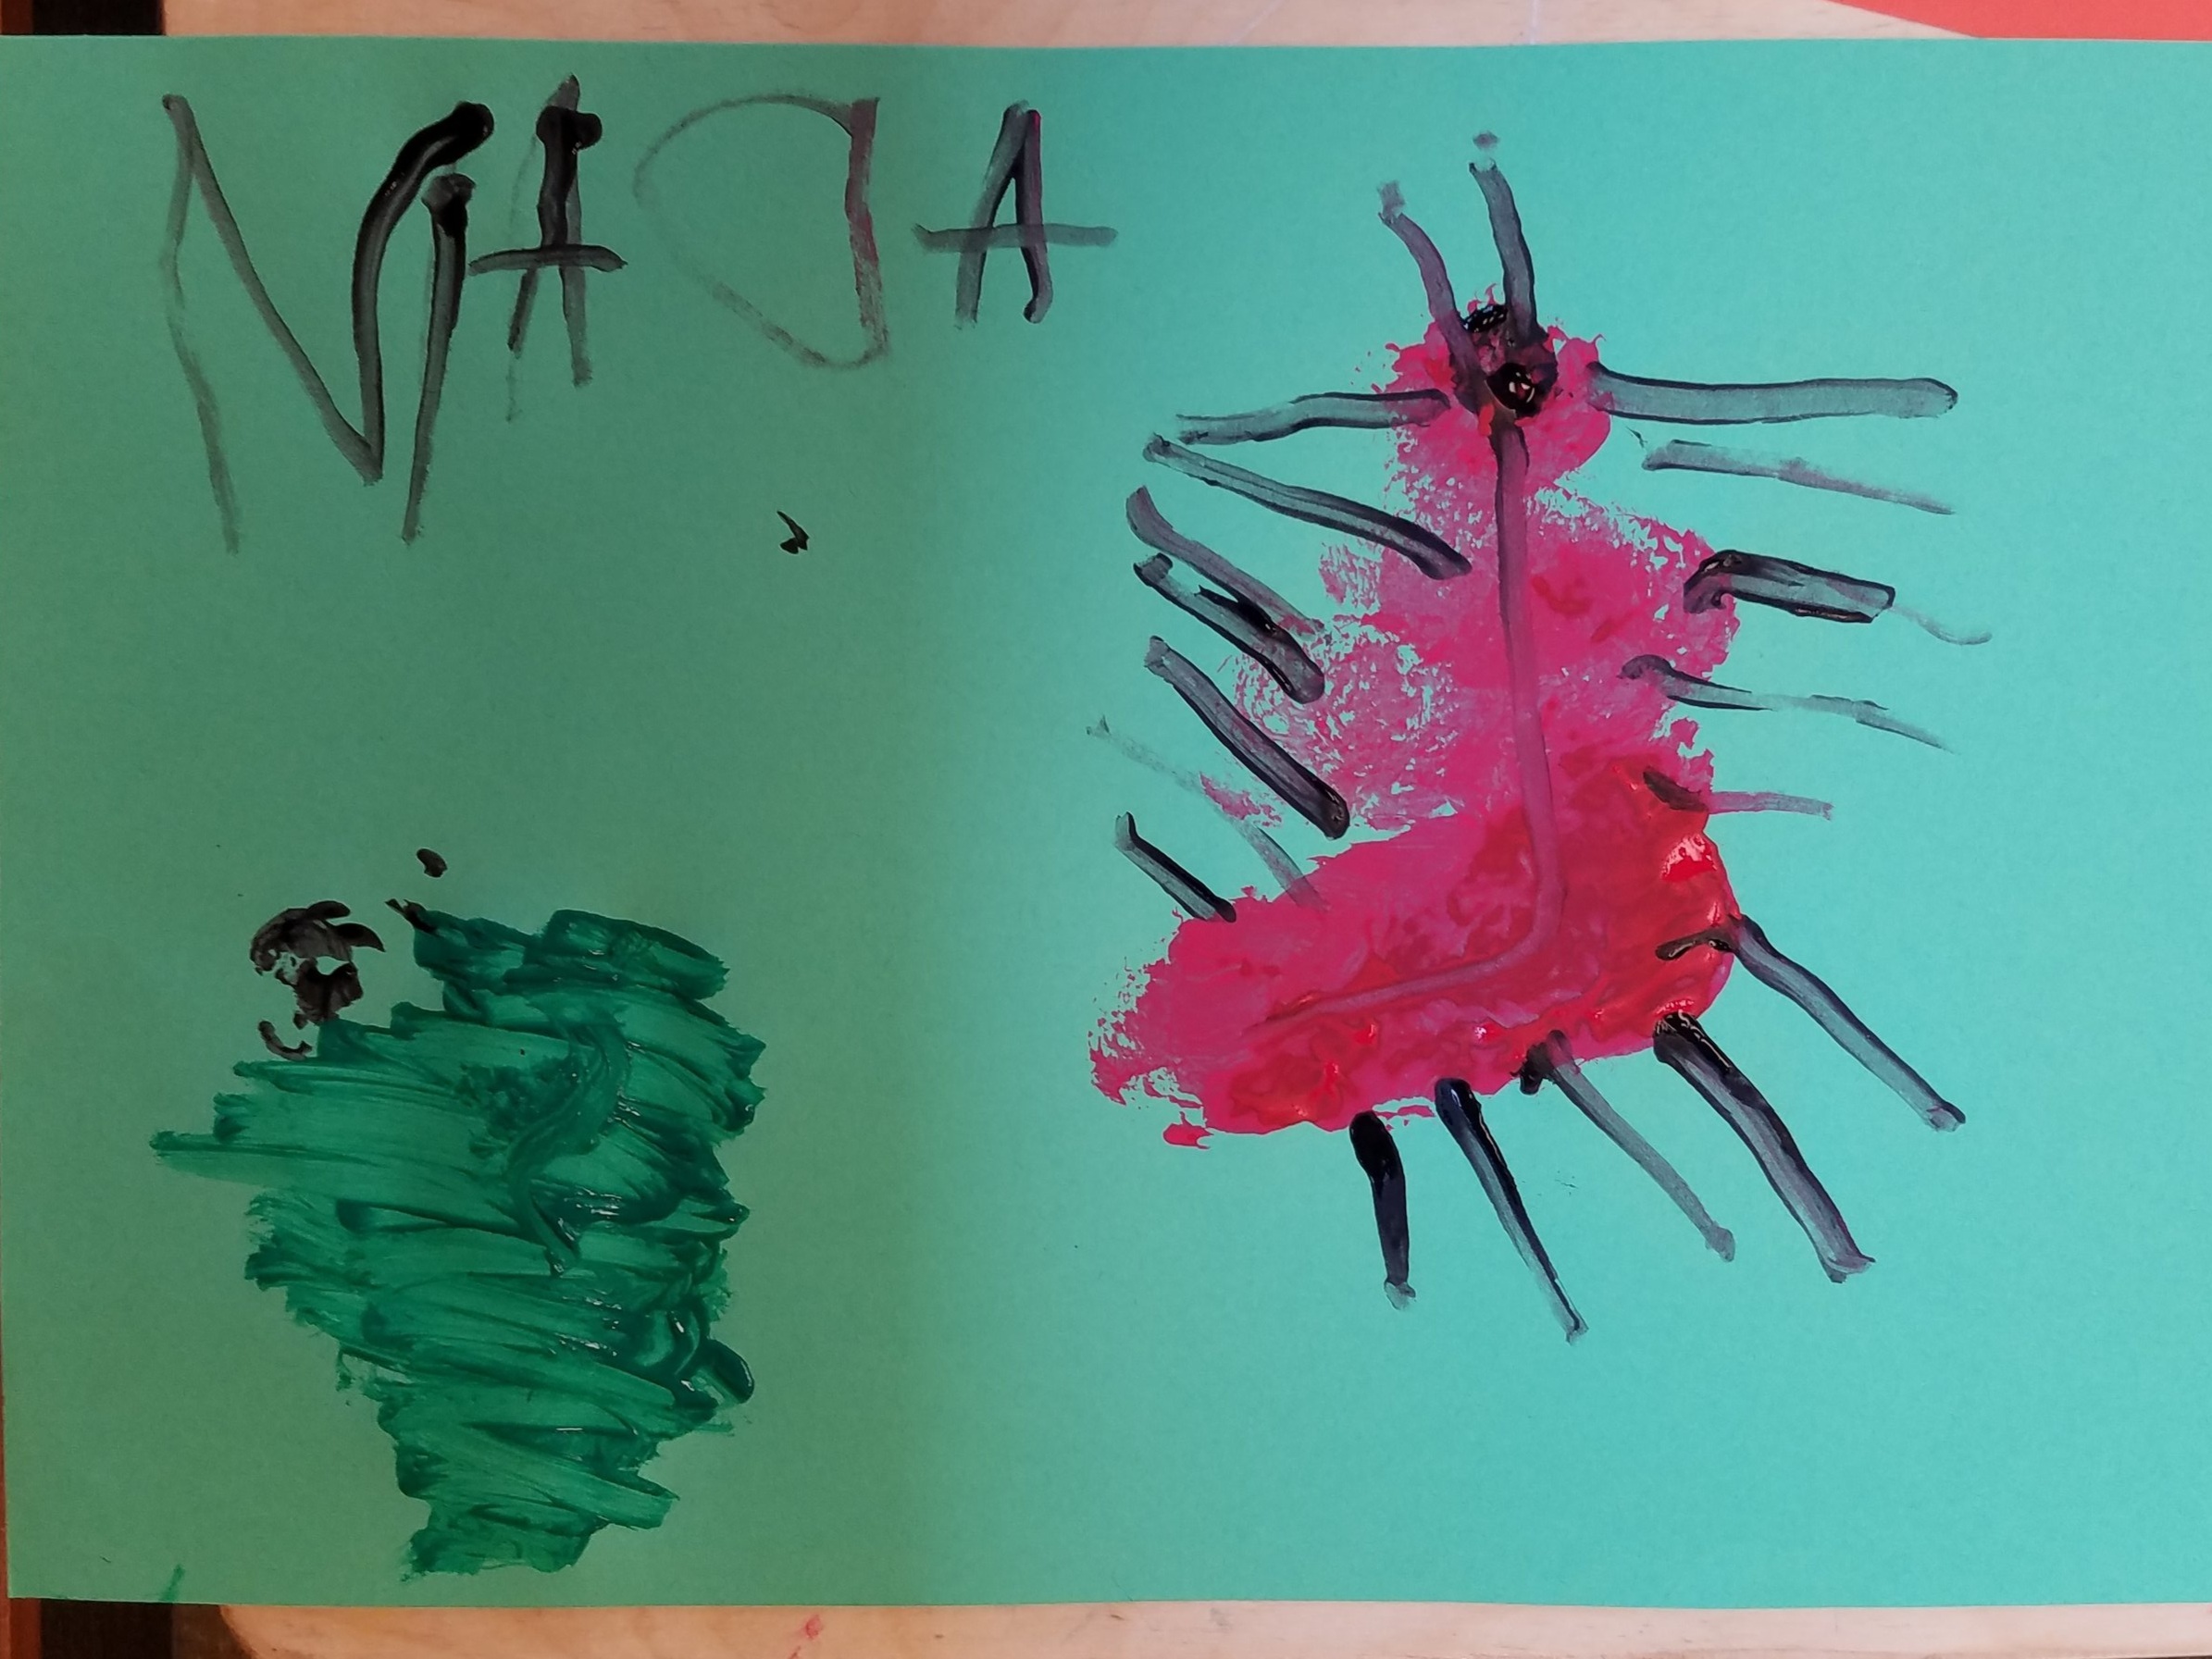
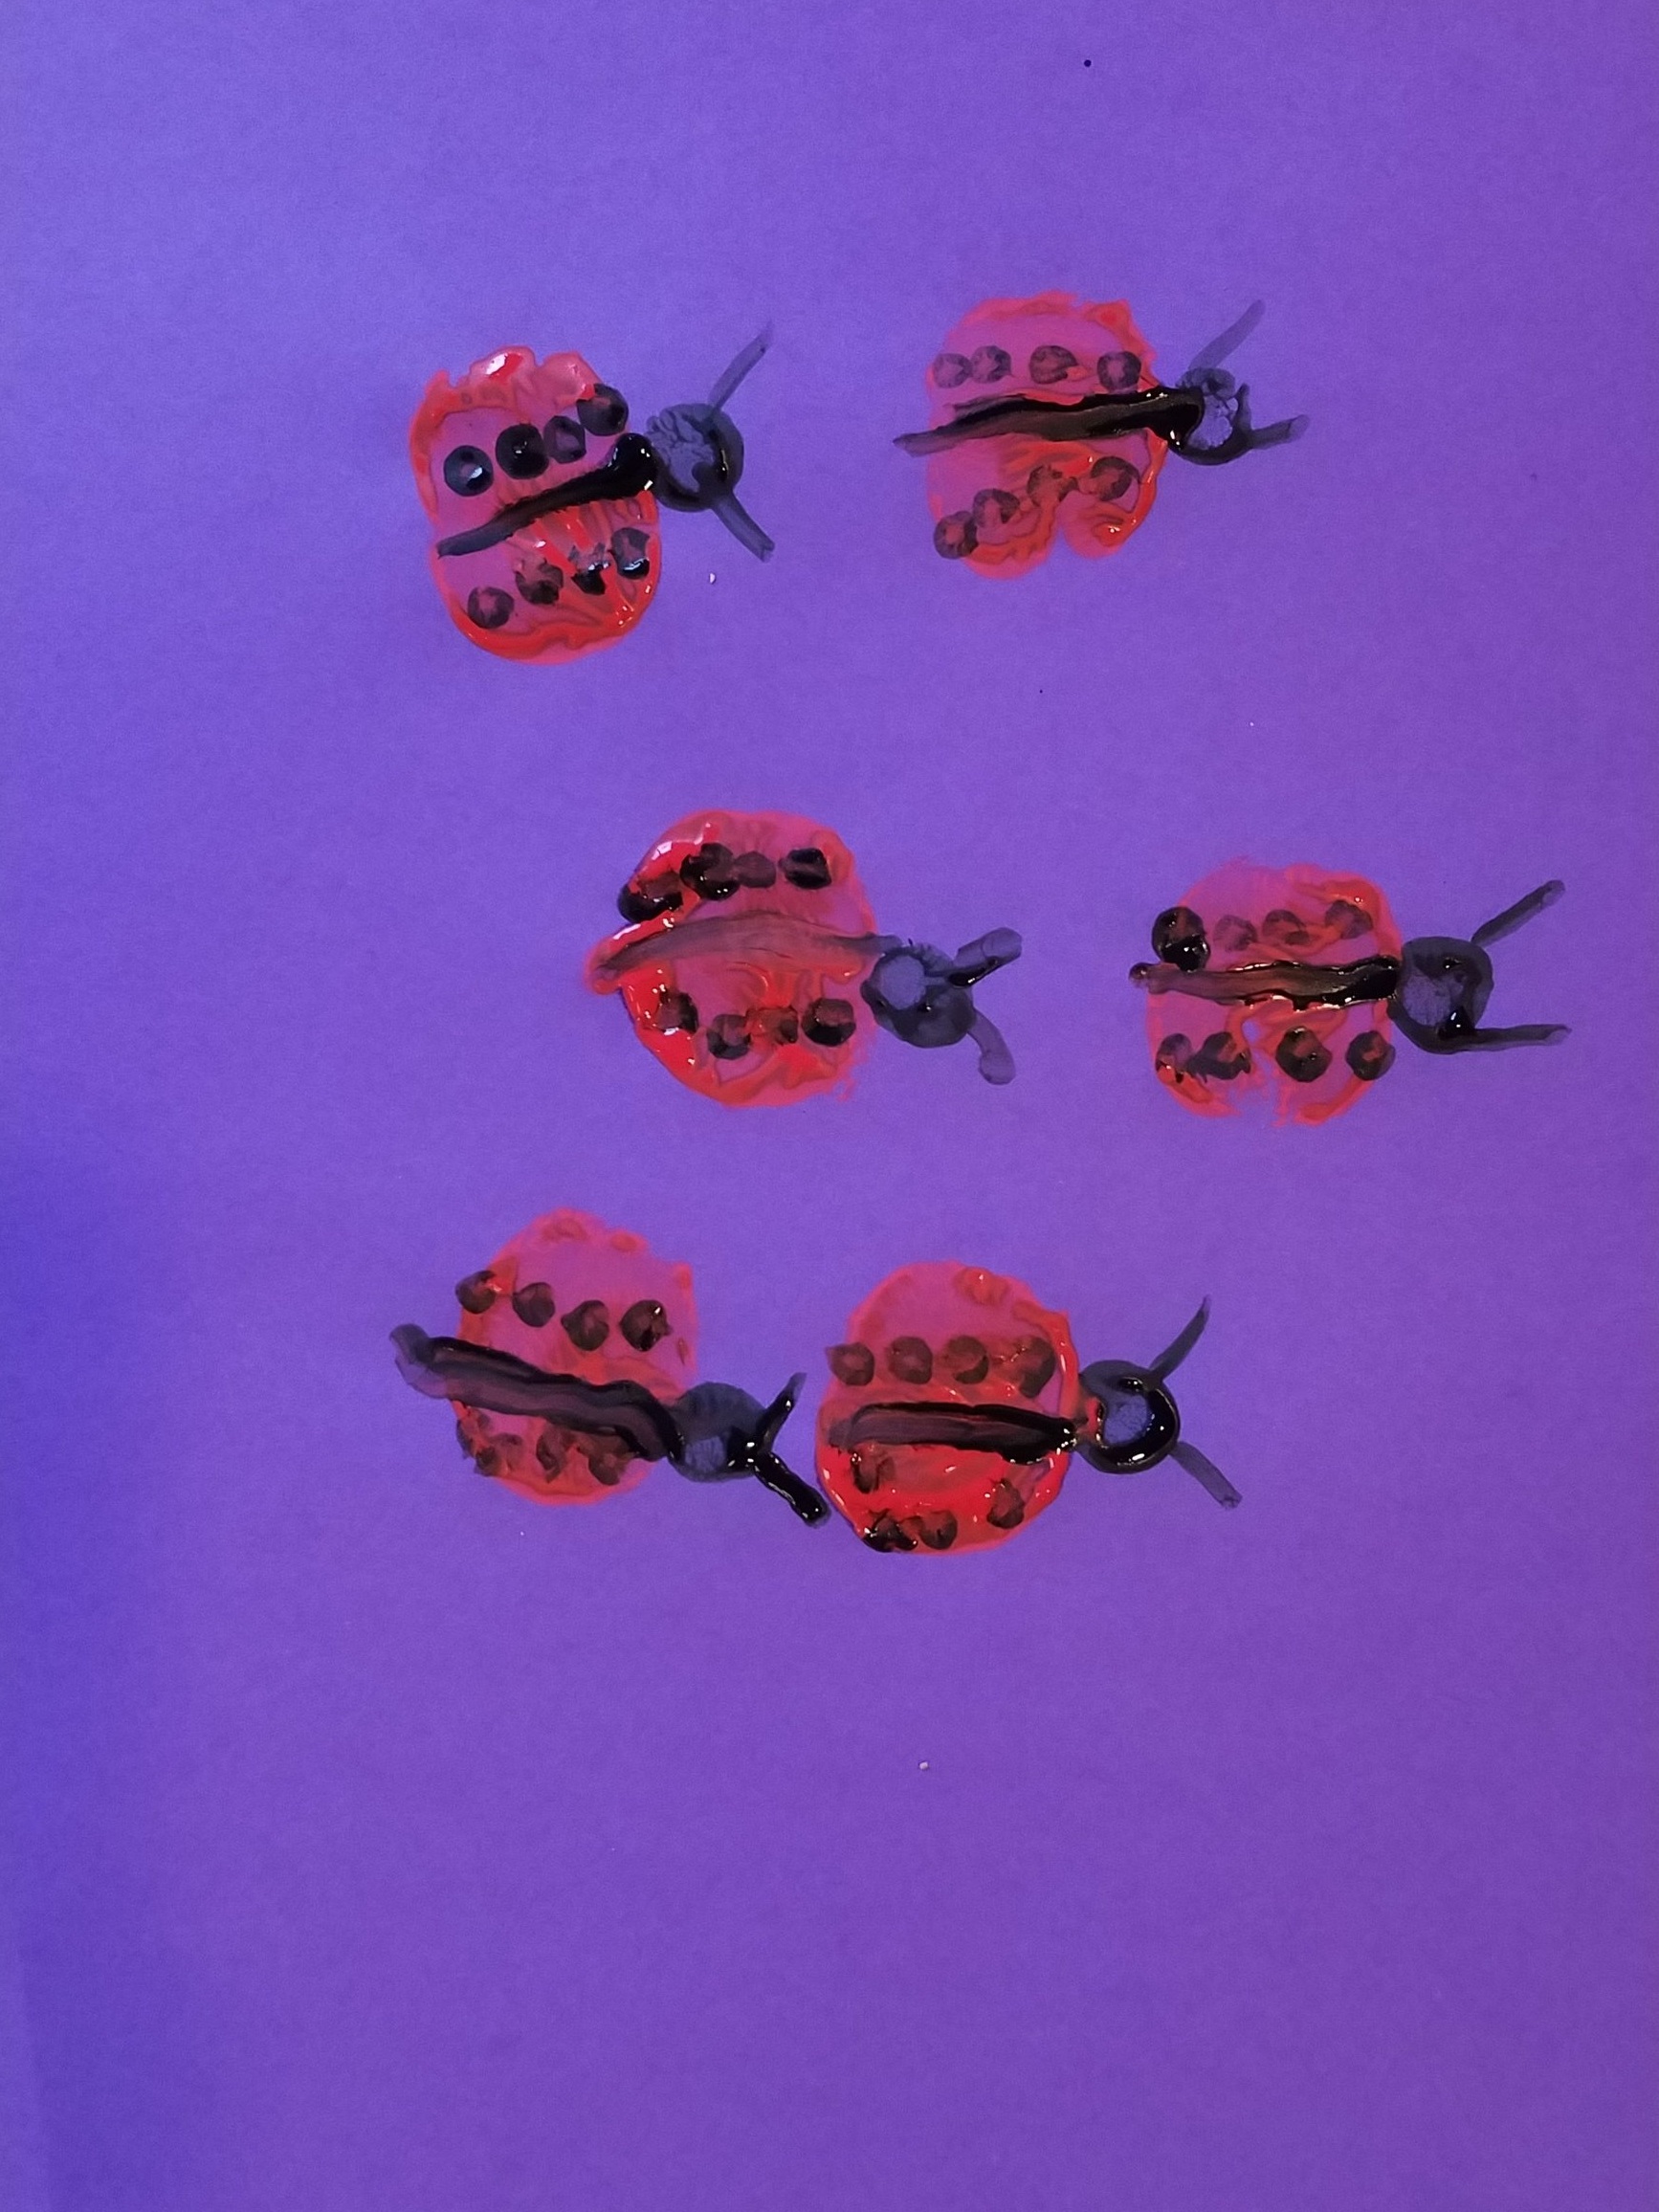
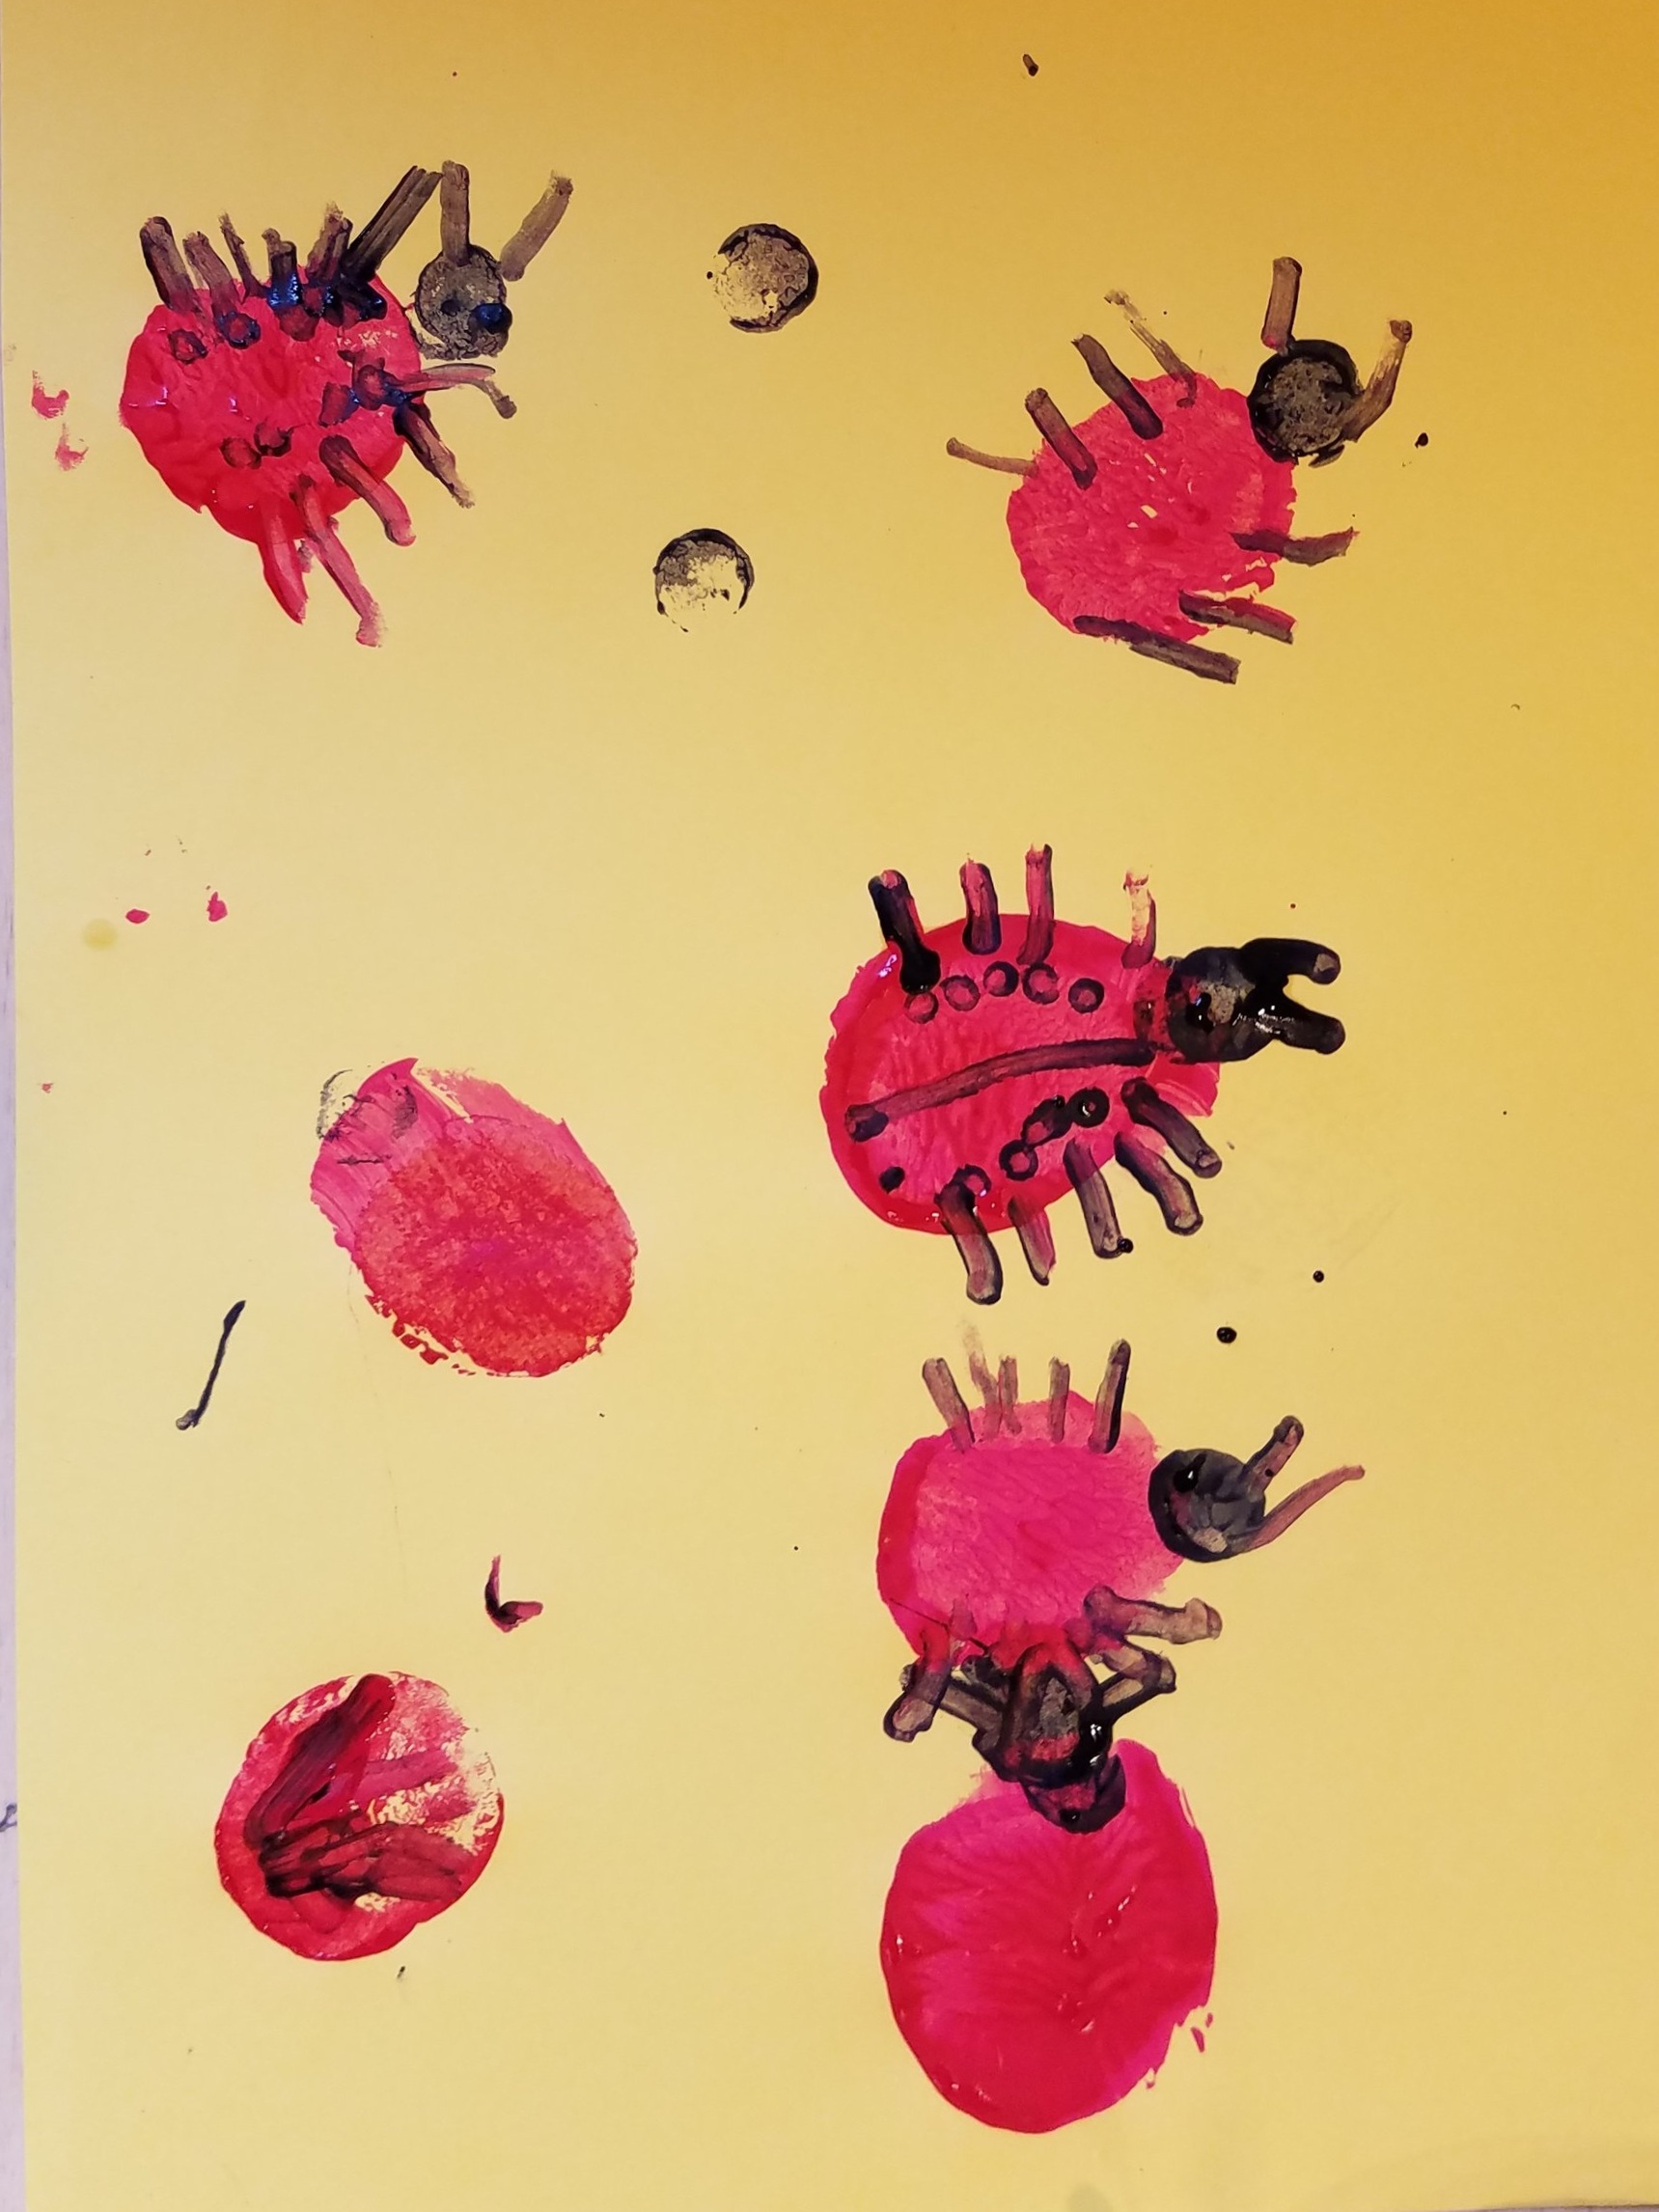
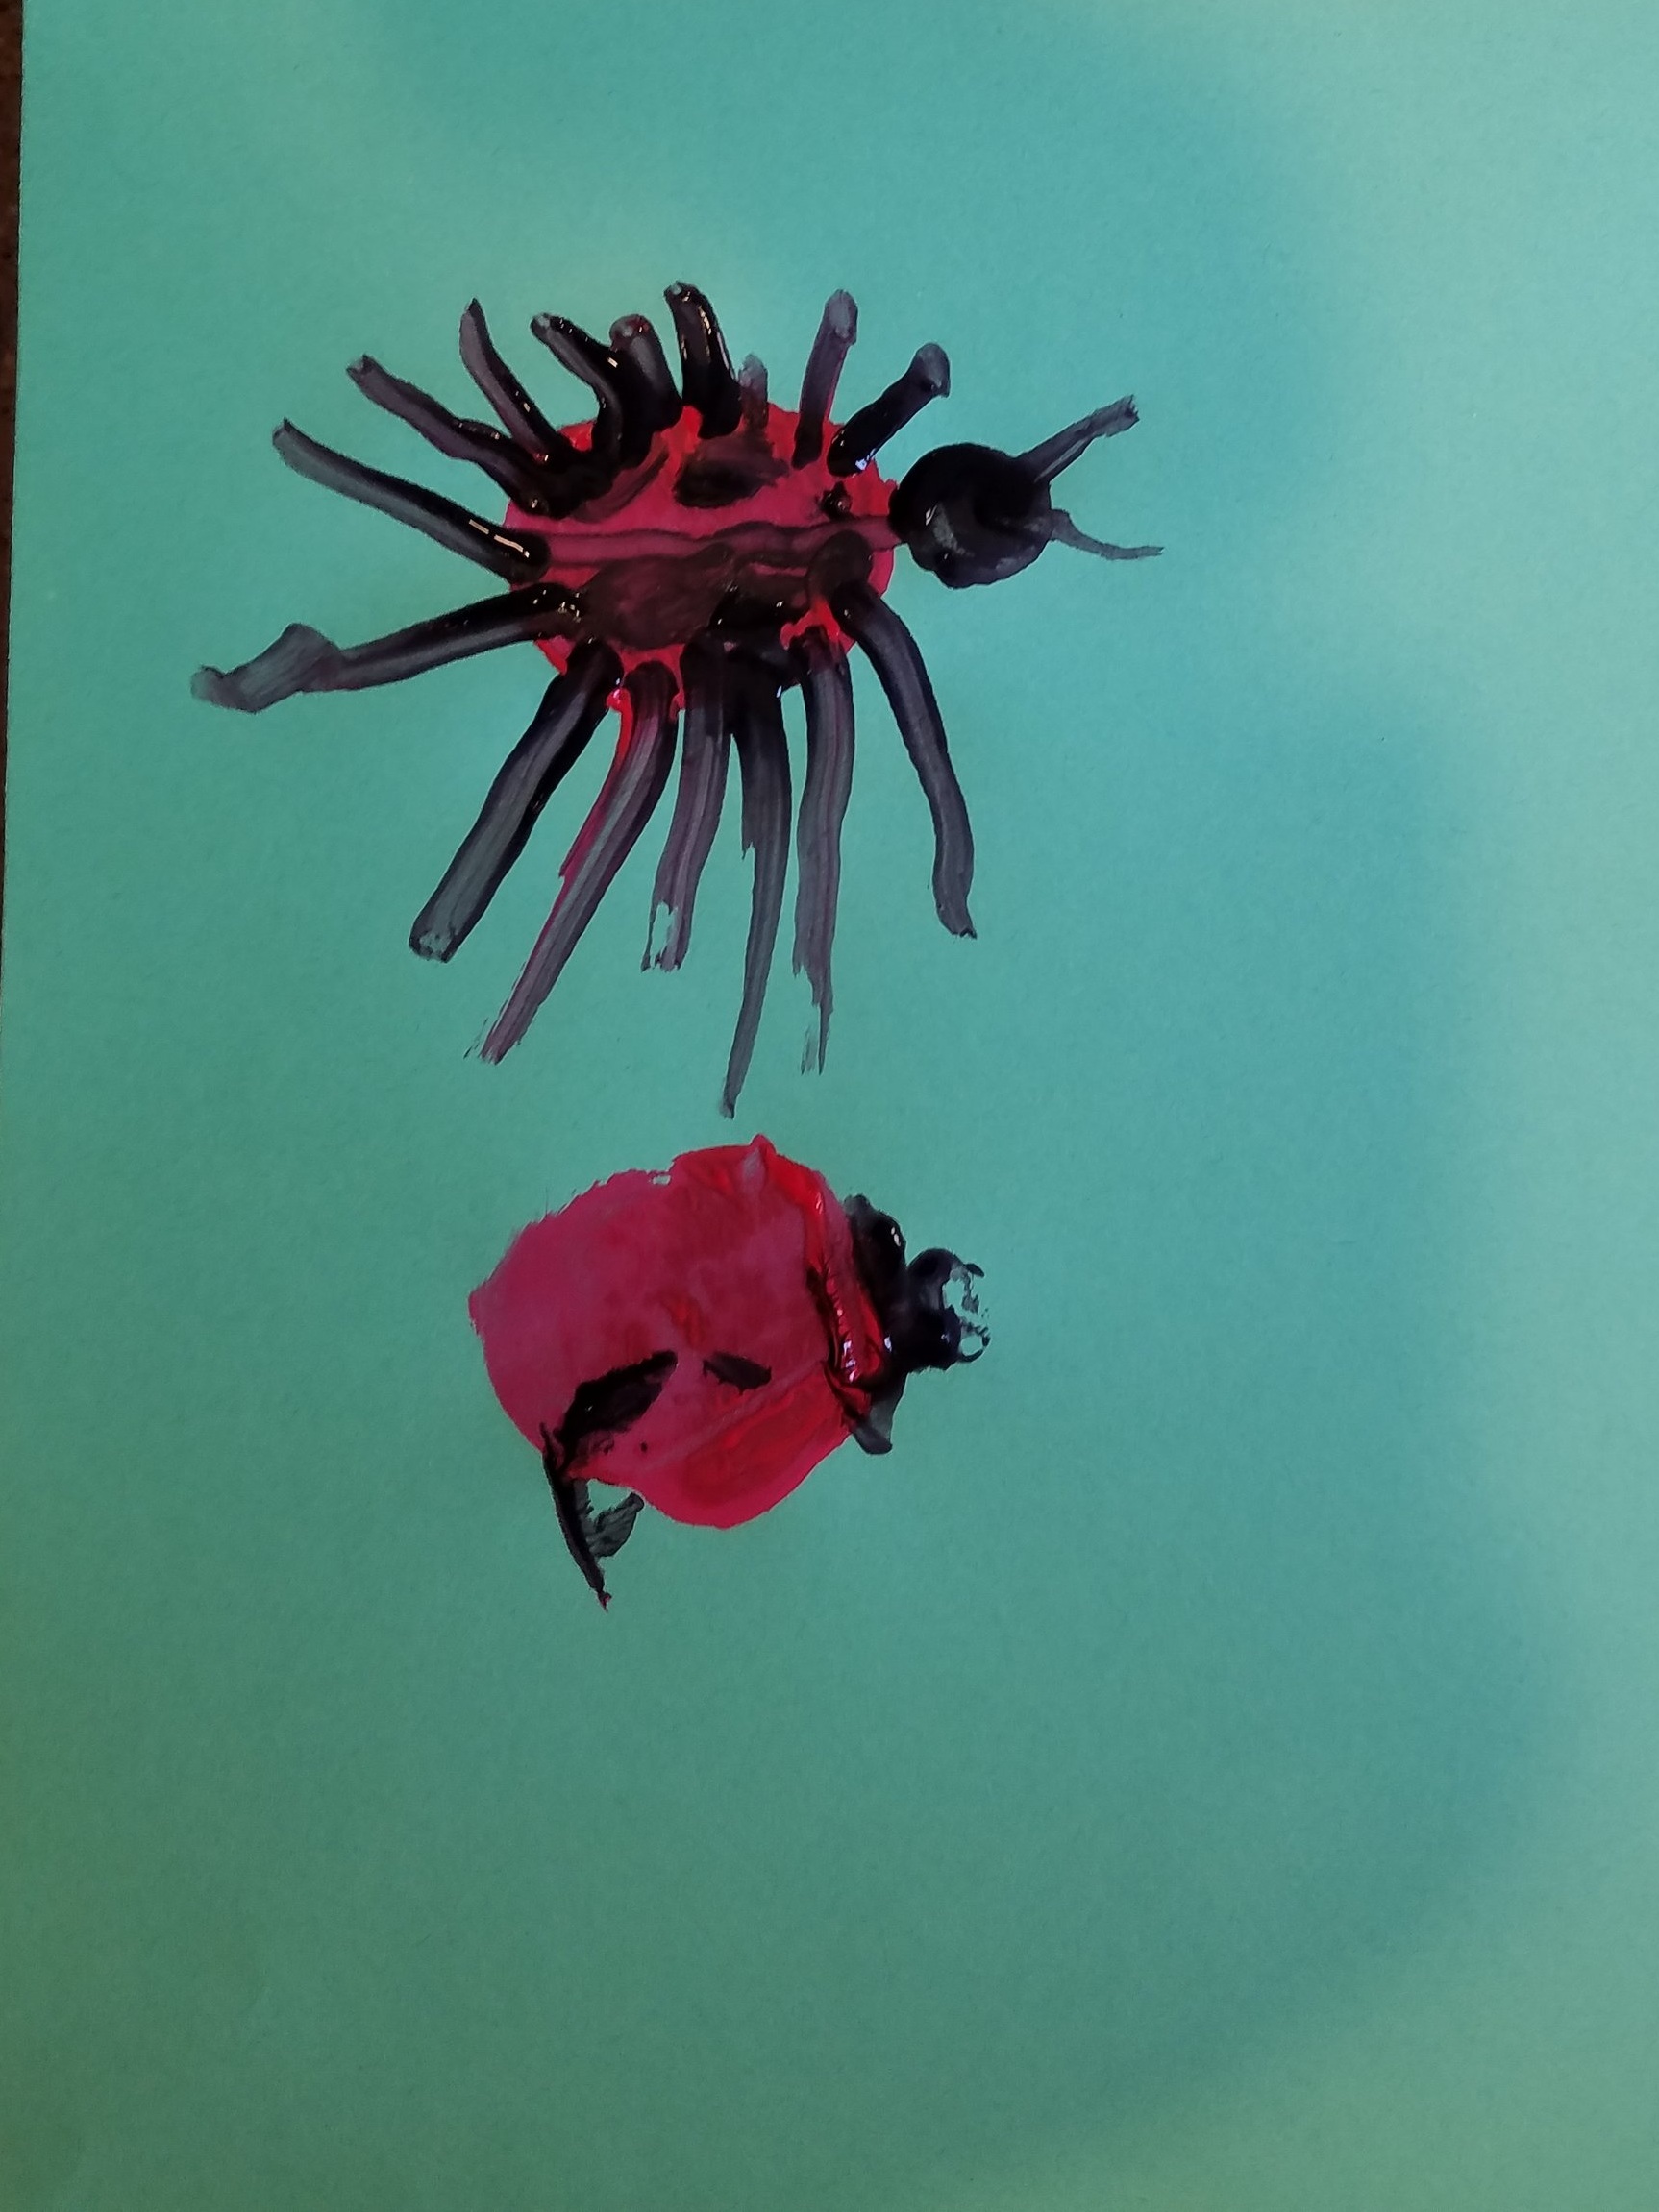
Students will use a potato to stamp a red circle for the body of their ladybug. They will decorate with a head, legs, and spots in unique an individual manner.

“BIG IDEAS”/ ESSENTIAL QUESTION(S)

What make insects different from humans?

Why are insects important to the natural wold?

What is printmaking?

STUDENT OUTCOME OBJECTIVES

Students will:

  1. Learn about nature and the world around them through observation

  2. Implement their new nature knowledge in a printmaking project

  3. Express creativity through art making

PRIOR KNOWLEDGE

Students will need no prior art making knowledge. Any prior ladybug information will be taught to students previous to the art making portion of the day.

LESSON PREPARATION TIMELINE

Before April 2019 - Silverwood instructors outline lesson topics for Doodlebugs

April 2019 - MCAD TA picks which lesson to shadow and which to teach

April 16 - Choose art project

April 23 - Outline structure, decide on associated book, choose coloring page, finalize material plan and prep

April 29 - Silverwood preps materials

April 30 - Before class: prep potatoes, inks and brushes

April 30 - Teaching


EXAMPLES OF ARTWORK

Students will be shown an example of a completed project. During the lesson they will watch a short demonstration by the teaching artist.

ADDITIONAL RESOURCES

Story Time book: The Grouchy Ladybug by Eric Carle

Naturalist lesson with live ladybugs led by Seth Erlab

ASSESSMENT

The assessment is simple child centered and take place in the classroom. There is constant feedback of asking students question about what they were taught as well as invitation to share their own experiences. Students are asked if they enjoyed the art making that day, why if not, and ask about their favorite part of the experience. At the end of the day students are asked what they enjoyed most about the day. After all students have left, all teachers meet briefly to discuss how the day went and note adjustments for the next week.

MATERIALS

Small red potatoes cut in half ( sized to fit in childs hand)

Washable paint (red and black)

Markers

White construction paper - 8.5” x 11”

Towels (for wiping hands)

LEARNING ACTIVITIES AND TIMING

  1. Explore time - children play with various puzzles, toys, games, and can do colouring sheets

  2. Clean up - participants help put away explore time materials

  3. Bathroom break

  4. Circle time - topic of the day is introduced, participants are asked about their mood (answer by pointing at a ladybug drawn on the board that matching their emotion, happy, mad, sleepy, etc.)

  5. Circle time - question of the day: where do you go to feel safe? the ‘magic finger’ will point at a participant that then introduces themselves and tells everyone where they go to feel safe

  6. Nature lesson - participants stay on the rug as naturalist shows the live ladybugs and tells about their habitat, what they do for plants and describes the different parts of them

    1. Ladybugs are actually beetles

    2. Ladybugs are brightly colored to warn predators to stay away because they are toxic to some animals, not to humans.

    3. Ladybugs eat aphids and can eat almost 5,000 in their lifetime.

    4. Ladybugs hibernate in groups of adults over the winter

    5. It is a myth that you can tell a ladybug’s age by counting its spots, but it is not true.

    6. Ladybugs can fly when they lift up their wing casings

    7. Ladybugs eat aphids and other insects

    8. Baby ladybugs actually look like tiny alligators and are called larva

  7. Snack time

  8. Story time - while participants eat their snack, read a story of a related topic

  9. Clean up from snack

  10. Art time - participants will gather on the rug and be shown a finished example of the project. teaching artist demonstrates the printmaking technique and project step by step

    1. tell students what the project is - ladybugs stamps made from potatoes

    2. show finished example

    3. show materials (paper, potatoes, paint)

    4. first, write name on paper

    5. take your potato half and dip it in the red paint

    6. stamp as many lady bug bodies as you want (at least two, no more than six)

    7. decorate with the other parts of a ladybug

      1. head

      2. how many legs? (ask students as it is mentioned in the nature talk, students can put as many as they like)

      3. spots!

Children take their seats and materials will be passed out

  1. Clean up - hands cleaned, papers left to dry

  2. Prep to go outside - put on jackets and boots as needed

  3. Outside time - walk, observe ladybugs, play a game

  4. Return - head back inside, gather all belongings

If stamped bodies take too long to dry, stamp bodies, go outside, then come back in and decorate the ladybugs

TEACHING ARTIST REFLECTION

The overall program structure is great and something the participants are used to and responsive to. I’ve been in the classroom enough and playing alongside participants and helping out as needed so I don’t think it will be disruptive or jarring to have me lead a lesson. My biggest concern is, knowing this group of students, that there will be some craziness with the live ladybugs. They are an enthusiastic group and not always the best at following instructions.


Caregiver Card for Mother's Day

Caregiver Card for Mother's Day

Mother’s Day Card

School/Teacher/Classroom or Arts Organization/Mentor: Expo Elementary School/Ulla

Grade Level or Age of Participants: 1st grade

 MCAD Teaching Artist:  Avery Ellis Nordin

 Number of Students: 24

Visual Arts Content or Standards

 K-3 3. Artistic Process: Perform or Present 1. Perform or present in a variety of contexts in the arts area using the artistic foundations. Visual Arts 0.3.1.5.2 2. Reflect on a presentation based on the feedback of others.

 Overview of Project

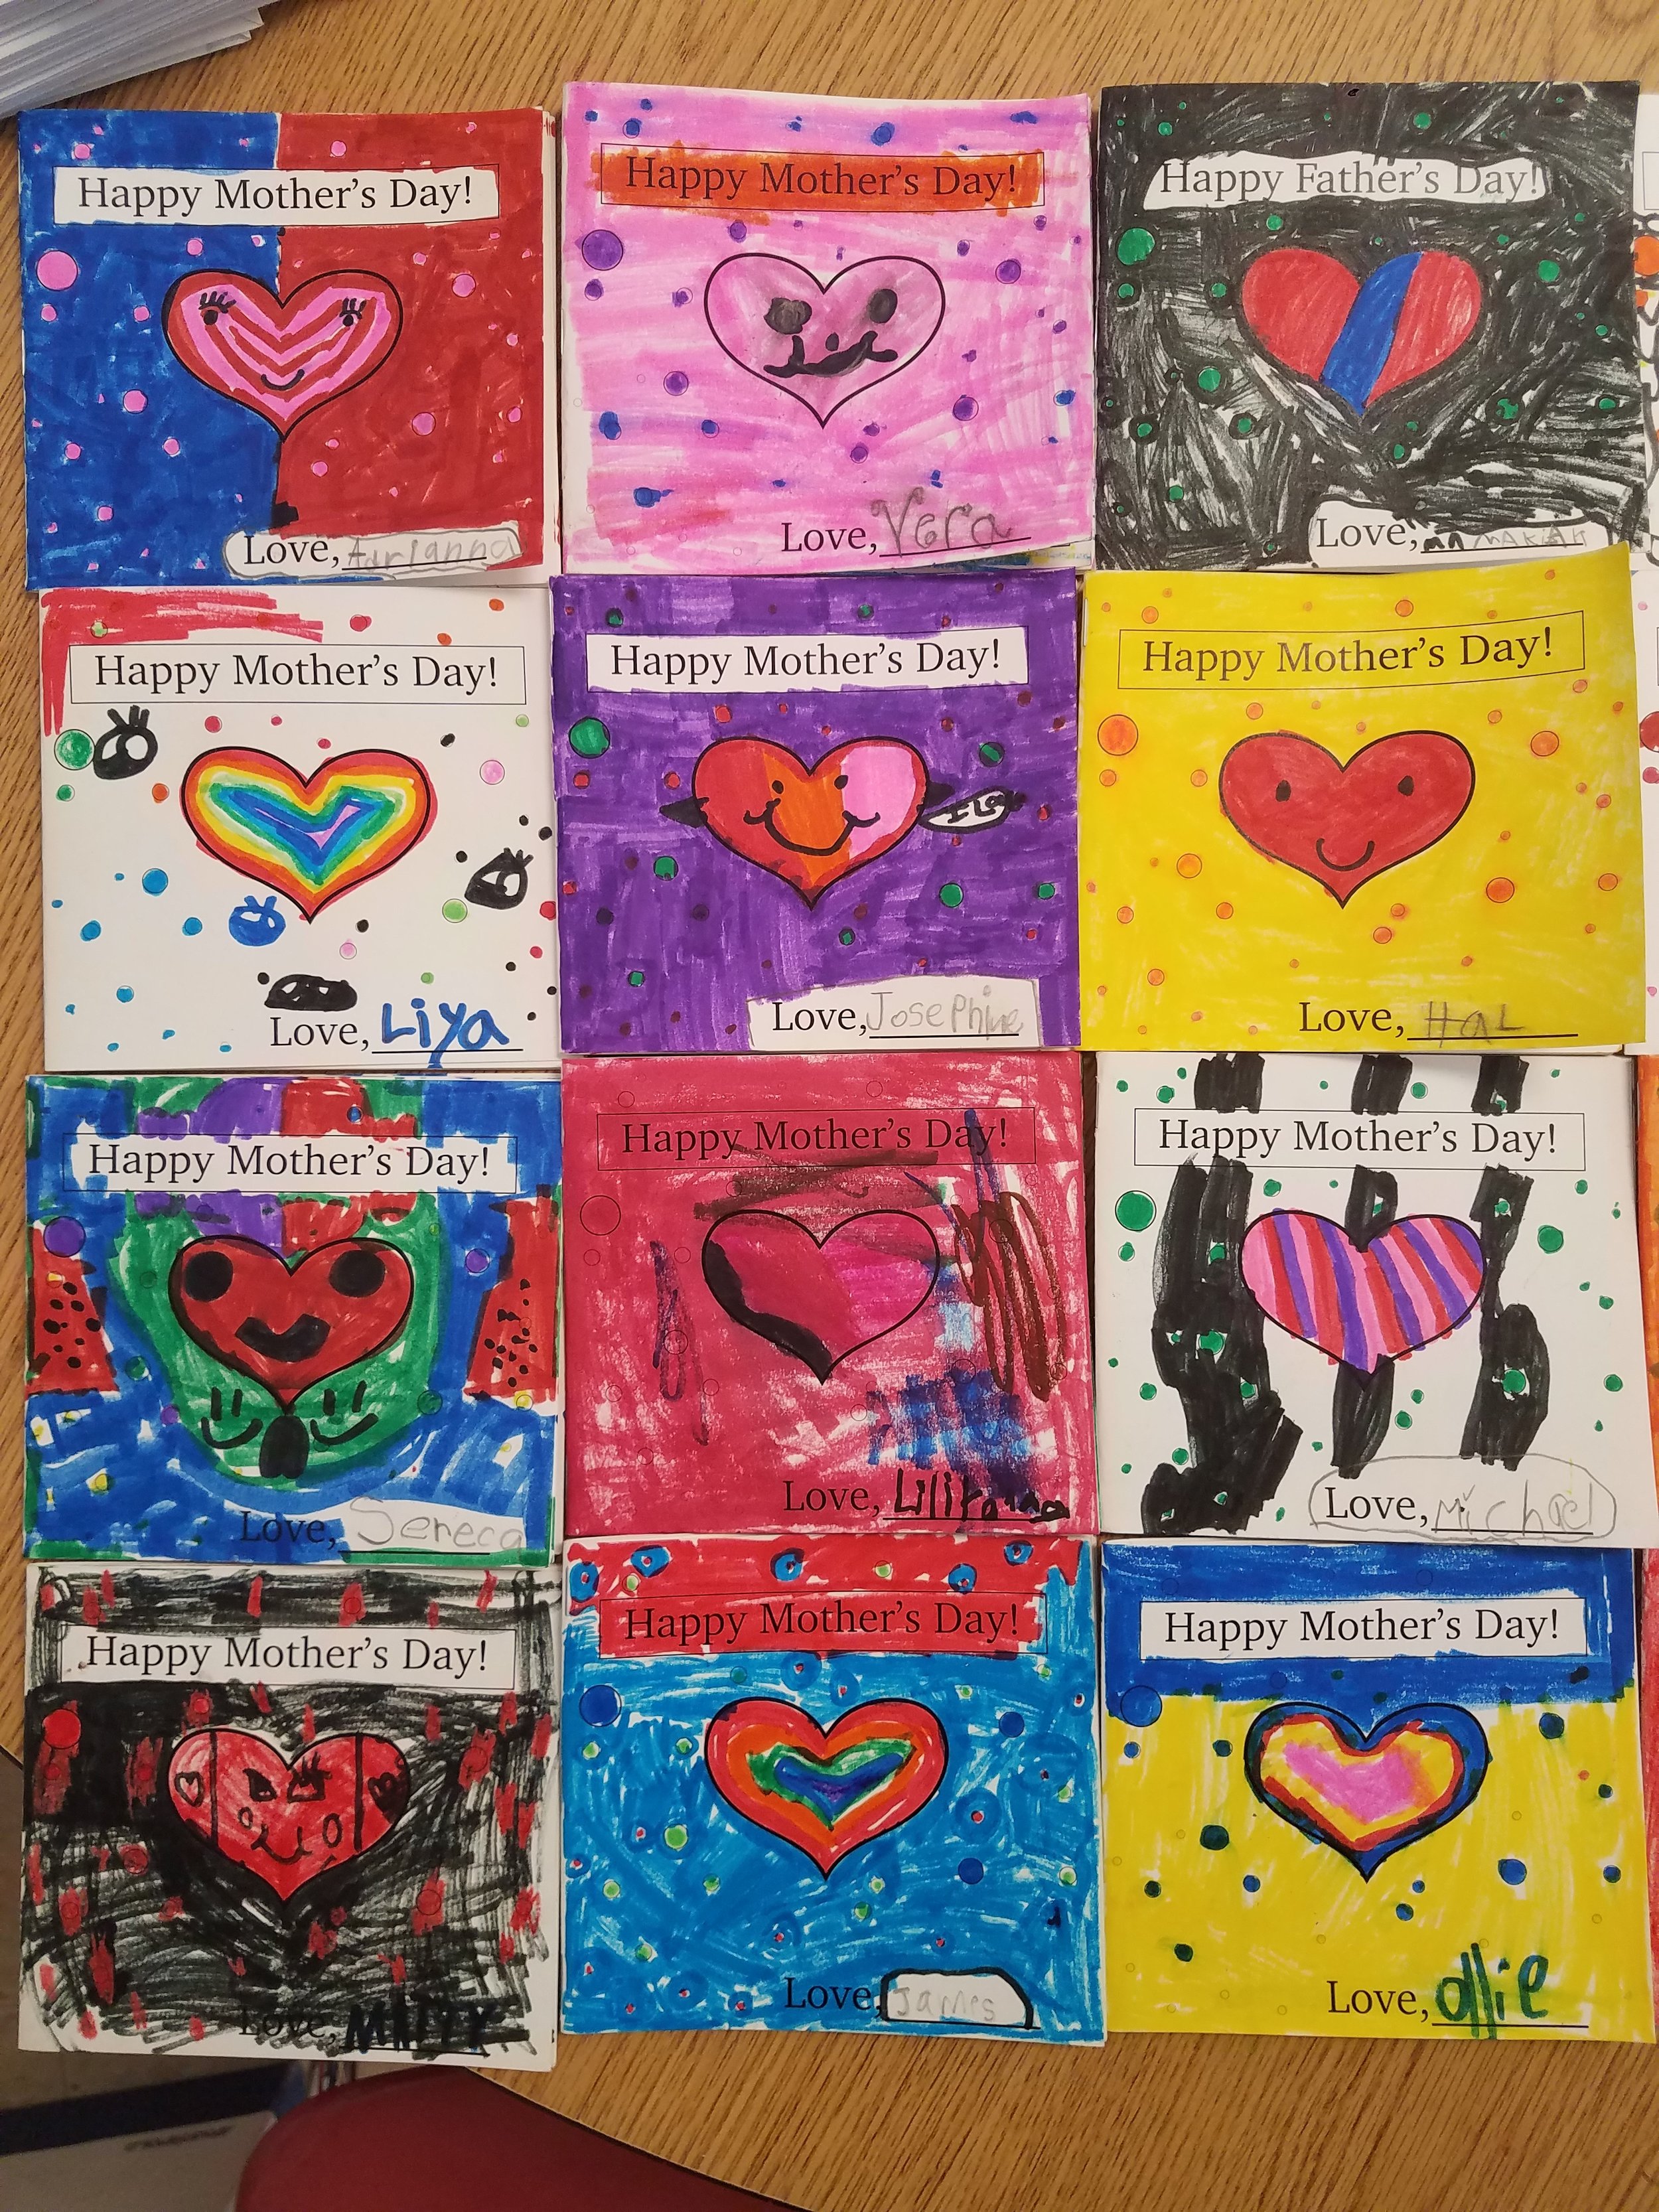
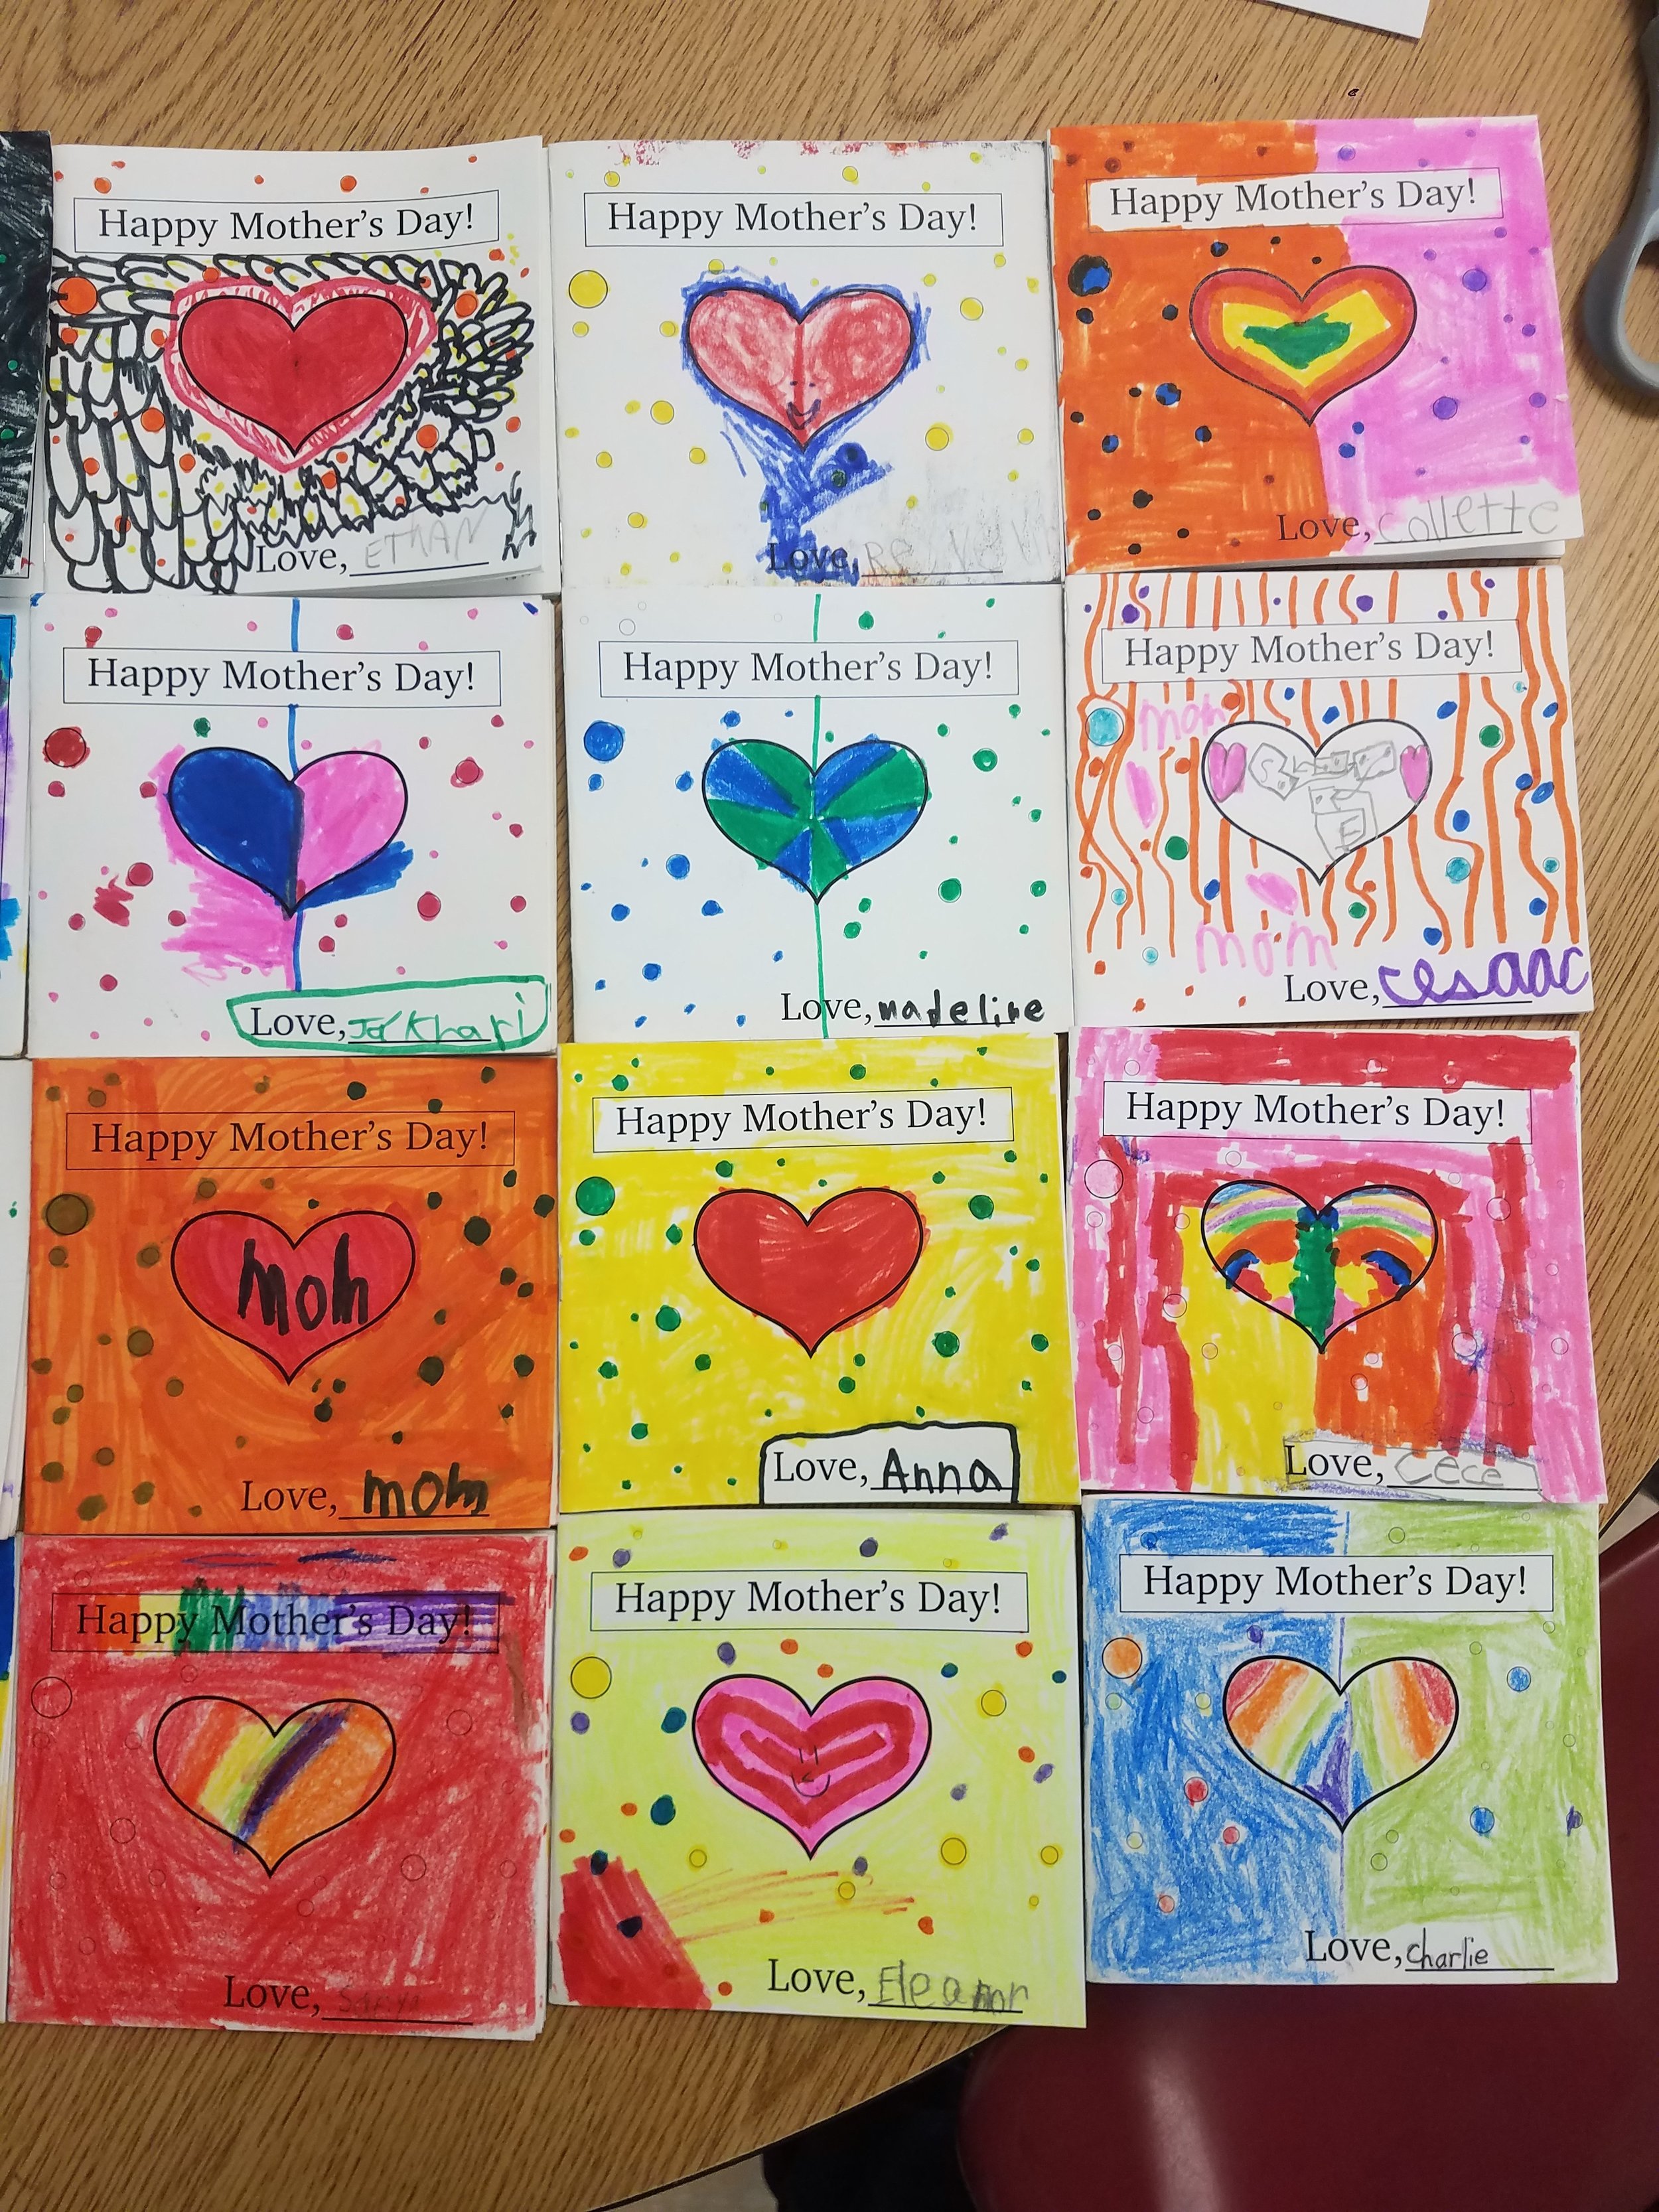
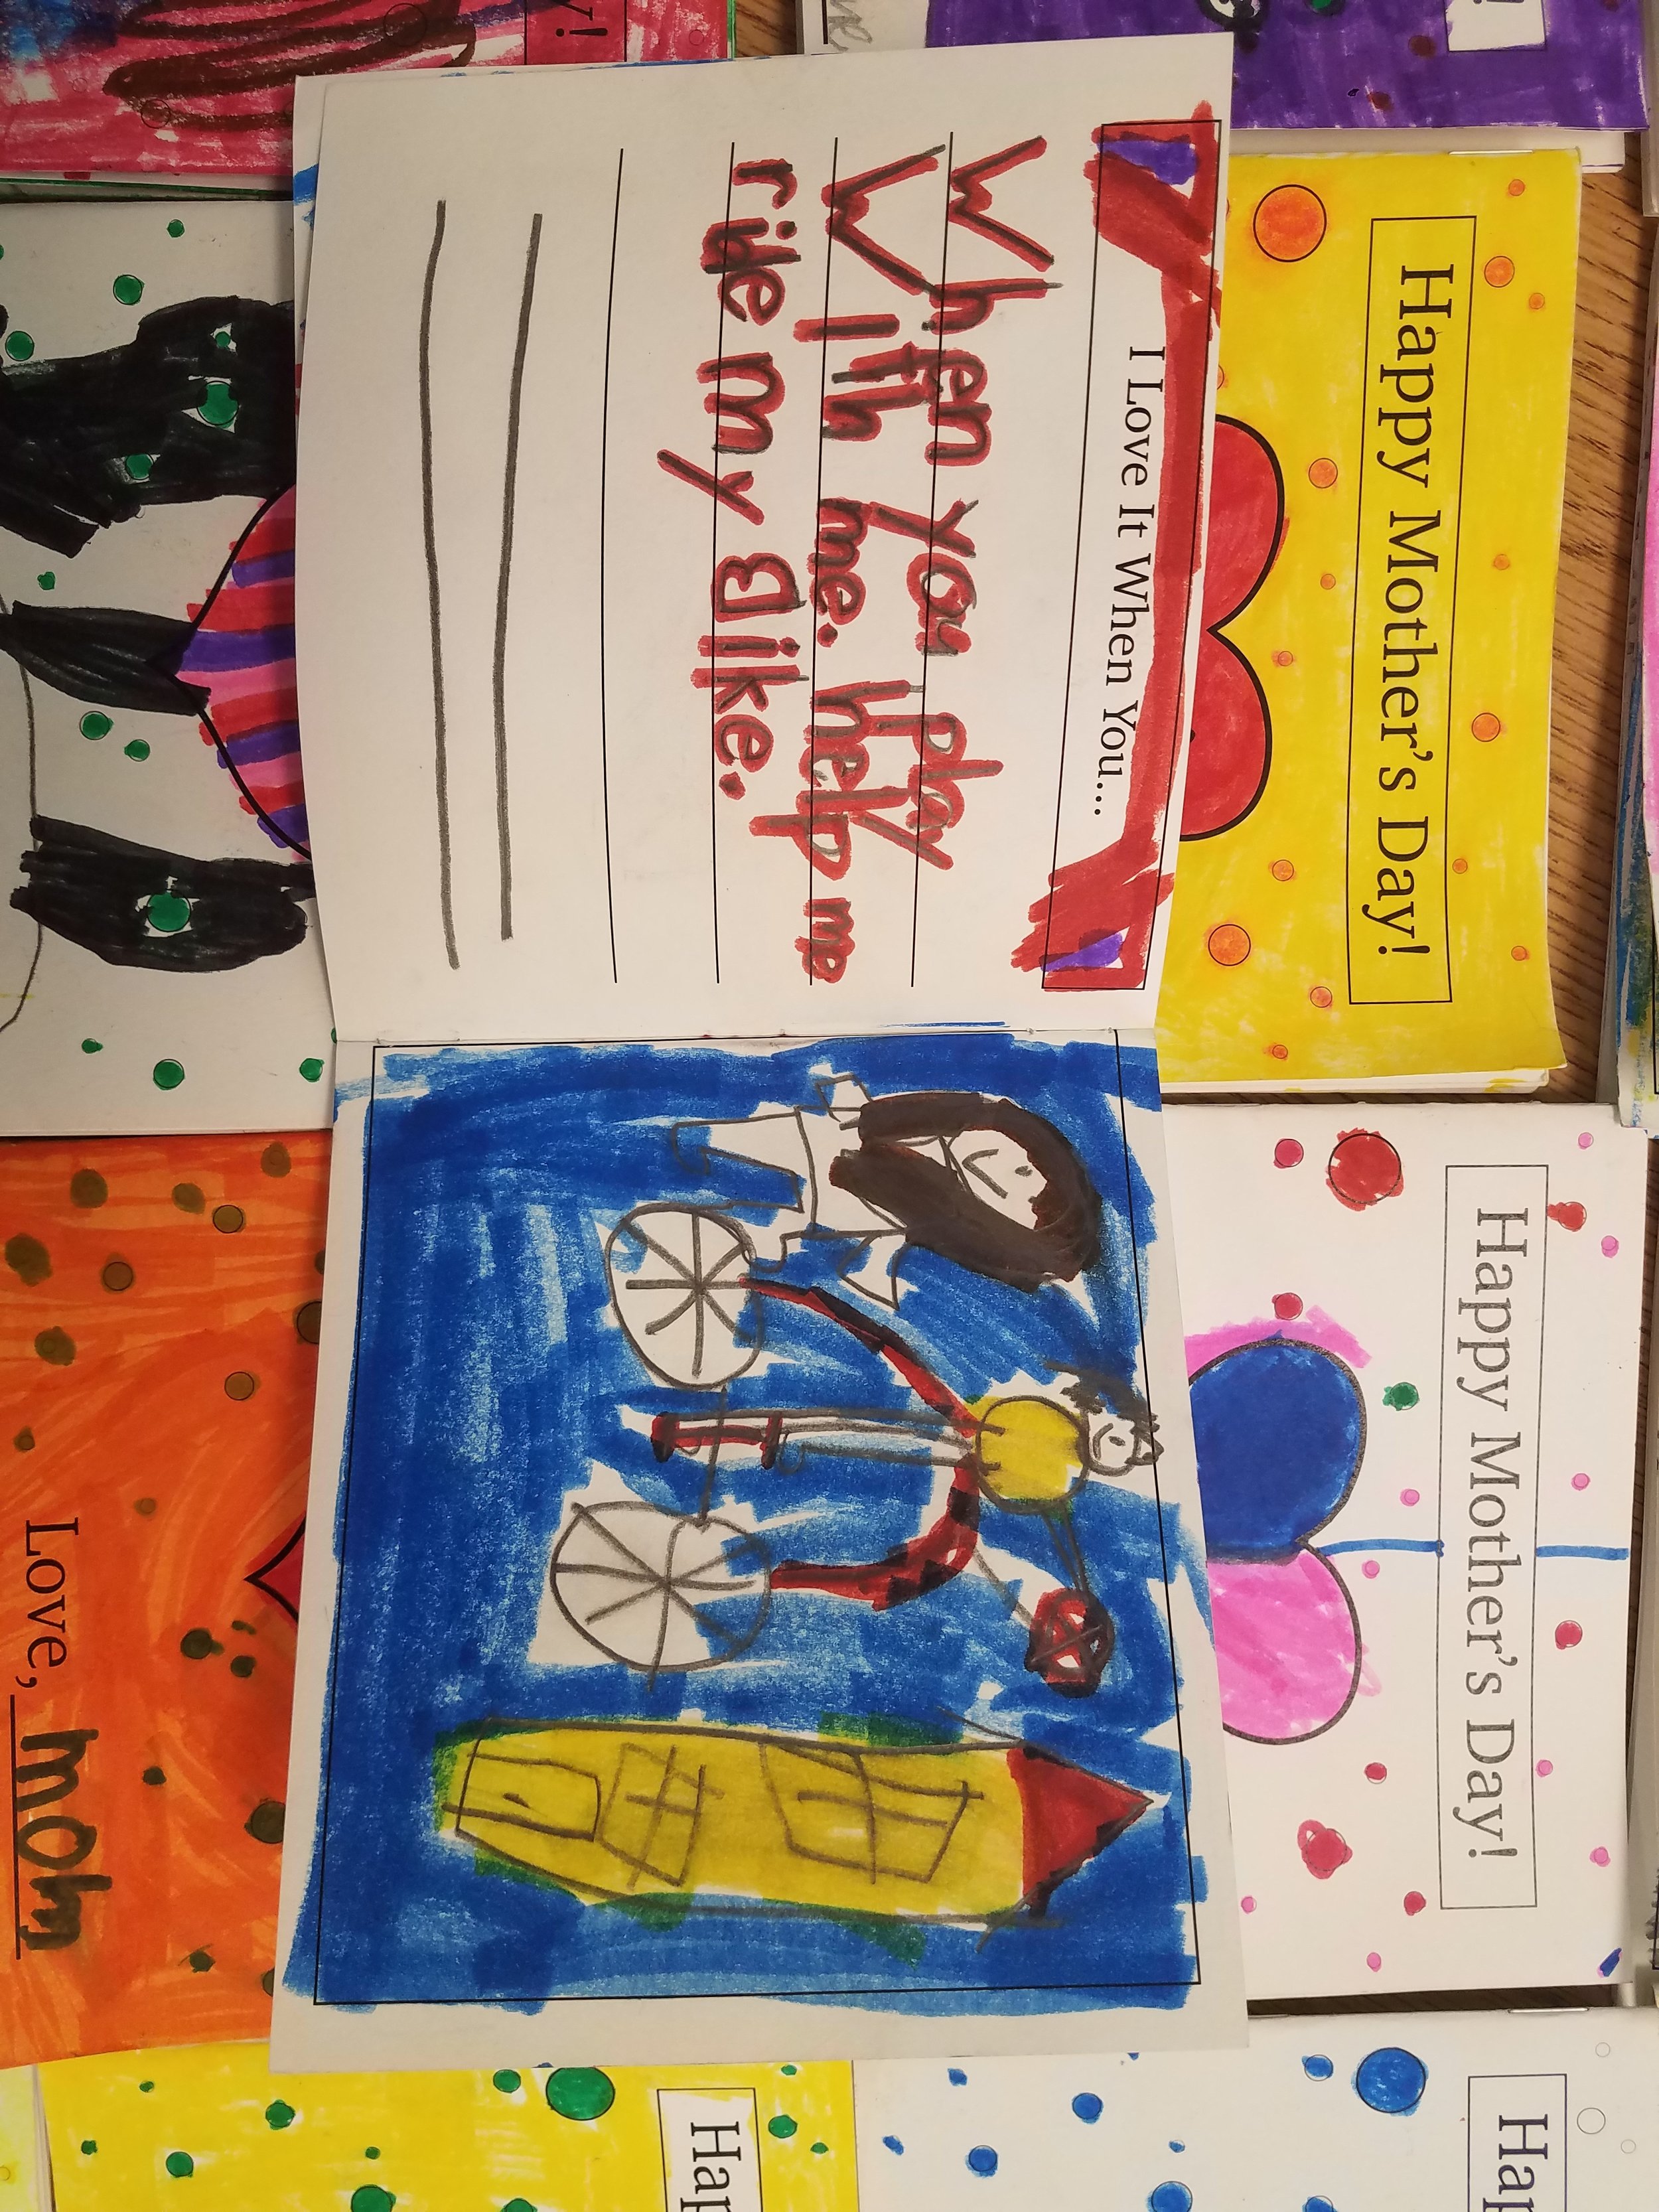
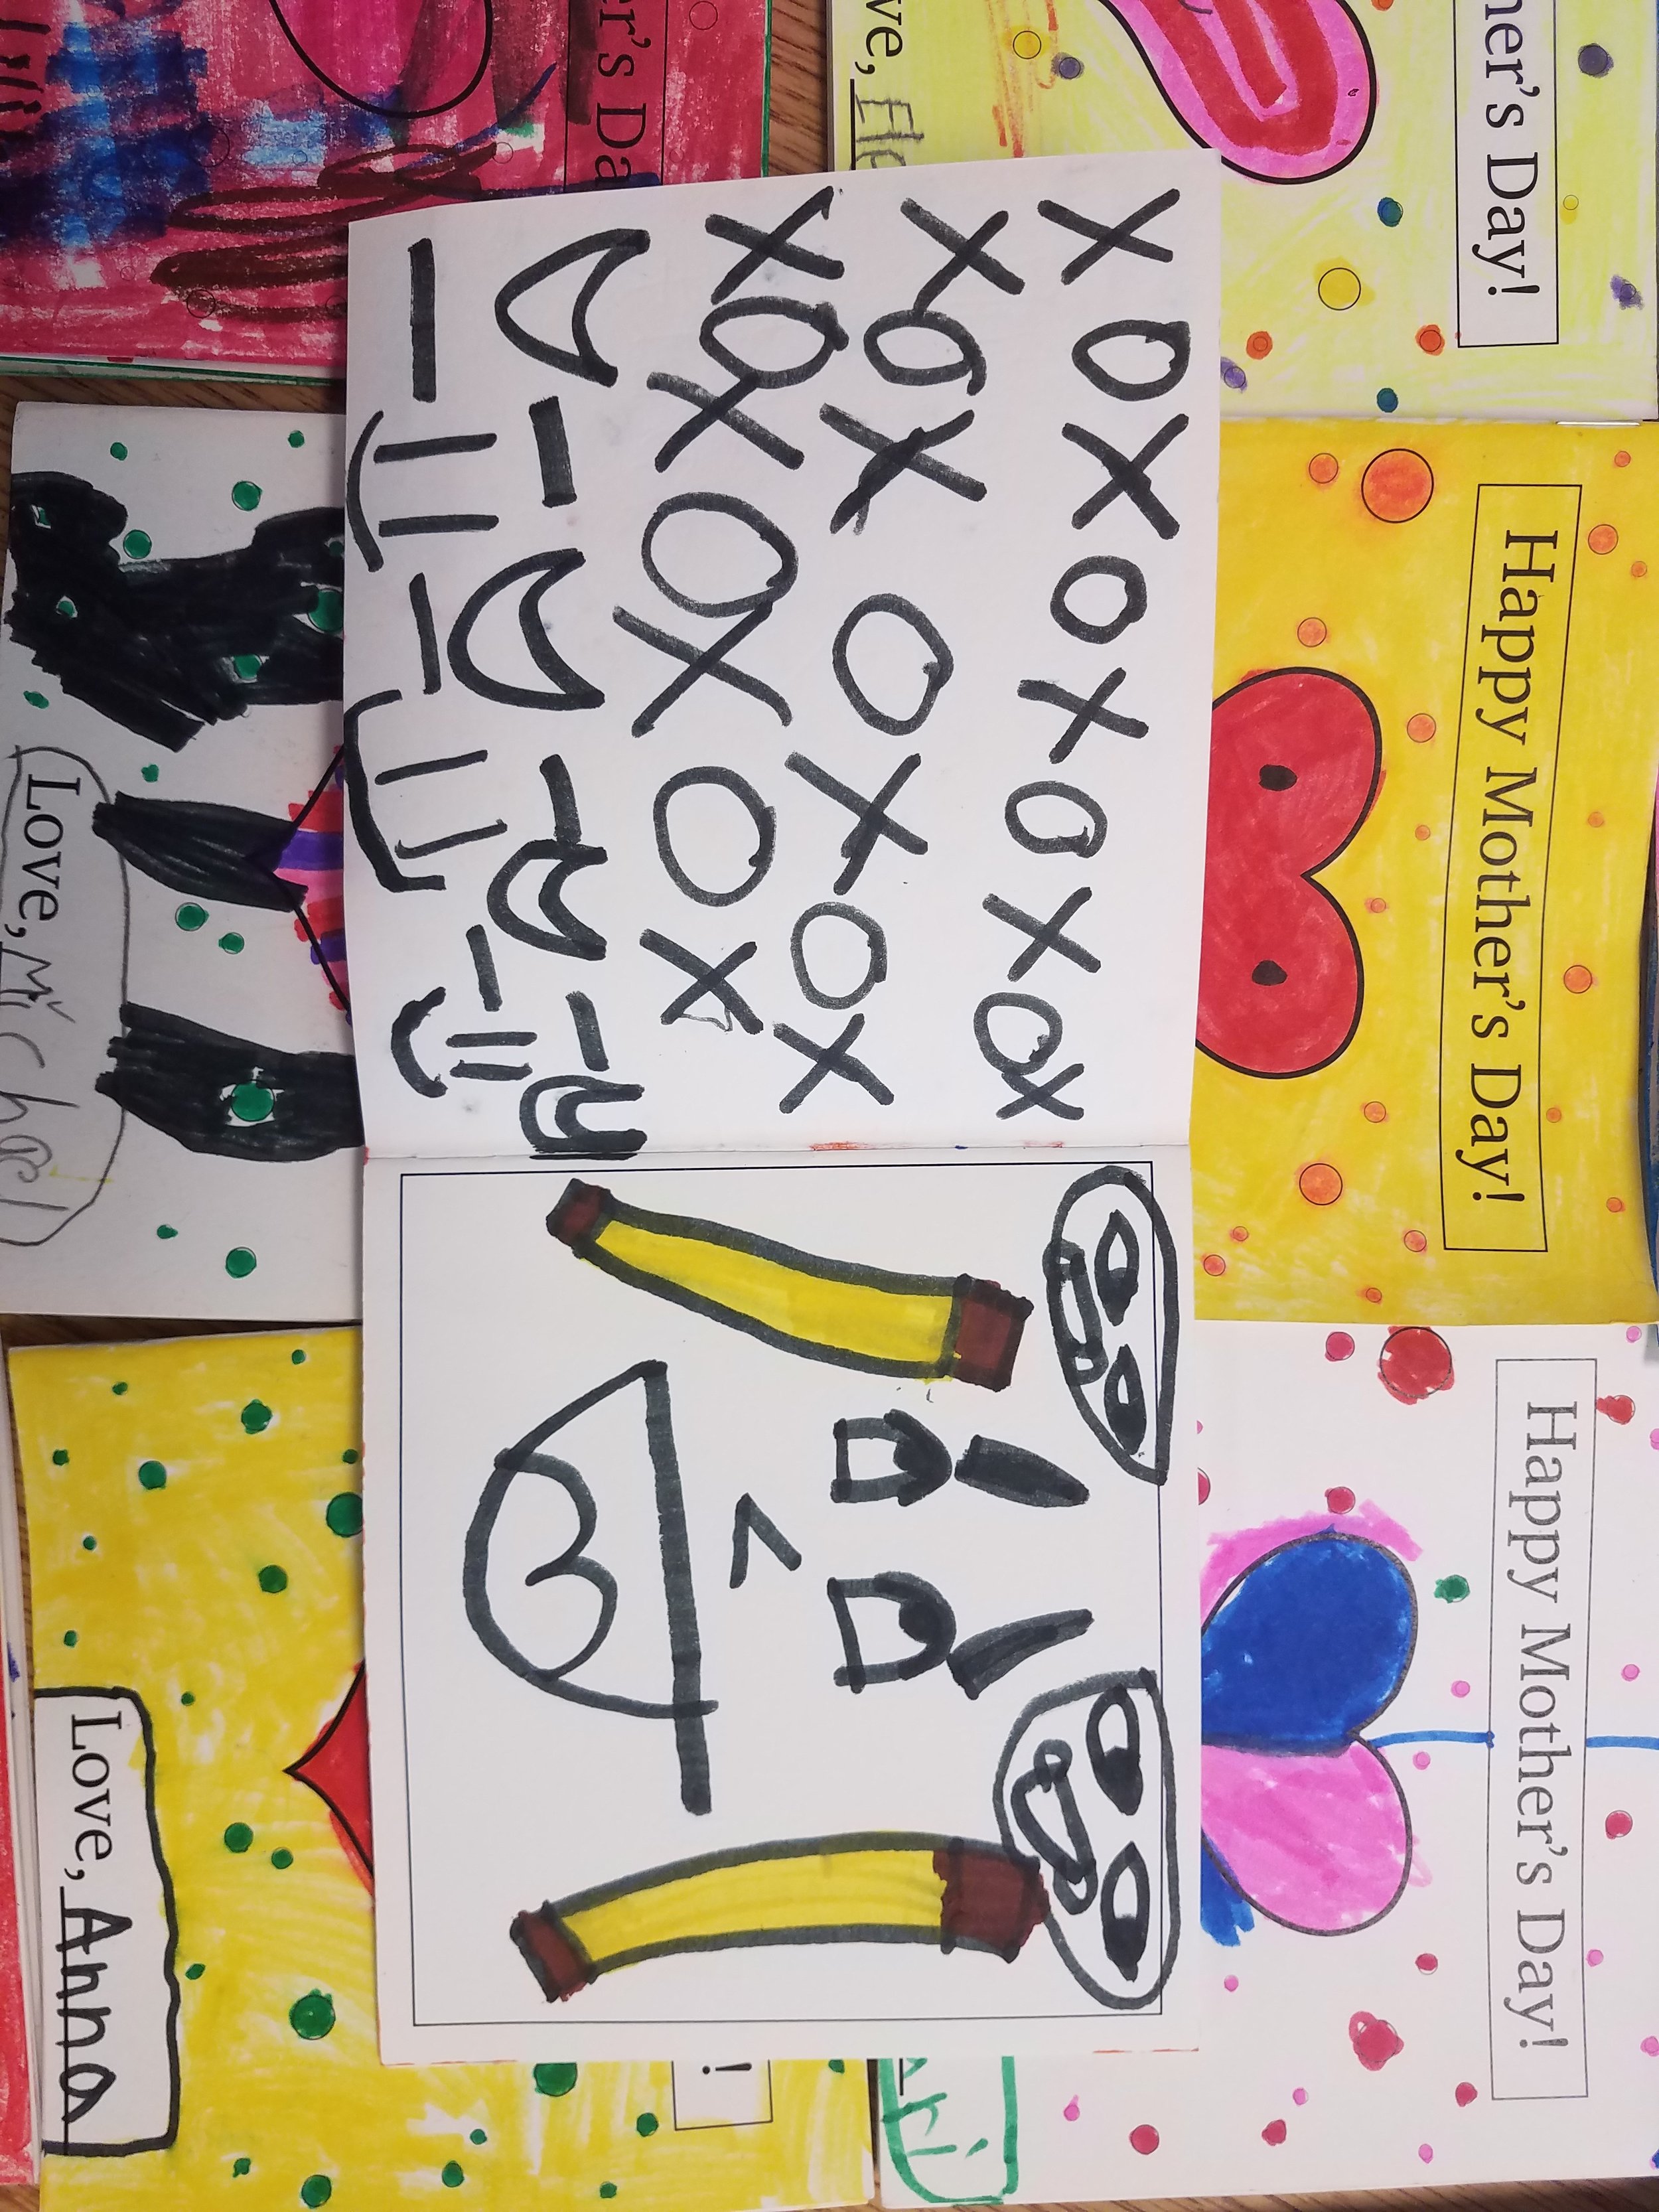
 Students receive a small printed booklet with a total of 12 pages (including cover and back).

They fill out the booklet with sentences formed from the questions asked of them by teacher and artist referencing the caretaker in their life. An example would be, “If I could give my ________anything this Mother’s Day it would be…”.

The students practice their writing and sentence structures by placing them within the booklet, as well as creating images to go along with the topic.

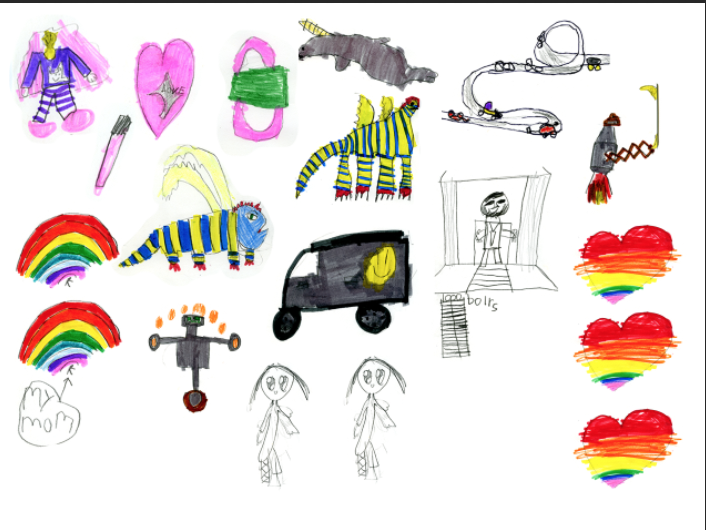
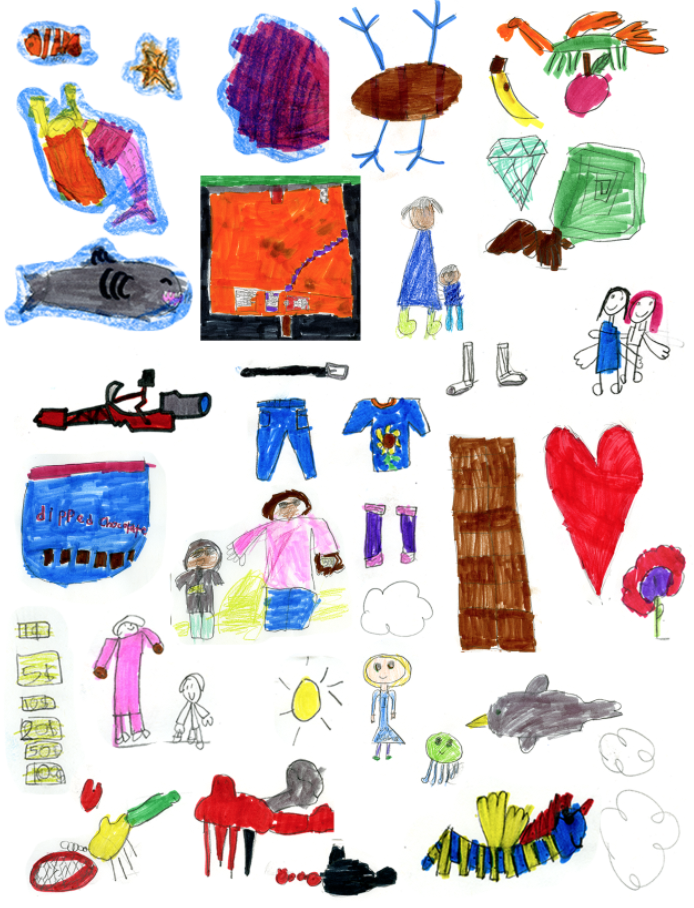
After the students have drawn the image of what they want to give their caregivers this Mother’s Day, the teaching artist will scan and make stickers for the students. This will be a physical object that represents what the students want to give their mother this year.

 “Big Ideas”/ Essential QUESTION(s)

What does Mother’s Day mean to you?

How does ‘giving’ feel different than receiveing?

 Student Outcome Objectives

Students will:

1. Construct sentences aligned with images in the book structure

2. Practice writing, spelling, sentence structure and drawing

3. Create an interactive artwork

 Prior Knowledge

No prior Knowledge is required for this assignment.

Lesson Preparation Timeline

-Gather Materials:

            Medium tabloid paper (11x17) each page can print 1 book

            Markers and or Colored Pencils

            Stapler for binding book together

            (Optional) Scissors, glue, etc. to create collage

-Print and cut out each book

This takes time so set aside an hour or so the day before to prepare materials. Create an examplar.

-Day 1

Spend time with the students, getting them set up so that they understand the project. Have them work on the one page 1st day and have them work on two pages throughout the week until the project is completed.

-Day 2

When I return, the students will have most of the book done, and can start working on the last few pages in class. I will walk around give feedback and see if anyone is struggling with the context.

 As the student comlete the project, gather them in a circle with their books and to share contents with one another.

Examples of Artwork

Examplar that was prepared ahead of time.

Either file may be used for the project as is or to adapt as needed with appropriate software.

Card PDF: (Front Page) (Back Page)

Illustrator File: Cardfile (Change it to whatever you need! from Birthday’s to Father’s Day this will work for any project!)

 Assessment

The quality of the work is in the eye of the beholder. As long as the students personal goal is fulfilled and the teacher feels that the student truly tried we can assess the level of completion.

 Material

Medium tabloid paper (11x17) each page can print 1 book

            Markers and or Colored Pencils

            Stapler for binding book together

            (Optional) Scissors, glue, etc. to create collage

Learning Activities and Timing

 1. Spend time preparing the students for the entire project, giving them materials as well as directions along with open ended questions for the project

2. Take the time to do one on ones with the students and help them create what they have set their minds to.

3. Remind the students on how much time they have left to complete portions of the assignment daily.

4. Take the time to share, tell the students to show off their work to one another.

5. Seal them up inside of an envelope in preparation for sharing on ‘Mother’s Day’

Teaching Artist Reflection

Problems that may arise are that some students might feel as though the work they created isn’t good enough. Keep in mind that they might want to start over. Art making takes failure and persistence as part of the process. Have spare copies of pages and or entire books on standby for this type of issue.

Overall this project will help the students practice sentence structures aligned with visual imagery, brainstorming, and planning ahead by drawing scenes, moments and creating objects/ideas that can be uniquely shared with one another.

This type of work will be shared with the families at home, all of the caregivers receiving this book created by the first graders child will be unique gift for them.


Student Work Shown Below:

Meander Books

 Meander Books

School/Teacher/Classroom or Arts Organization/Mentor: Urban Arts Academy . Sagirahs Class

Grade Level or Age of Participants: 2nd – 4th

MCAD Teaching Artist:  Kayla Trevino

Number of Students: 10

Overview of Project

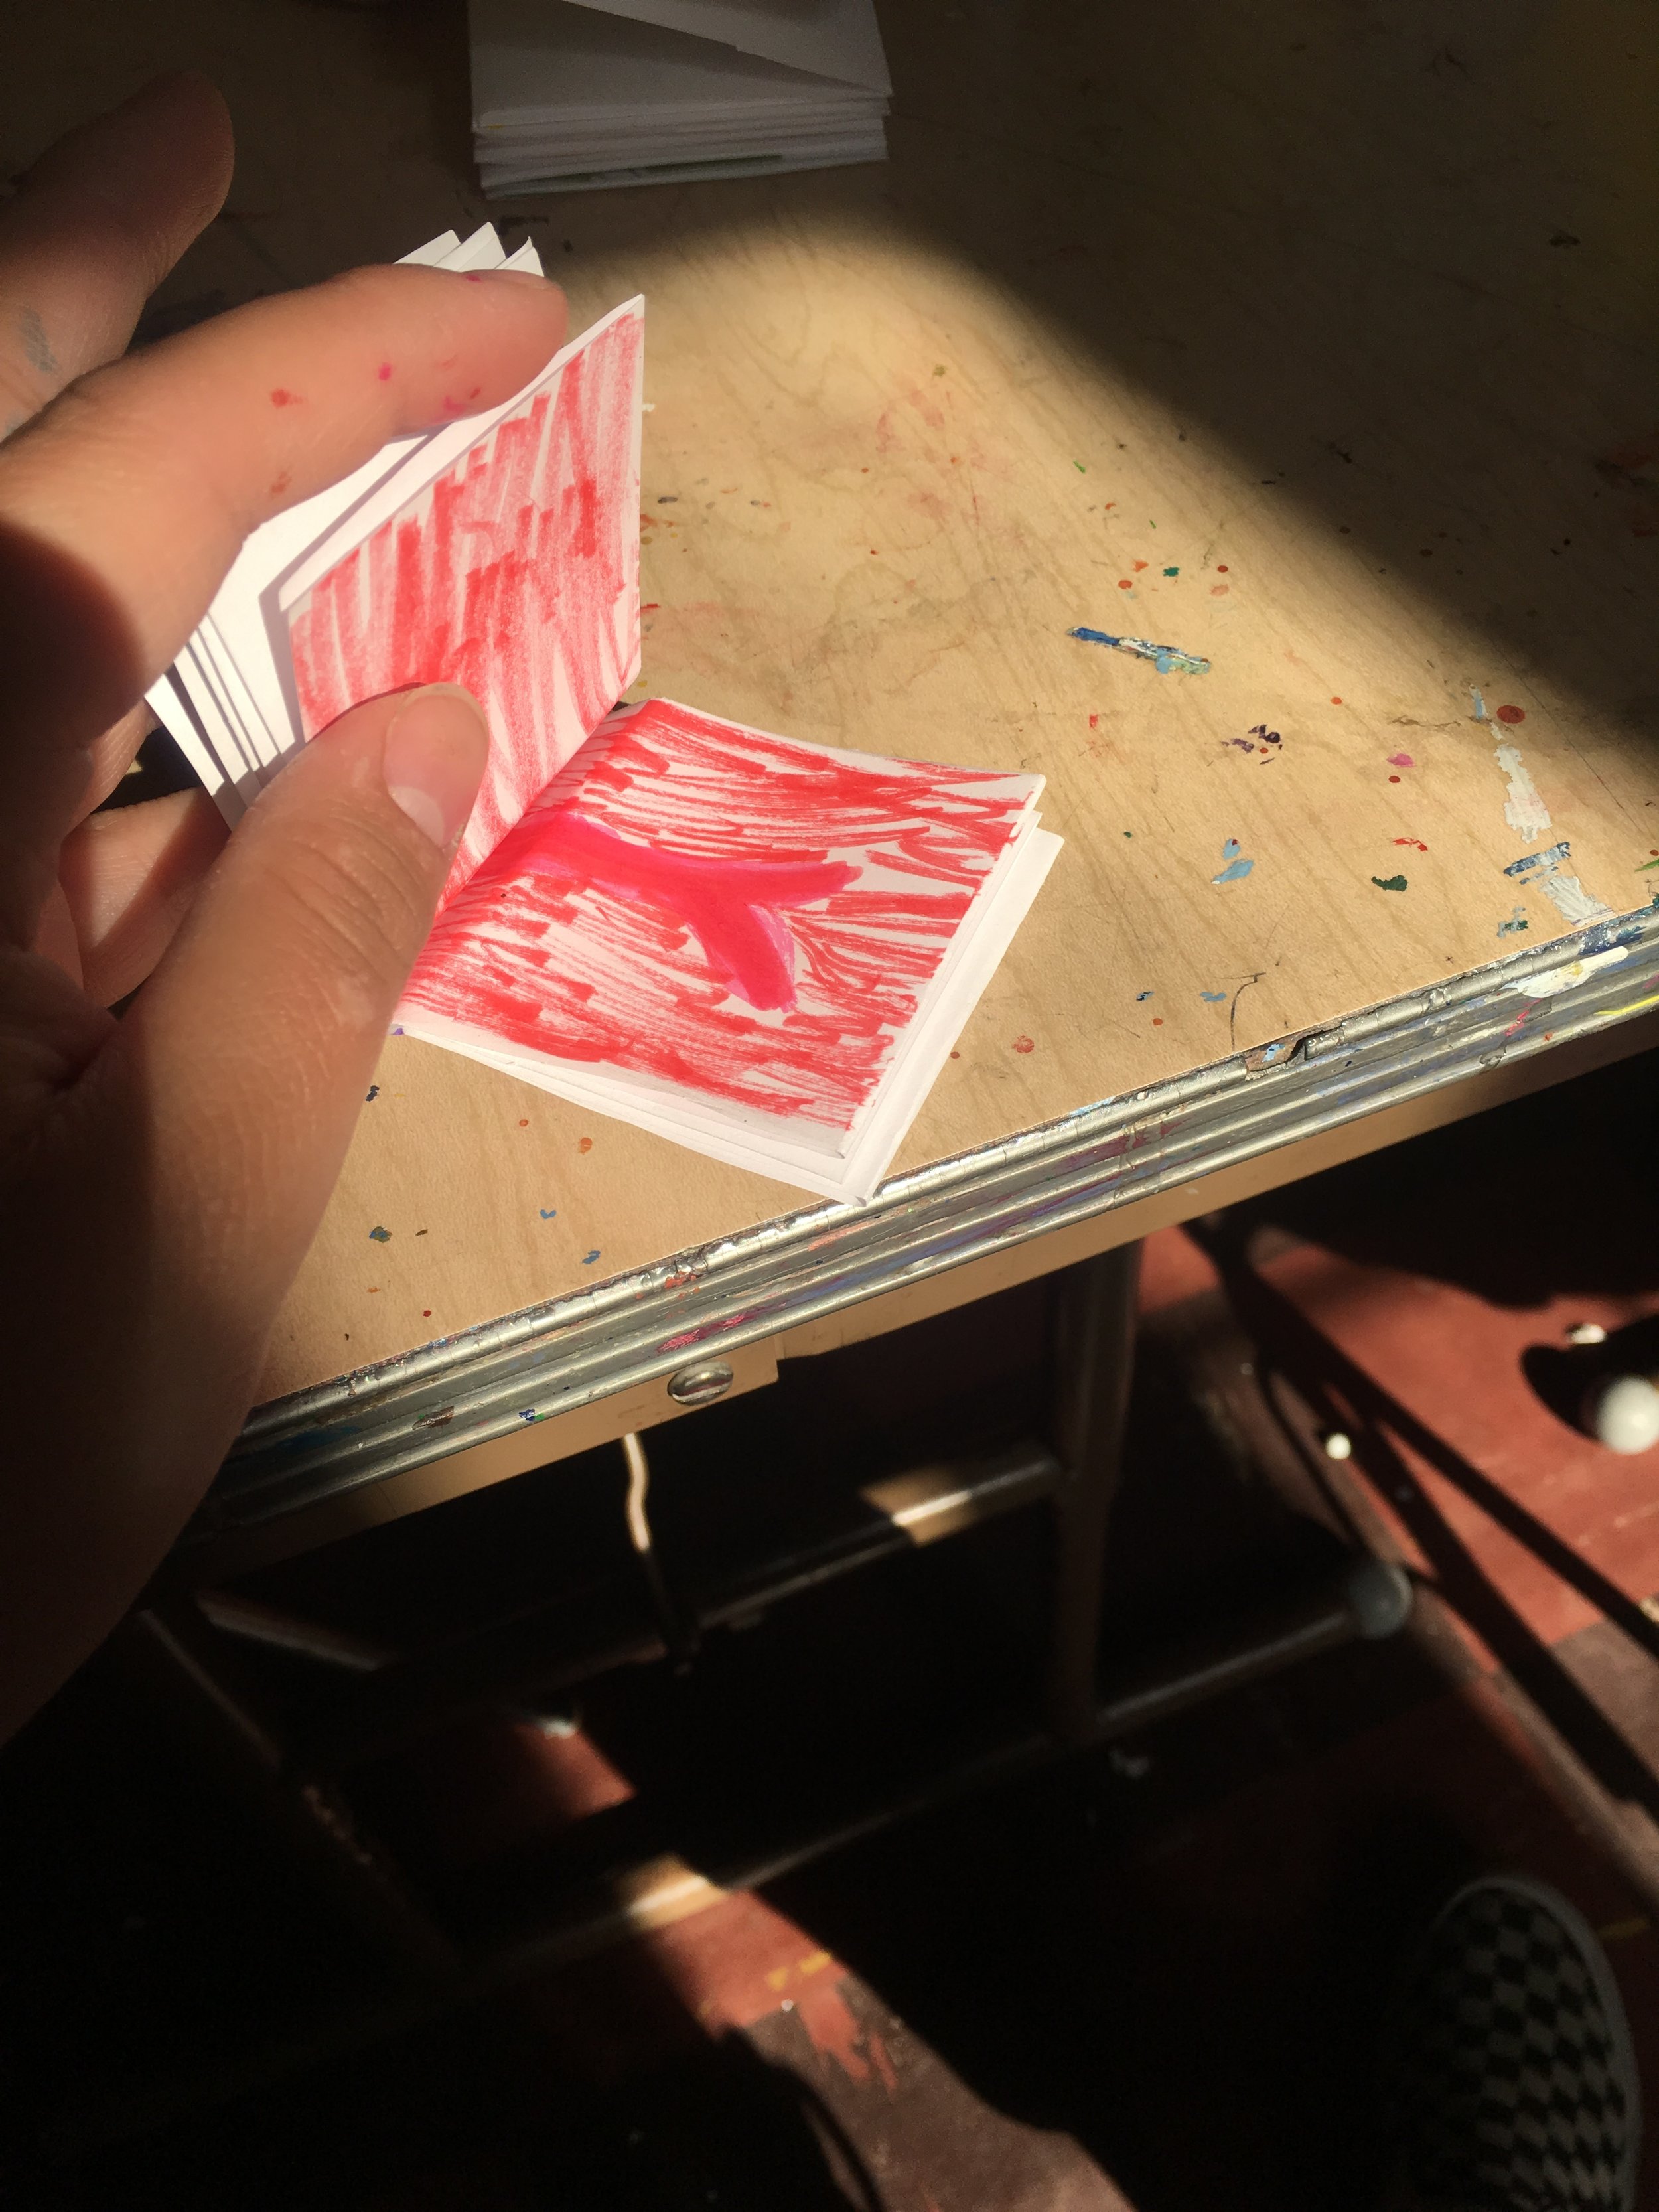
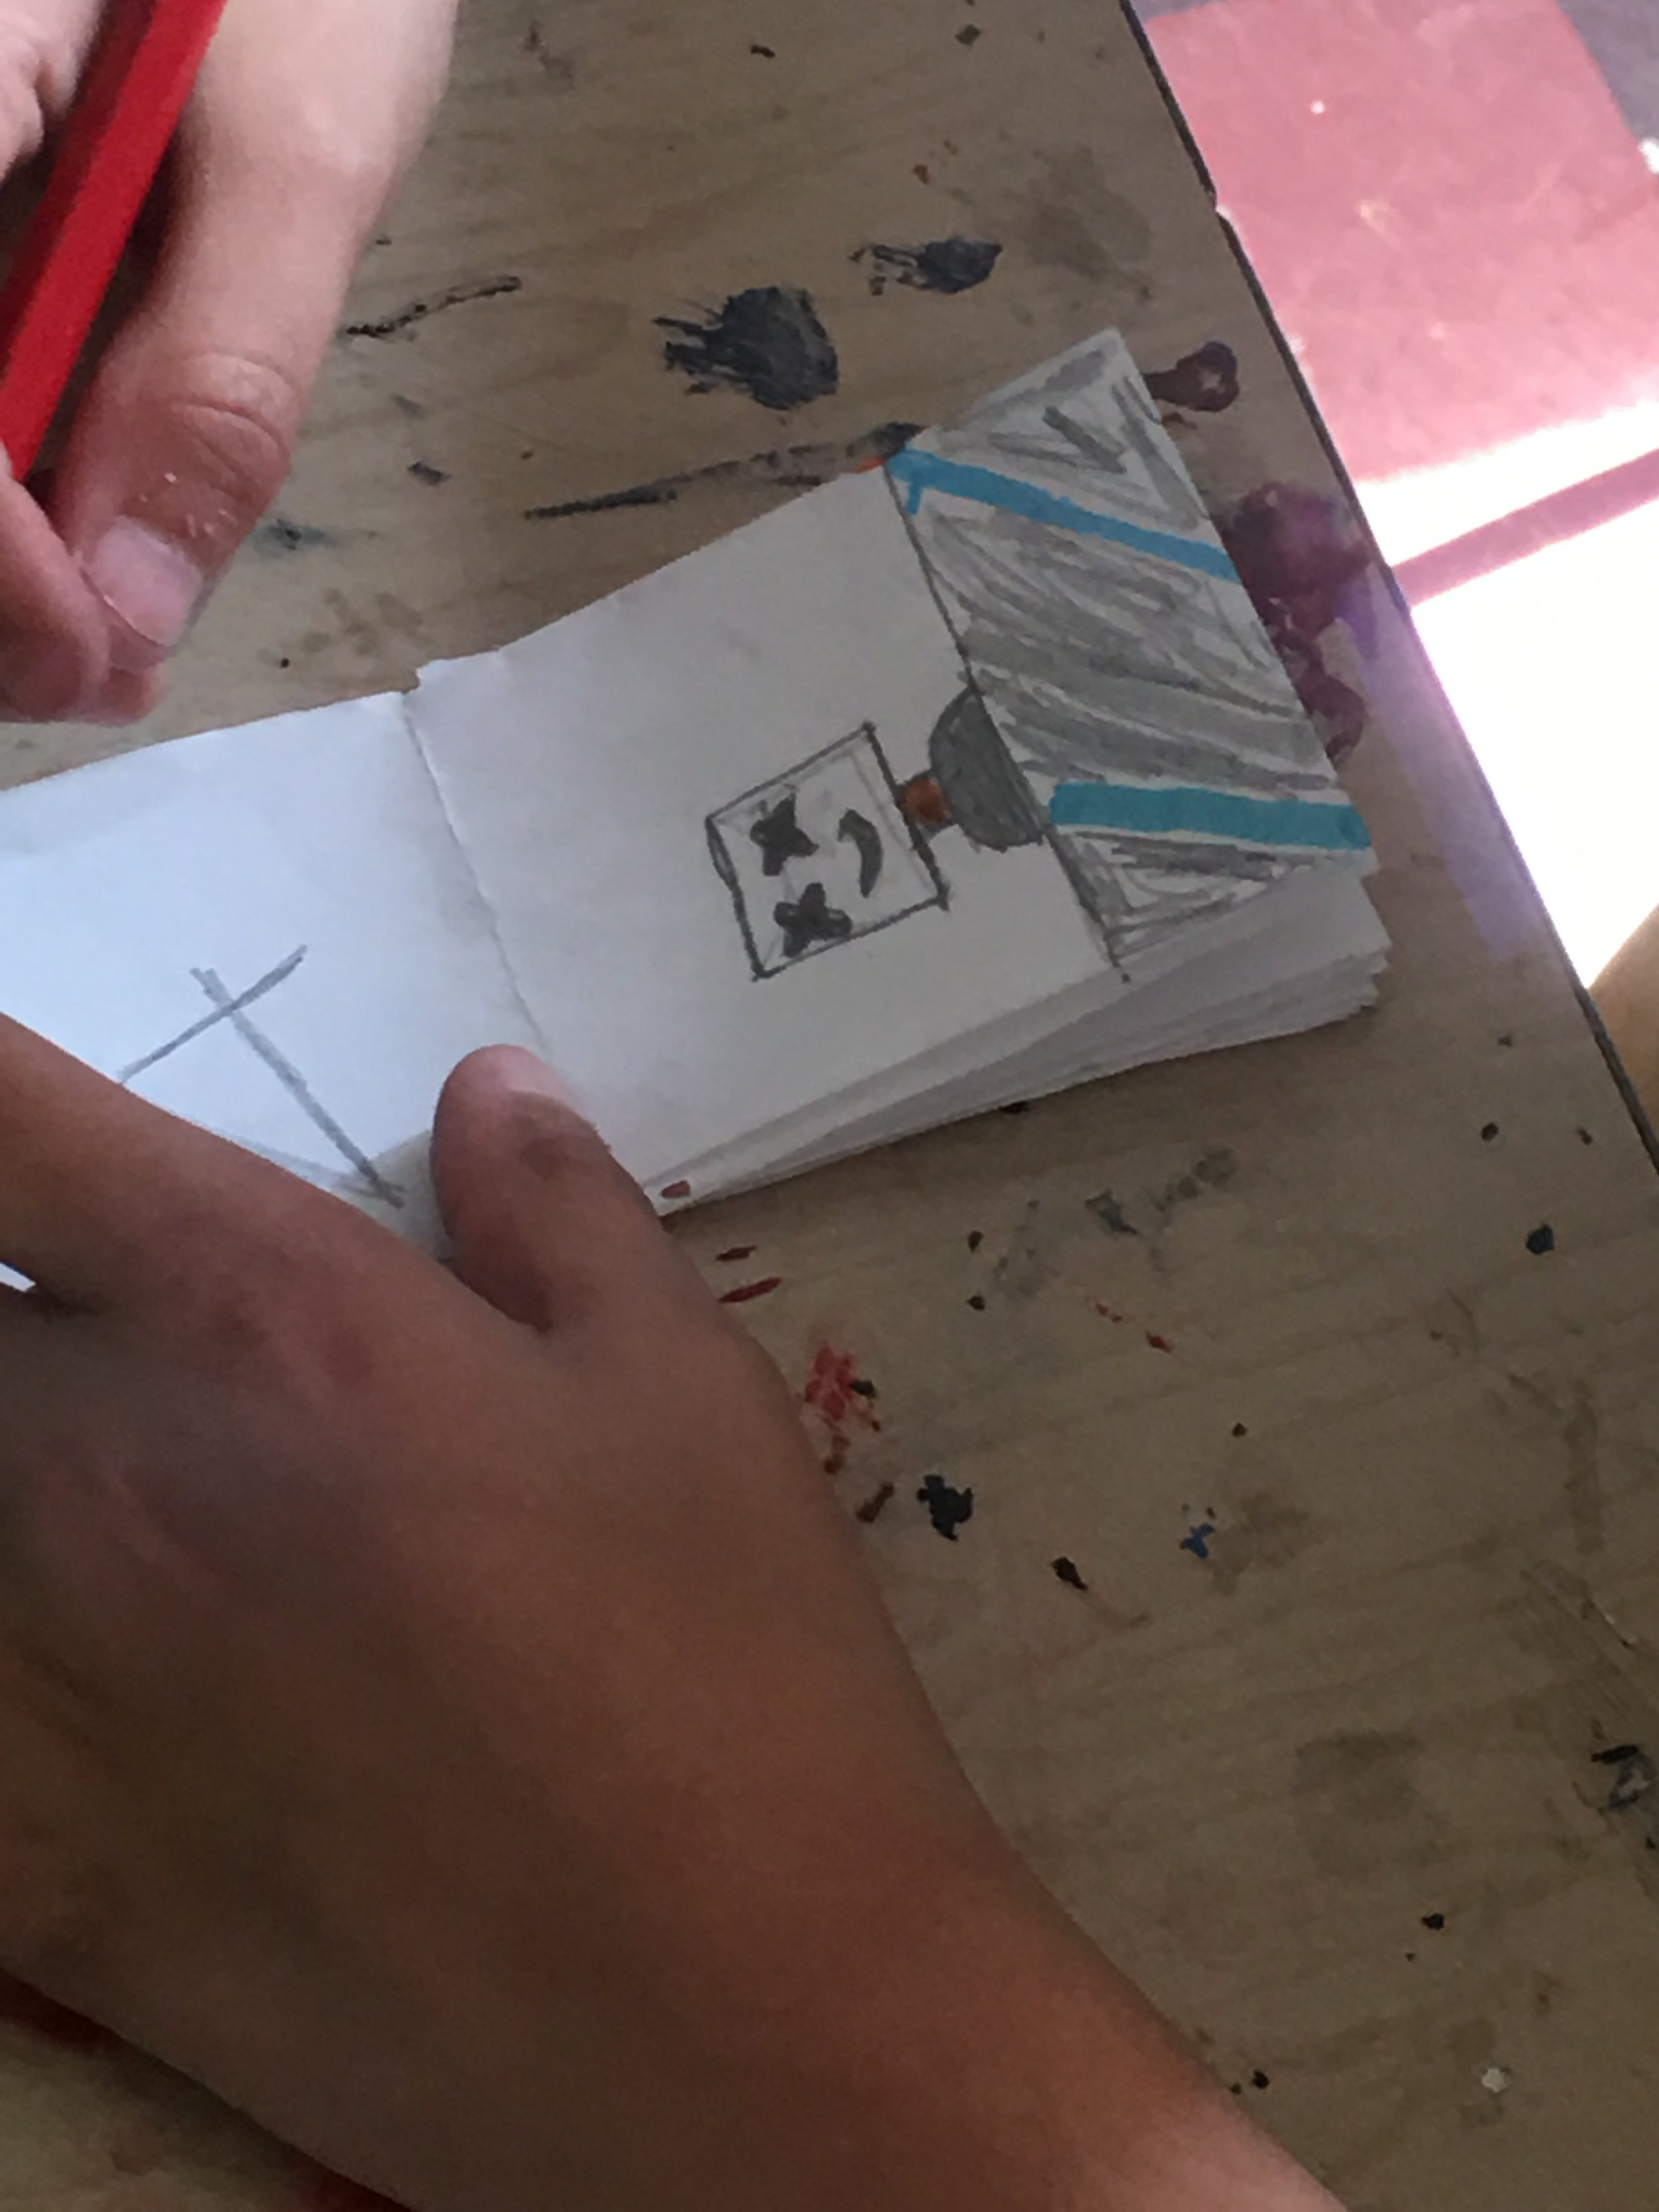
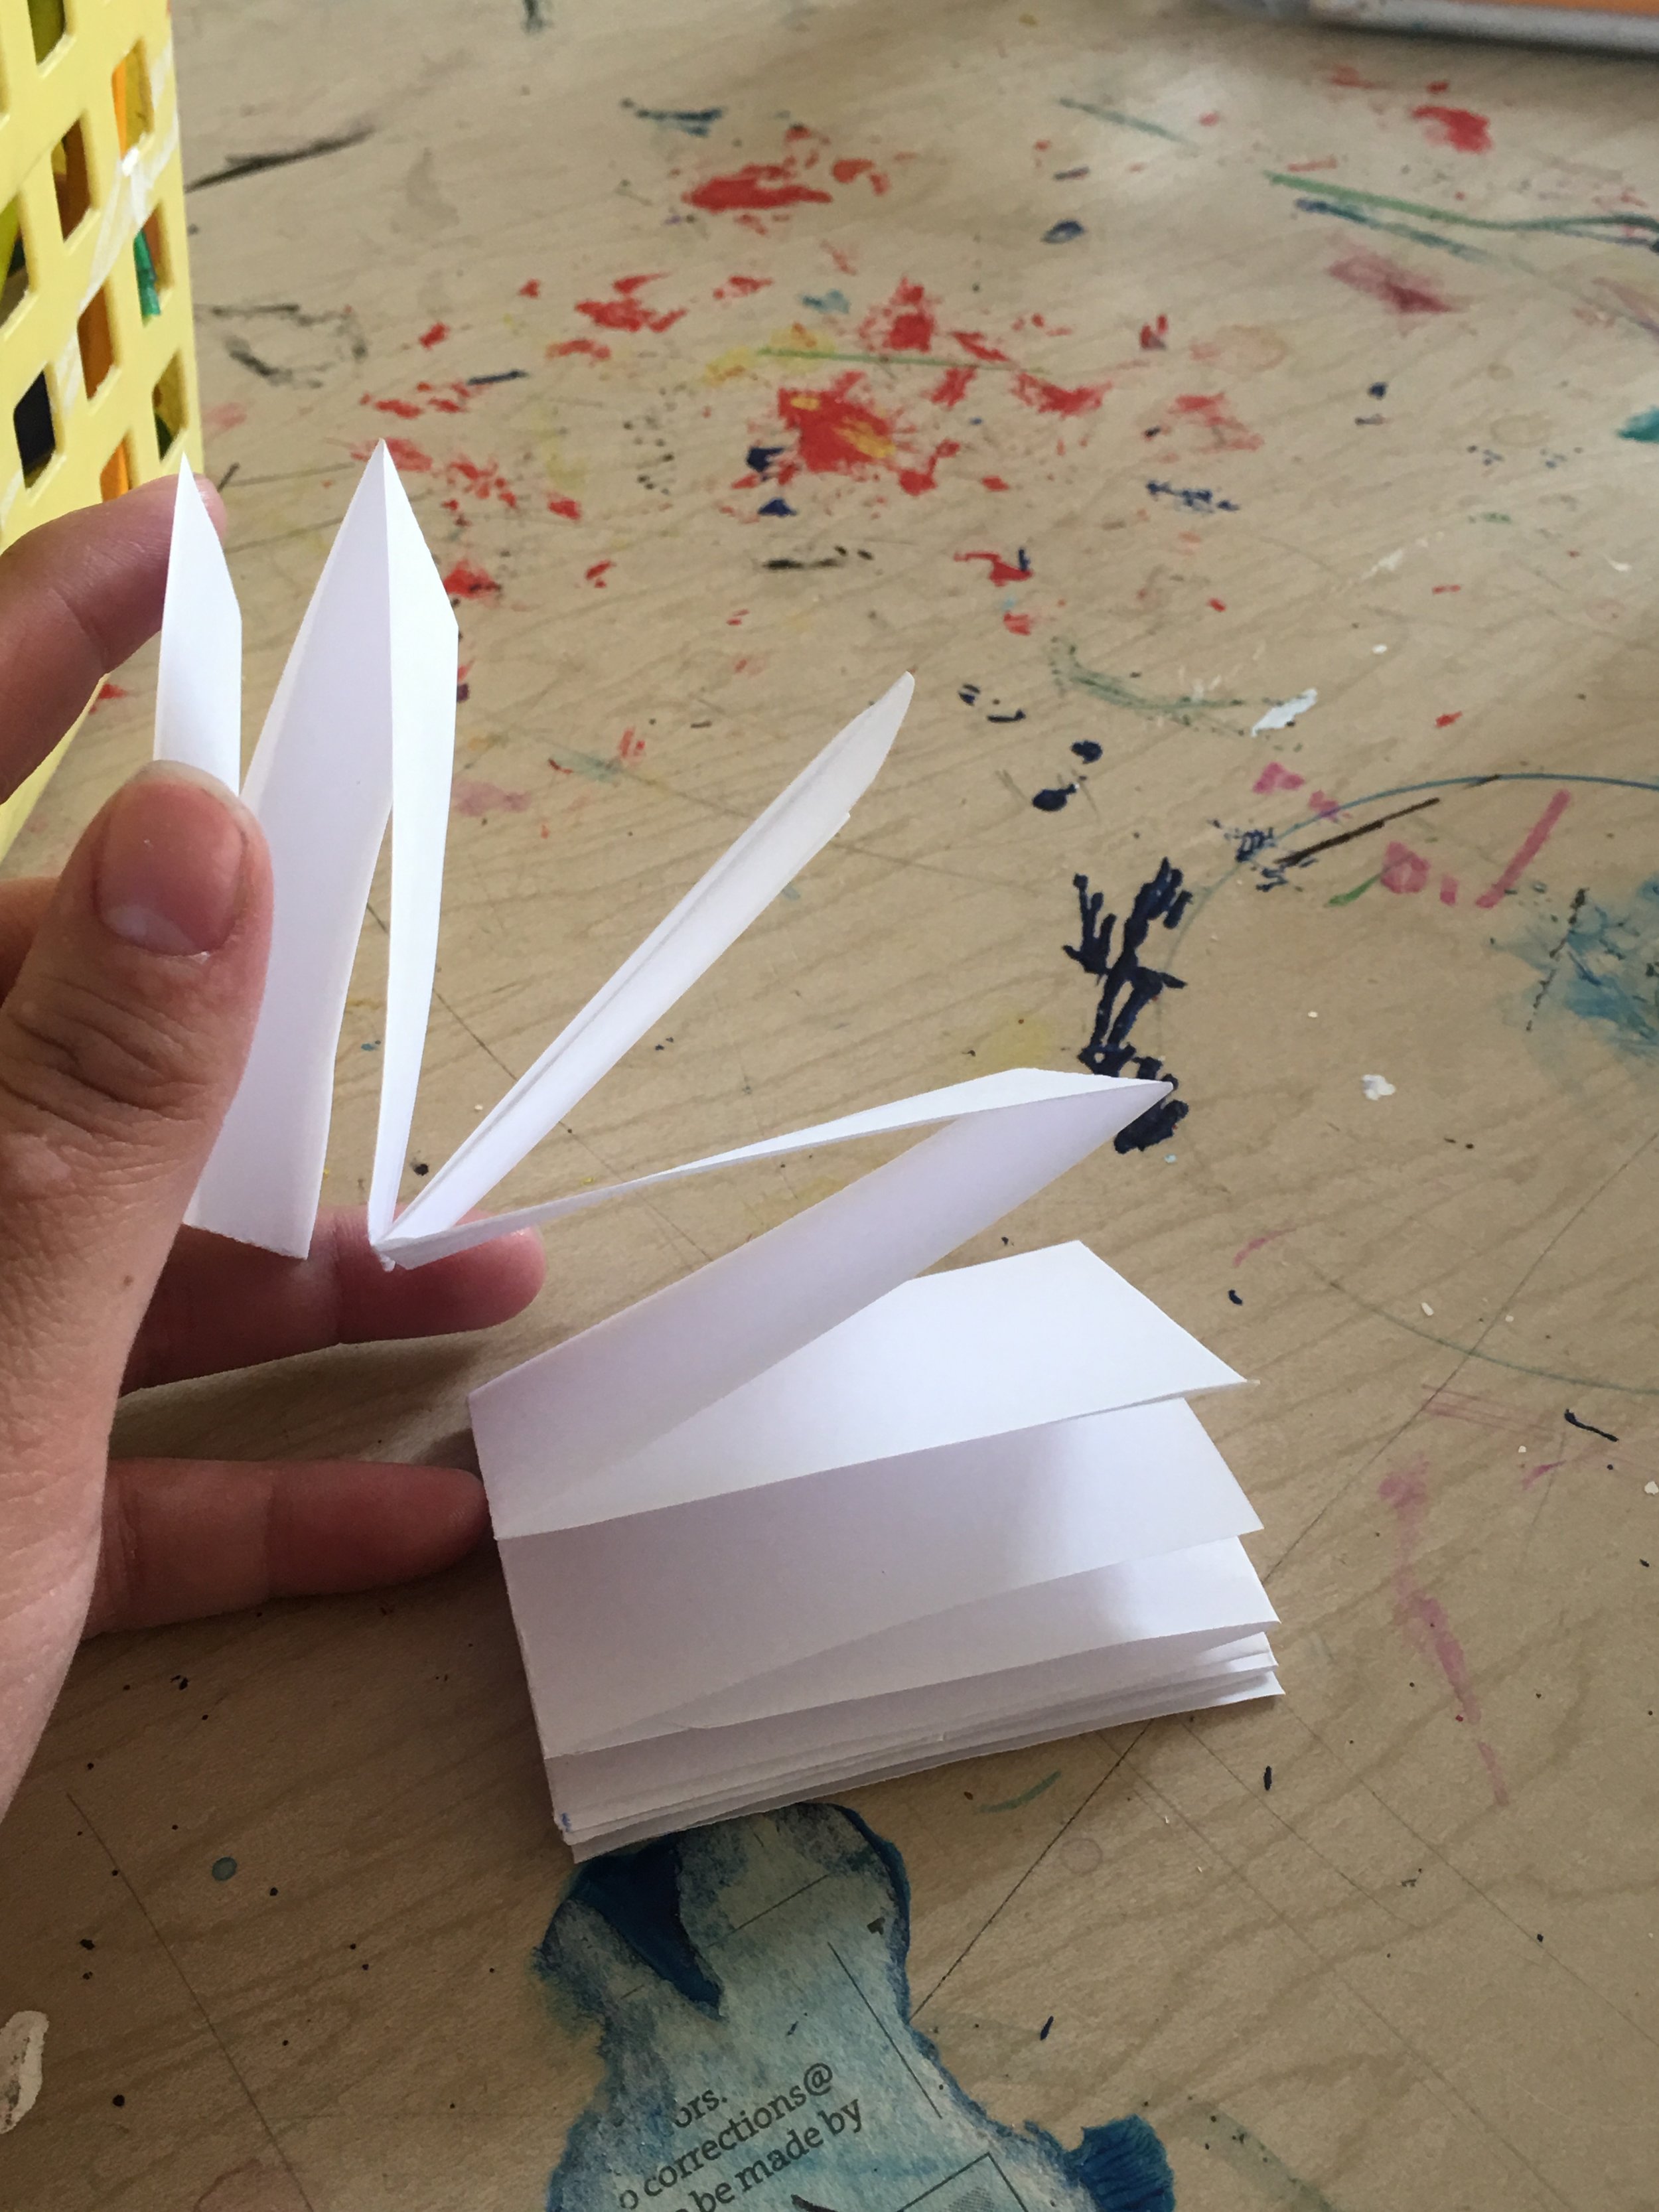
Students will design the pages to a meander book. The students will learn how to organize the pages accordingly and folding design. The book will allow for students to practice planning and long term thinking for when it comes to the folding of the pages.

“Big Ideas”/ Essential QUESTION(s)

-Planning ahead

-Practicing story tell / time line planning

-Learning the that types of books can help what you want to depict

-creative learning as they fill the book before it’s folded

Student Outcome Objectives

Students will:

1. Collectively decide if they want to fold the books first or plan out the concept before.

2. Better skills for planning ahead. Weather or not the book is folded or not when they go to fill it in will still allow them to think about the lay out. The students will have to consider the layout of the subject in the book and how they want their story to be told.

3. The books are no more than 2x2 inches, and the small subject allows for them to work on their fine motor skills.

Prior Knowledge

-Paper folding

-Mountains and valleys

-Use of scissors

-Kiss the corners

-Cautious of materials on the paper

Lesson Preparation Timeline

-brush up on your own making skills

-make examples before class, having  many examples for this group works better and allows for the students to are able to dissect the book when they are unable to figure theirs out on the first try.

-if you need to, prep paper

-gather all materials, scissors, bone folders if you fancy, and any creating mark making materials you plan on using.

Examples of Artwork

-I brought many examples they could look at and examples you would be okay with getting ruined as the students try and figure it all out.

Lei Maier https://scrapgirls.com/all-posts/hybrid-album-tutorial-meander-book

5-copy.jpg
download copy.jpg


Here+Unfolded+Front+View.jpg
Lea_Lume_11.jpg

Lea, Jamie Kubat

https://jamiekubat.com/lea

Additional Resources

I found this publication helpful for brushing up on the technique.

http://www.lib.utah.edu/collections/book-arts/community/Meander%20Book%20Lesson%20Plan.pdf

Assessment

Were the students able to work with the small scale?

Were students able to assemble a book with the directions and examples given?

Did the examples help or cause more confusion?

Did students final work represent their ideas?

If yes how, if no what changed?

Are students happy with the outcome of their books? Did they want to make more?

Materials

-Enough sheets of your chosen paper for the class.

-Paper for first drafts

-Scissors

-Bone folders

-Coloring materials of your choosing.

Learning Activities and Timing

Total of 45 minutes,

  1. 10 minutes - for introduction to the project and directions and looking through examples. Allow students to really look at examples.

  2. 10 minutes- of step by step instructions with the students. Going through all the steps together for our first drafts.

  3. 15  minutes -for the students to work on a final draft of their books. This includes coloring or writing if they chose.

  4. 5-Minutes of clean up.

  5. 5-Minutes of sharing their books and ideas.

TeachING ARtist Reflection

Concerns

- frustration in cutting the meander book.

-the change of layout and the book flips when in the making.

Extended Learning

-once a student learns how to make a book out of 1 sheet of paper they are able to continuously make them.

-Once a student learns they can help other students who may be confused sort out their book.


Accordion Book : 2nd- 4th Grade

Accordion Book : 2nd- 4th Grade

Making  book / Accordion Style Book

School/Teacher/Classroom or Arts Organization/Mentor:  Urban Arts Academy, Sagirah Shahid

Grade Level or Age of Participants: 2nd - 4th Grade  

MCAD Teaching Artist:  Kayla Trevino

Number of Students: 10 students

Overview of Project

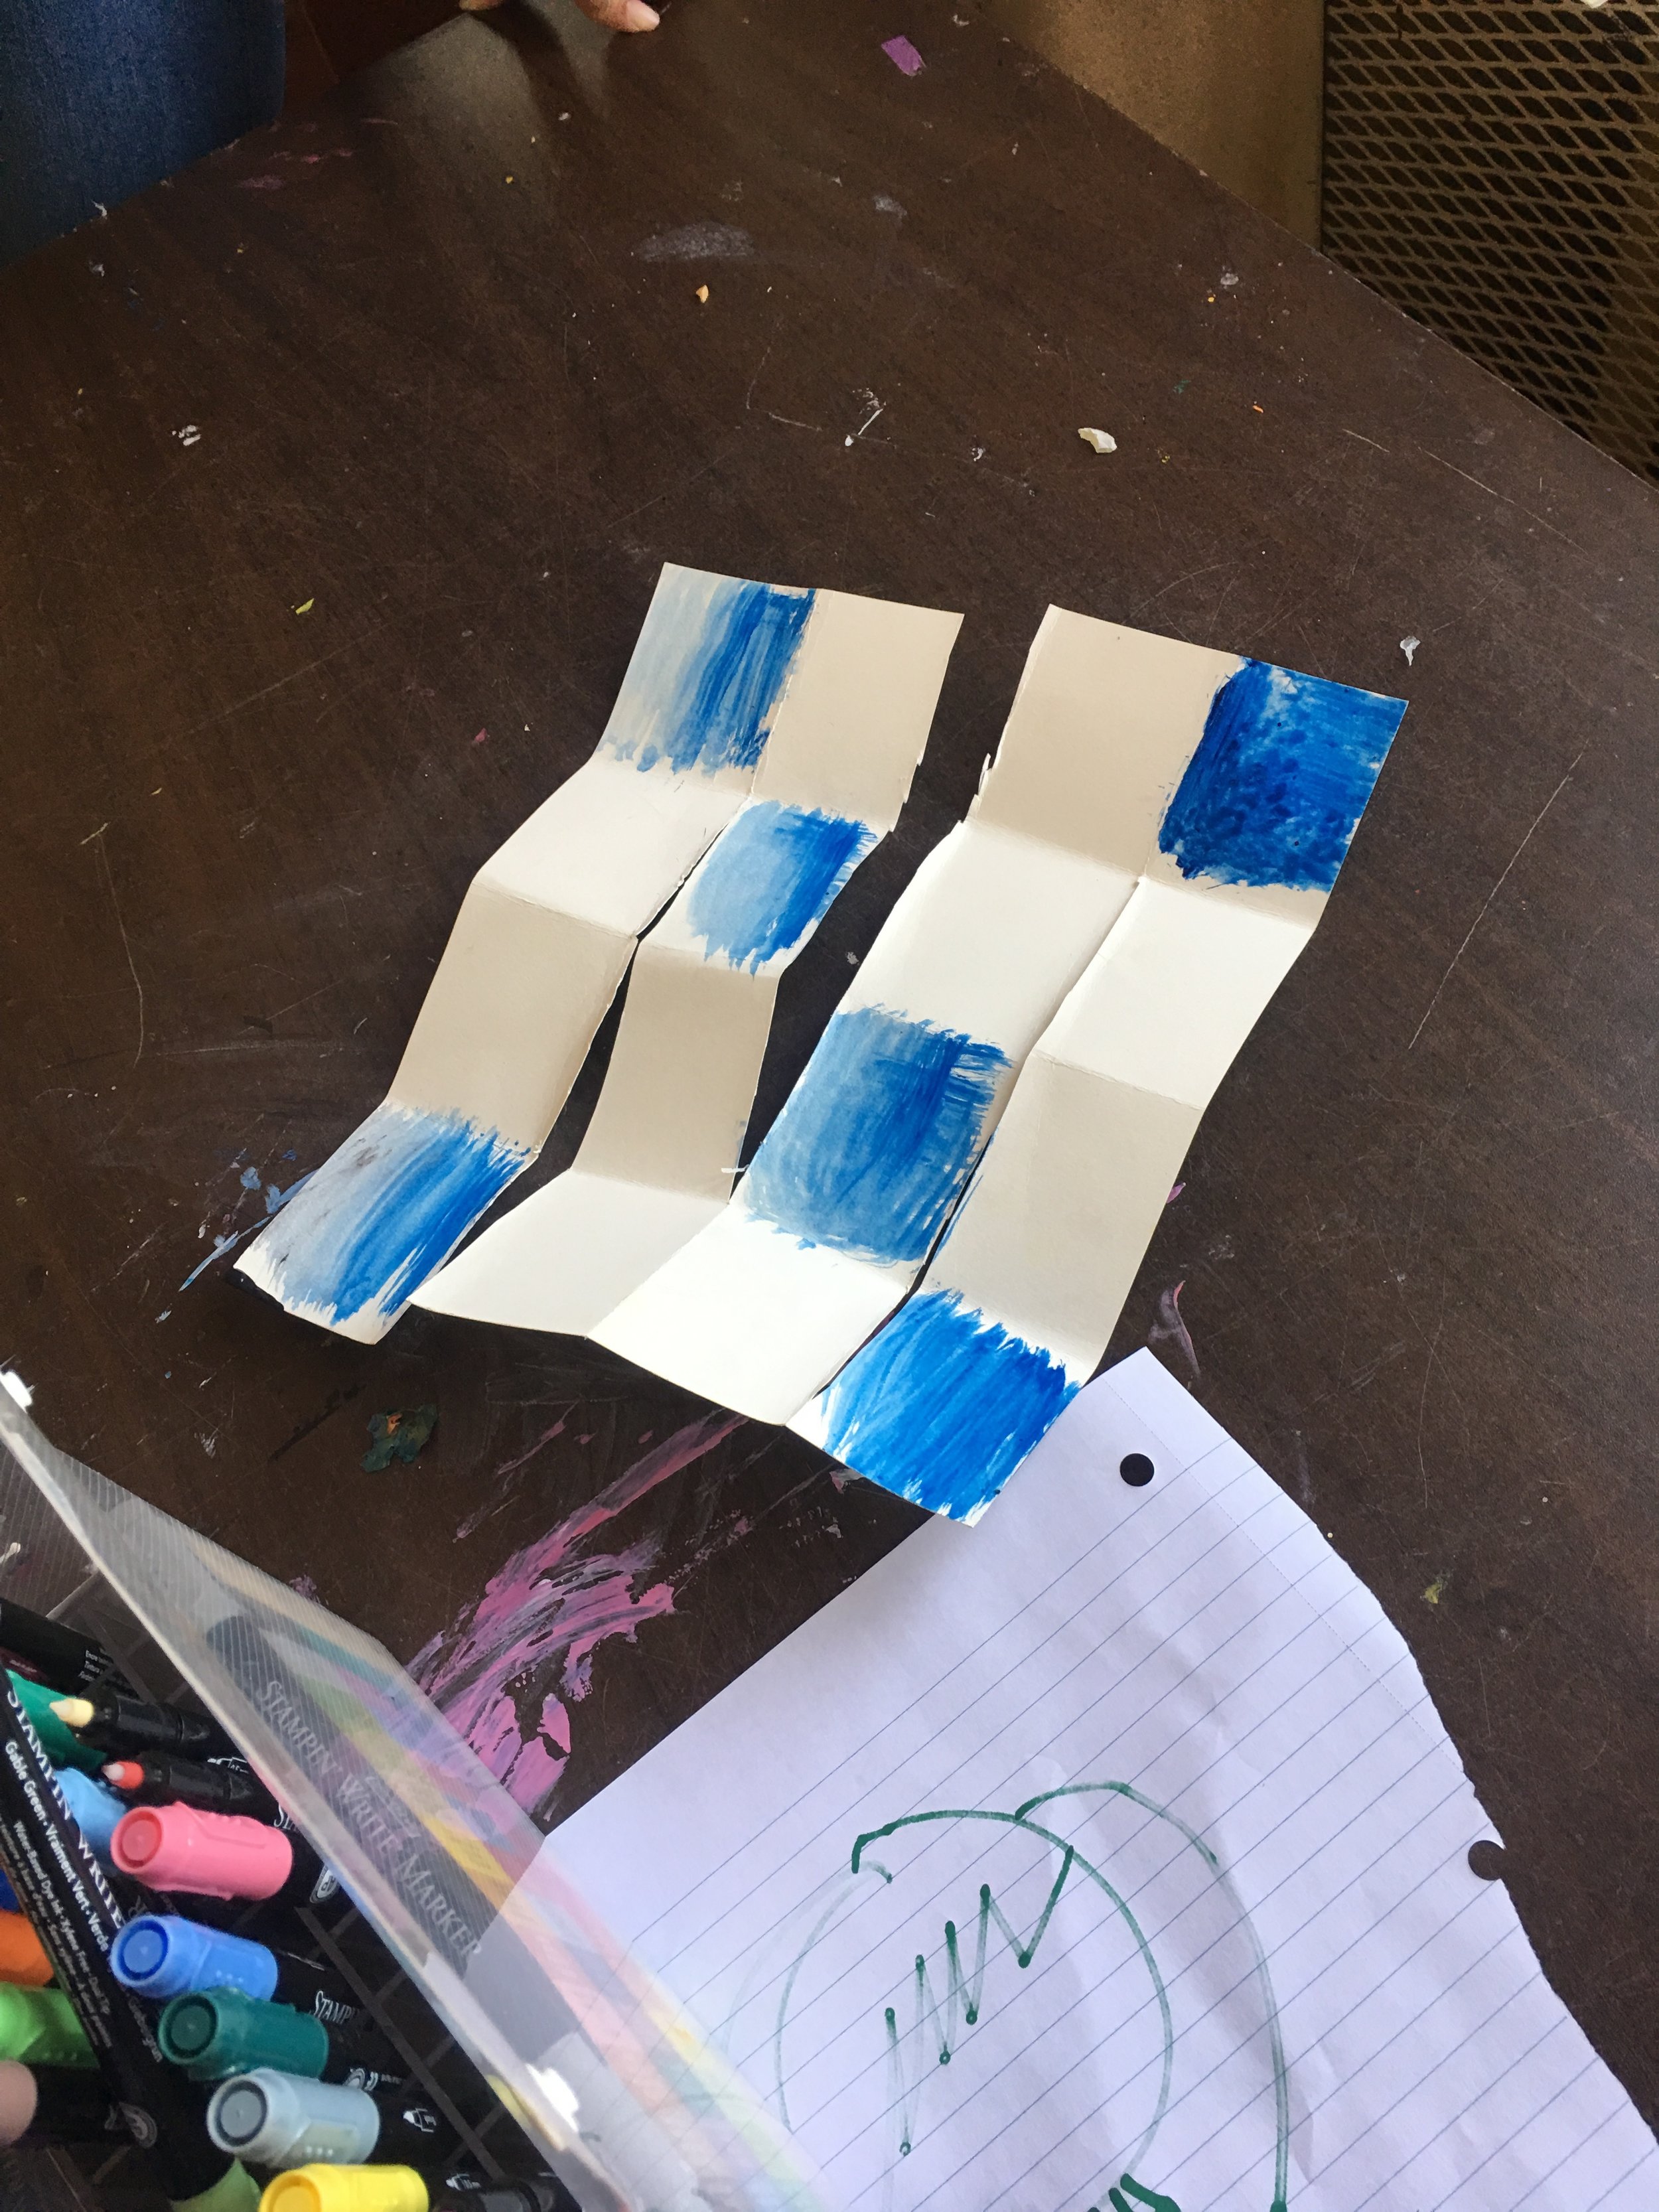
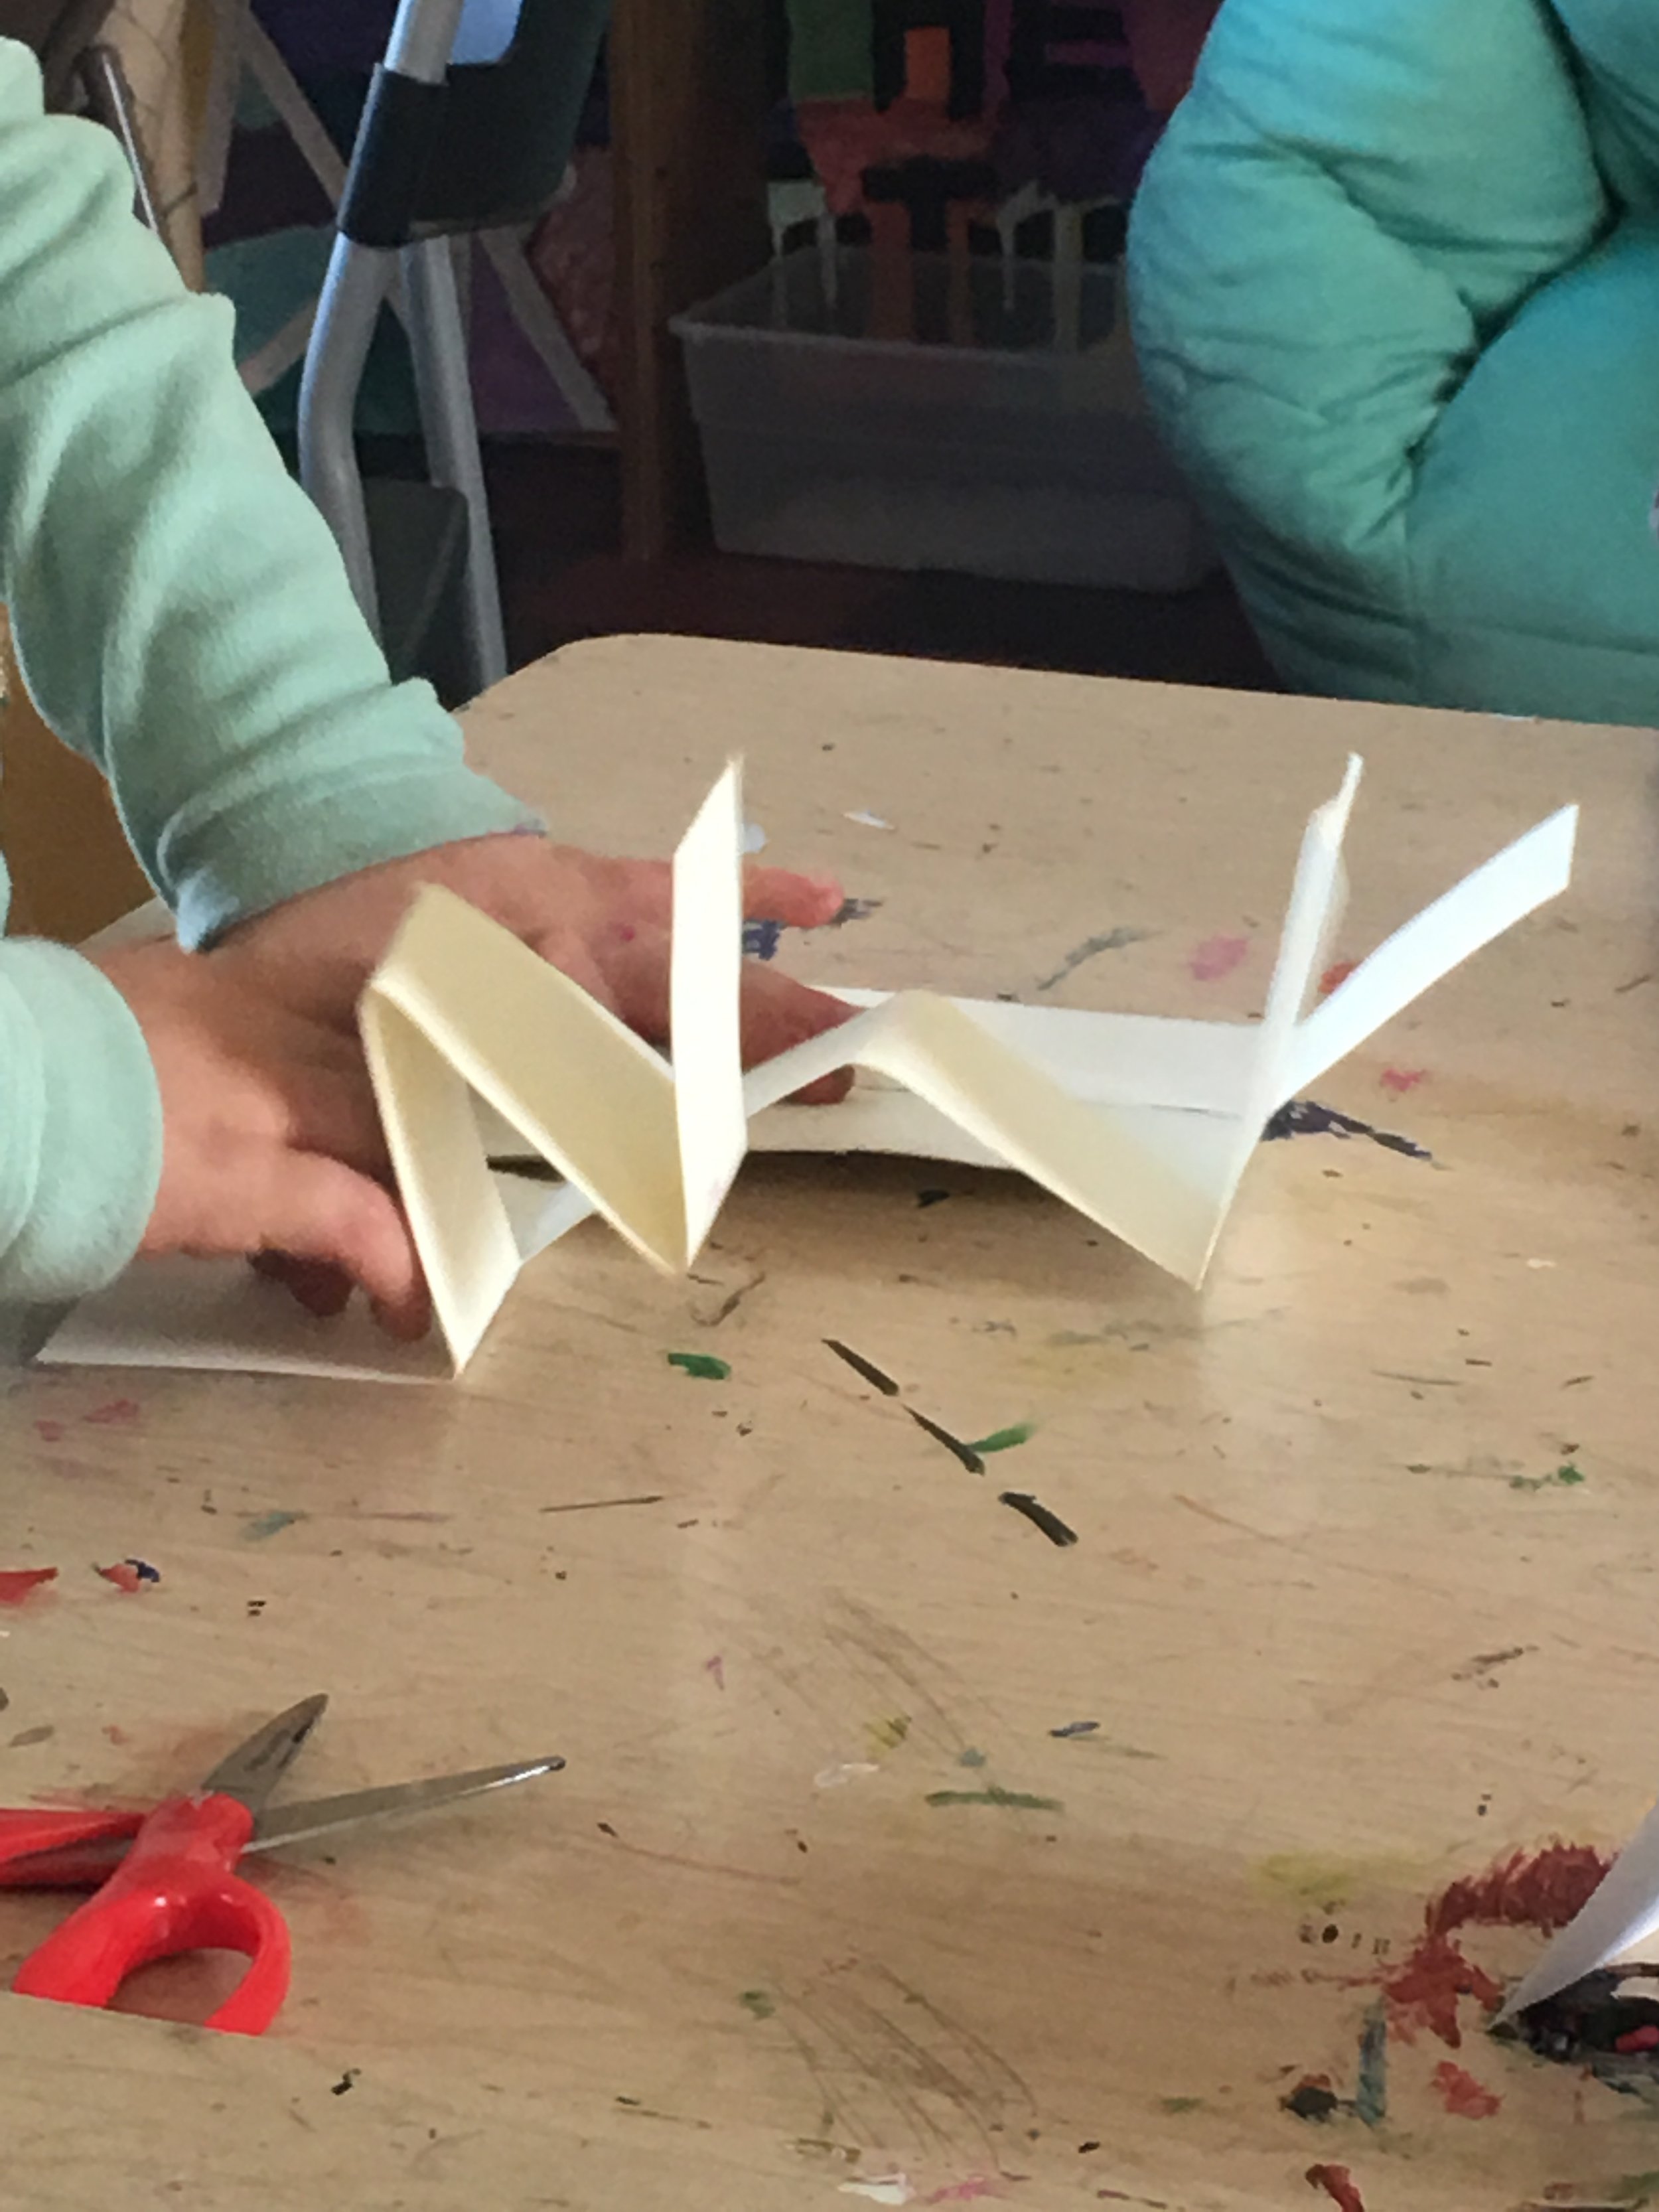
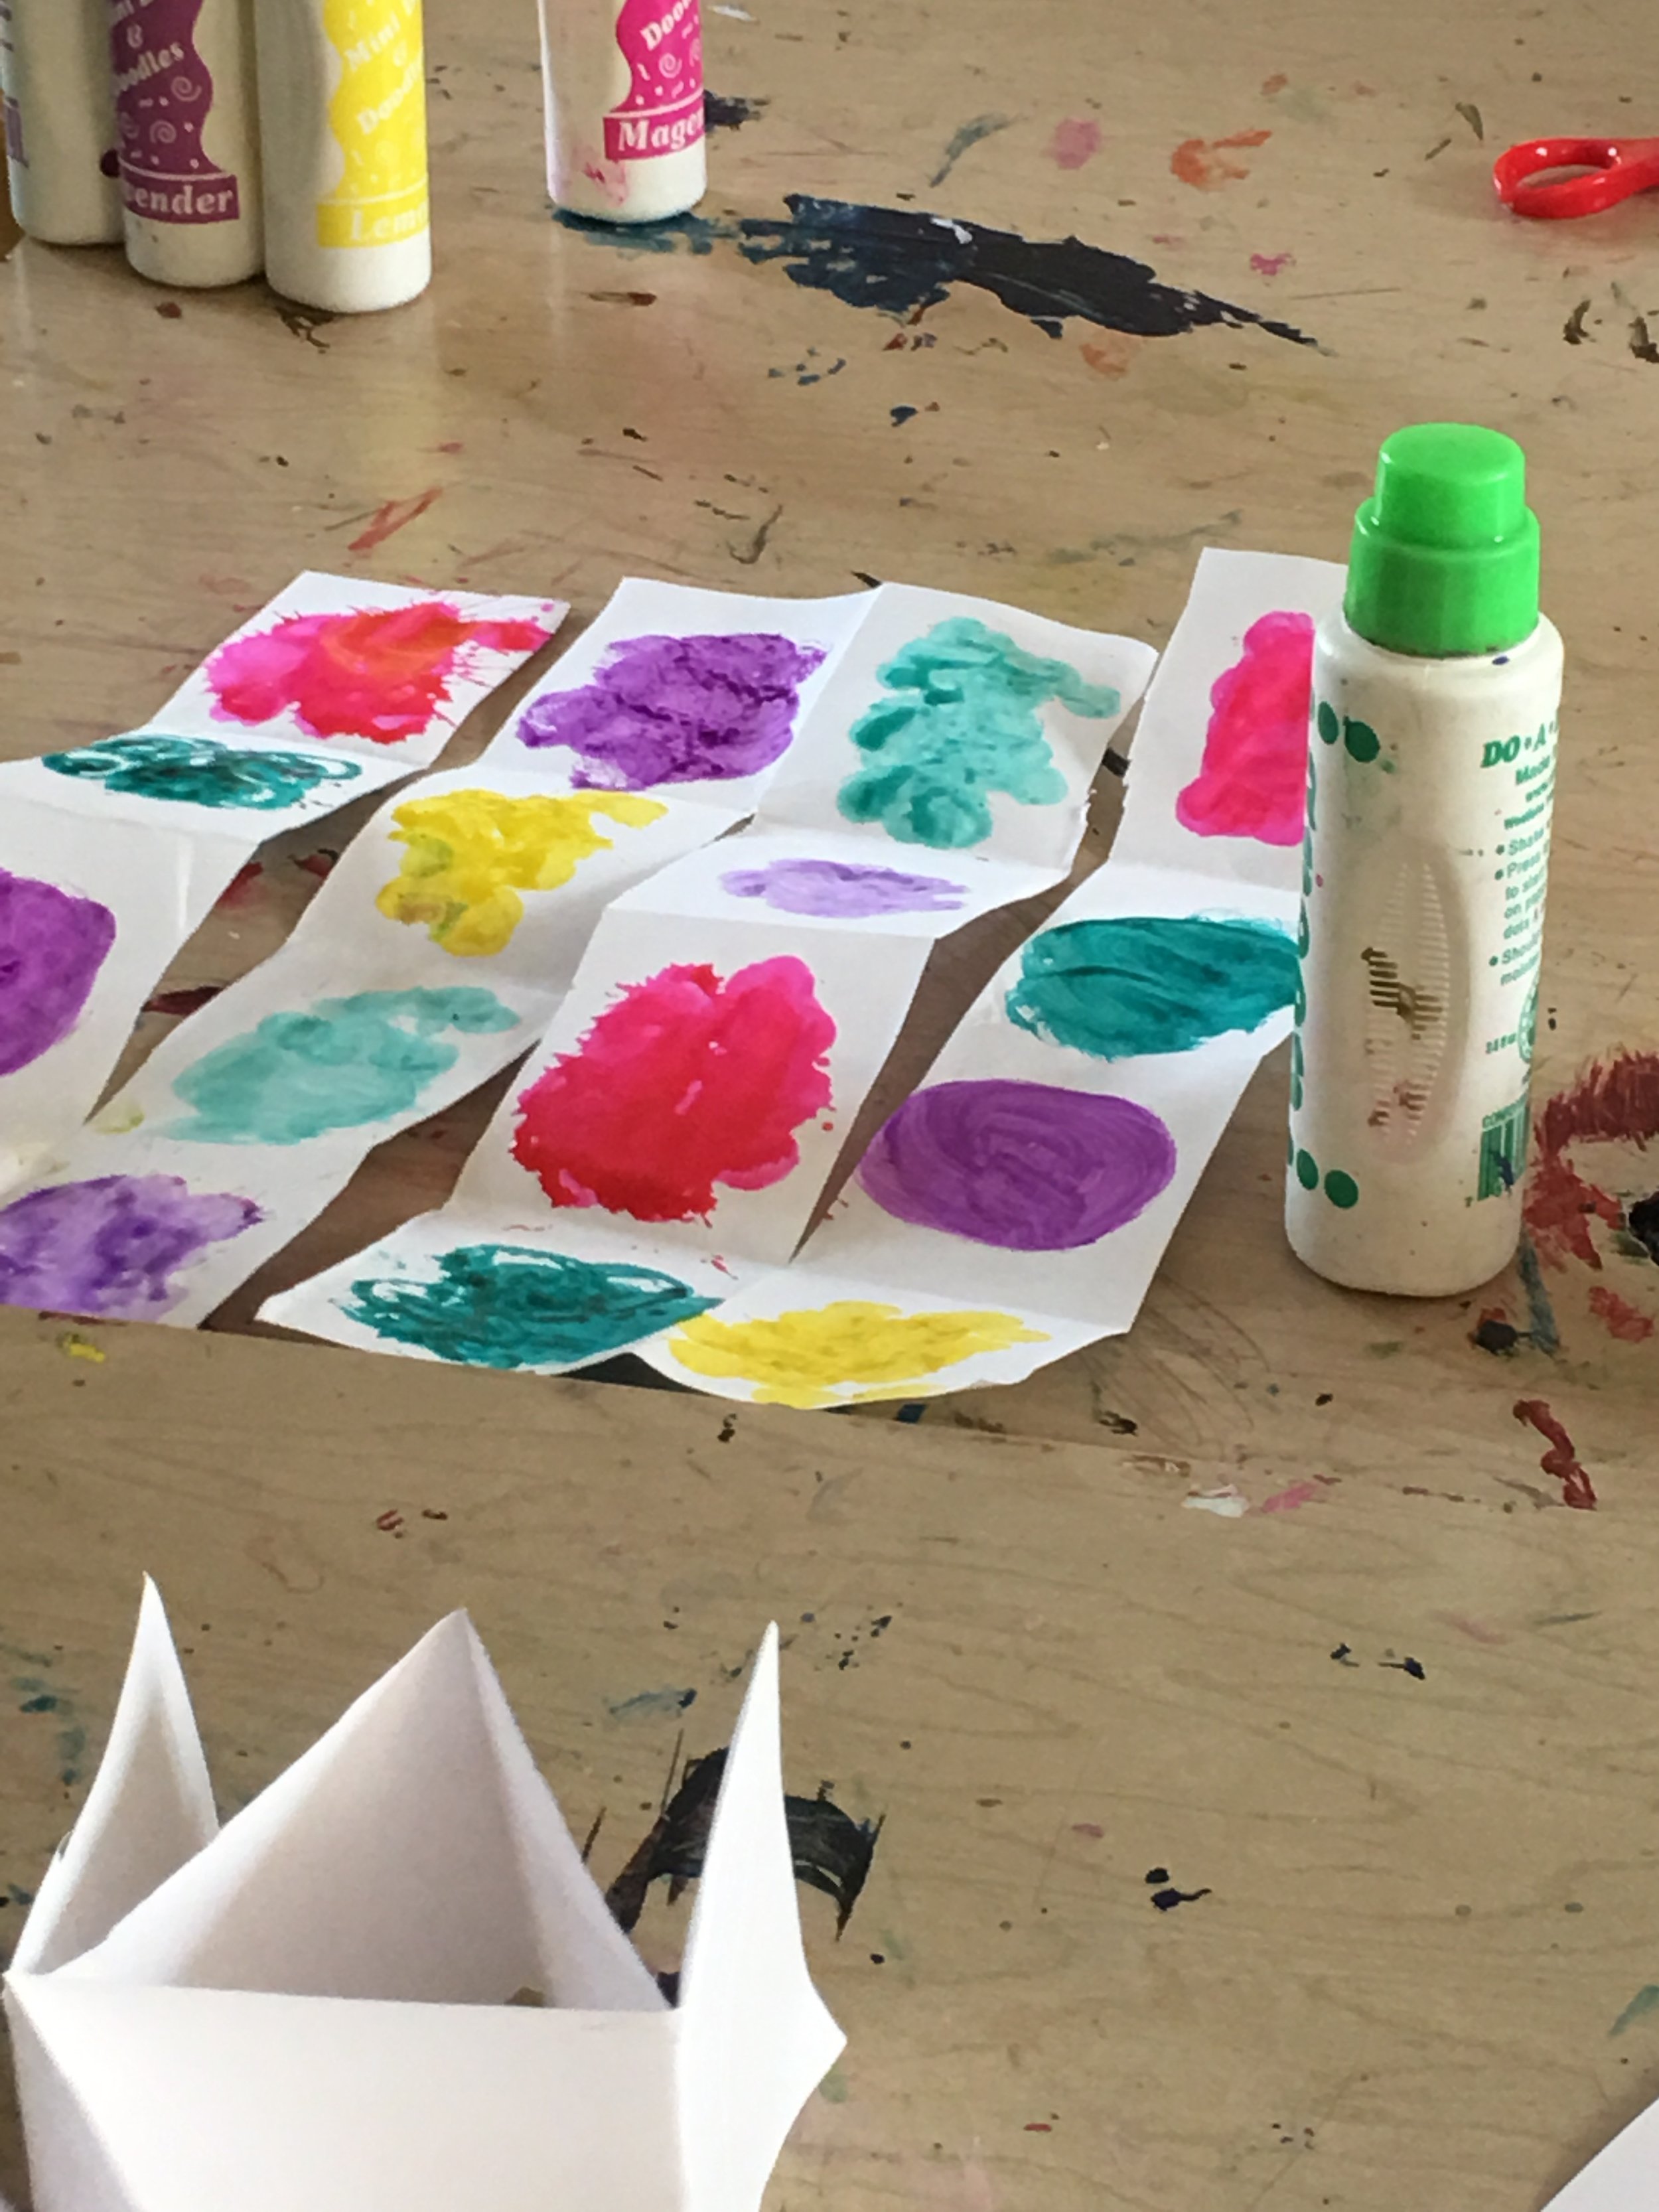
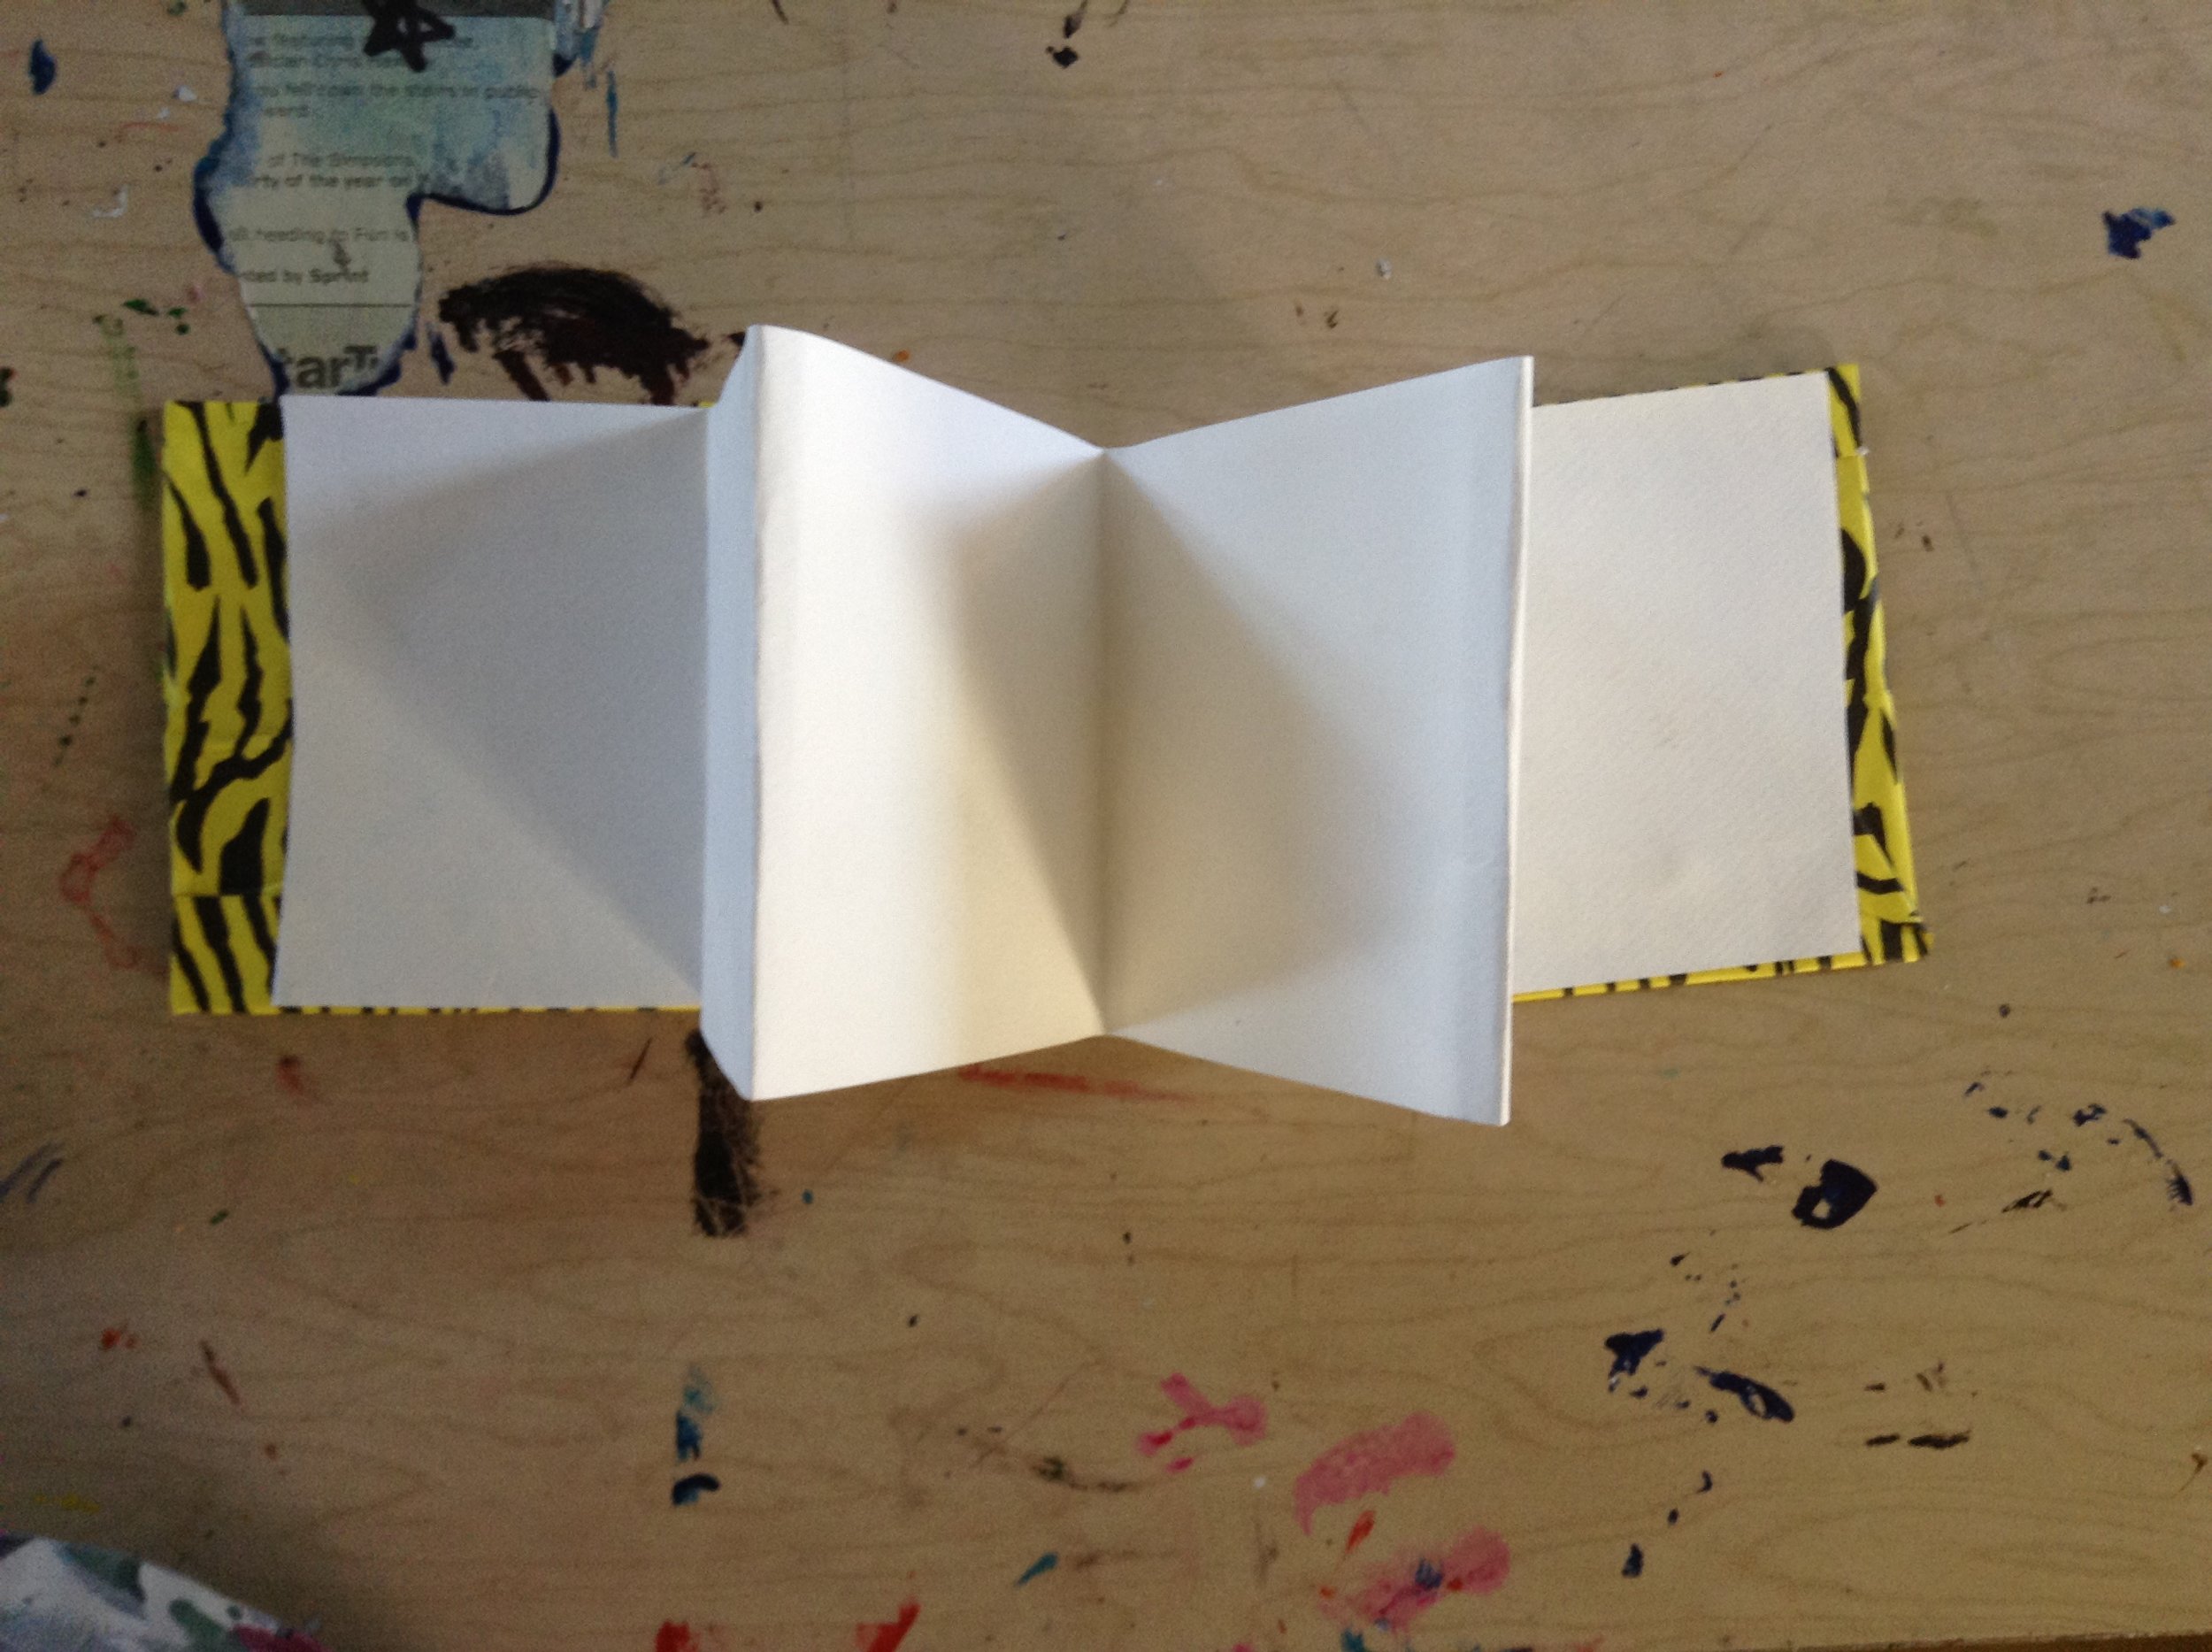
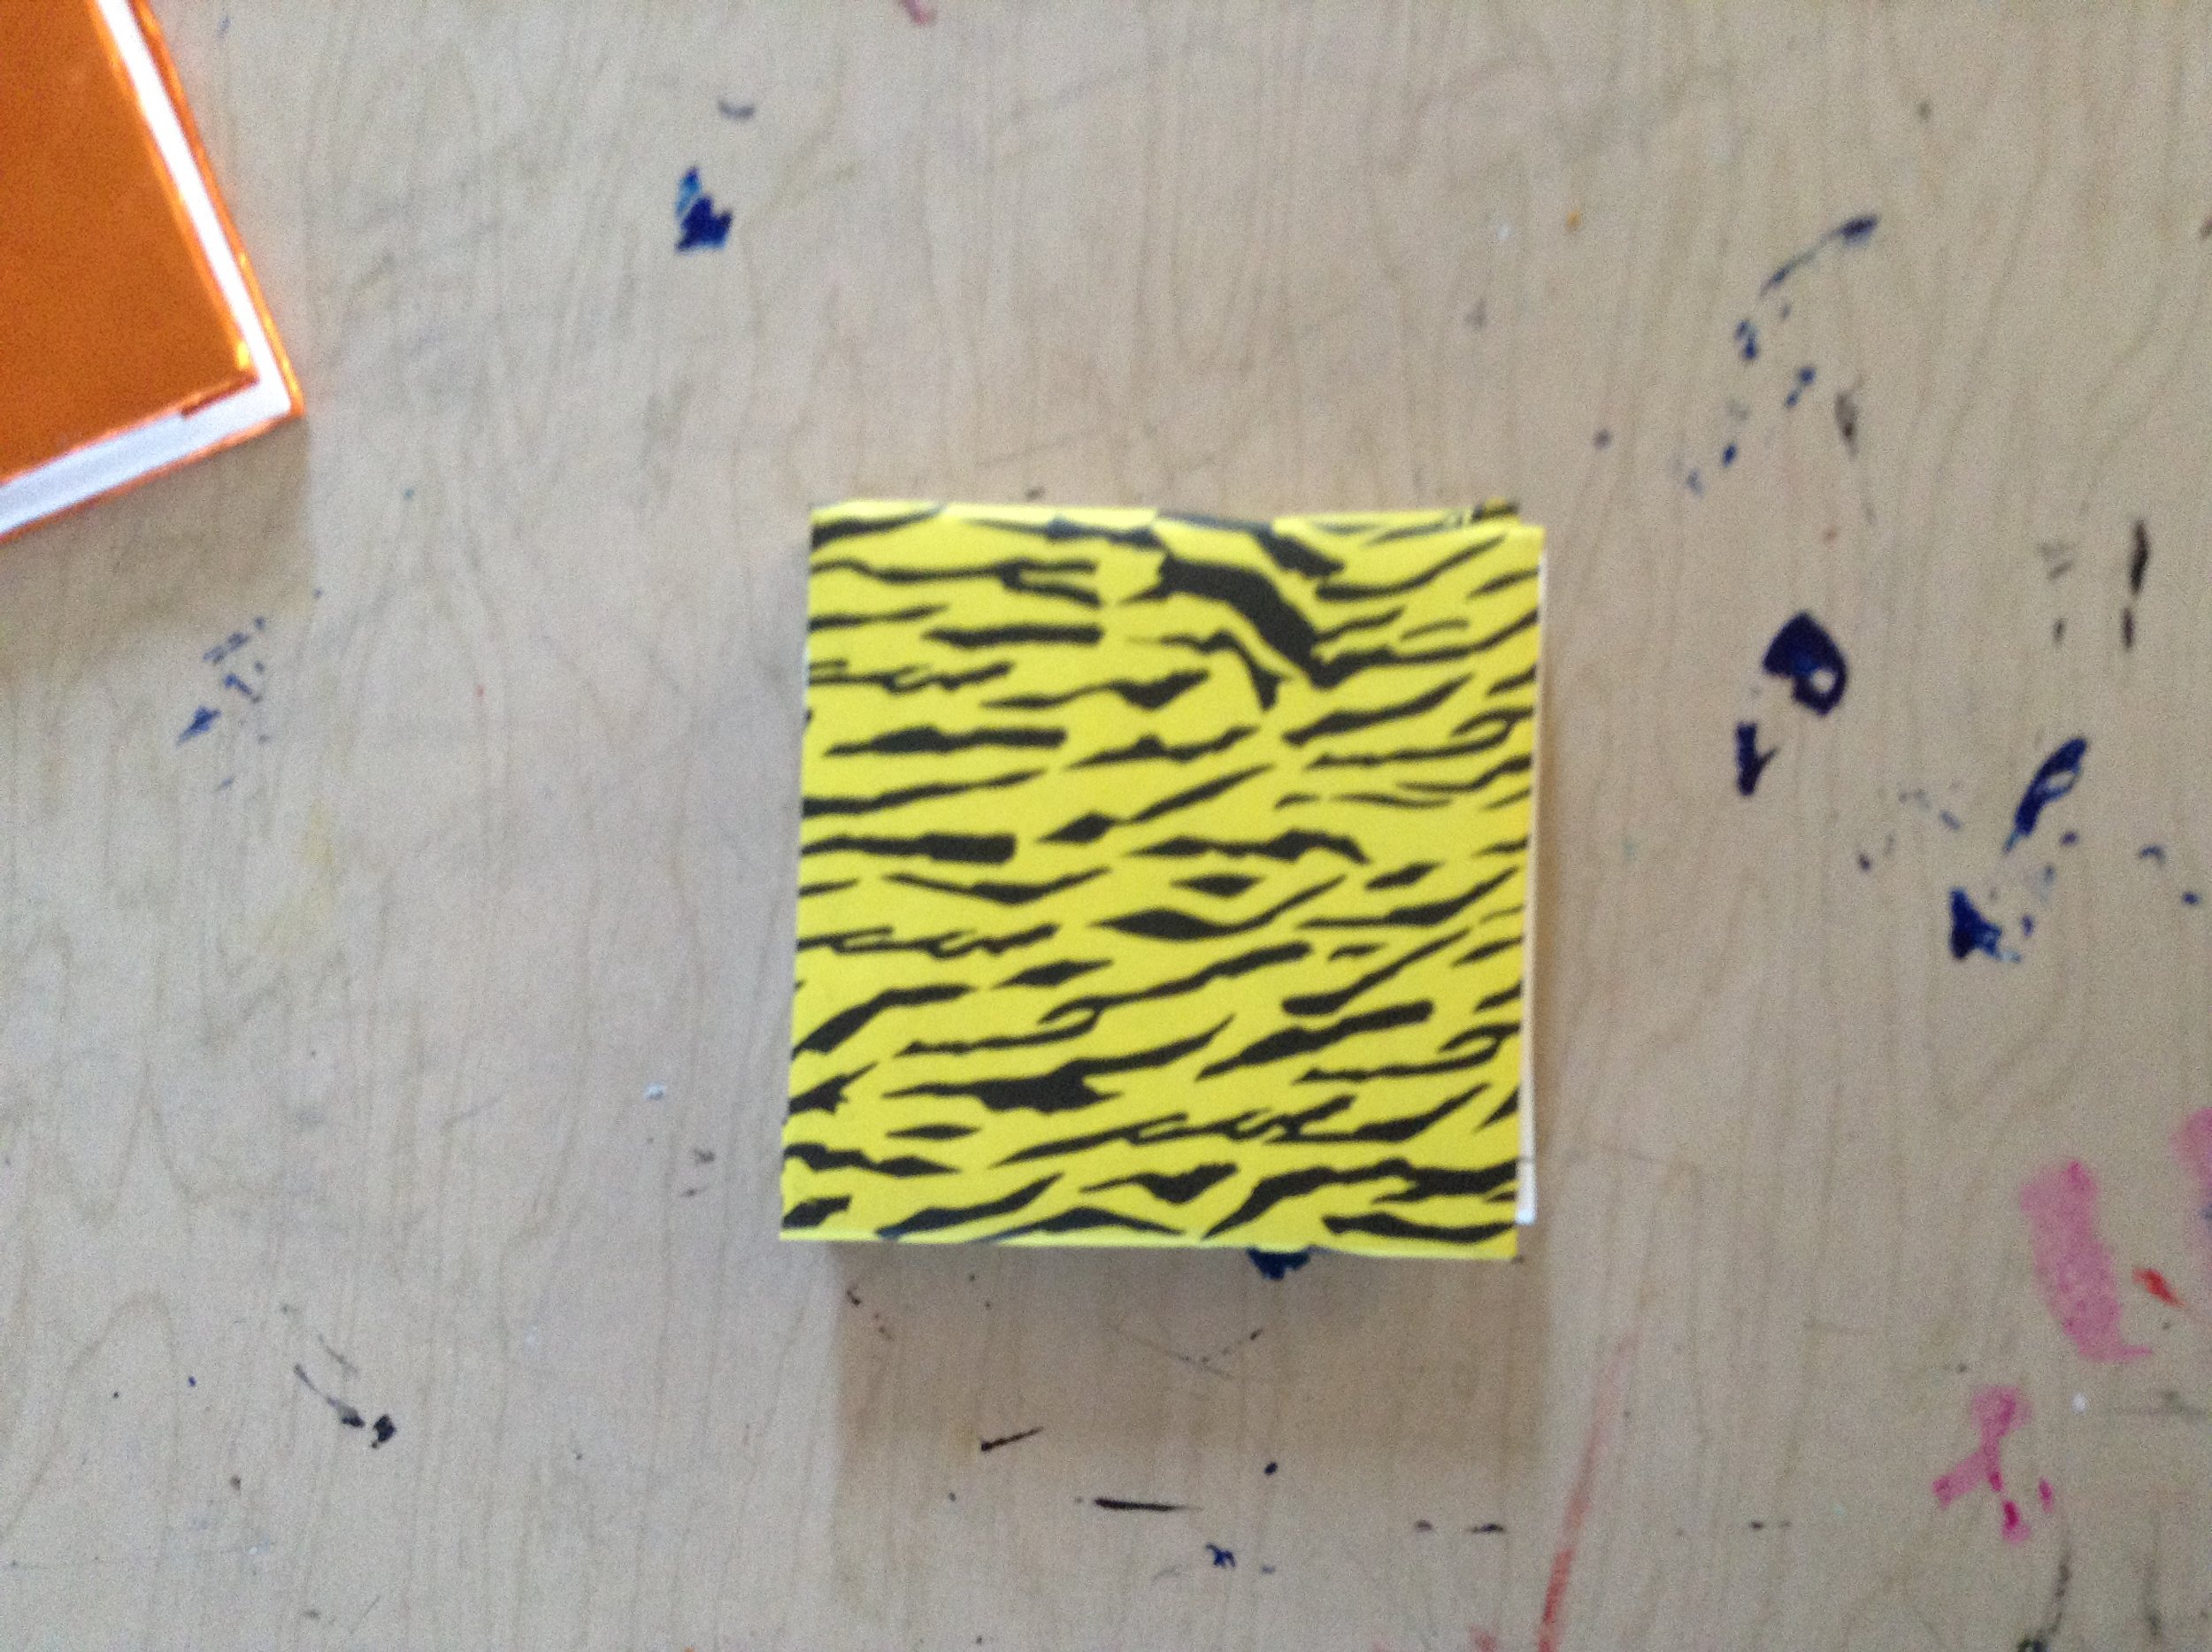
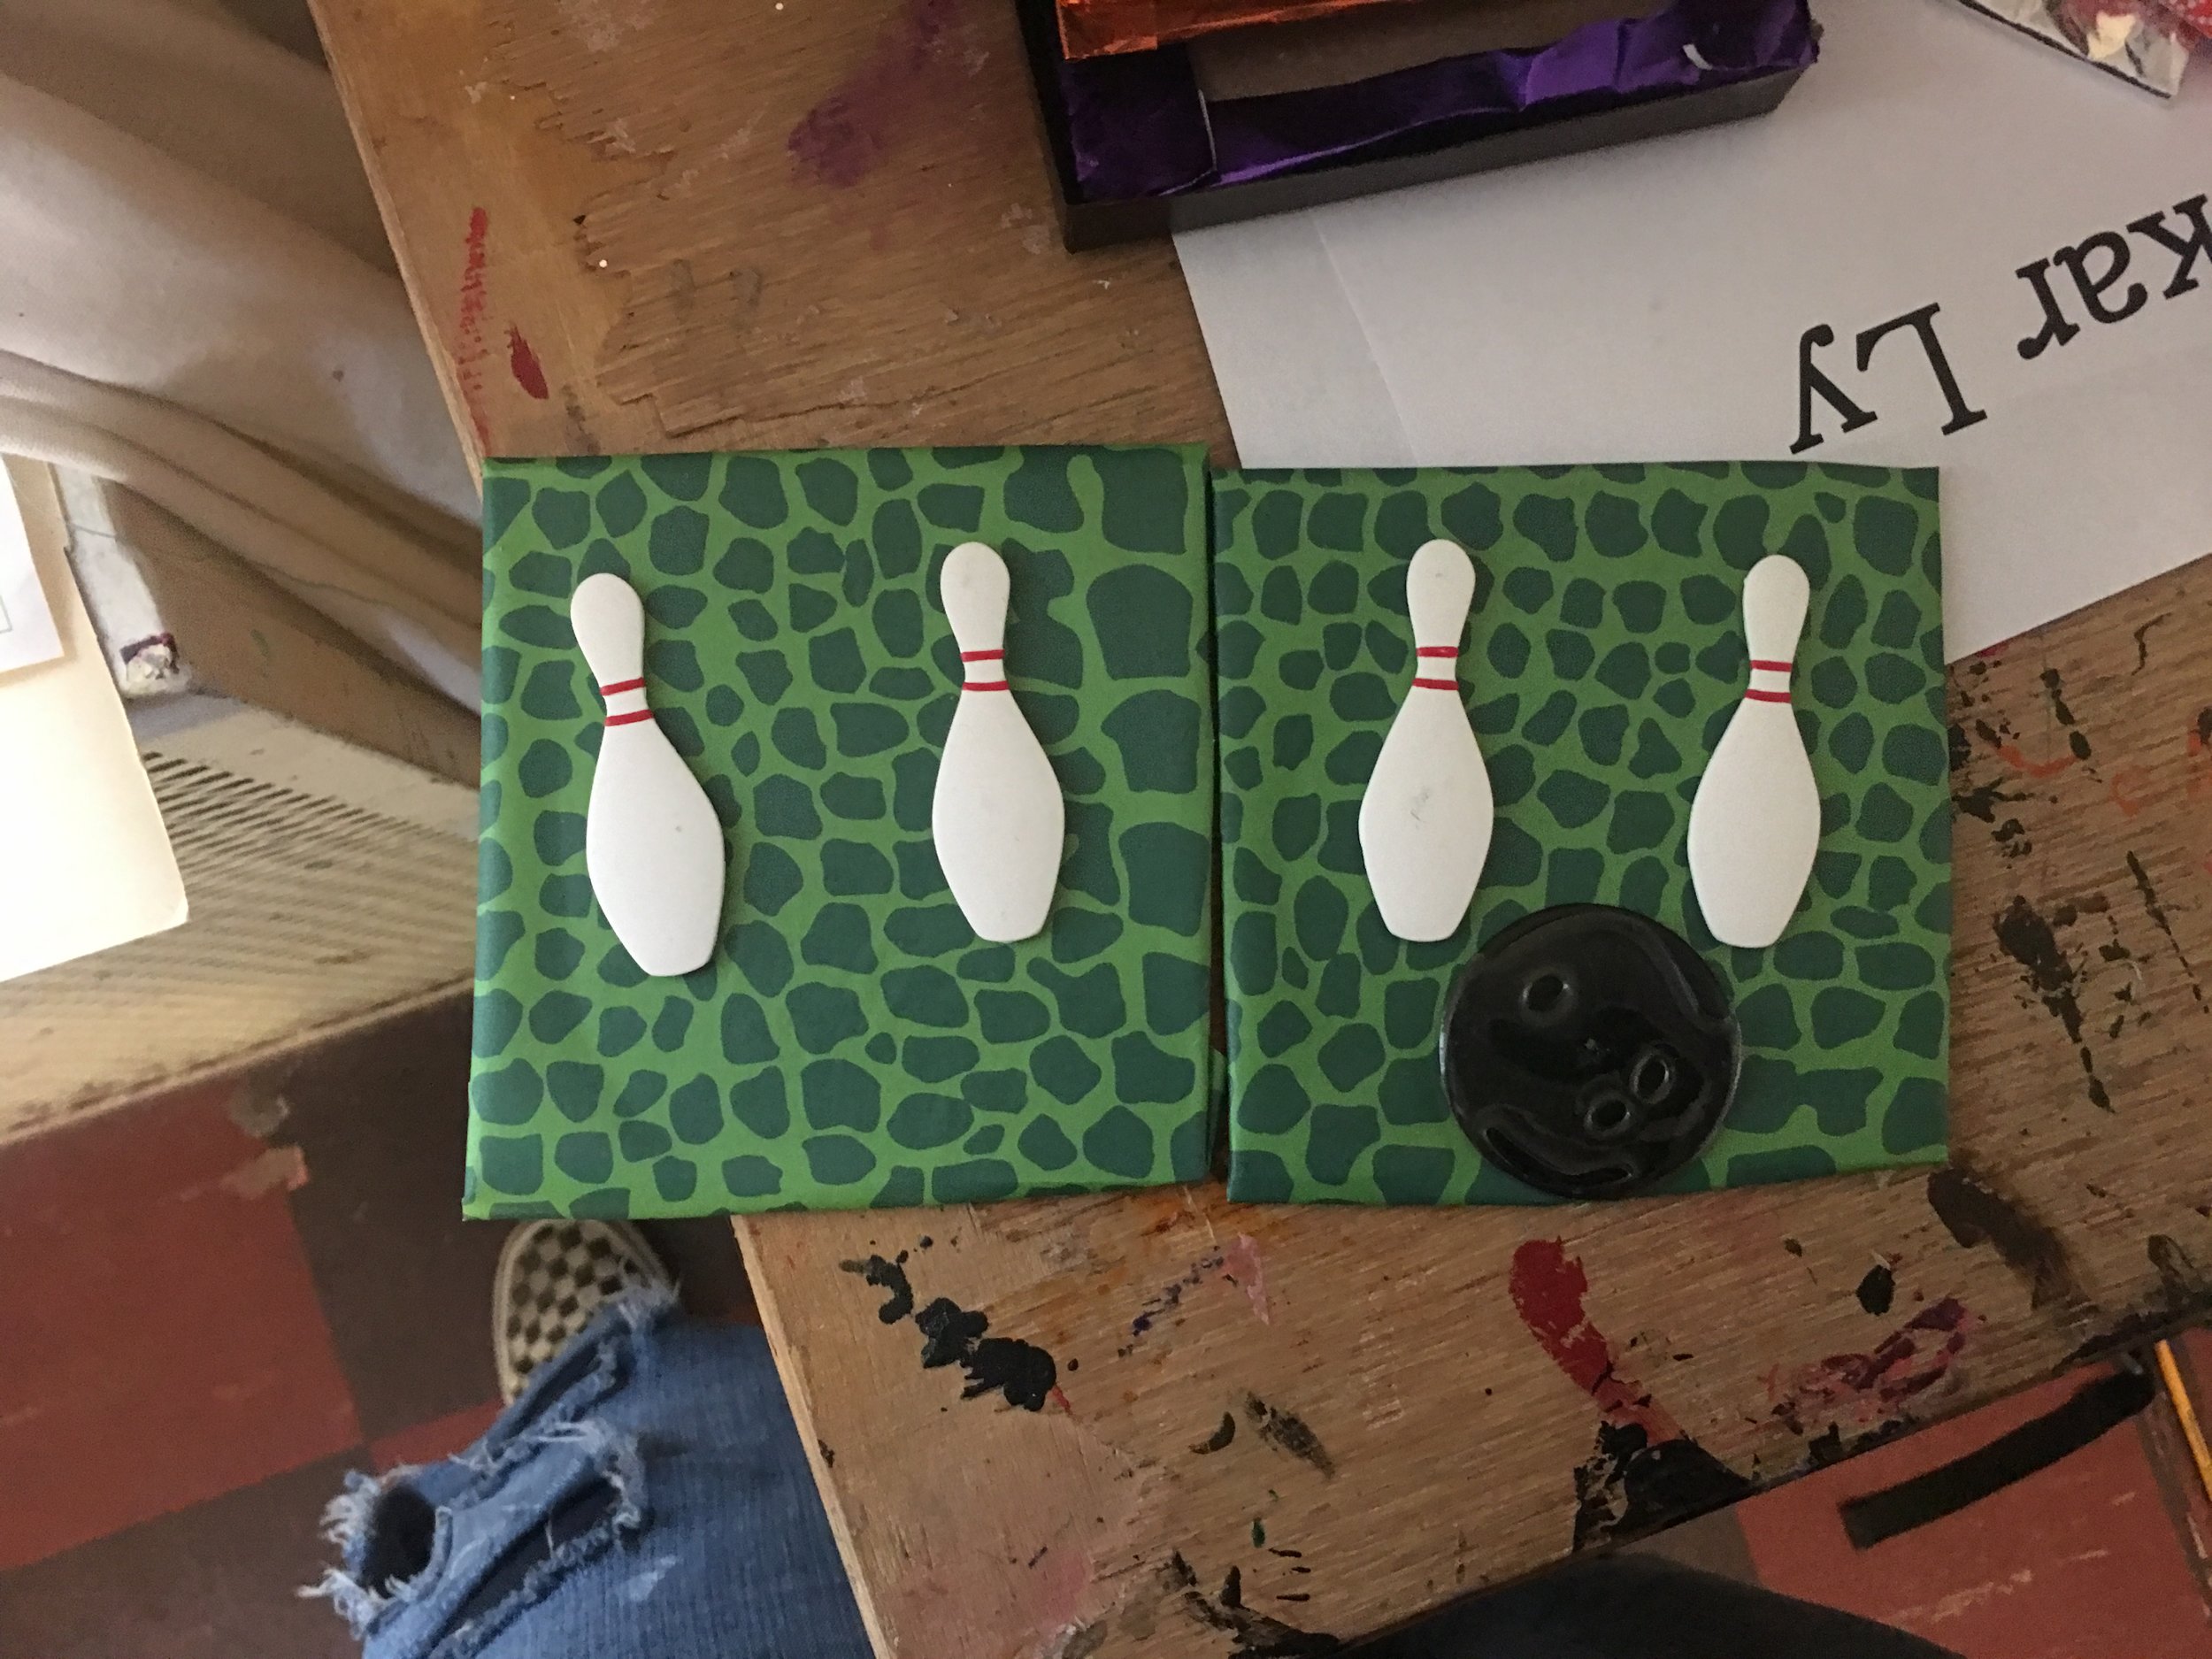
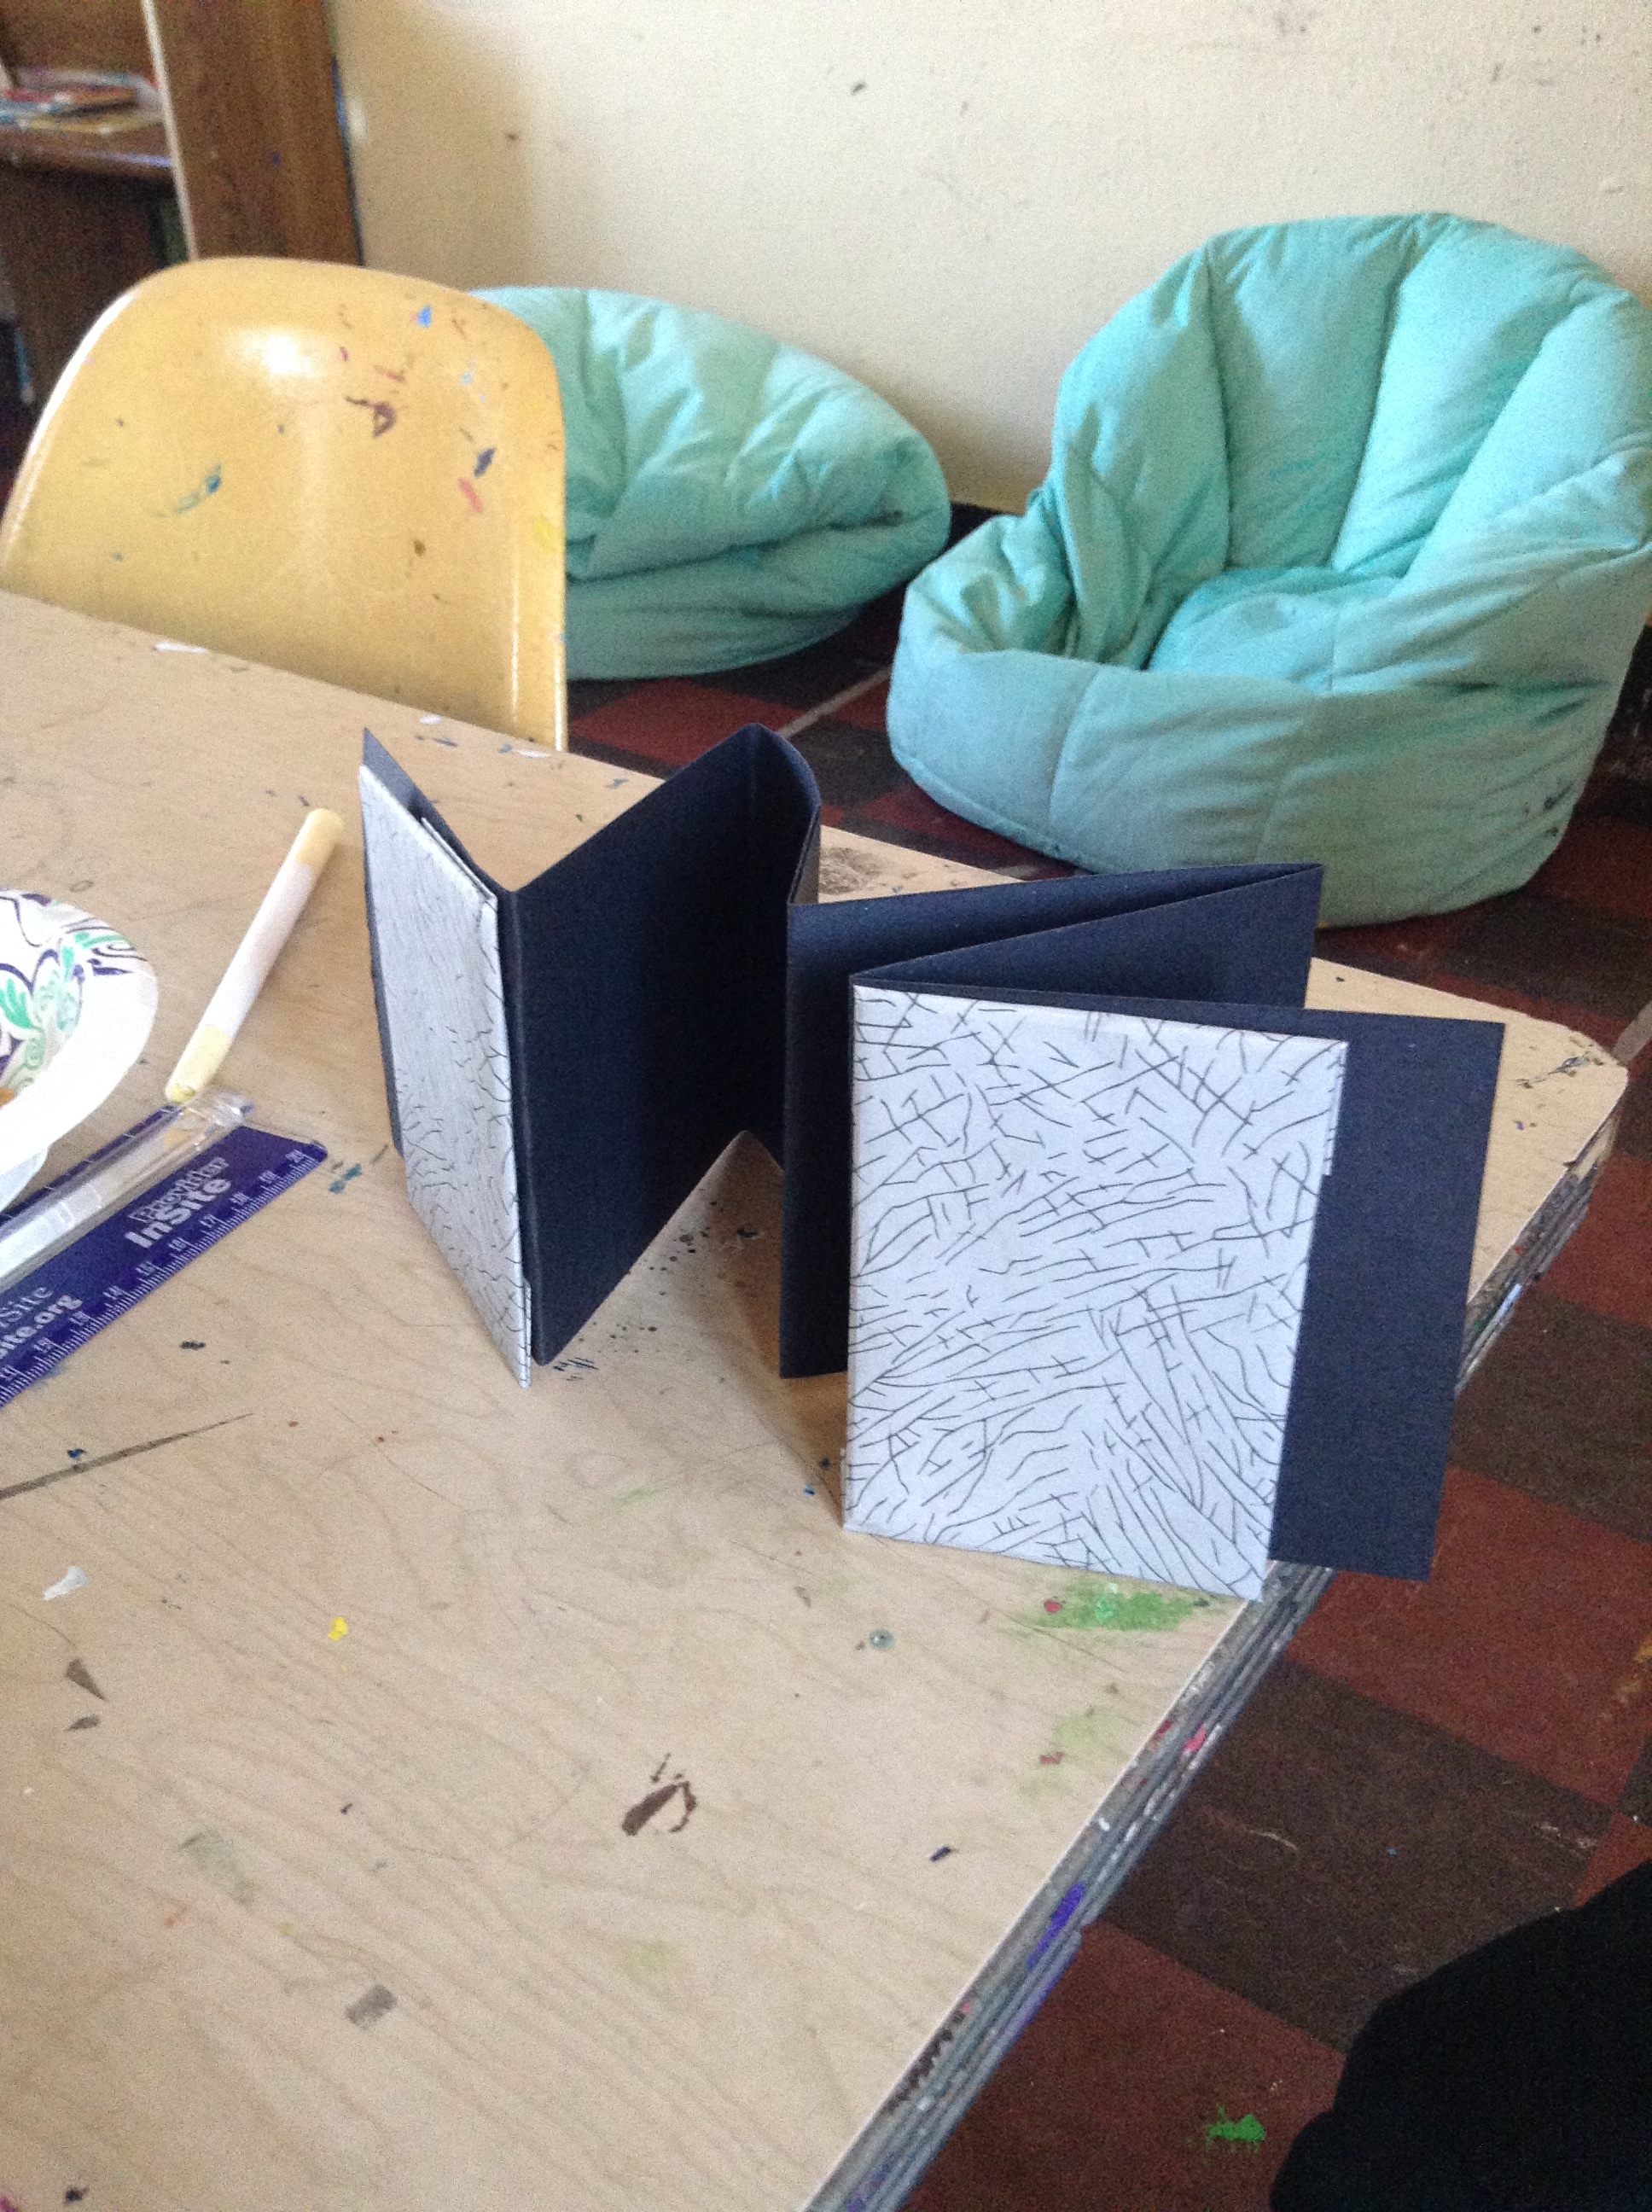
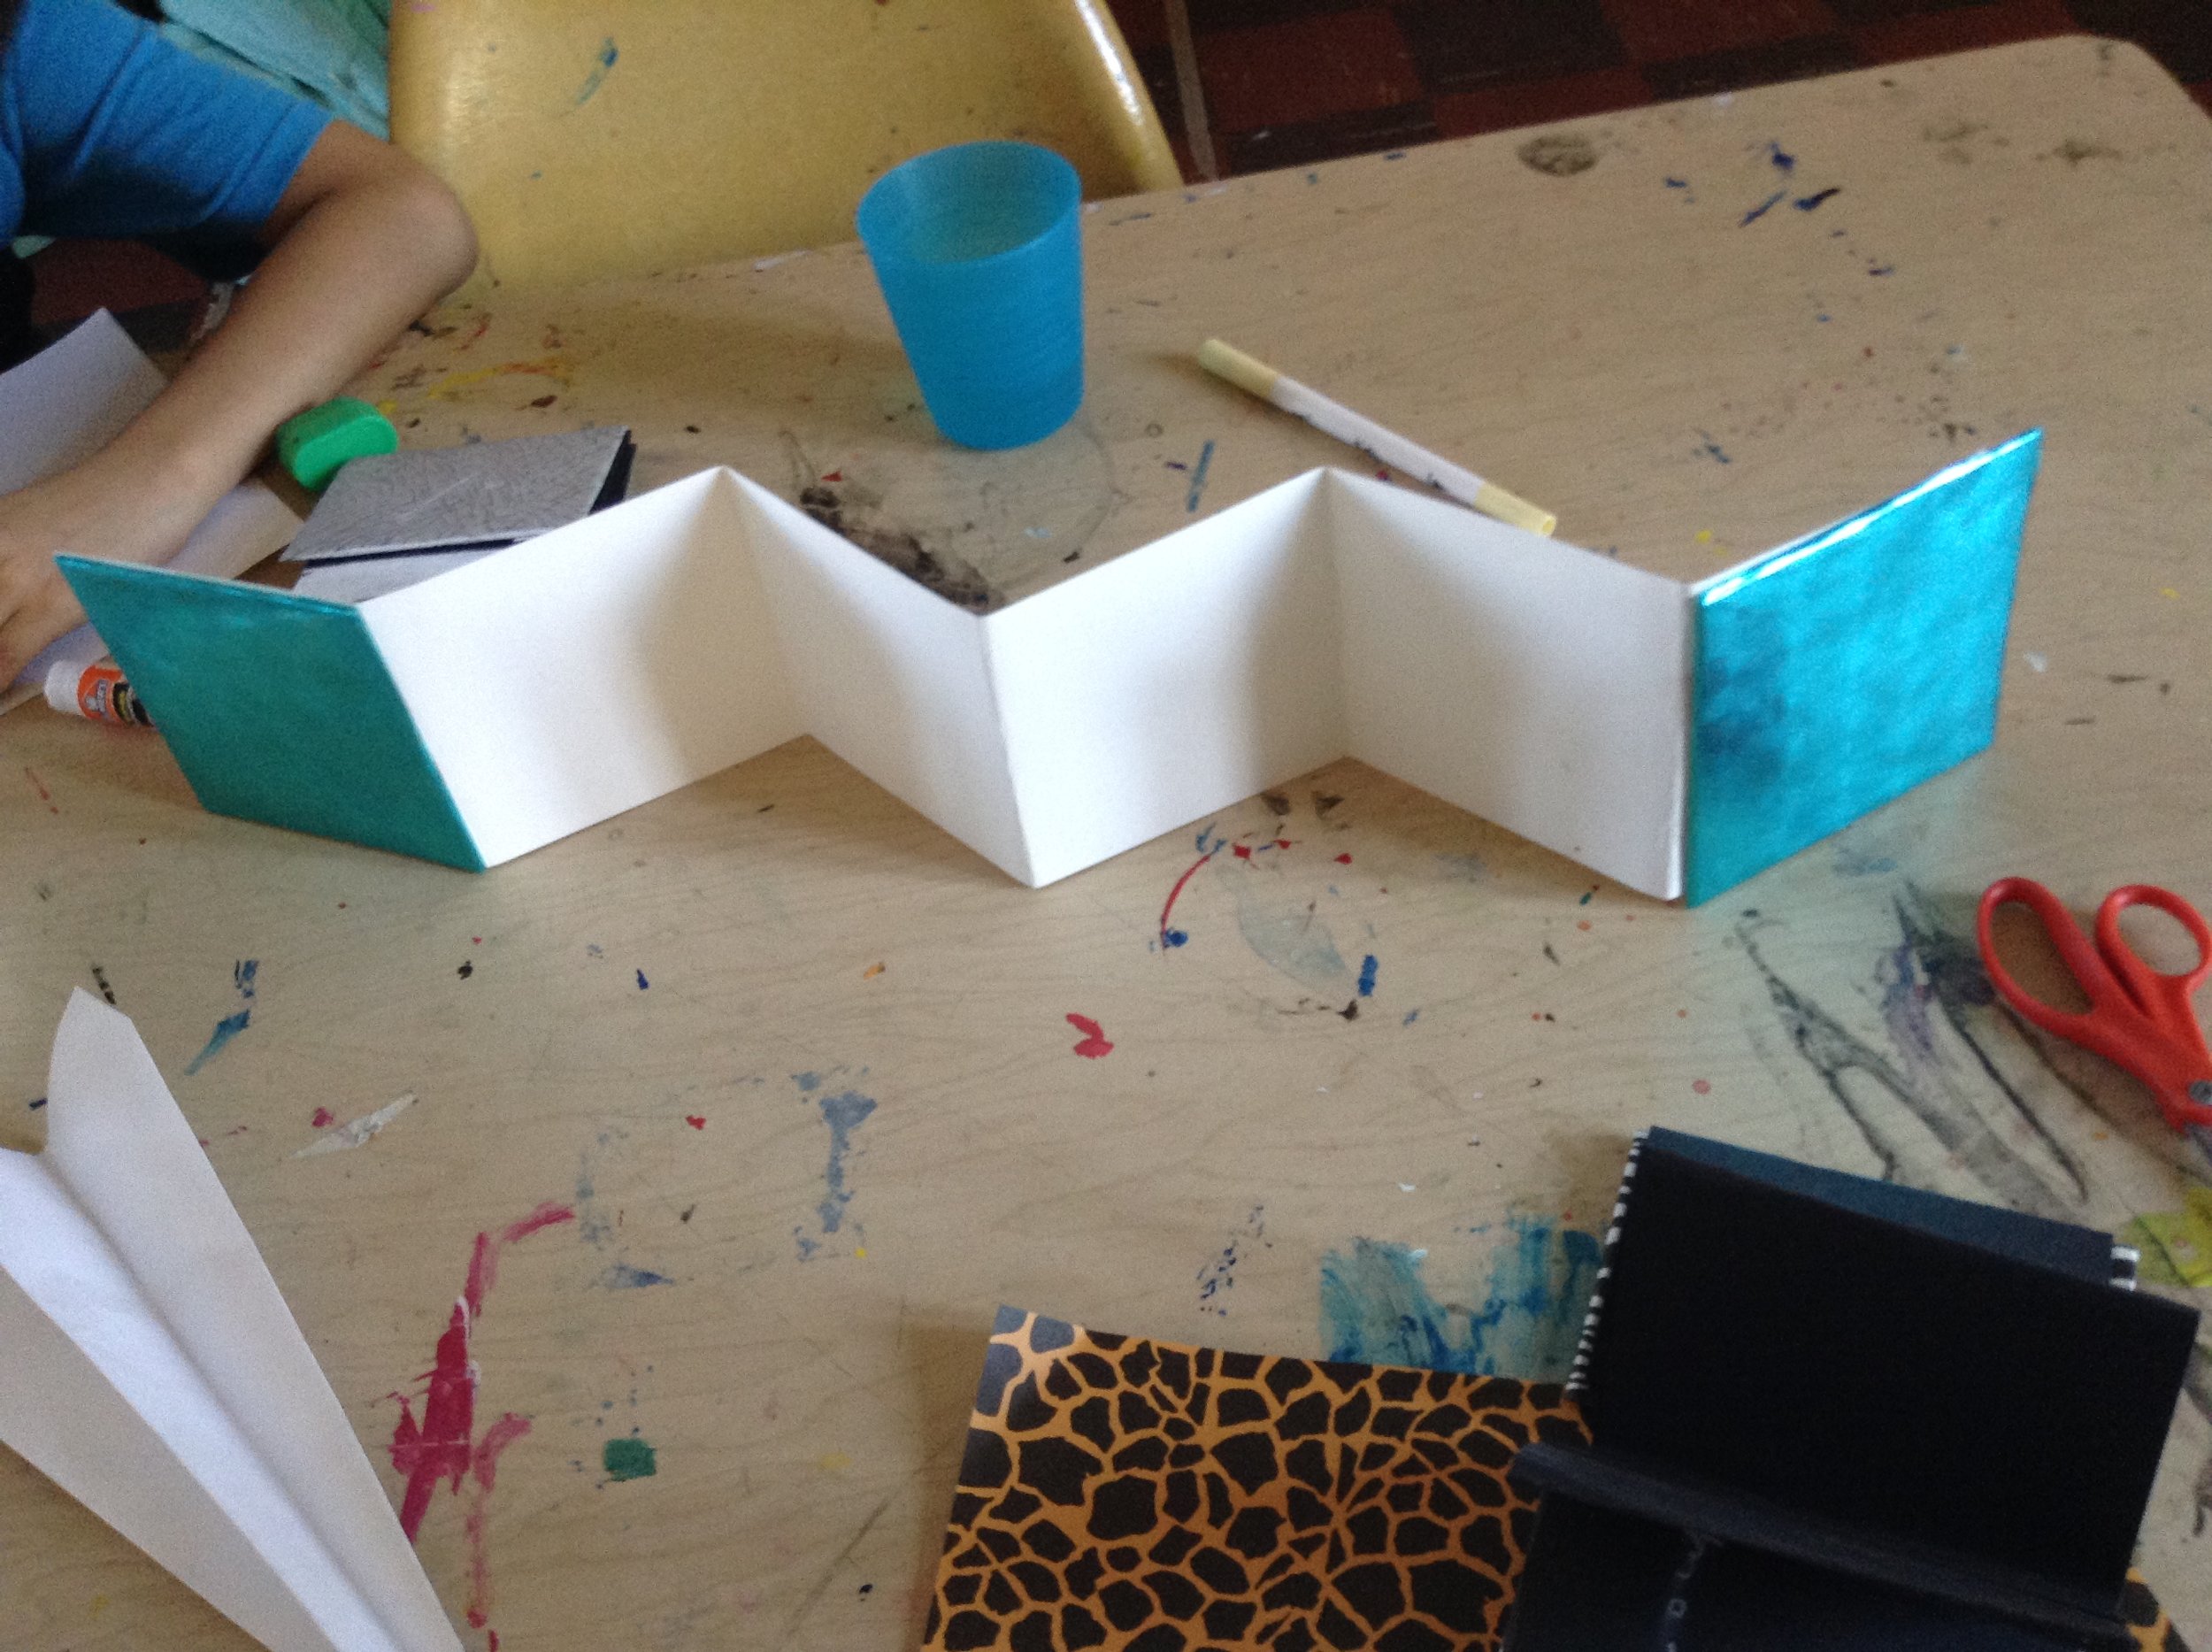
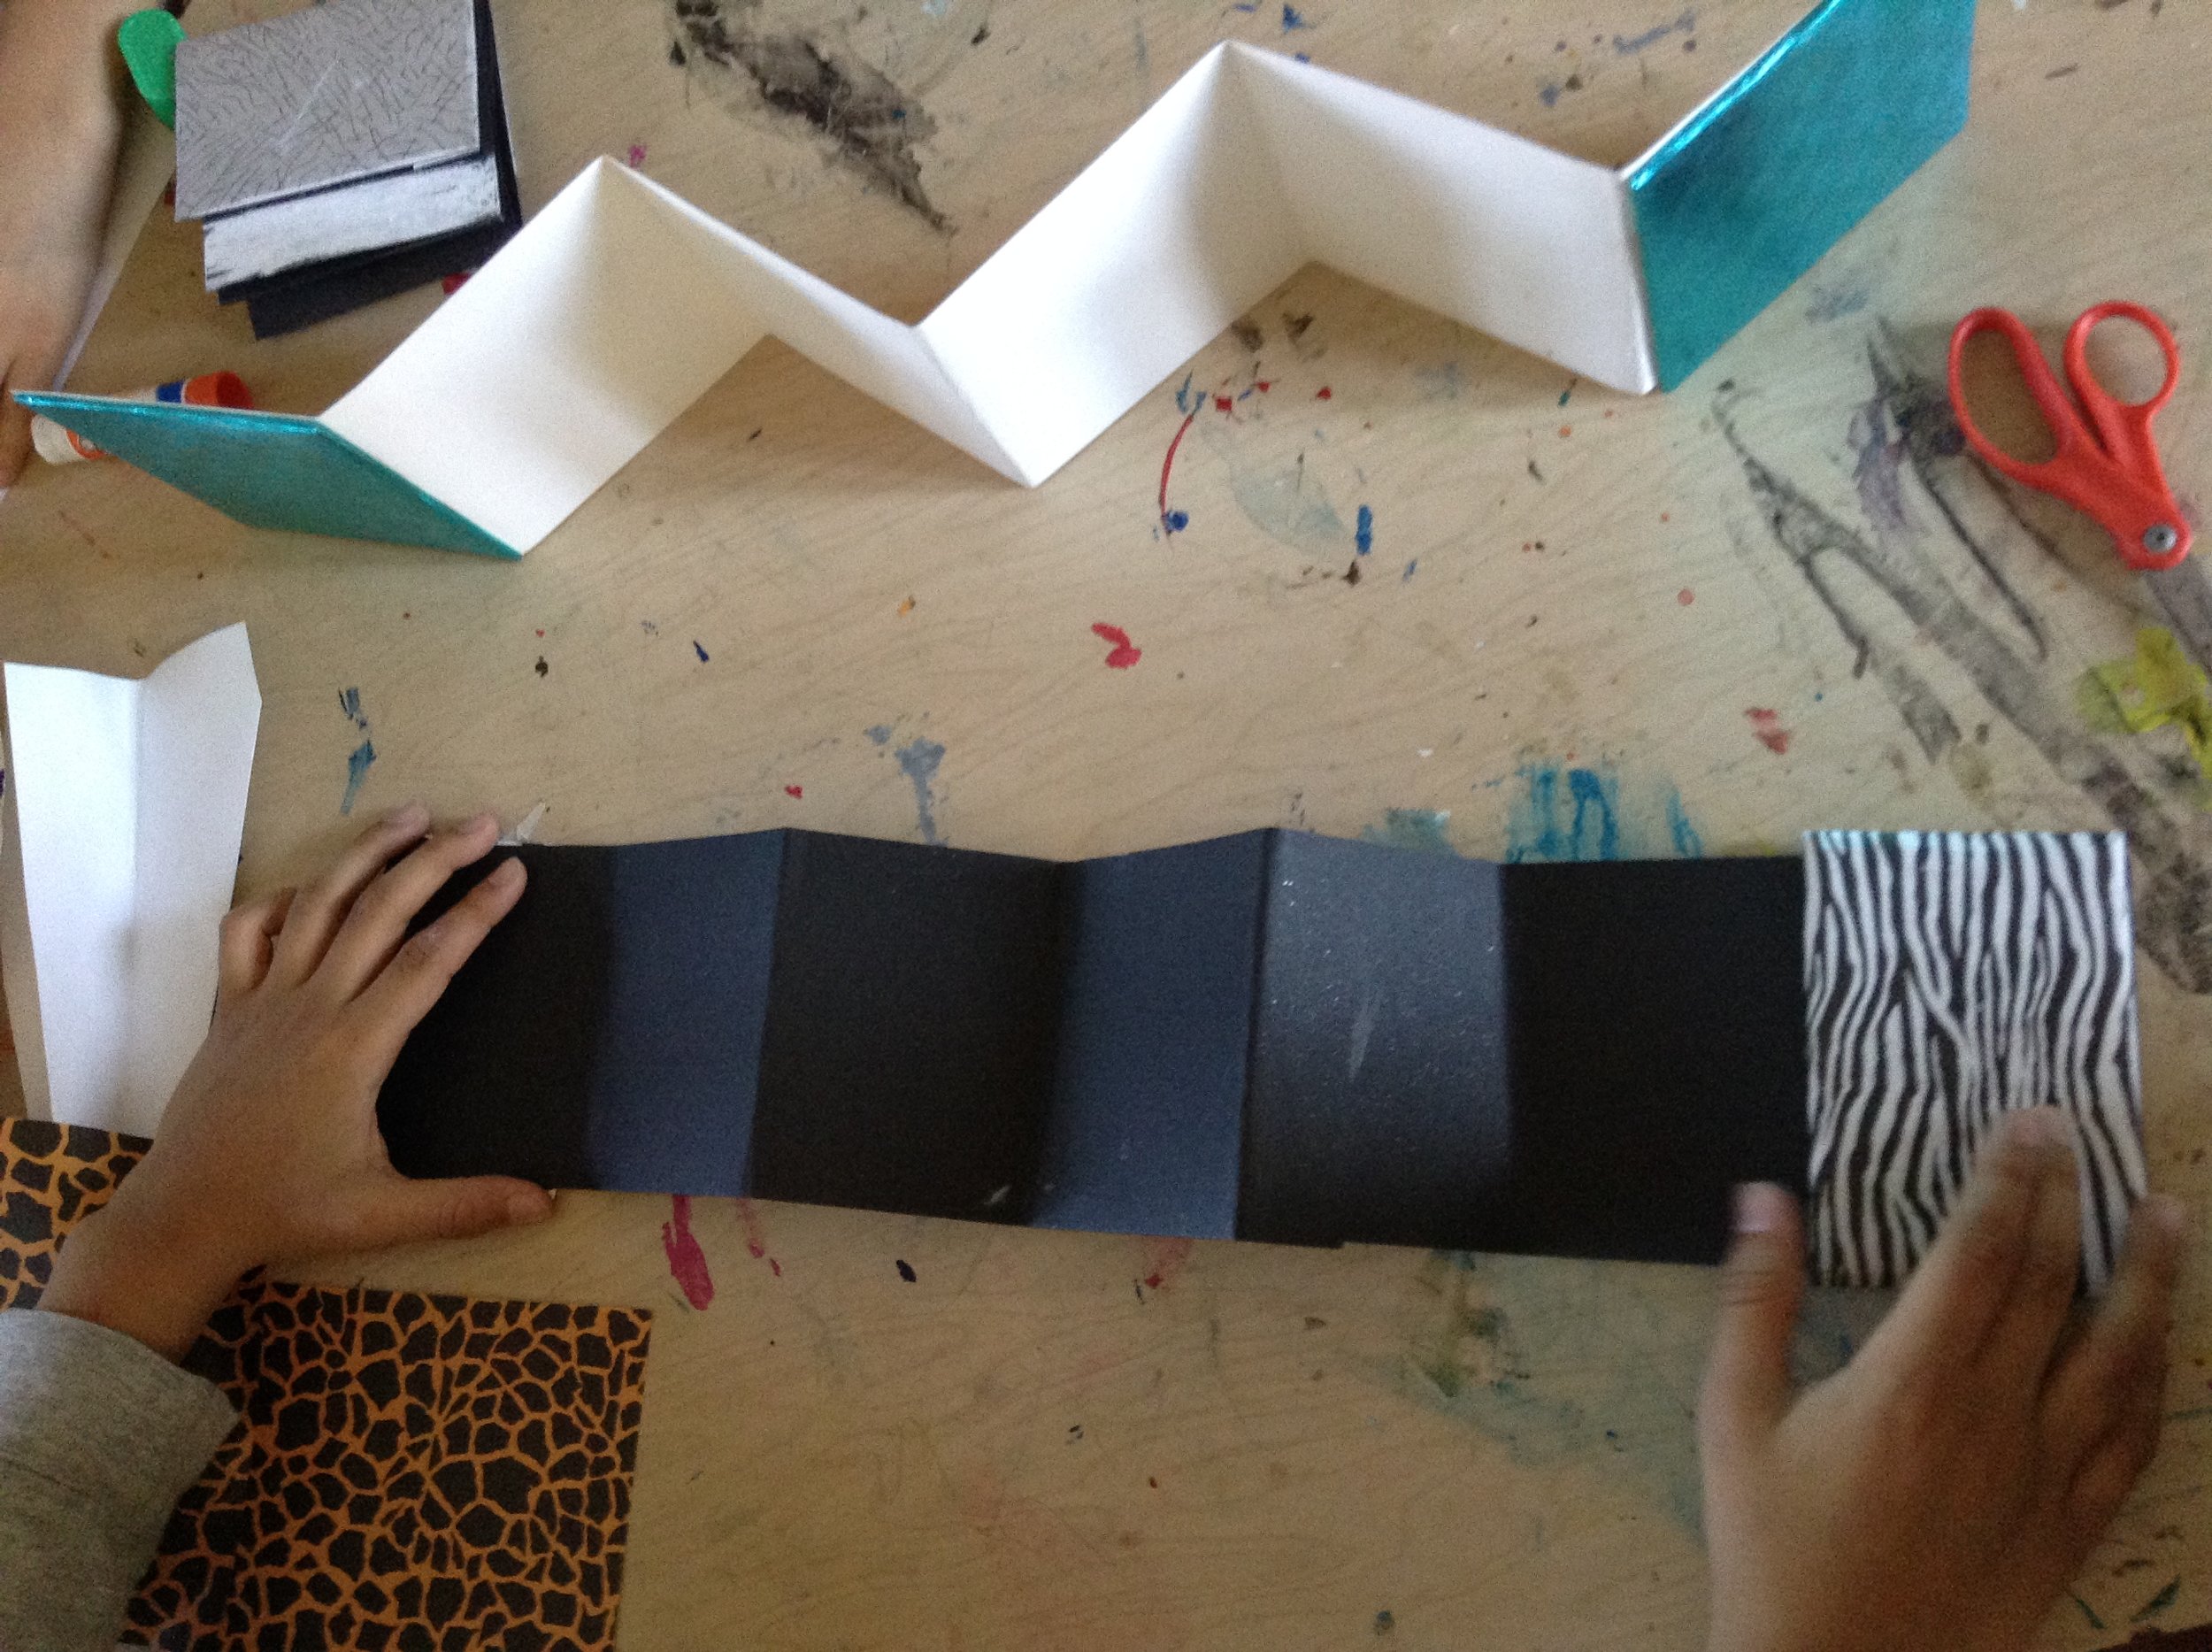
The students will start with designing the front and back cover for an accordion style book. While the cover are drying the students will use the time to fold the pages  and after both steps are complete the students will attach the pages to the covers with glue. The book will allow for the students to have creative freedom over something that can become personal to them.

“Big Ideas”/ Essential QUESTION(s)

  • Create something that is their own

  • Being creative with design choice

  • A personal book were they are able to collect their thoughts and ideas

Student Outcome Objectives

Students will:

  1. Brainstorm ideas for the cover / Design and execute making of the cover

  2. Learn or better skills on collage techniques

  3. Learning page folding


Prior Knowledge

-cut and paper folder

-applying glue

-kiss corners

-Mountains and valleys

Lesson Preparation Timeline

  • Cut down book board

  • Cut down paper, can be done at same time as board but if you are unsure on how much paper you will need you can wait till after first lesson to determine the correct amount.

  • Gather materials for class.


Examples of Artwork

* i also brought in a variation of my own books from my own practice *

Kim kopp

navigations in time

9" x 10.25"

Jody williams

Condensed Creatures

Screen printing and etching

Additional Resources   

How to Make Books: Fold, Cut & Stitch Your Way to a One-of-a-Kind Book by Esther K. Smith

https://www.amazon.com/How-Make-Books-One-Kind/dp/0307353362/ref=sr_1_17?keywords=book+binding&qid=1553582269&s=books&sr=1-17

Assessment

Was the scale good for the students? Were students able to assemble a book with the directions and examples given? Did students final work represent what they wanted when they started the project? If yes how, if no what changed? Are students happy with the outcome of their books?

Materials

  • Two sheets of book board for covers  for each student. Cut into 4x4 inches .

  • Paper that is long enough to fit your desired page amount.

  • Bone Folders

  • Glue sticks

  • Papers and magazines for collage.

Learning Activities and Timing

45 minutes, two days

Day one

  1. 5 minutes - set up materials/ getting space ready for

  2. 5 minutes -  talk with examples and explanation of project

  3. 20 minutes-  the students will used this time to brainstorm, and cut their collages if they’d like. After cutting the materials students glue cover design together on their book boards and set to dry.

  4. 5 minute-  clean up

  5. 5 minute -  share time/ discussion of their design choices.

Day two

  1. 10 minute  - set up, re-introduce and examples again if needed

  2. 25 minutes  - for folding and gluing pages together and any other extra details they might want to add

  3. 5 minutes - clean up

  4. 5 minutes - discussion about the final project. What did the students like/enjoy the most? What would they like to be different?

Teaching Artist Reflection

Concerns - Students may not want to use collage techniques. If they choose not to and only use the 1 sheet to cover everything, finding something to fill the time could come up.

Extended learning - Once a student knows how to make the books they will be able to show others.


Traced Body Self Portraits, Urban Arts Academy Preschool

Traced Body Self Portraits, Urban Arts Academy Preschool

Preschool Traced Body Self-Portraits

School/Teacher/Classroom or Arts Organization/Mentor: Urban Arts Academy, Room 208

Grade Level or Age of Participants: Preschool

MCAD Teaching Artist:  Beta DeFlorian

Number of Students: 15 Students

Visual Arts Content or Standards

(Preschool, State standards do not Apply)

This project is most similar to the following Kindergarten standard:


Subject: 2. Social Studies: Peoples, Cultures, and Change Over Time

Strand: 2. Artistic Process: Create or Make

Standard: 1. Create or make in a variety of contexts in the arts area using the artistic foundations

Arts: Visual Arts

Code: 0.2.1.5.1

Benchmark : 1. Create original two and three-dimensional artworks to express ideas, experiences, or stories.

Curricular Link / Standards

This project, although not applicable to the Minnesota Core Standards, works with ideas of identity, guidance, and possible social studies.

Overview of Project

For this project, students will explore portraiture through physical interaction and critical thinking. Students will start by listening to stories that address characters picking out characteristics they like about themselves – both external and internal. Afterwards, the students will get their bodies traced and then be asked to draw some of their favorite things, their characteristic, and what makes them unique anywhere on the traced body.

“Big Ideas”/ Essential Question(s)

  • How do students perceive themselves/perceive others at such a young age?

  • What sort of physical and internal things related to one’s self do students pick out most?

  • Is it harder or easier for young students to pick out things they like about themselves compared to older students or adults?

  • How does the physicality of tracing the body impact making a self-portrait?

Student Outcome Objectives

 Students will:

  1. Become familiar with the idea of their body as a space, both physical and metaphorical

  2. Understand their Canvas/Cut out body from piece of paper is unique, along with their interests and appearance

  3. Depict their “favorites”: favorite animals, food, color, letter, etc…

  4. Differentiate what makes themselves/each student different and recognize certain similarities

  5. Create an original self-portrait based on their own selections and placement of imagery

Prior Knowledge

How to Use Coloring Tools/Markers or How to Draw (Whatever that may mean to them)

  • Certain Terms: “Favorite”, “Characteristics”, “Appearance/Look”

  • Names of Colors

  • How to use drawing tools

Lesson Preparation Timeline 

April 29th: Gather/Purchase Materials – Buy Paper Roll

May 1st: Touch Base with Mrs. Brown, Solidify Exact Teaching Time

May 2nd: Meet with Lynda, Gather Markers from TA Closet

May 8th: Teach at Urban Arts Academy/Hang Student Work at Urban Arts Academy

Examples of Artwork/References

Additional Resources

  • I Like Myself! by Karen Beaumon

  • What I Like About Me! by Allia Zobel Nolan

Assessment

How will you know that the students learned what you intended and met the student outcome objectives? What will quality work look like?

The Teaching Artist will know students learned what was intended and produced quality work if the students have completed at least two or three images that they associate themselves with. For some students who have a harder time focusing and participating, success might be just tracing their body and including one color they like. Much of the assessment comes from talking with each student and having them explain what they are drawing, since with small students it’s hard to tell, and they can have a harder time staying on task. With such small students, they may be assessed on a person to person basis since they are at different levels of development, and some listen better than others. If students are tackling the project well, assessment may be each student going around and sharing one of their favorites they included or something specific to them, since they enjoy talking in front of the classroom and having the group listen.

Materials

  • Roll of paper for traced bodies ( amount TBD?)
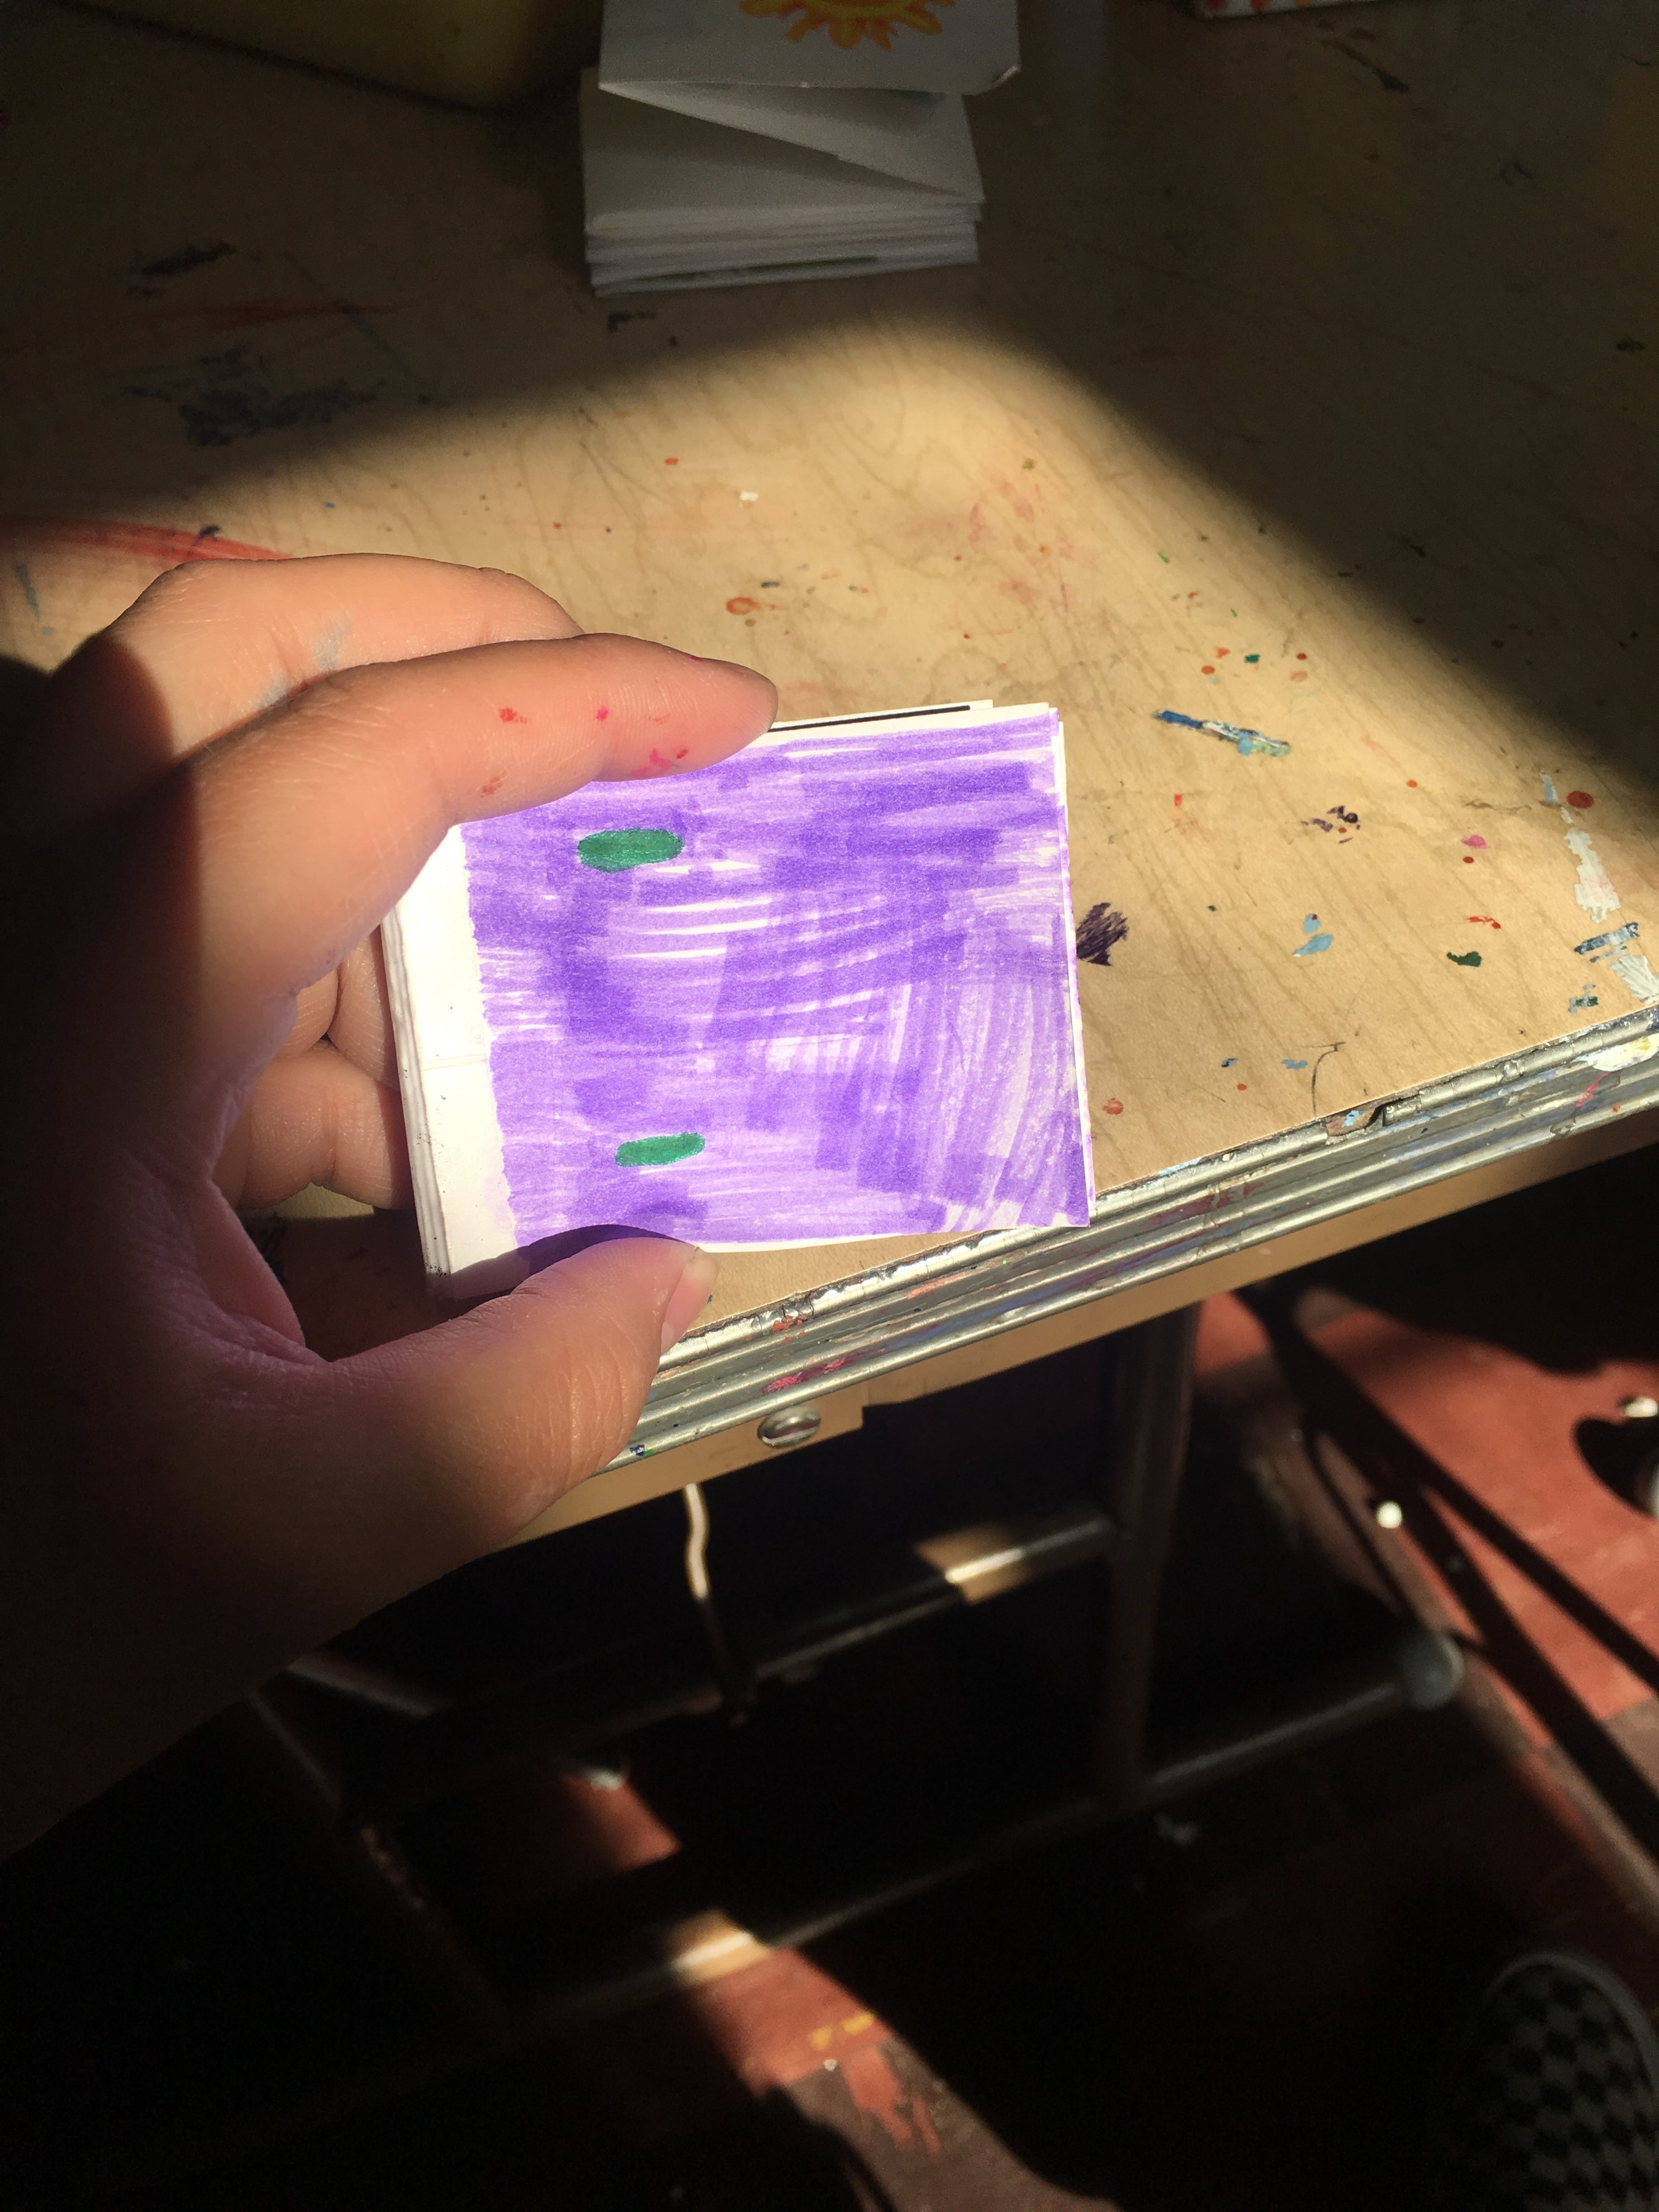
  • Special Markers ( amount TBD?)
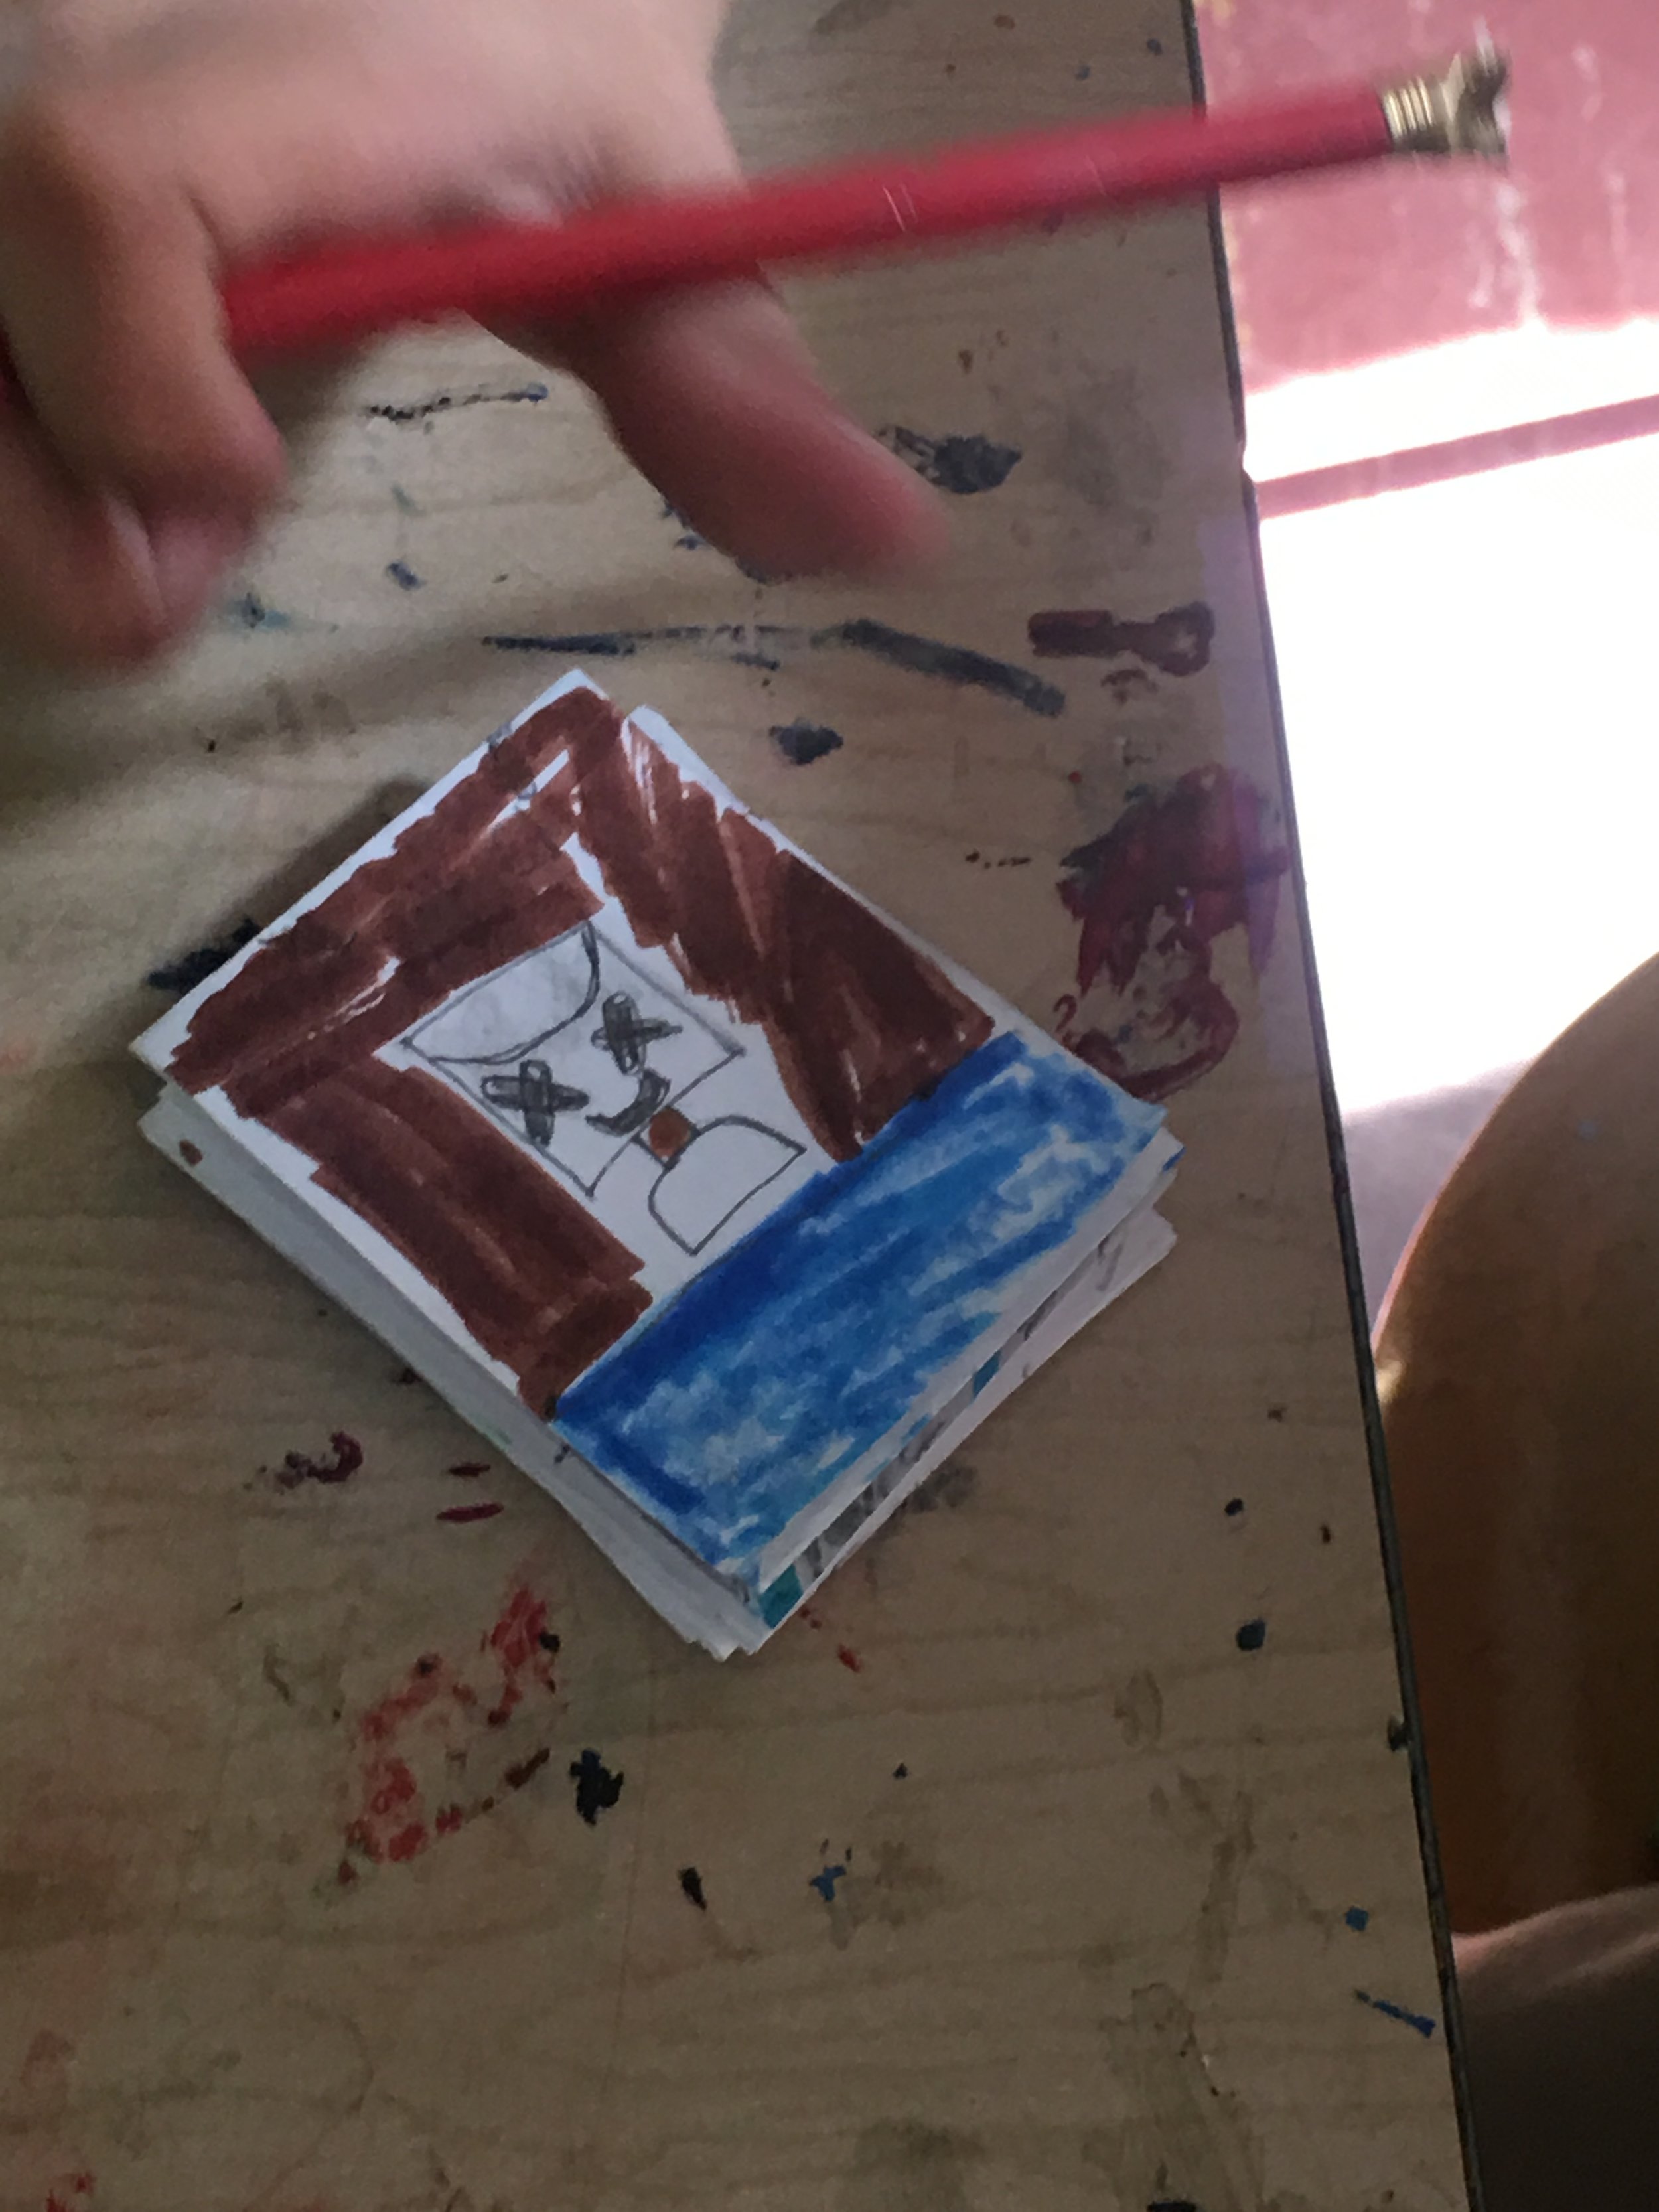
  • Scissors (Teacher Use Only)

Learning Activities and Timing

  1. The teacher will read books aloud in front of class on round rug (10 Minutes)

    I Like Myself! by Karen Beaumon

    What I Like About Me! by Allia Zobel Nolan

  2. The teacher will introduce the project verbally at the rug with exemplar to show students what they will be completing (5 Minutes)

    At this time, the teacher will explain to the students how the books they just read correlate with the activity, pointing out examples

  3. Introduce Stations (2 Minutes)

    The teacher will also describe certain stations within the room (the tracing spot, the work spot, and the free play area) and guide students to free time, while both teachers start tracing students and sending students to start working.)

    Direct children to activities/Remind them to be thinking about the project

  4. Allow Students to work on Portraits (20 Minutes)

    Help students get started on project, check in with each student, make sure each student has enough space, etc.

  5. Hang Up Student Work (15 Minutes of Personal Time)

    Hang the self-portraits in the hallways for others to see!

Teaching Artist Reflection

What problems are anticipated with this lesson? 

  • Some students may not want to participate/May not want to be traced

  • Some students might not know what to draw, or how to draw it ( a lot of students asking you to draw it for them)

  • Some students will not listen and be wandering around the classroom

How does this project fit into overall curriculum planning or art experience for the classroom or organization?

This project fits well because Urban Arts Academy is very conscious about using the body in an appropriate and respectful way, this will add onto that idea. Urban Arts really focuses on mindfulness, this will give students the chance to focus on themselves, appreciating what makes them and their friends unique. This activity combines ideas already mentioned in the classroom such as letters of the week, reading circle, and answering and asking questions to fully learn.

How will your students’ work be shared with the larger community?

Student work will be displayed in the Urban Arts Academy hallway where students, faculty, community members, parents etc., are always walking by when they visit. These could potentially be saved for their annual gallery event Urban Arts hosts where student work is on display.

How will you receive feedback on your teaching methodology and quality of student work?

I believe not only the classroom teacher, but the other teachers and even the preschool director at Urban Arts would give me some verbal feedback along with the evaluation Mrs. Brown will be filling out. I also have asked students during other projects how they have liked things by showing me a thumbs up, down, or to the side. That could work for student feedback.

Gallery

IMG_3040.JPG